Link of the Week

North Bennet Street School

Located in the city of Boston’s North End, North Bennet is one of the preeminent schools of craft in the country.

Students enrolling in the school can pursue a number of disciplines, including bookbinding, locksmithing, instrument building, preservation carpentry and furniture building.

The furniture building course of study is an intensive two-year long program that focuses on developing both the modern and traditional skills that must be mastered to produce high quality product.

Even if you have no interest in enrolling in the program, a listing of alumni websites will give you insight into the quality of the training and work successful students can turn out.

Order in the Case!

So far in my life, I have had the opportunity to actually go to court twice.  The first was for an accident I had gotten into when I was just a wee lad at 16 years old. The second time was when I got pulled over about ten years ago in Tampa for speeding.

In both cases I learned a few important lessons.  First, when you have a court date, it’s vital that you show up – on time – for the hearing. Other folks who didn’t discovered quickly that the judge didn’t take kindly to tardiness.

It’s also critical to know that when the judge is talking, you are supposed to sit quietly and pay attention.  Back during the case when I was just a novice driver, the lady across the aisle trying to convince the judge that I was reckless liked to make snide comments under her breath concerning her opinion of the judge’s abilities – while he was speaking.

That, my friends, is a big time no-no.

Basically, the judge is charged with keeping order in the court.  Things have to go a certain way if a case is to be heard properly and be able to hold up in a court of appeals should someone choose to go that route.

When it comes to woodworking, keeping order in your project process is critical if you want to keep yourself out of trouble during the building process.

Case in point, your honor…

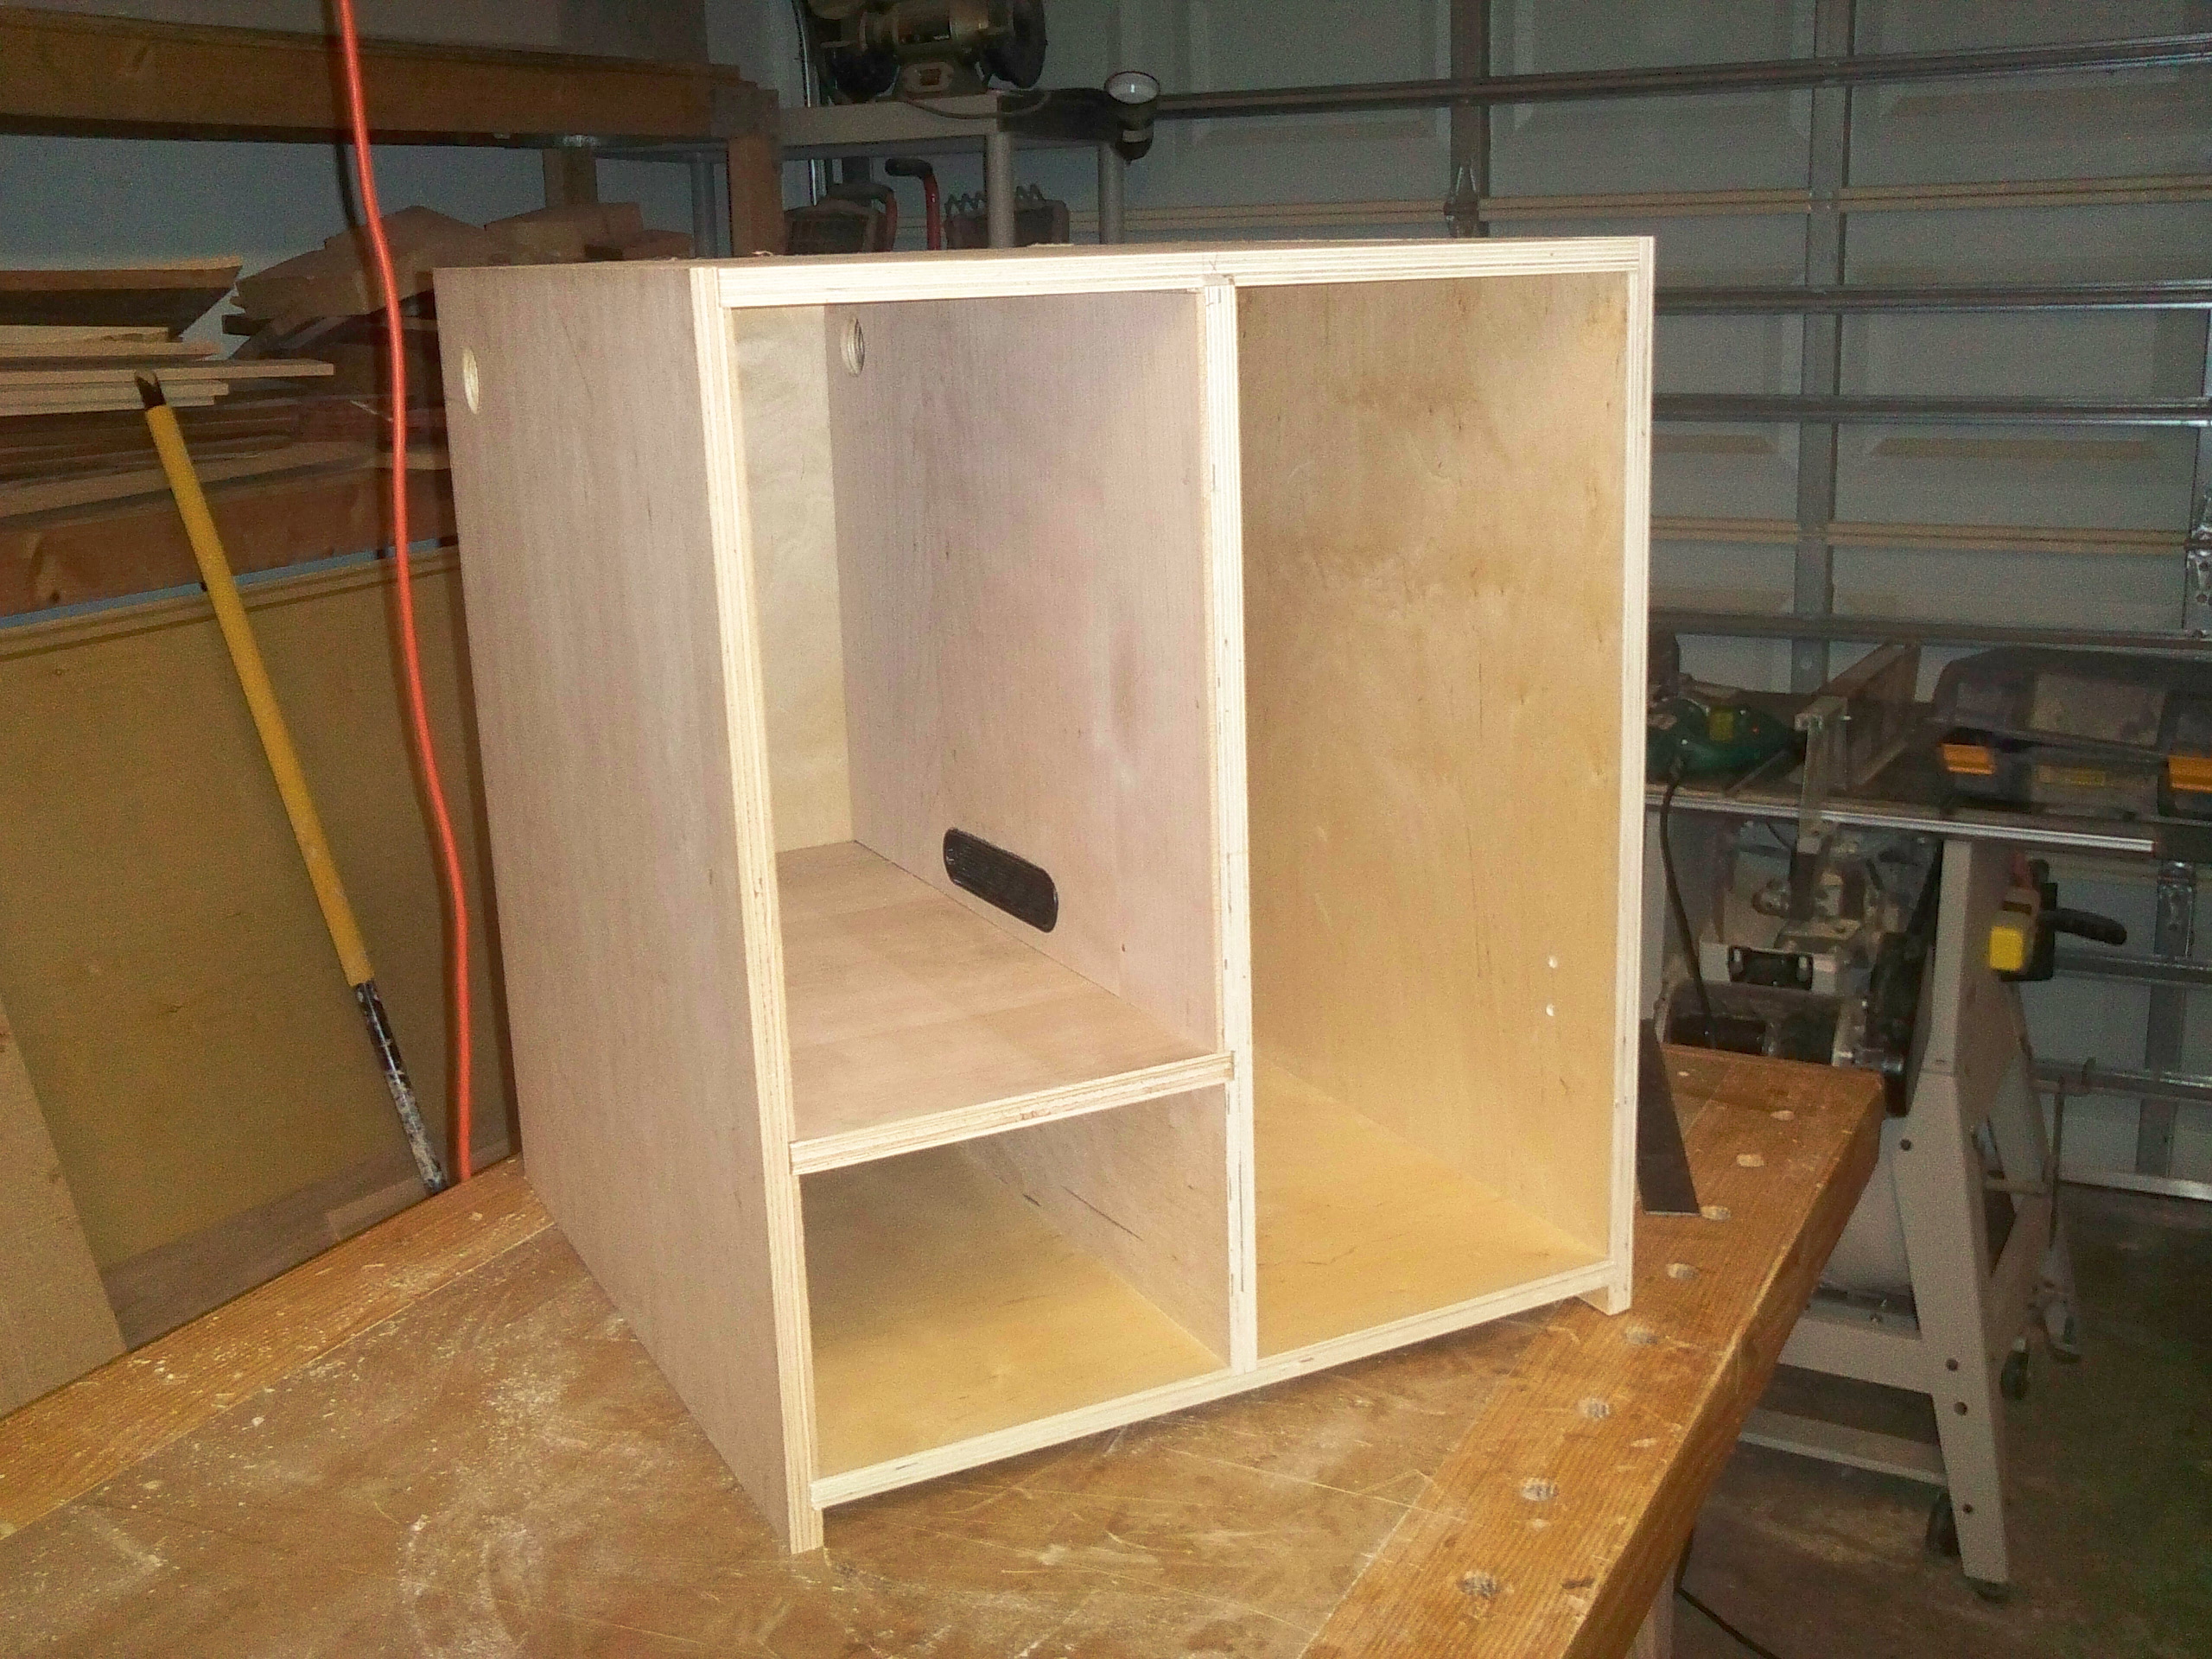
On this project with my friend Paul, this case is the most complicated one in the build.  All of the others so far have just been boxes.  Sides, top, bottom and back.  But, this case is where his CPU will live.  And where he wants to hide his wireless router, networking hubs, power strip, a boatload of cords and other computing essentials.

Sure, we could have built this case as two separate cases, but that would have involved more material, more assemblies and more coordination when joining the separate cabinets together on site.

So, we went with a single cabinet.  Me, I was rarin’ to go. Cut ’em down, mill  the joinery and slap ’em together.  No fuss, no muss.

Fortunately, Paul is a little more level-headed than I. He kept bringing up some very important points that I was missing.  For instance, a number of holes needed to be drilled to allow wires to go from one cabinet to the next. If I tried to feed my drill which, with a hole saw attached, comes out to 14″ long from drill bit tip to butt end, into a 12″ wide cavity, how did I plan on making the hole?

Similar questions were brought up over and over again – just for this one case.  When should I insert the divider which broke the piece into two distinct cavities?  When should I drill the shelf pin holes for a shelf in the equipment side? When and where should I drill a slot to accept a grille that would allow air between the two sides?  Should I notch out an area of the top to receive a vent before or after assembly?

All great questions, and all required a moment of quiet reflection and a bit of mental gymnastics. It got to where Paul and I were talking through each step of production and assembly of the case in order to make things work properly. If I put this piece in now and then drill those holes…

Ultimately, taking the time to mentally walk through the steps of the project helped out tremendously. Before long, we were able to get the assembly together with all of the holes in the right place and pieces where they had to be.

Later, we’ll just need to face frame the piece out and we”ll be good to go.

Of course, the finished product will be the final verdict in judging how well we did.

Staying on track

There are few things as awkward as wrestling a sheet of 4 foot by 8 foot plywood onto a table saw.

OK, maybe there was the time I asked the cutest and most popular girl in middle school to go to a dance with me. And, after a long pause, she laughed. Loudly. Now, THAT was awkward …

But, think about it.  A sheet of 3/4″ ply tips the scales at about 80 pounds, has no easy way to grab and hold and is tough to balance on a table saw’s top while keeping one edge against the rip fence.  It’s not easy at all.
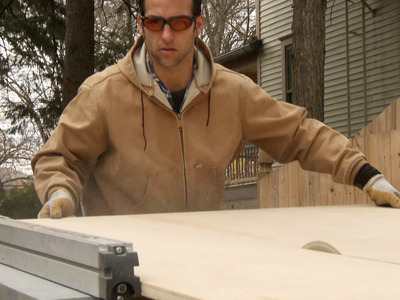
That’s why when Paul and I were just starting the cabinet project, we had a brief discussion about getting our hands on one of the ‘new’ track saws to help break the sheets into more manageable sections without the need to break someone’s back or damage their shoulders. Yes, that someone is me…

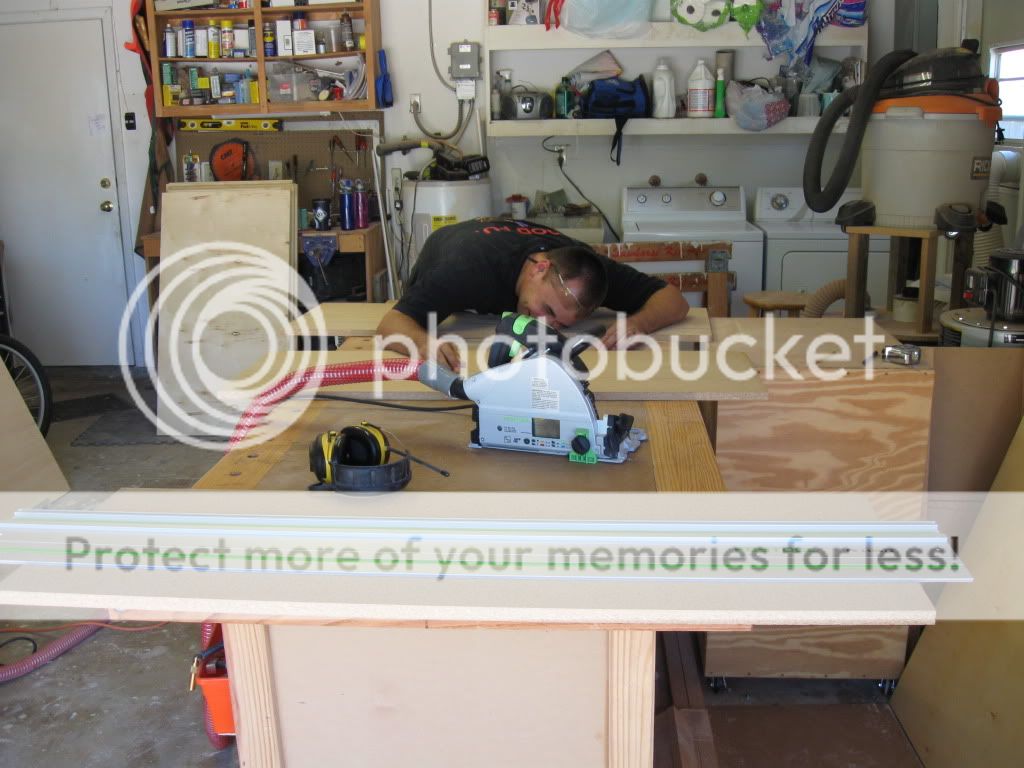
So, just as the plywood delivery came to the shop and the driver and I were unloading it, Paul walked in with a long, skinny box and a plastic container.  Paul had gone out and purchased a Festool TS 55 EQ plunge cut circular saw system for us to use on this project.
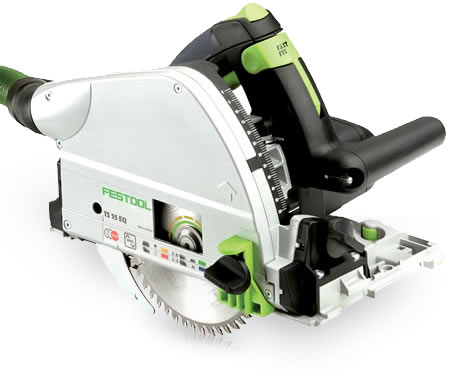
Now, Festool isn’t the only company with a dog in this hunt. DeWalt has a model they introduced about two years ago, and Makita also has a track saw system. I can’t really give a comparative review of these other models, but I can tell you that if they work as well at the one we are using, they are worth their weight in gold.

If you wanted to break down some sheets of plywood without one of these track saw systems, you could make yourself a sawboard and use your circular saw on the cut.  I’ve used the finest blades possible on my little Black and Decker saw, but still found the splintering on the piece to be unacceptable. This, of course, required me to go from the circular saw cut to the table saw in order to complete the cut.  This required that I remember to cut the piece strong and take that second step to get an acceptable edge.

Given the number of cuts on this case, the Festool saved a tremendous amount of time.  The cuts came from the saw cleaner than what I could accomplish with my Forrest Woodworker II blade on my table saw. Anything that eliminates a step in the process that doesn’t sacrifice quality is a winner in my book.

The saw is pretty sophisticated. The controls are clearly marked and easy to operate.  The saw does plunge to cut and also brings a riving knife down behind the blade.  If you have ever cut a board that pinched your saw’s blade during a cut, you know how frustrating and dangerous the situation could be.  This plunging action makes inside ‘pocket cuts’ a piece of cake, not a harrowing experience like plunging a traditional circular saw.

The Festool also has an anti-splinter ‘foot’ that presses down on the material just at the front of the blade to prevent splintering along the offcut side.
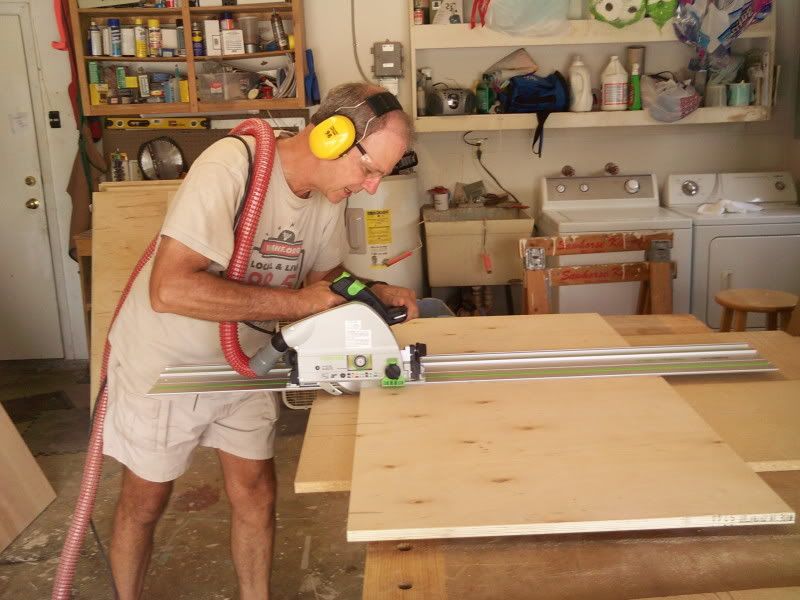
The track that the saw rides along is also very well thought out. Basically, the saw’s base plate has a square notch worked into its design.  This notch mates with a square track that rises from the track to guide the saw.  The base of this track has two rubber non-skid strips adhered to it, allowing you to place the guide down and not have to clamp it.  However, clamping isn’t the worst idea when cutting a lot of pieces.  It just helps to keep the saw track from shifting if you bump into it.

On the edge of this track that guides your cut, there is another anti-splinter device that keeps the keeper half of your board from splintering. Since this is exactly where your saw is cutting, you don’t have to move it into place… it’s always there.  The cuts off the track are perfectly straight and beautiful.

The saw also comes with a dust collection port.  I was using my shop vac instead of the company’s compatible dust collector, but noticed that the amount of dust generated by the cuts was very small.

The saw’s flexibility in cutting could also lead you to trouble. By not indexing off of a fixed rip fence, you have to be sure you carefully mark the pieces you are cutting.  If you mismark and cut on a diagonal, you will get a perfectly straight diagonal. You also have to remember which side is the keeper and ensure you don’t cut it one kerf too narrow by cutting on the wrong side of the  line.  Just sayin …

Yes, a track saw like the one we picked up is more expensive than just using a sawboard and your circular saw.  However, the time you save having to make two separate cuts could really be a difference maker on a large cabinet project. And, if that time savings also happens to lead to better quality cuts, well, sounds like a winner all around.

Quick Poll

Sawdust can be some pretty nasty stuff.

If it’s from an exotic wood you are allergic to, you could end up with a full blown allergic reaction. Bloody noses and sinus infections. Even worse – operations for nasal polyps or cancer.

This week, let us know what your worst run in with sawdust was and how bad was it…

[poll id=”132″]

A special announcement…

No, I’m still going to write Tom’s Workbench… you don’t get off the hook that easily!

Instead, I want to take this space to wish a very happy anniversary to my wife, Rhonda.

Yes, on a hot July Saturday afternoon 17 years ago tomorrow, we exchanged our vows at a Catholic chapel that was originally built just outside of Washington, D.C. in 1741.

She is the silent partner in the Tom’s Workbench team who offers encouragement, good advice and the level-headed reasoning that I frequently lack.

I love you, Rhonda and I couldn’t have done it without you!

Are we there yet?

If you were ever a child stuck in a car on a very long family road trip, no doubt there came the moment during the long time in the car that you piped up and asked the burning question on your mind.  “Are we there yet?”

And, if as an adult, you have ever had to drive during a long road trip with at least one child in the car, you have experienced that sinking feeling as one of the little  passengers in the seat behind you asks that universal question. Of course you will get there when you do, and it’s up to you to ensure that you get there in one piece without collecting any speeding tickets or having an accident.

My inner woodworking traveling child and adult are battling it out on my latest cabinet project I’m building for my friend Paul.

The woodworking child in me is kicking the front seat and growing impatient with the pace of progress.  Plus, the fact that working in the shop  on 98 degree days with a heat index of 110 is bringing out his grumpy side.

On the other hand, the woodworking adult in me is watching the project odometer consistently tick by, adding up the miles until we reach our woodworking destination and can begin celebrating the finished project.

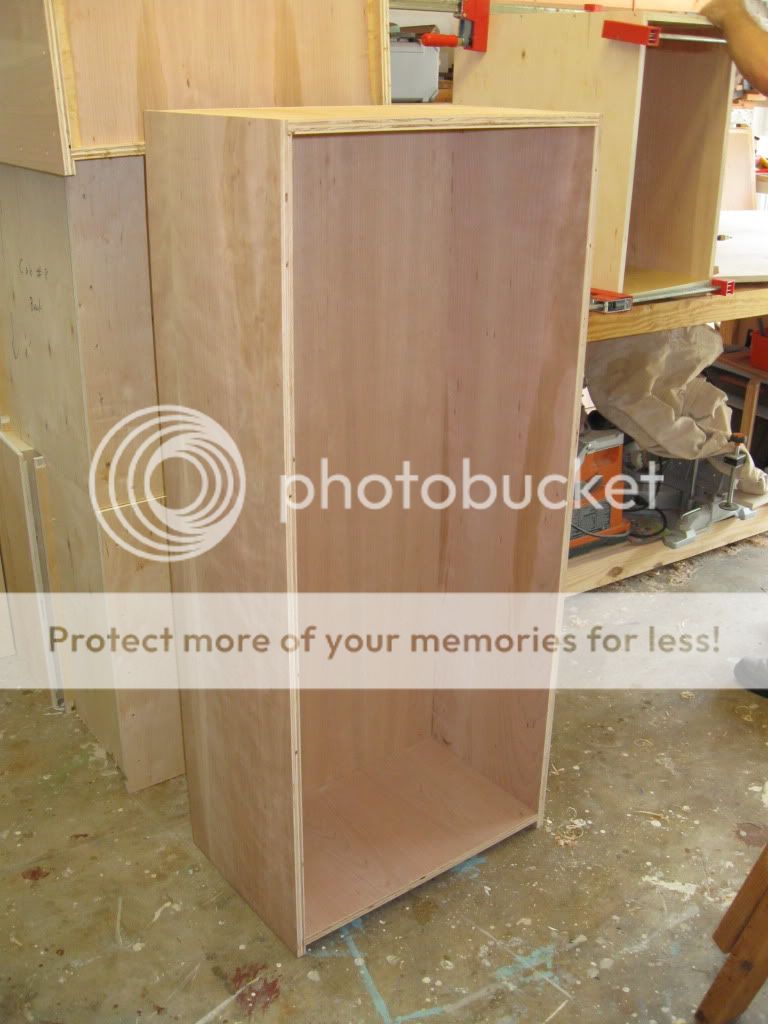
For instance, we no longer have a jumble of cut cabinet parts, but actual cabinets that were built and moved to Paul’s house.

While I was out in the shop, Paul had built a base frame for the cabinets and prepared the area in his living room for work.  While the cabinets were nice to see by themselves, they really came into their  own once they were stacked onto the base and screwed together.

Now, as the rational, well reasoned woodworking adult, I know there are many more miles to go with this project.  Assembling and mounting the other bank of cabinets to the right.  Building nine drawers and mounting them into the right boxes. Face frames. Tops. A bookcase and desktop. Finish. There will still be some tough traveling to go until we get there.

But, boy, with that woodworking kid inside me be jumping for joy once we do!

Particle Board the Beautiful

No, it doesn’t have the gorgeous grain and strength of premium hardwood.

Nor does it have the beautiful veneers and screw holding capacity of cabinet grade plywood.

It doesn’t even have the smooth, fine texture of MDF that makes painting easy.

Instead, it forms the basis of all uber-cheap, mass produced big box discount store ready to assemble furniture.  It’s frequently covered in a pseudo-wood-looking plastic contact paper like substance and is assembled with cams, dowels and other bizarre hardware that requires an allen wrench.

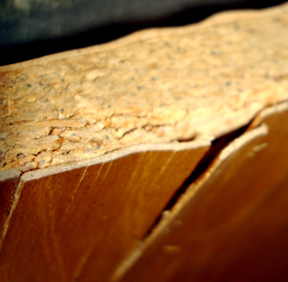
Attempting to lift a sheet of it by yourself can cause you to make an appointment with your chiropractor.  Shelves made of it bow with the lightest of weight and sides exposed to the smallest quantity of water swell like a sponge.

Yes, it’s particle board, and it’s the most beautiful substance you can have in your shop.

Born of the refuse of lumber mills, the lowly particle board (or chip board) consists of fairly rough sawdust treated with a resins, waxes and other goodies and heat pressed into standard sized sheet goods.

During the construction of this large cabinet project, I have come to appreciate some of the finer qualities of this oft maligned material. No, the boxes themselves are being made out of some high quality 3/4″ plywood – either prefinished birch or A-faced cherry.  The cabinet shelves will be made of the same materials as well. The base the cases are standing on is made from 2×4 fir lumber.

So, where’s the particleboard?

Glad you asked.  A while ago, I had bought a sheet of particleboard to create a bending form for my Mars and Venus Rising table.  I was going to stack and cut pieces and use them to clamp the thinly sliced ash and walnut leg pieces around while the hide glue dried.  However, I was having trouble getting the pieces to work on the press and opted for a different method of bending.

So, I took the sheets of particleboard and hid them behind my clamp rack.  I probably figured I would find them three or four years later and just throw them out.

The fates were on my side when the project started.  Those ugly, edge-abused sheets hidden behind the clamp rack called to me. With my old big ugly bench, I would have just cut the sheets up on the bench top, figuring that any grooves that formed on the bench would have added character.  But, with my current bench, that was out of the question.  No way was I going to slice  up my new bench’s top.

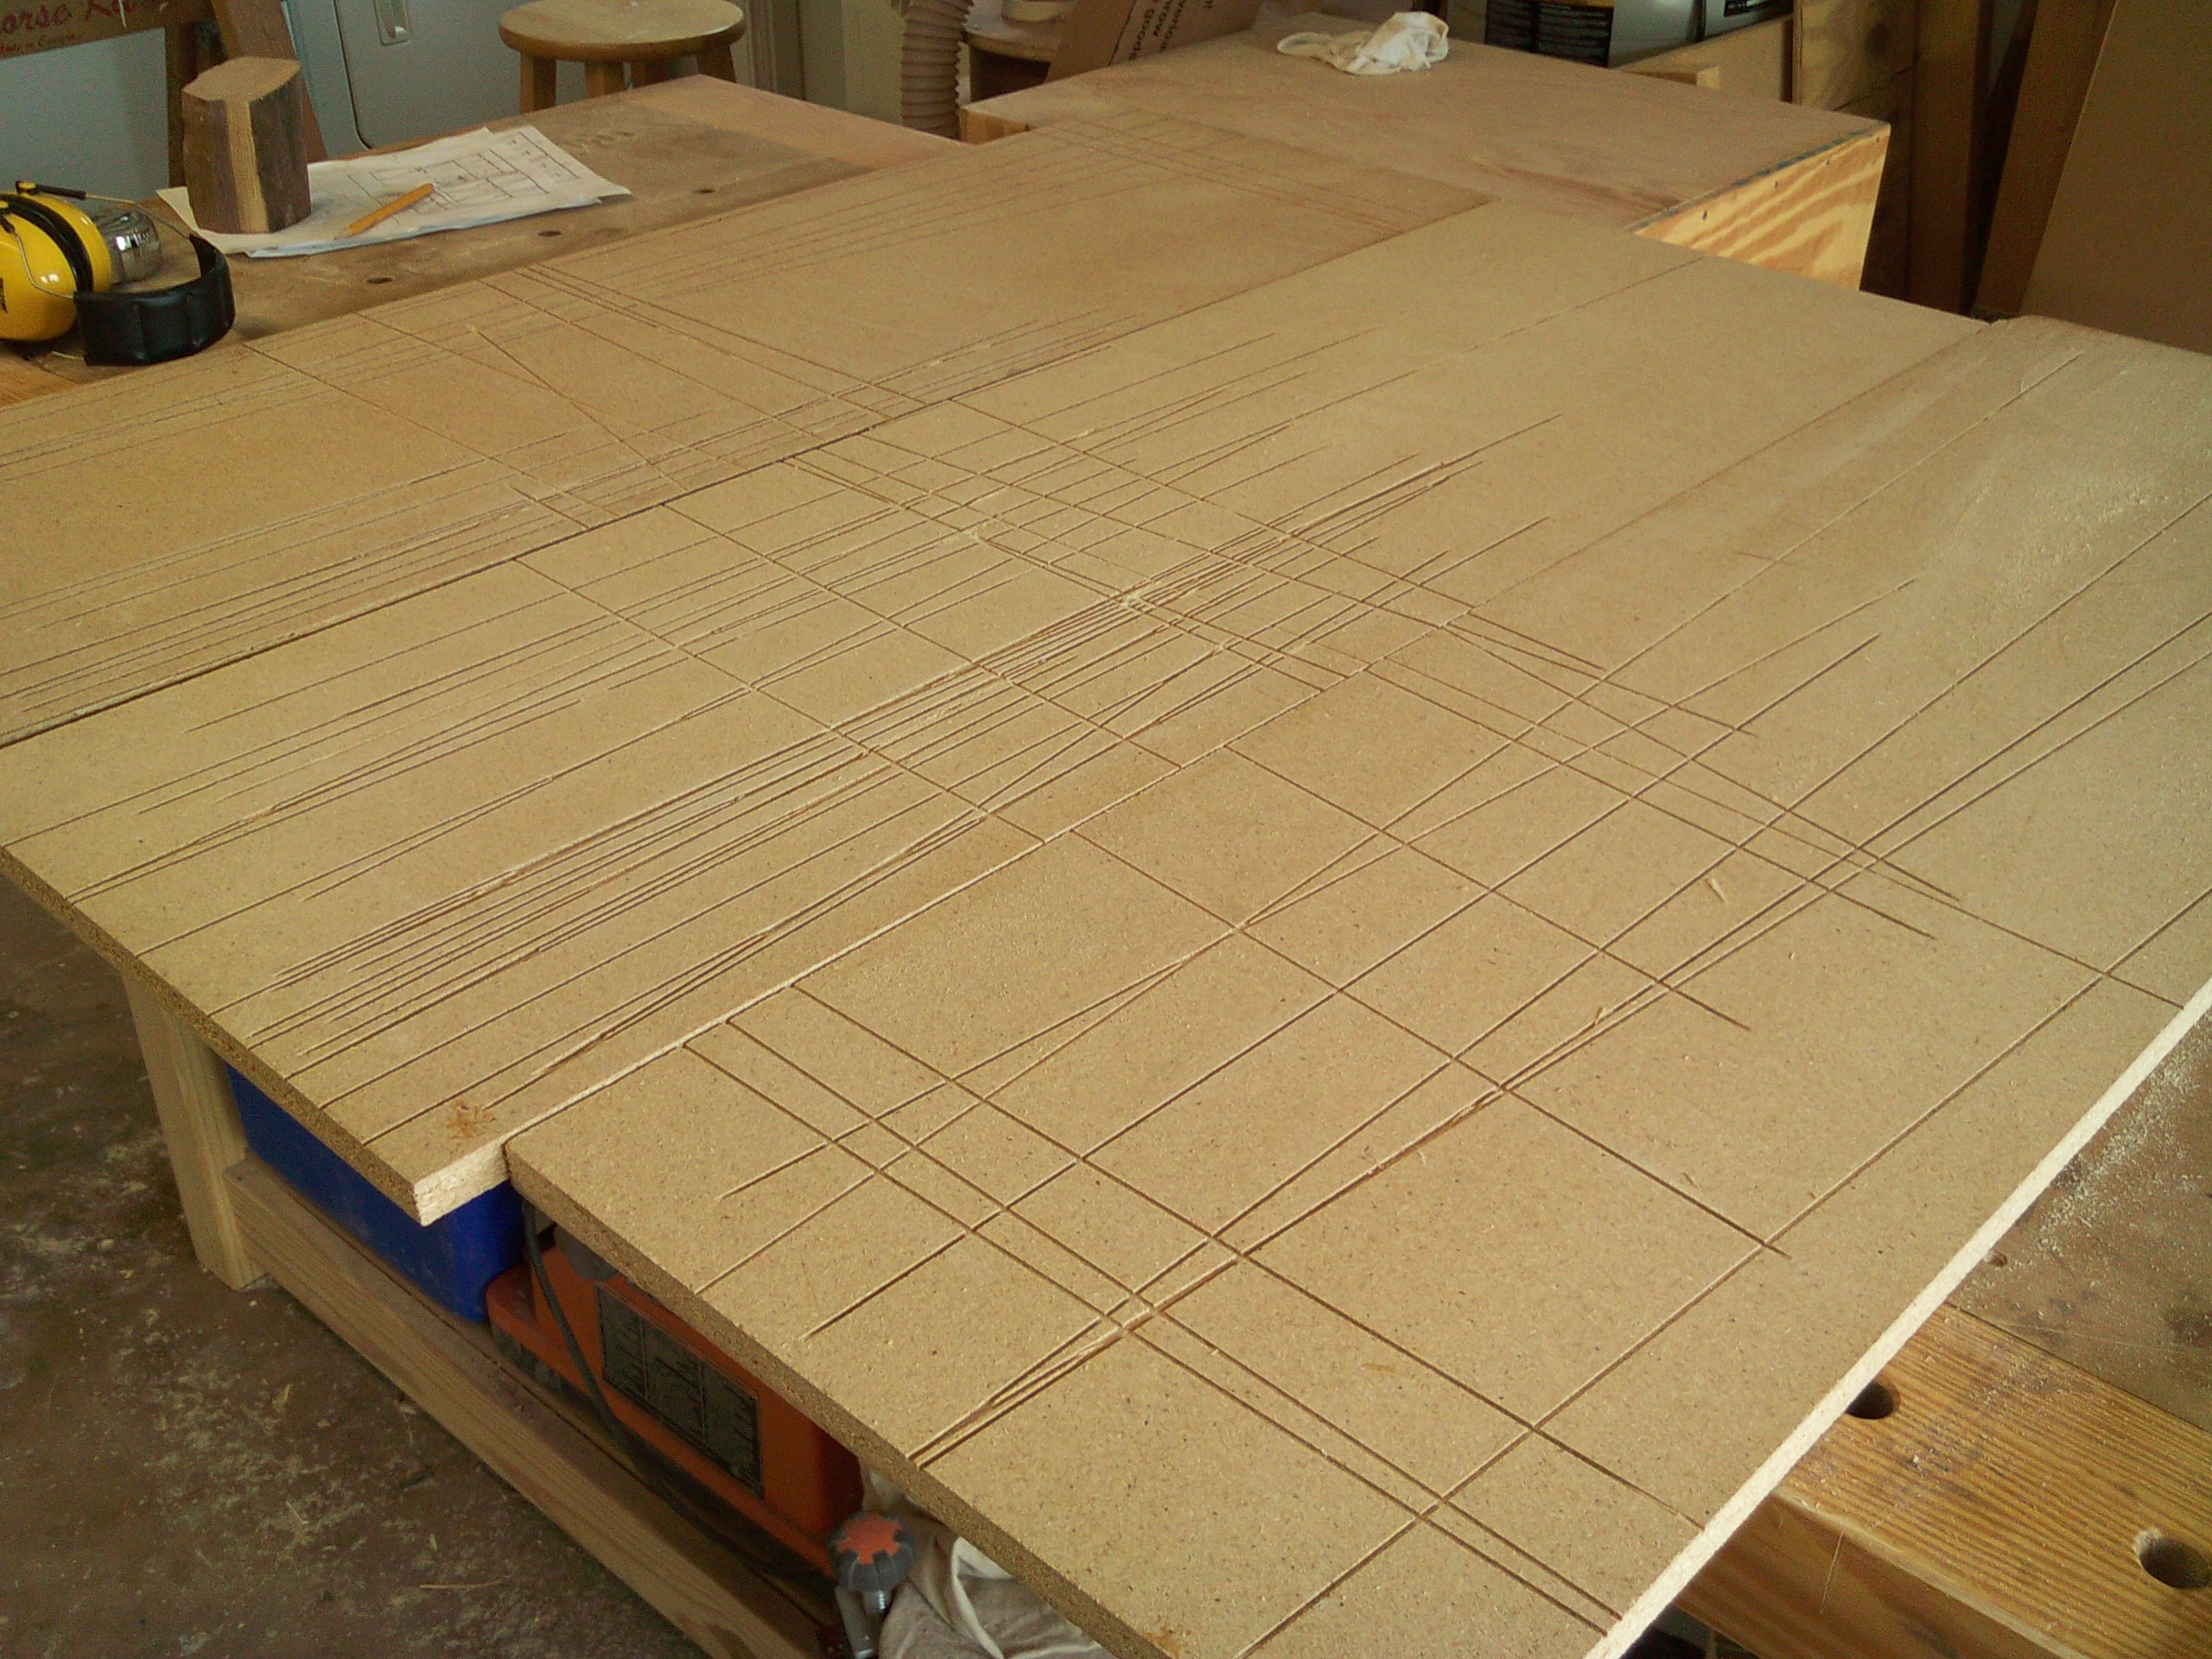
That’s when I fished those sheets of particleboard from behind the clamp rack and set them down on the bench as a sacrificial top. My friend Paul was a little caught off guard by my wanton disregard for the particle board’s safety, but I forged on. In fact, after the cutting, it also served well as a sacrificial base when I predrilled the screw holes to reinforce the dadoes and rabbets, saving my bench tremendous abuse.

Today, the cabinet pieces are cut, the particle board pieces are showing the wear and my bench top has never looked so good.

So, today, I ask, dear friends, that each of you reconsider your opinion of the lowly particle board sheet. Truly, it’s not the material of fine woodworking, but I boldly contend that it is one of the substances that makes fine woodworking possible.