Now that I am in my new shop, I have to start re imagining the space. Going from a two-car garage where it was all mine to a one-car garage that will have to share the garage with a car, well, it’s going to take some time to get everything where it needs to go. But I know it will happen.
Oh, did I mention that there is only one overhead light, and a single 15 amp plug that runs the garage door opener? Yeah, that will be a problem, but that’s the situation. So, as far as power tools go, my options will be limited, and I will be leaning heavily on battery-operated tools to make mechanized things work well.
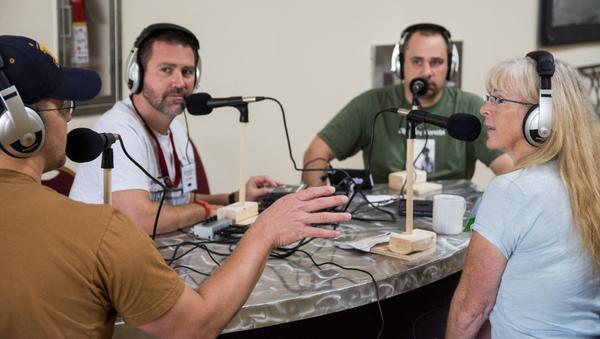
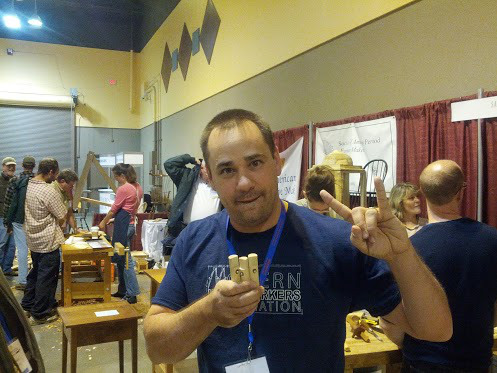
In the meantime, I need a solid foundation for my woodworking. Fortunately, I had a ton of help last year making things happen in my first apartment. Modern Woodworkers Association Podcast Host and Penultimate Workshop Blogger Dyami Plotke paid me a visit just before the 2016 Woodworking Show to get me set up with a bench.
Now, here’s a bit of a recap of bench history for those of you who are new to the party.
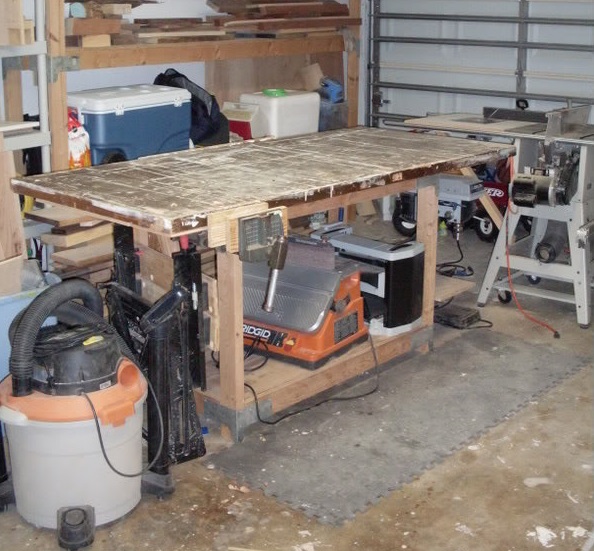
My first bench – big ugly – was a solid core door I was throwing out that I mounted to a 2 x 4 frame. It was big. It was nasty. It was super ugly. And, I built some pretty sweet pieces on it. But, it had zero functionality.
The next bench I built was better, but it too was plagued with issues that made its utility a bit more challenging. However, I was able to build some nice pieces on the bench, and it served me well for several years.

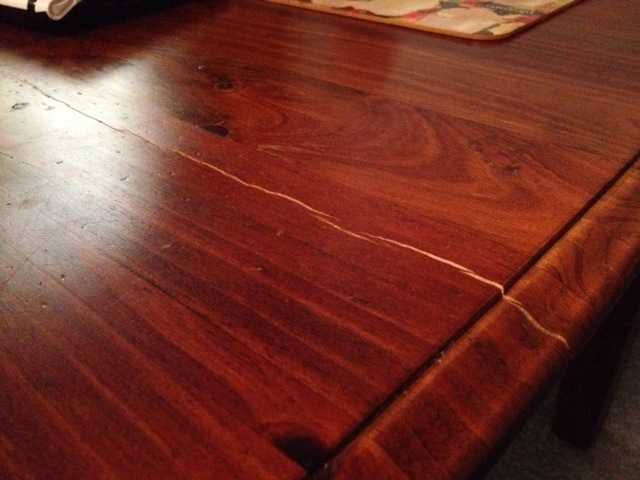
The next bench was my favorite. It was a Nicholson Bench. Eight feet long. Heavy as all get out. All built out of construction-grade southern yellow pine. Now we were talking. Dog holes on the top and the sides. Stiff. Solid. Great piece to work on. Could have done without the split top, but hey, not bad for a third bench.
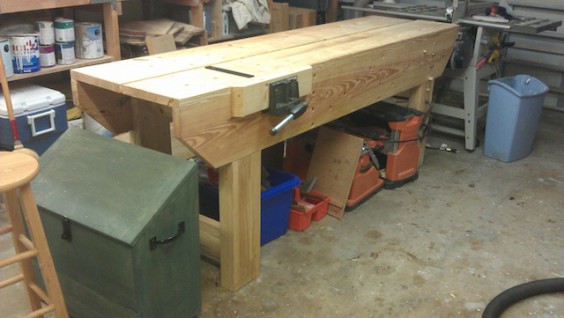
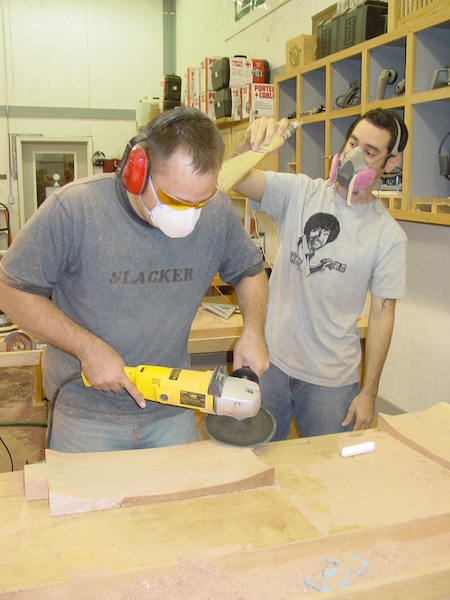
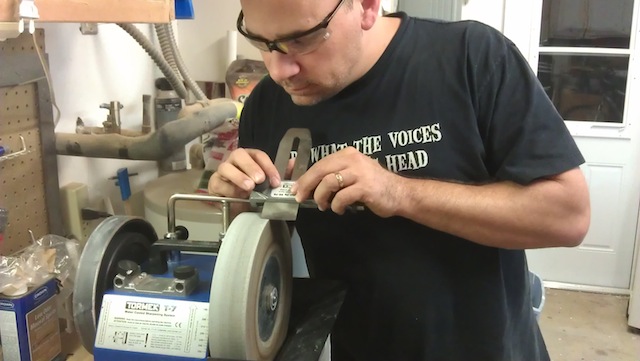
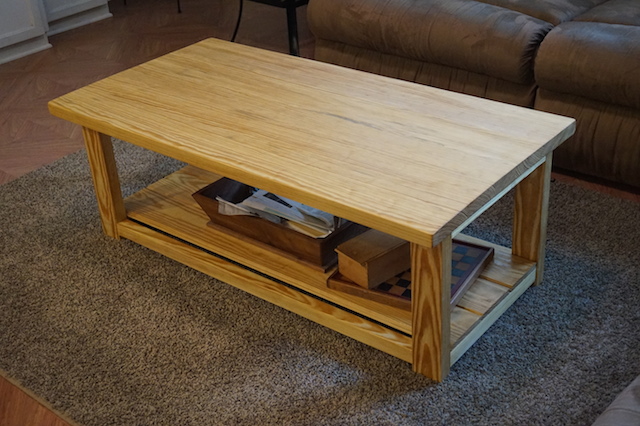
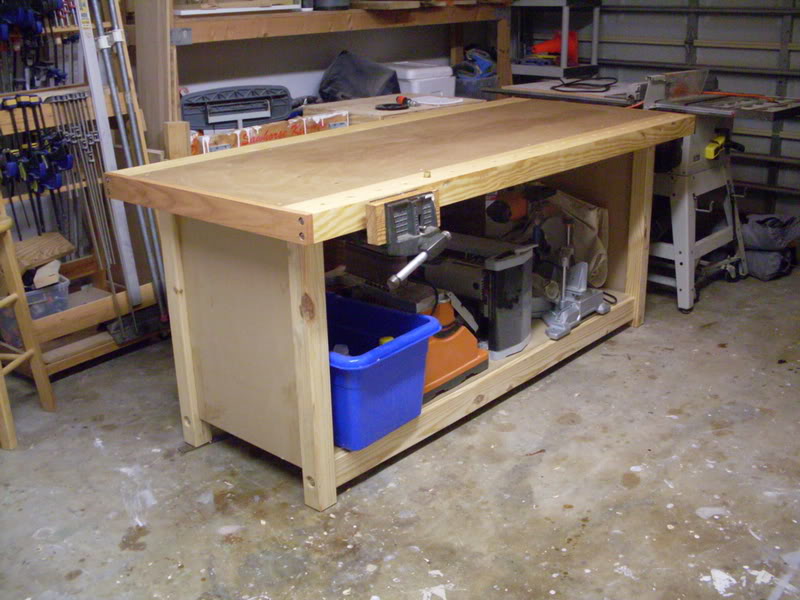
The current one that Dyami and I built was a speed build – built in one day on the show floor at the Tampa Fairgrounds. Roll that fabulous bench building footage.
While it is a sweet little bench (it measures a diminutive four feet long), it has yet to really see a woodworking project built on it. It ended up serving as an entry table at my apartment, catching ballcaps and cans of sunscreen spray.
But, no more. Now, in its new location, the bench is getting set to get some work done.