This past week in Florida has been intense. I mean, the temperatures on November 4 were more like what we would expect on July 4… sunny with highs in the low 90s and overnight lows in the upper 70s.
 It has almost been enough to make me want to seek out a pool, drink an ice-cold beer or completely retreat into my air-conditioned home to seek solace.
The other problem with warm weather like this, especially in Florida, is that it is very humid. This just means that no matter how lightly you dress, there is really no way to ever get totally cool.

No, I’m not about to go in the altogether on this blog. If I did, I would probably most resemble the late, great Chris Farley.
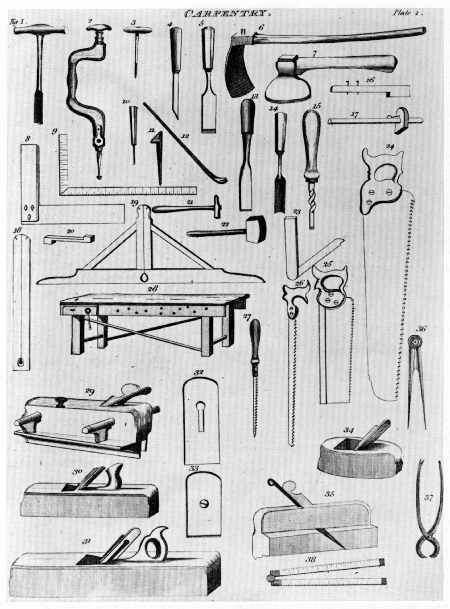
The real issue is that this humidity has a negative effect on my tools. You know what it’s called – rust.
The rust issue is so feared that I actually had a woodworker moving from a northern climate to Florida tell me he was considering giving up the craft, what with the constant maintenance and upkeep he was going to have to invest in keeping his tools rust free.
 My answer to him? Hogwash. I know plenty of woodworkers here in the Sunshine State, and all of us have to work with the same issues of humidity in our shops. Add woodworkers from other areas of the Gulf and Atlantic coasts, the northern Pacific coast with its seeming ever-present fog, and it’s safe to say that rust can be handled.
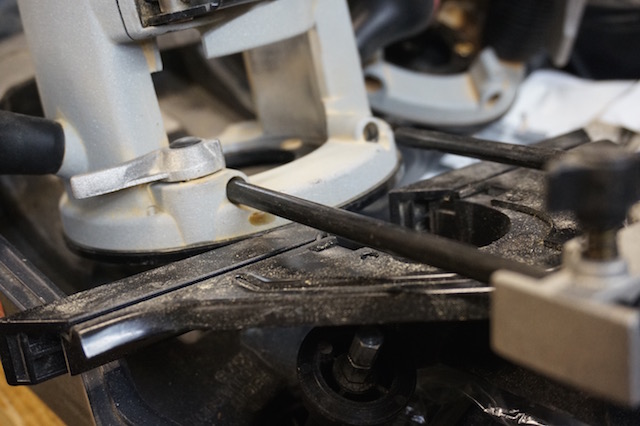
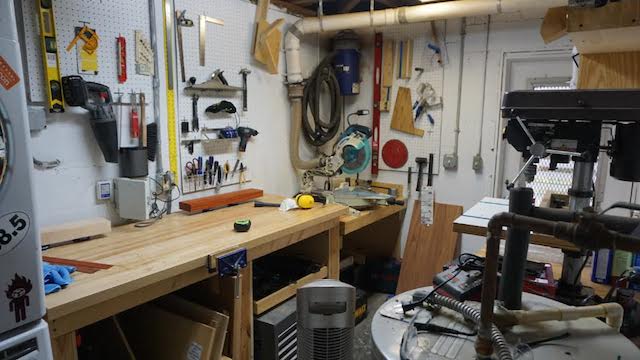
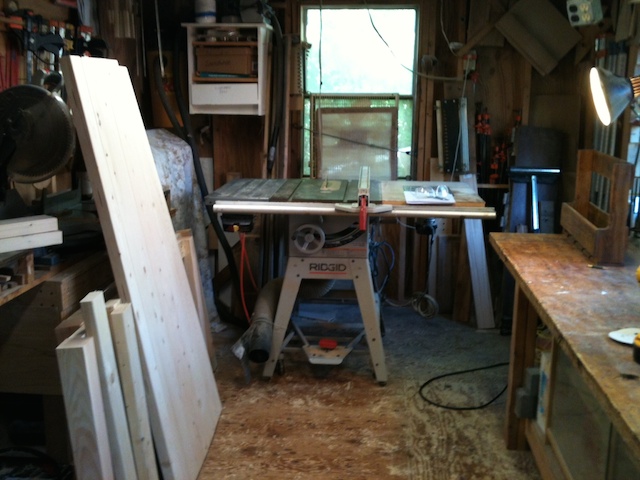
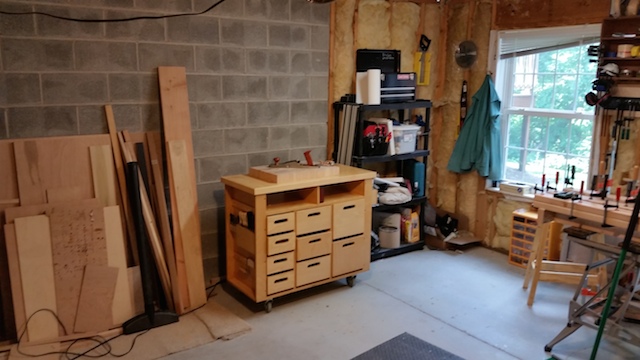
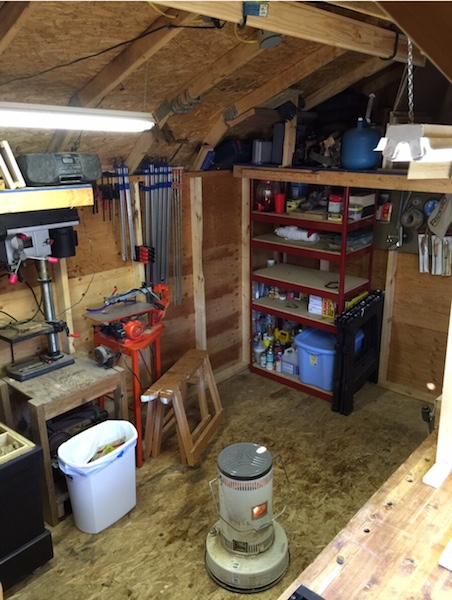
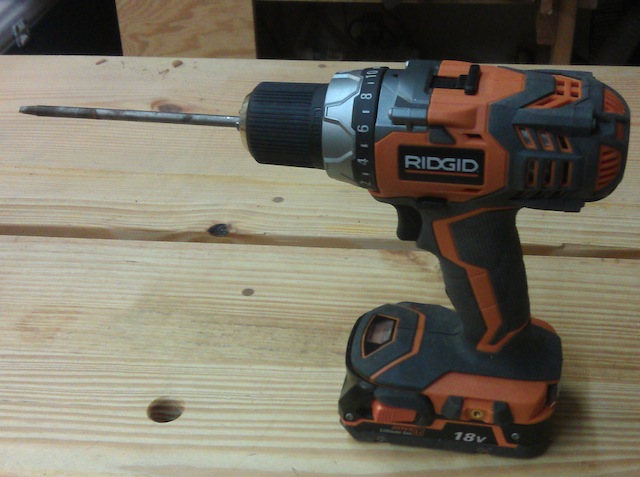
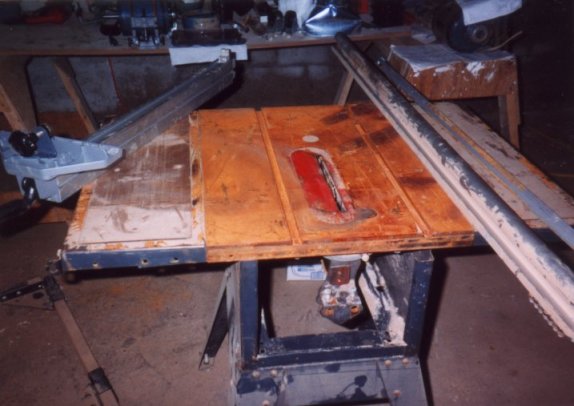
 And, surprisingly, it doesn’t take a fully air-conditioned shop to do the deed. I was able to keep my cast-iron topped Ridgid table saw in my shop for more than a decade with minimal rust issues.
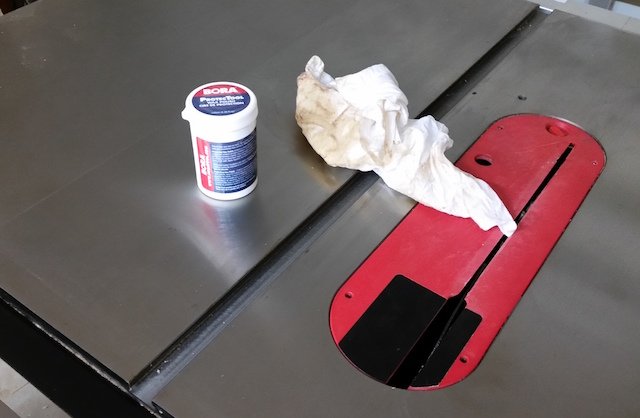
How’d I do it? It’s not as difficult as you would imagine. The simple ingredient is wax. I typically use some type of furniture paste wax for the deed. Johnson’s is cheap and cheerful, but when I really want to break out the top shelf stuff, it’s hard to beat the Bora Protectol wax.
When do I do it? Well, typically after I finish a project and get to cleaning and sharpening to get the tools ready for the next project, I will rub a coat on, let it sit about five minutes, than buff it off.
That simple.
Not only does it keep rust at bay, it also allows the wood to slide easily across the surface, making cutting a whole lot easier. And, even though the rip fence is aluminum, I still buff on a coat just for that purpose.
With just a few minutes of work between projects, the rust is busted, and the only thing I have to worry about is finding parking at the beach.
And, I promise I will be wearing a proper bathing suit.