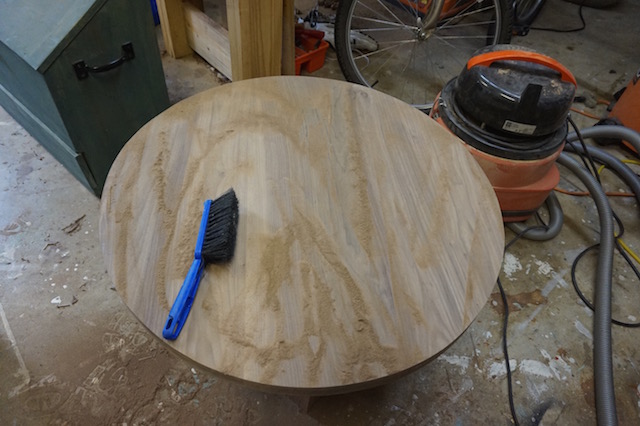
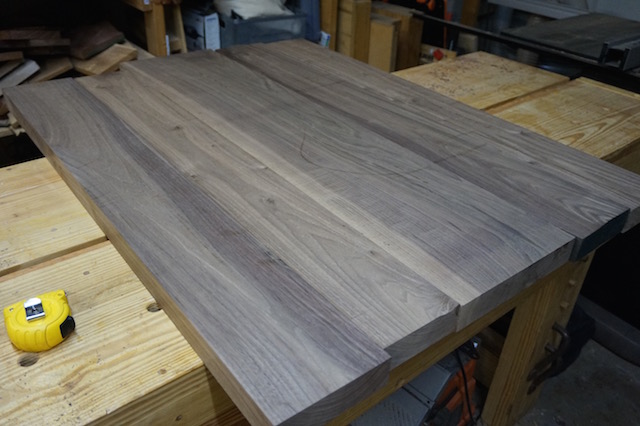
Yesterday, I was hoping to get out into the shop, but instead, I did something I had never done in the 23 years I have spent in Florida. Rhonda wanted to go tubing on the Rainbow Springs river, and we all piled in the car for one last big hurrah for summer here in Florida. But today I got my time in the shop to push the front coffee table further toward the finish line. In fact, with the top close to being done, the next step was to build a splay leg base for the table. No big deal, right? Well, I was certainly nervous, since I had never done that before.
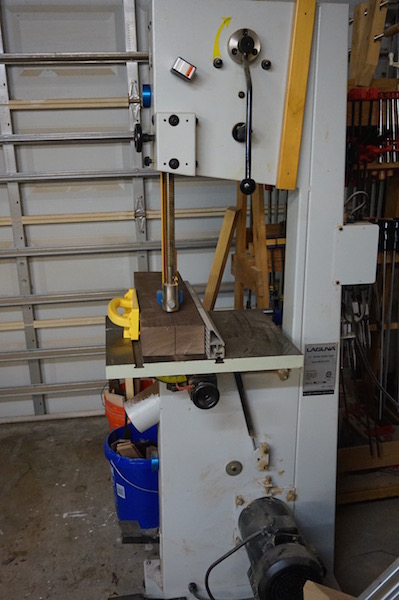
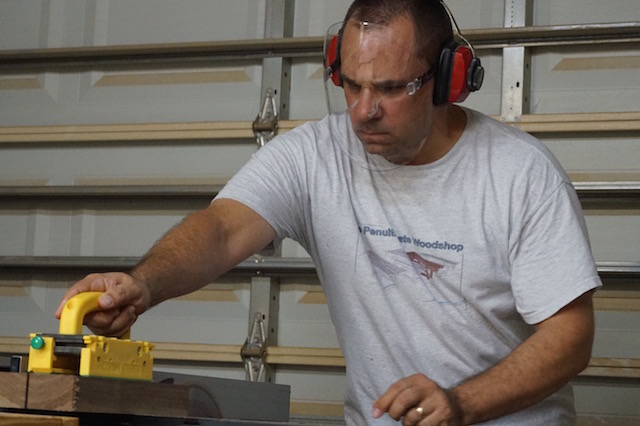
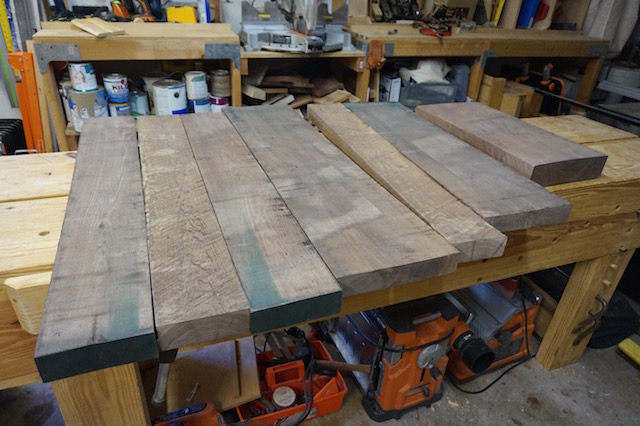
I first had to take a big chunk of walnut and turn it into four leg blanks. That was easy with my band saw. Using a MicroJig push block helped keep my hands safe, and the Infinity rip blades made resawing even 12/4 stock a breeze.
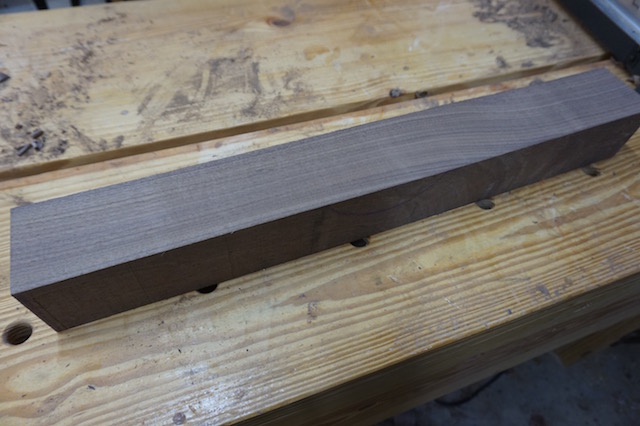
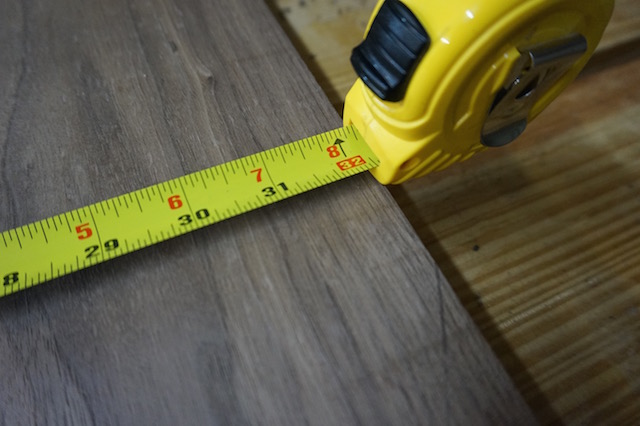
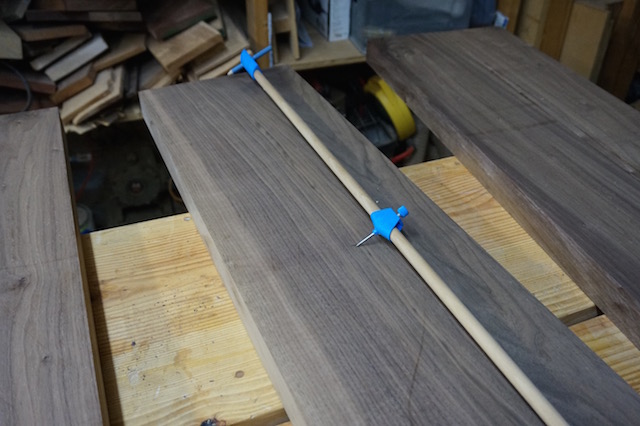
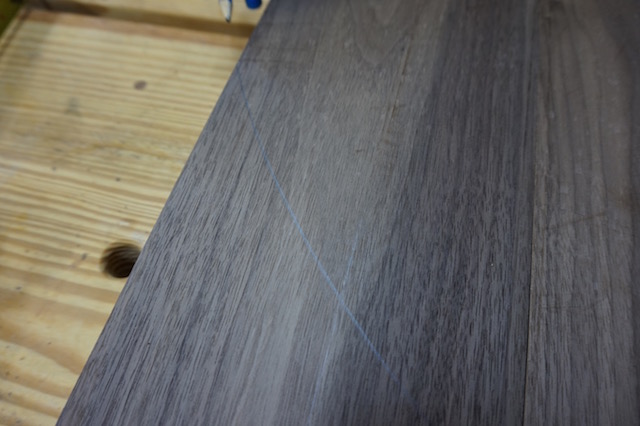
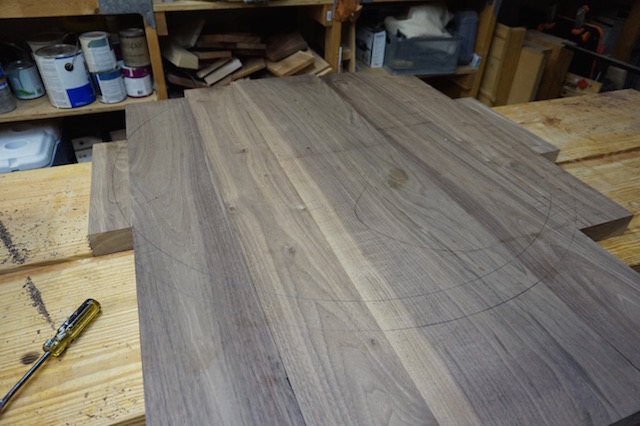
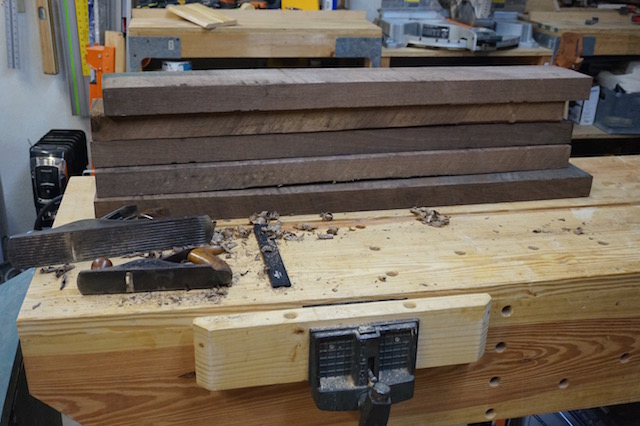
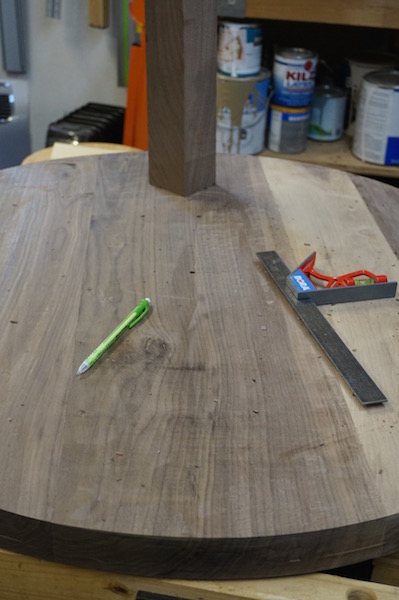
I mean, come on. This was high-quality stuff! It took very little time to make these roughed out blanks clean and ready to use as legs. The next step was to calculate where the legs were going to go on the bottom of the table. I struck lines across the center pivot mark I had used to cut the table top into a circle and calculated about how far in from the table’s edges I wanted those legs to go. That was easy – I settled on four inches.
From there, the part I assumed was going to be the toughest step was upon me. How was I going to get a five-degree splay on these beefy legs for the table? I mean, this is something I had never done…
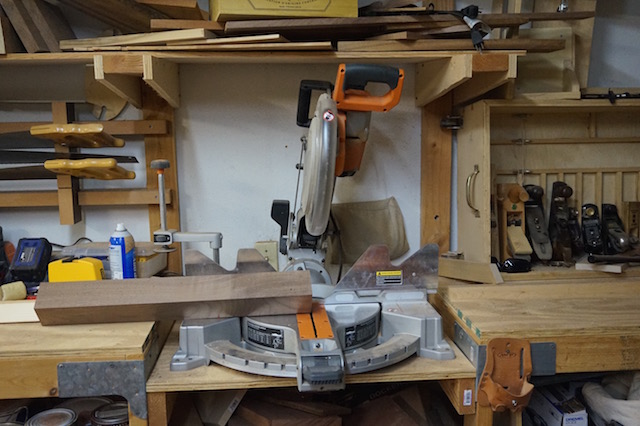
Wait, I have seen it done a lot. Think, Tom. All the times you watched Norm Abram, Scott Phillips, Tommy MacDonald, Marc Spagnuolo… they all had this down to a science. Instead of figuring out how to cut two separate angles, you rotate the workpiece so you only have to cut the angle once…
So, i tipped the saw five degrees from perpendicular…
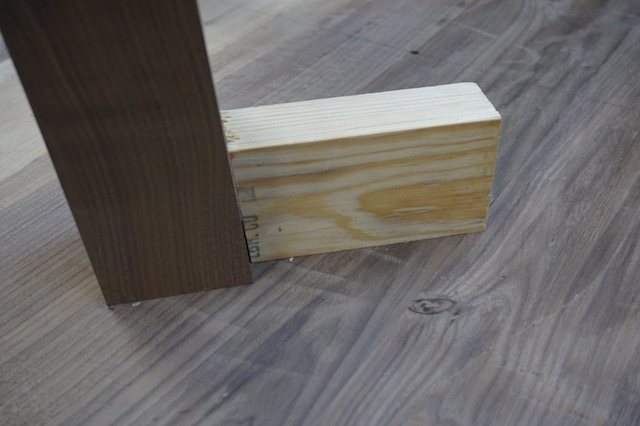
 And, in the scrap bucket, I found a piece of 2 x stock which I ripped with a 45 degree bevel for the workpiece to rest against …

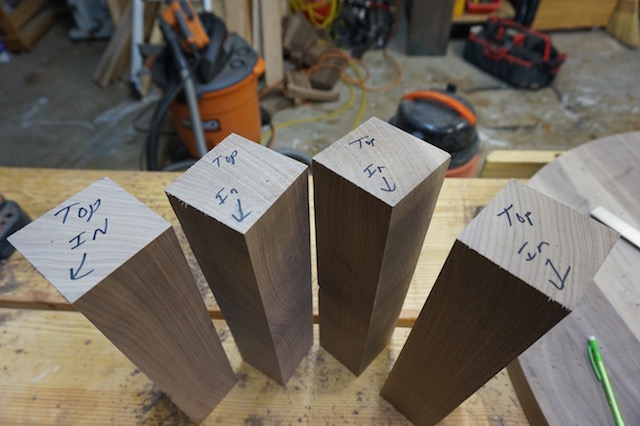
Then, I made the cut. Ta da! Like a champ. Once I made the cuts, I was sure to carefully mark which parts pointed where. With no marks on these babies, it would have been a very easy matter to get turned around.
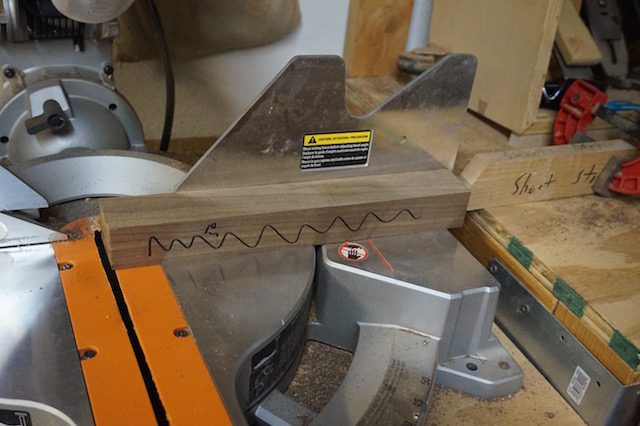
From there, I wanted to verify that the angle on the ends of each of the apron pieces was going to be five degrees. Again, back to the scrap bin, a quick saw reset and instant gratification. Exactly as I had suspected.
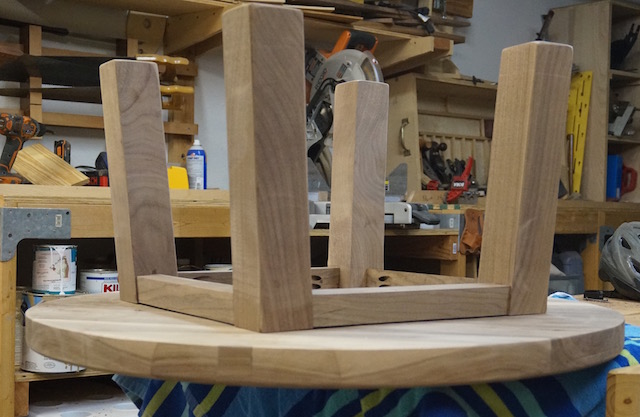
With things going this well, I continued to press my luck. I cut the aprons to their five degree angles, then marked out how long I needed them to be. Knowing that I wanted all four to be identical, I used a stop and made the cuts. Bingo. I also marked carefully where I knew I was going to need a five-degree bevel on the tops of the aprons. Just to keep things straight.
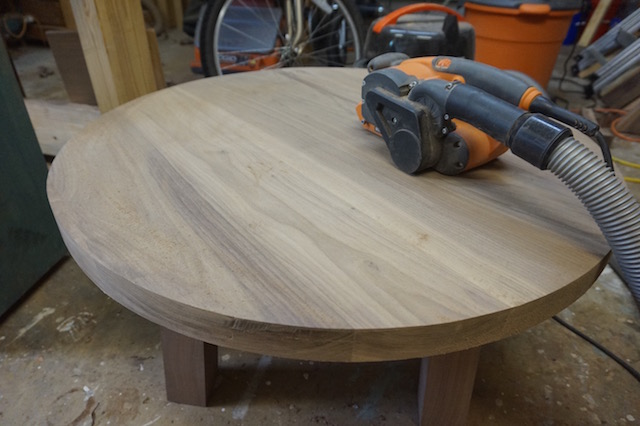
How was I going to attach the base? With Z-clips. Those little bent bits of metal screw into the underside of the table, and a tab fits into a little slot you can cut with a biscuit cutter. Four quick plunges later, and I had my top ready to go.
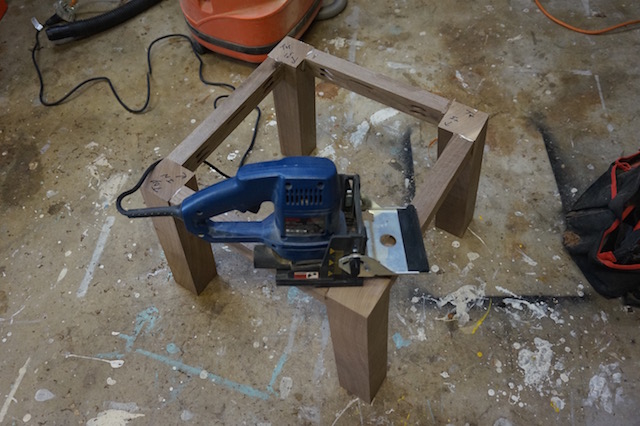
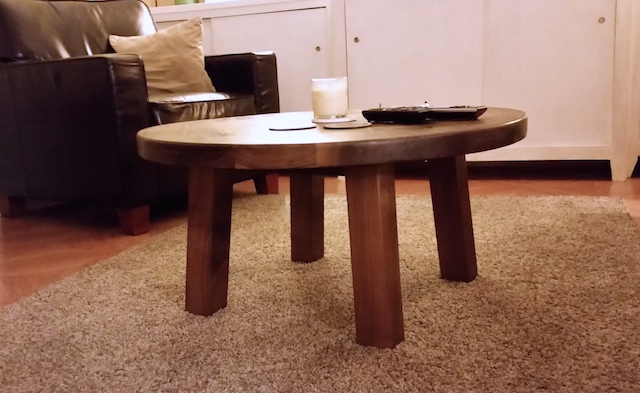
I carefully lined everything up, and screwed the base to the top. With just a little bit of effort, I wrestled the unfinished table into the living area and called everyone over to take a peek.

Sure, it’s a departure from what I normally build, but I think that it came out looking really nice in the space. Now, I just have to start sanding, rounding over edges and finishing, then the summer of coffee tables can come to a happy conclusion.