Link of the week

The Cutting Tools Blog

It’s always great to see a brand new blog being born into the Internet. And, when it’s the blog for one of my supporters, I have to let y’all know that it’s here!

The Infinity blog header

David Venditto has launched the Infinity Cutting Tools blog, and the timing on this is pretty interesting. He is fitting out the woodworking shop in his warehouse, and the first few blog posts are going to be about how the shop is getting set up.   Follow along and see how the shop – and the classes that are taught there – progress.

(Sorry this is a day late … When I woke up yesterday, I was sick enough to have to go to the doctor. Bronchitis… again… the second time this year. Total bummer…)


Fast Fingers Iggy

Hey, everyone. Iggy here. Try as I might, I always have a hard time trying to get that big galoot Tom to learn new tricks. He must be an old dog, because it’s very difficult to do that, but I’m not deterred.

For instance, this coming Thursday, the Tampa Woodworkers Guild has asked me to cross Tampa Bay to come out to their meeting to show them how to cut some corner joints. I know they are pretty talented woodworkers, so I’m going to have my hands full trying to wow the crowd while keeping my interesting partner from embarrassing me. In fact, the only reason that Tom is coming along is because his legs are long enough to reach the pedals on his car. Otherwise, I’d give him a gift card to the movies and tell him to keep out of my hair.

One of the corner joints I want to cut is the box joint. Now, I know that Tom likes to cut his on the table saw using a dado blade and a jig he clamps to his miter fence.

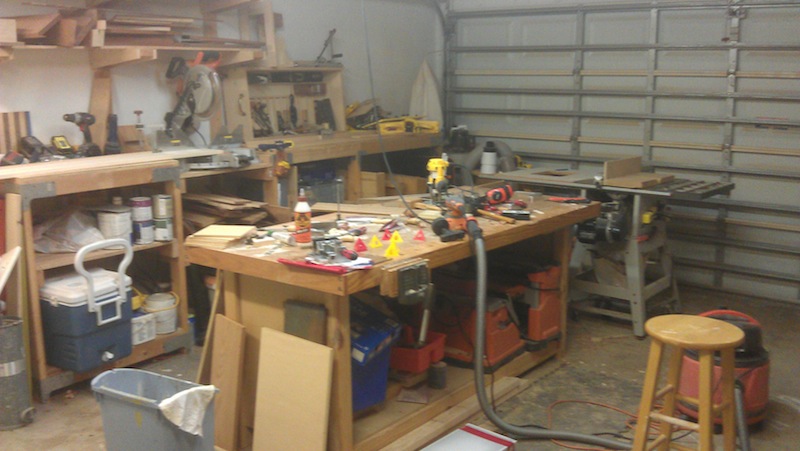
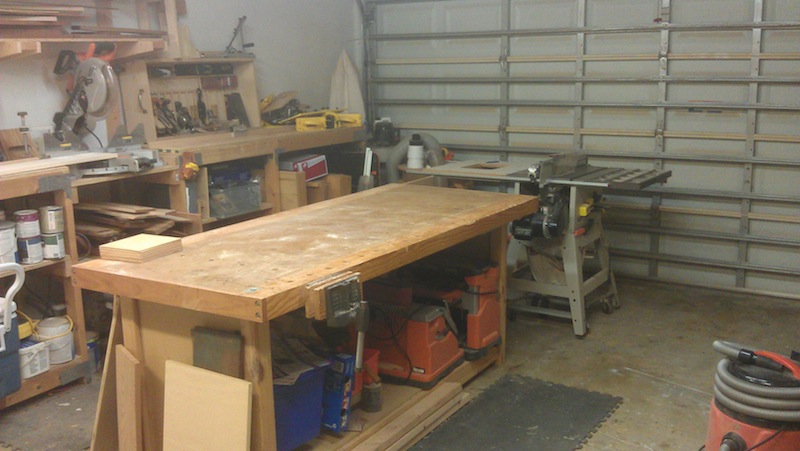
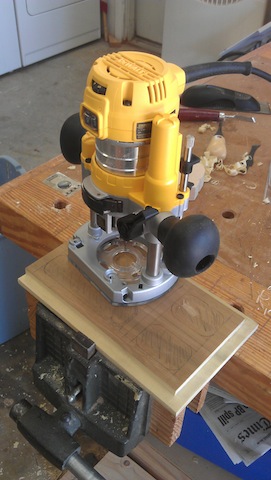
Me, I’m just a little different. I like to do mine on the router table.  Now, when it comes to router tables, I have to thank my good friend David Venditto over at Infinity Cutting Tools. The one he gave Tom last year is a real joy to use… It has lots of track on it, allows for some precision work and the Triton router is totally kicking. Having a great router table makes work so much easier.

The New Router Table

My preference for a box joint jig would be something that attaches to a miter fence or even a router bit that cuts the comb for finer finger joints, but I’m stuck with this model that Tom bought years ago at a woodworking show.  But, hey, you gotta work with what you gotta work with. It’s serviceable for sure, and I’m going to make it work.  It’s set for a 3/8″ finger, so I obviously need to get a 3/8″ bit to work on this setup.

Tom's box joint jig...

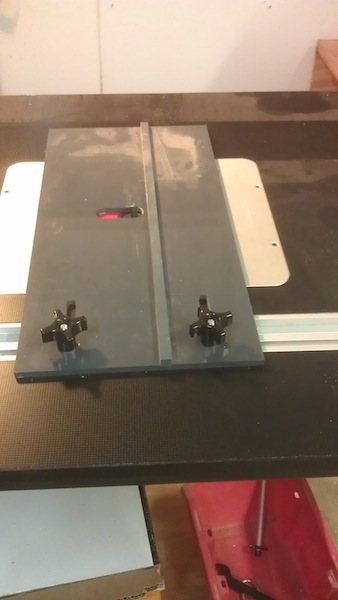
The first thing you have to set up is a spacer to get an exact 3/8″ space between the bit and the rail. So, I broke out the set up blocks Tom has hidden in a drawer, and I set the distance by feel. Right on the monkey… ooops, I mean money.   From there, I took a scrap of wood, set it against the strip that is on the jig, and ran it through. This piece will work as my spacer.

The spacer ready to go

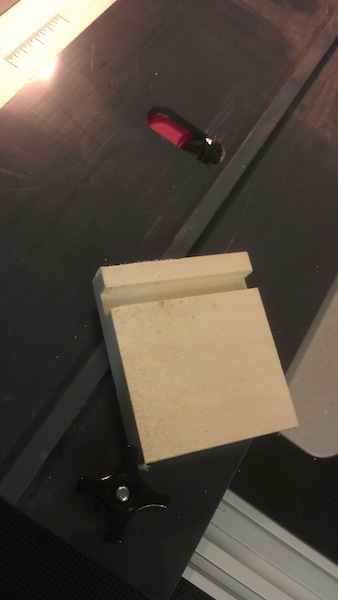
Just throw it over the strip and bingo, bango, you are there.

The spacer in place

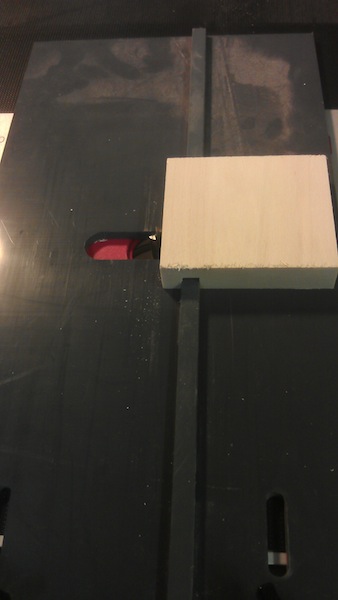
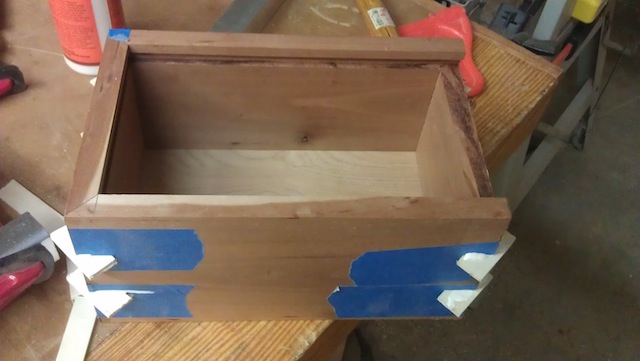
Simply run the first piece through the router bit to cut the first notch, and then remove the spacer. Butt that piece and it’s mating piece against the strip, and start making your cuts. It makes it easier to hold everything vertical if you build a little jig out of scrap wood… Really easy to do.

Scrap wood jig

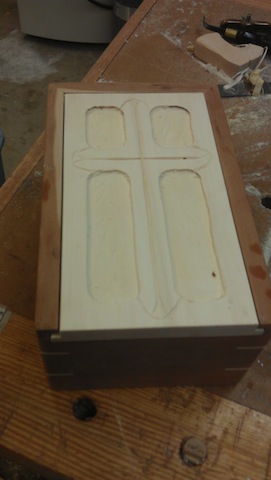
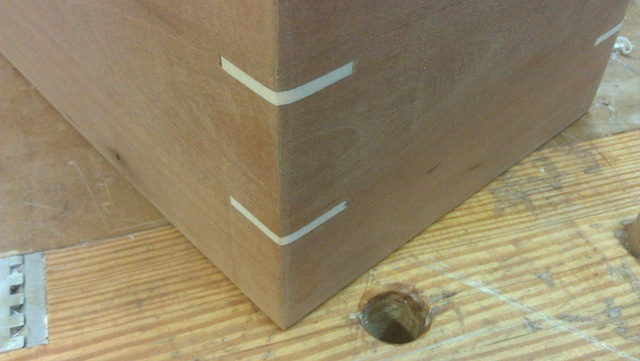
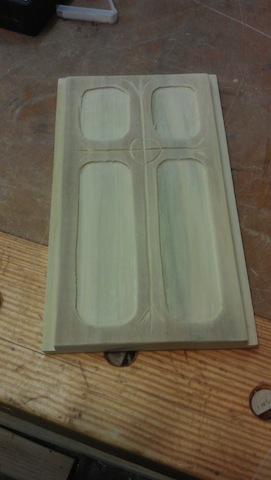
Take those boards all the way to the end, and what are you left with? A sweet set of notches that mate together beautifully, creating a very tight, sturdy joint.

The finished joint

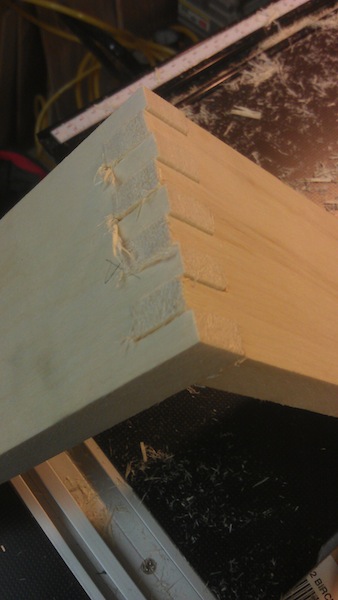
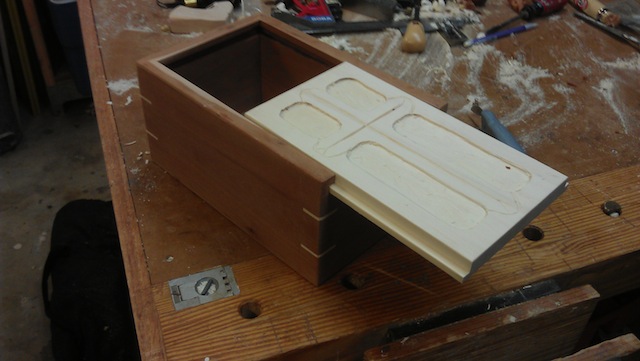
This alder is a little splintery, but a little sanding on this baby, and we’re ready for the finish.

Now, maybe I can have Tom carry my tools and sit – quietly – in the corner.


One project ends, a new one readies…

Well, it had to happen.  The Confirmation box was finished just in the nick of time, and she and my youngest son Steven flew to Baltimore to deliver it to my niece Katie. After the big ceremony, everyone went back to the house for a big party. That’s where Rhonda presented the box to Katie.  I’m gonna go out on a limb here and say she dug it.

Rhonda and Katie admiring the box

While they were gone, I had a list of to-do’s that was about as long as my arm.  I had to paint a few walls, grocery shop, laundry, drive my oldest son Dominic to two day-long events, coach basketball… well, it was crazy.

But, I had another job to tackle.  You can imagine what it was…

Carving leaves a mess

Yeah, wood carving leaves a big mess.  I mean, seriously. It seemed as if all of my carving tools, sanders, glue bottles.. the works were out on the bench. And, all of it was covered in sawdust, wood shavings and plane curls. The works.

So, I had to spend a little bit of time to get the place back in order.  Surprisingly, this enormous mess took less time than I thought to get whipped into shape. All of the planes went back in the till, the carving tools into the drawer, the finishing supplies back into the cabinet. As I went along, I can remember my many firsts on this project. I can remember how I thought there was no way I was going to get this done. And, the satisfaction of getting the project done in time.  This was going to be a project that I was going to remember for a while.

And, suddenly, it was done. That unbelievably daunting clean up task was complete in no time, and the shop was back in ship-shape.

A clean shop is ready to go

Now, it’s prepared for the next project… and the memories it is going to bring.

Quick Poll

Getting involved in electronics can be tricky business.  Every time a new technology is invented, processor speed increased or new storage medium is heralded as the next great thing, your computer, stereo or television is one step closer to needing to be upgraded.

Old woodworking tools are sweet!

Fortunately, this isn’t the case when it comes to woodworking tools.  Power tools built in the 1950′s still slice through lumber and planes and chisels more than a century old still slice and dice joinery as well as they day they were made.  And, they can still do their work despite the fact that many of these babies sat languishing in some cellar or out building for decades before being brought back to life.

This week, let us know how old the oldest tool is in your collection.  Power or hand tool – it doesn’t matter. The one caveat is that the tool still has to do work for you in a your shop – no living room display case models are allowed.


Link of the week

The PlyPi

Remember my friend Paul – the guy we built a home office for? He recently told my son Dominic – a computer wiz – about the Raspberry Pi. It’s a chip-based computer from Great Britain that costs all of $25, yet can do some tremendously cool things.

The PlyPi case

The problem with these computers?  They come just as a chipset with some connections. Kind of vulnerable. Kind of clunky.  So, one of the things that proud Pi owners do is build their own cases.  Some tuck these babies into the chassis of old Commodore 64s. Others in Lego cases. And, some build them out of wood.

This post from the blog Single Lens Reflections shows how the site’s administrator build a Pi case from some plywood. It’s elegant. It’s protective. And, it’s made out of wood. What’s there not to like?

Just do a quick Internet search to see some wild Raspberry Pi cases built by others.


Stuff I’ve Built: Katie’s Carved Confirmation Container

OK, so I like to alliterate… what’s it to you?

Anyway, on Monday, I showed you a little bit about what I was working on for my niece Katie’s Confirmation.  It’s coming up this weekend.. so there’s no pressure to get anything done, right?

Looking for a  new lid to carve, I decided to head to the local home improvement center. It was the only place that was open that had any sort of cabinet grade woods, and I picked up a piece of aspen.  Interesting stuff, that aspen. The piece I got was super white, with a very subdued grain pattern. I also took some time to try carving it… and it worked well!  OK, that was going to be my new lid. So, I measured out the lid, cut it to size and marked my new design on it.

IMAG1050

Again, I went back to my trusty trim router to tackle the bulk of the material removal. The more I use that tiny router, the more I appreciate that I bought it. I also appreciate the help of David Venditto over at Infinity Cutting Tools for helping me select the right bit.  That was the winner.

IMAG1054

With the piece all routed out, I tried my hand at carving.  Not sure how well I did, but you know what, for a first real crack at it, I think I did fairly well.  Yes, I have to work on carving curves, but this is definitely a step in the right direction.

The spline jig set up on the saw

As for the box itself, it was a very simple design I built out of cherry for a nice contrast. A four-cornered mitered box with splines to help hold things together.  I really love my spline jig – it couldn’t be easier. It’s a 2 x 10 I fished out of the scrap barrel at the nearby home improvement place, crosscut it at a 45 degree bevel, and flipped the pieces so I ended up with a 90 degree cradle. I screwed both pieces to a piece of half inch plywood that runs against the rip fence.  I simply raised the blade until it cut as deeply as I wanted it to, then cut some aspen stock into the cherry box sides and glued the pieces into place.

The splines glued in, waiting for a trim

Once the glue dried, it was a simple matter to use a flush cut saw and some sandpaper to get everything where I wanted it to be.  I dunno, it’s a pretty sweet looking detail that makes the piece stronger. That’s good in my book!

Spline close up

From there, I still have to sand and finish the piece – no later than Thursday night – or it won’t dry in time for the big event.  But, judging on the progress I have made so far, I’d say I was well on my way to completion.

The box, lid opened

And, hopefully, another happy niece!


The first slice

My niece Katie – she also happens to be my Goddaughter – is having her Confirmation into the Catholic Church this upcoming weekend.  This is a big event in her life, and I know that if Rhonda and I were going to give her a gift to commemorate this event, it was going to have to be special.

Hmmm… how about my first carved project?  Yeah, that sounds about right.  After all, it will take a true leap of faith to believe I can do this.. in time to have it ready to go for this weekend.

So, I took out a poplar board (figuring that hey, poplar is pretty good for practice) and laid out a kind of cross design in pencil. I used a ruler and a quarter to draw straight lines and curves so there wouldn’t be any right angles… I wanted this design to swoop. Once I marked everything out, I used a carving knife to score the outline to ensure there wouldn’t be any splintering when I got to the edges.

IMAG1042

Once I got everything laid and cut out, I secured it in my vise to get ready for the excavation. I used the built-in dog on the vise and a bench dog from the folks at Time Warp Tools to pinch the board where it had to stay. My initial plans were to do everything by hand, but, you know what?  I have this brand new DeWalt trim router that hasn’t yet seen any true shop time. It was time for that baby to come out and play.

The router ready to fly

I was using a down spiral 1/8″ carbide bit, and I took my time to carefully excavate the areas on the design.  It took a very steady hand, but the tool was very well behaved, and in about half an hour I had hollowed out the four quadrants of this cross design. Boy, was I happy to see that I hadn’t messed things up too much.  The next step?  Break out some classic carving tools to put some embellishments on the project.

More traditional carving tools

The knife came out again in cooperation with my bench chisel to clean up any issues with the edges. With a VERY sharp edge, these things cut like nobody’s business, and before you knew it, I was ready to have a little fun.  I had gotten a set of Flexcut carving tools for Father’s Day two years ago, but other than playing with them, I have never really used them for a project.  That was about to change.

The more embellished surface

I really love the v-tool that comes with the interchangeable handle. I was able to play a little bit with the layout lines and try to accentuate things.  I dunno, for a first crack , I think it came out looking OK. Now, it’s time to finish the box the lid is going to fit into, and cut the real lid out of some flame birch I have lying around.  I think I can have this done so it won’t stick to the inside of the wrapping.

part of the Wood Talk Online community