Hey, everyone. Iggy here. Try as I might, I always have a hard time trying to get that big galoot Tom to learn new tricks. He must be an old dog, because it’s very difficult to do that, but I’m not deterred.
For instance, this coming Thursday, the Tampa Woodworkers Guild has asked me to cross Tampa Bay to come out to their meeting to show them how to cut some corner joints. I know they are pretty talented woodworkers, so I’m going to have my hands full trying to wow the crowd while keeping my interesting partner from embarrassing me. In fact, the only reason that Tom is coming along is because his legs are long enough to reach the pedals on his car. Otherwise, I’d give him a gift card to the movies and tell him to keep out of my hair.
One of the corner joints I want to cut is the box joint. Now, I know that Tom likes to cut his on the table saw using a dado blade and a jig he clamps to his miter fence.
Me, I’m just a little different. I like to do mine on the router table. Now, when it comes to router tables, I have to thank my good friend David Venditto over at Infinity Cutting Tools. The one he gave Tom last year is a real joy to use… It has lots of track on it, allows for some precision work and the Triton router is totally kicking. Having a great router table makes work so much easier.
My preference for a box joint jig would be something that attaches to a miter fence or even a router bit that cuts the comb for finer finger joints, but I’m stuck with this model that Tom bought years ago at a woodworking show. But, hey, you gotta work with what you gotta work with. It’s serviceable for sure, and I’m going to make it work. It’s set for a 3/8″ finger, so I obviously need to get a 3/8″ bit to work on this setup.
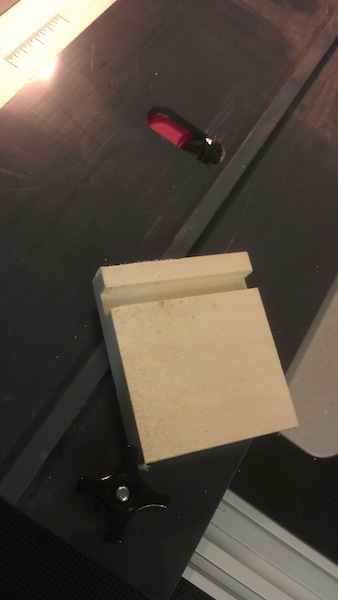
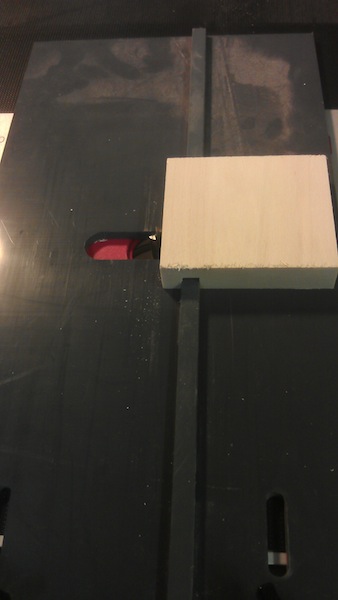
The first thing you have to set up is a spacer to get an exact 3/8″ space between the bit and the rail. So, I broke out the set up blocks Tom has hidden in a drawer, and I set the distance by feel. Right on the monkey… ooops, I mean money. From there, I took a scrap of wood, set it against the strip that is on the jig, and ran it through. This piece will work as my spacer.
Just throw it over the strip and bingo, bango, you are there.
Simply run the first piece through the router bit to cut the first notch, and then remove the spacer. Butt that piece and it’s mating piece against the strip, and start making your cuts. It makes it easier to hold everything vertical if you build a little jig out of scrap wood… Really easy to do.
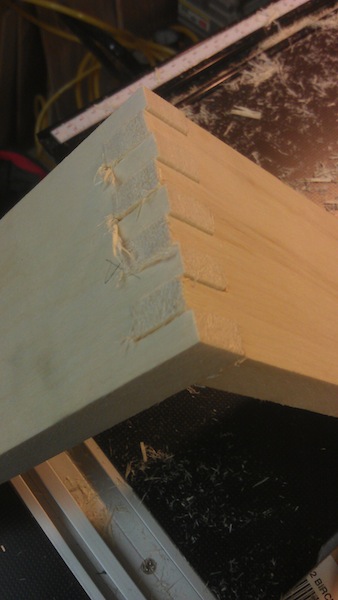
Take those boards all the way to the end, and what are you left with? A sweet set of notches that mate together beautifully, creating a very tight, sturdy joint.
This alder is a little splintery, but a little sanding on this baby, and we’re ready for the finish.
Now, maybe I can have Tom carry my tools and sit – quietly – in the corner.


Good luck Iggy.
(In your presentation, AND in keeping Tom in line !)
I think one of those Infinity Cutting Tools router table finger joint jigs is going on my Christmas wish list.