Growing up, I couldn’t help but notice that my mom kept a fastidiously clean home. I mean, the floors were cleaner than some restaurant plates I have eaten from. Beds were made, everything was dusted and I feared for any dirt that made it into the home.
Mom also had a pair of housekeeping annual events – spring cleaning and fall cleaning. I’m sure most of you know about spring cleaning, but to her, the fall cleaning was even more important. After all, we were about to close the house up for the next six months, so it had better be clean!
 While our home is kept tidy, Rhonda and I don’t set big annual clean up days. But, in the shop, you bet I do. Fall cleaning is a tradition in my shop, just before I get to the most productive time of the year in my shop. Think about it – all summer, I would drag myself out into the very hot shop, trying to get work done as fast as possible, before the heat gets to me. So, there are some routine maintenance things that I tend to put off in the name of getting the projects done.
But, with the summer heat losing its grip, the time came to do a little work in the shop. Some of the tasks I tackle include treating all of the cast iron tops, cleaning bits and blades and ensuring that everything is organized where it needs to be.
That’s why I was intrigued when my friends at Bora Tools told me about some of their new shop maintenance products and sent me a box to check out.
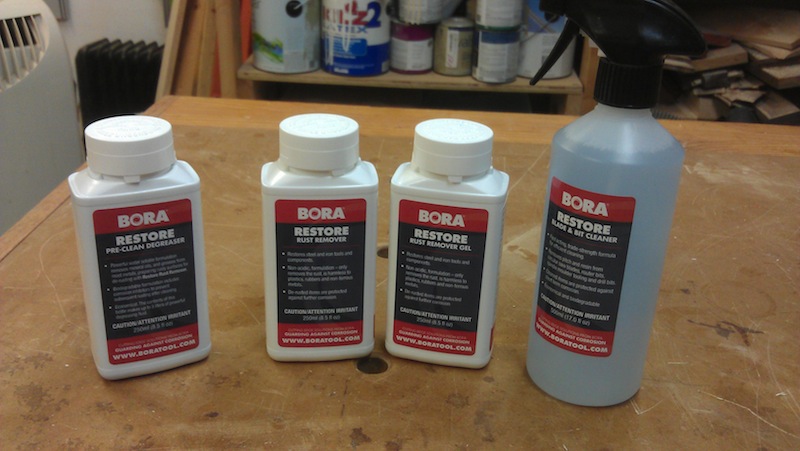 I had heard about products like these, but never had the need to pull the trigger. But, with the old beat-up hand planes I have scrubbed clean, the pre-clean degreaser, and the two rust removing products will come in handy the next time I get my hands on one. And, who can’t do with a good blade and bit cleaner?
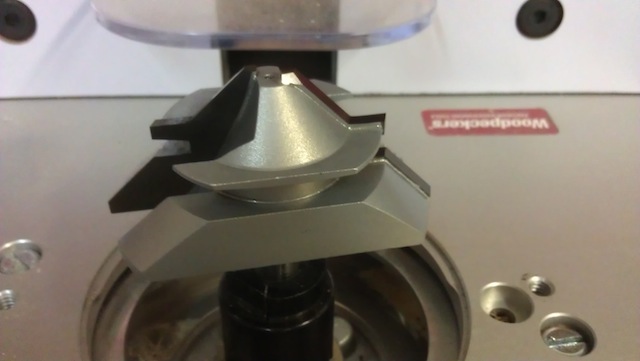
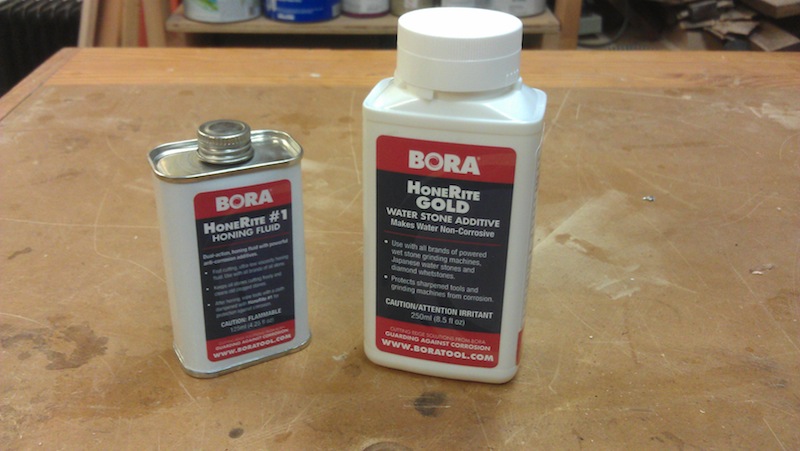 They also have some honing products. The small metal can is honing fluid for oilstones. I do have one with a very fine surface, so I’m looking forward to using this. The larger bottle is an additive to add to water stones and water grinders like my Tormek. I’ll give those babies a shot later.
 And, once you get everything nice and clean, it’s important to protect those surfaces. The kit contained a wipe-on metal protectant, a container of protective wax and three moisture absorbing disks. These will definitely come in handy.
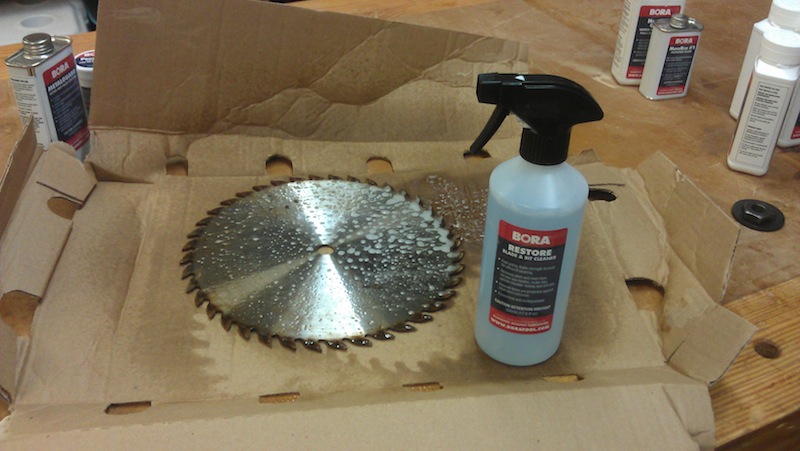 This weekend, I figured I should start with my table saw. So, I took the splitter, throat plate and blade out. I thoroughly vacuumed the inside of the saw’s body out, and then got to work on the blade. I sprayed the cleaner on to the blade as it sat on a piece of cardboard. I waited the requisite five minutes, and blammo…
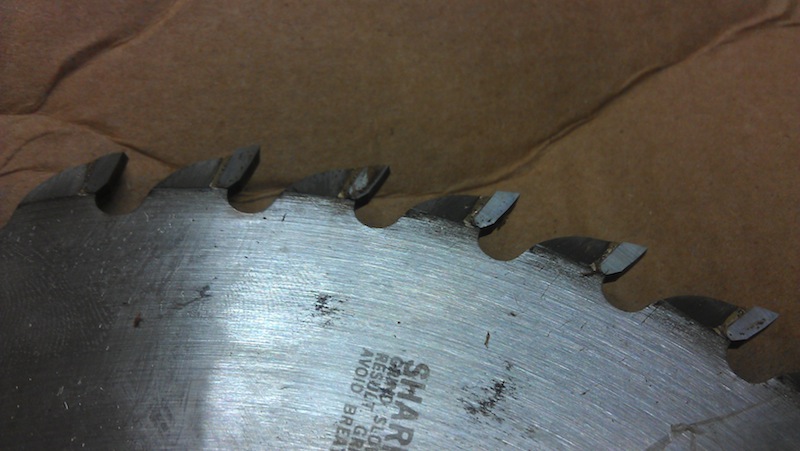 The blade cleaner worked very well, with the accumulated gunk simply wiped off with no scrubbing. You can see the difference between the leftmost dirty teeth and the rightmost clean ones.
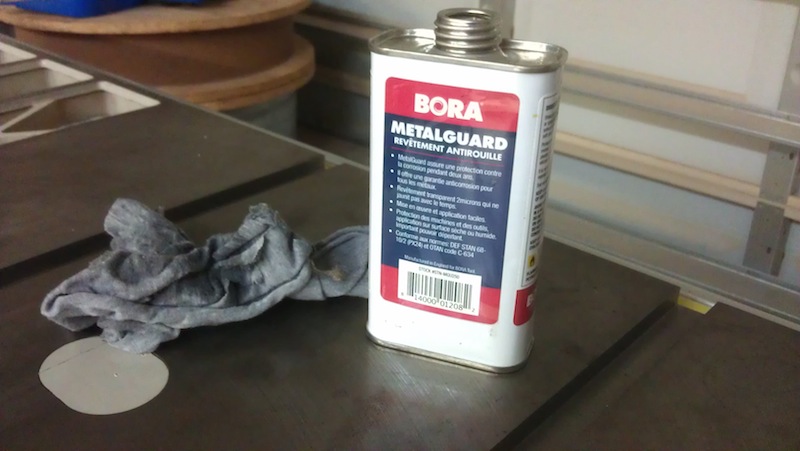 Here in Florida, we are always dealing with rust. It’s a hazard that comes with living in a subtropical environment. With the saw’s table exposed, I wiped it down with some mineral spirits, which cleaned off the old layer of paste wax I had applied, and then wiped on a coating of the anti-rust product. It made the surface of the saw very slick, and I’m looking forward to more rust-free service from my decade old saw.
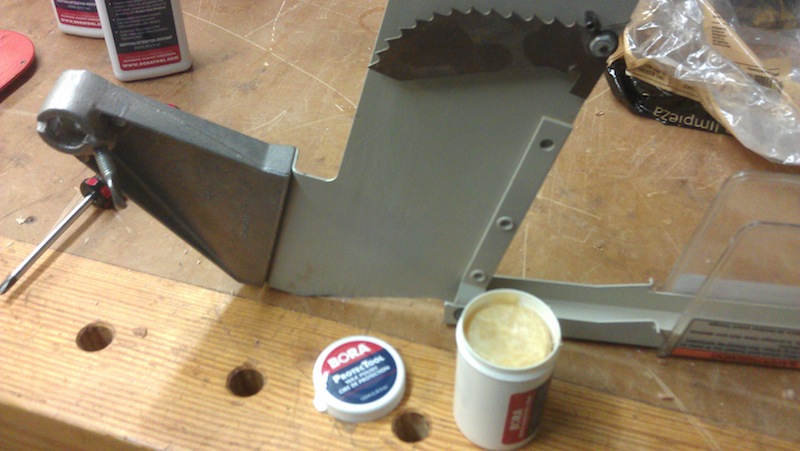 While I was at it, I took the opportunity to use the wax product to coat the splitter, fence rails and the body of the rip fence to ensure more effortless gliding. I checked everything after I reinstalled it, and the saw is ready for its next project.
I still have some more cleaning to do around the shop, but I think this was a very important first step in getting the shop ready for the busy fall projects.