
Well, Sydney’s medal and ribbon rack has made it safely across the country, and Kevin is planning on giving it to her this weekend. I can’t wait to see how she reacts when she sees it.
One thing I did before I sent it was ask Kevin if it was OK to sign the piece. I always ask if that would be OK, because I don’t want to presume that customers want me to sign the piece.
In the past, I used to use a branding iron to sign my pieces. That was great, but I always had issues getting a good brand. I never knew when the iron was hot enough to lay in the brand, and I was never comfortable burning a plumber’s torch in my shop.
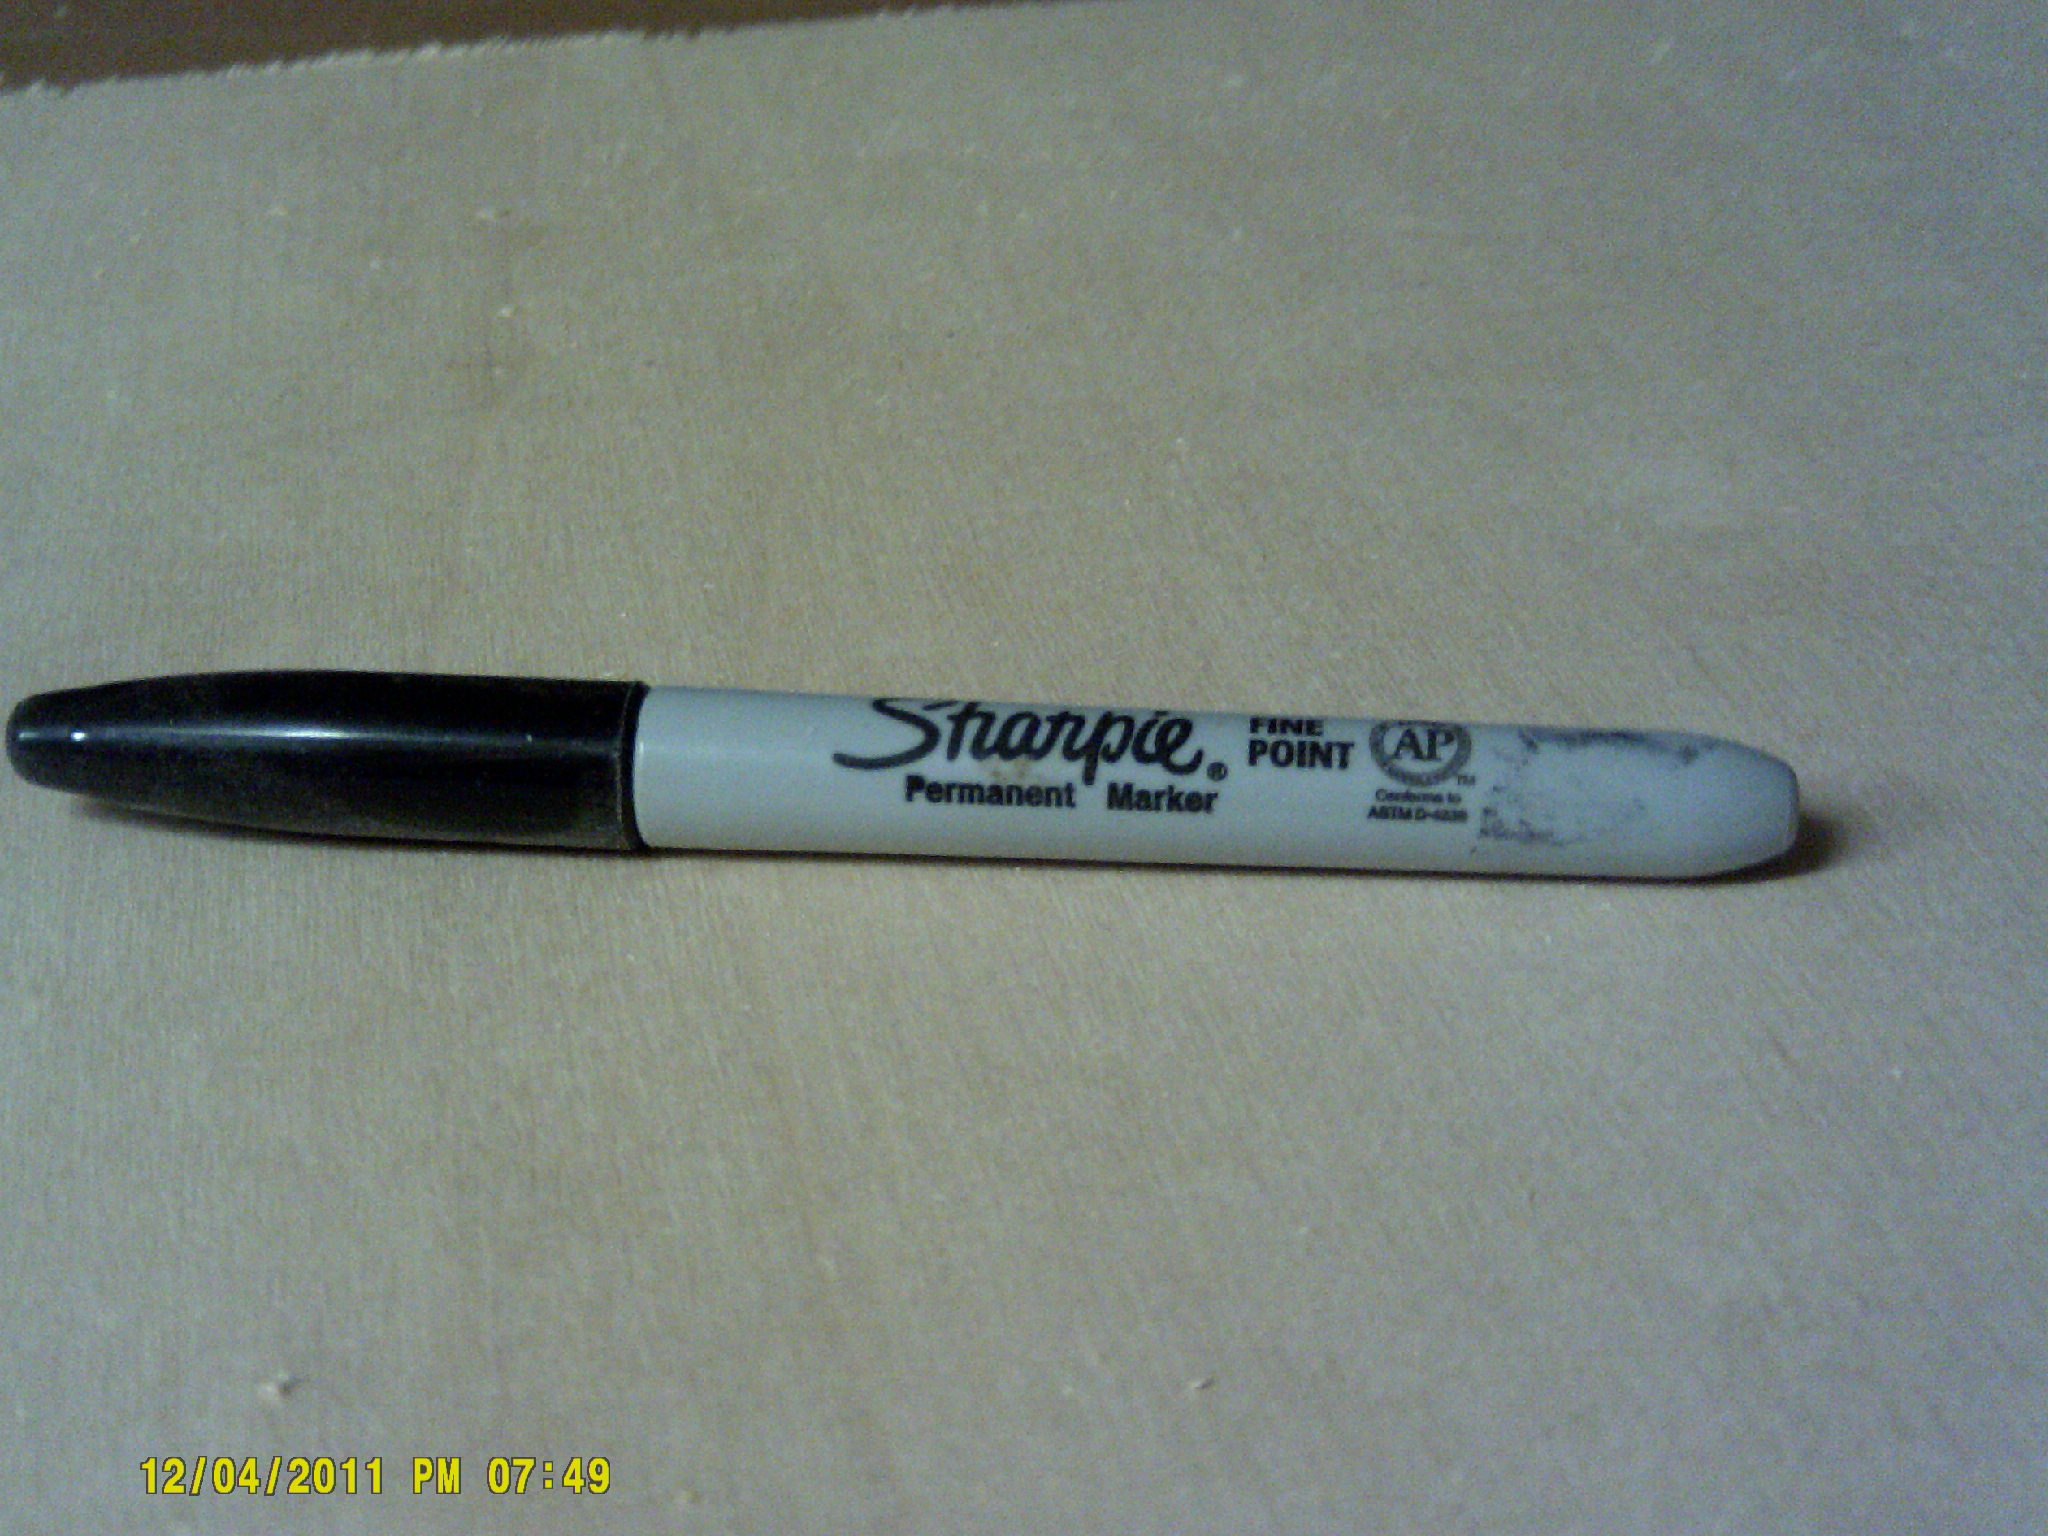
The other thing I have done is to just sign the piece with a Sharpie marker. I have written some nice messages to my friends on their pieces, and I always try to put a little flourish on pieces with my name. Dating the piece is also a great idea, so people will know when things were built.
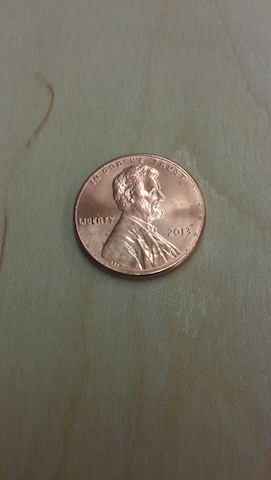 One thing I also discovered a few years ago was a set of coin-sized forstner bits. The penny sized bit looked pretty cool, so I ordered it. And, when I find some bright, shiny pennies from the current year, I put them aside to insert into my projects. I recently got this one in change from the purchase of my lunch, so it was kept aside for the project.
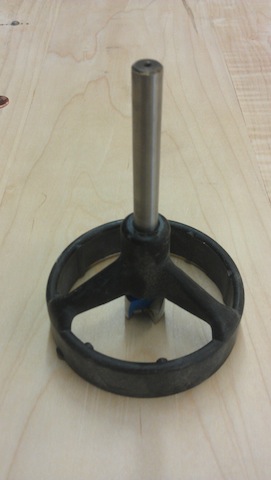 Drilling the hole was easy with the special jig that the bit came with. It was a simple matter of putting the shaft of the bit through the jig hole, chucking it into the drill and doing the deed. There is no depth stop with the setup, and I know that coins are not very thick, so I went very shallow with the bit at first. I had to deepen it a bit after my first attempt, but it was easy to register the bit with the rim of the hole I had bored.
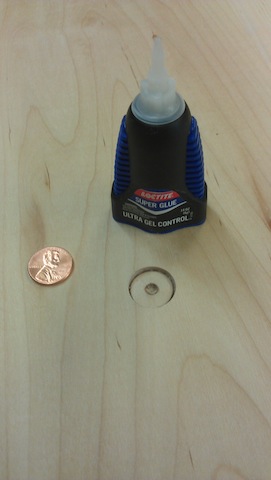 The result was a nice, clean hole exactly the size of the penny, so I knew I was going to have one shot to get this in. A few drops of CA glue went in first, and then I pushed the penny in, aligning Lincoln’s head with the orientation of the project.
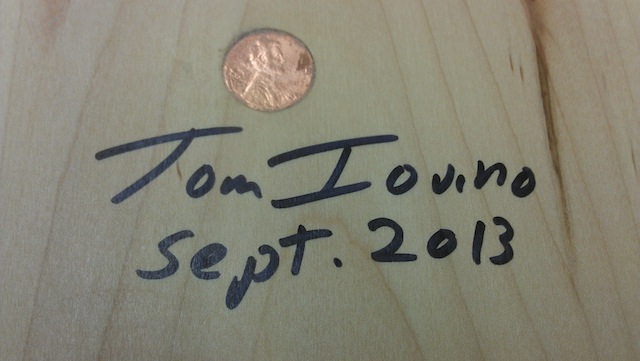 There. The penny is in place, my name is signed and the piece is dated. Hopefully, she will like the final result!
Put a stop collar on the bit shank and you can drill the correct depth every time.
I always sign and date all of my projects.
I like to do it before final assembly in what is going to be a very inconspicuous place and try to do it in such a way that if it is ever seen a person would wonder how anyone could write there. 🙂
I usually use a heavy, dark leaded pencil or a sharpy like you do.
Rog
Tom,
Nice touch to include a shiny penny from the same year. Do you feel it’s redundant to sign the year, too? Smart jig to drill the hole for the penny, though a depth stop would be useful.
Chris
The penny idea is fantastic. I will surely take inspiration from it (read: steal).
Chris, I didn’t see it as redundant… It just flowed…
Who made the coin-sized forstner bits?
I seem to recall picking that one up from Rockler…
Peachtree has them, with a depth stop (Scroll a long way down the page): http://www.ptreeusa.com/forstner_bit_sets.htm