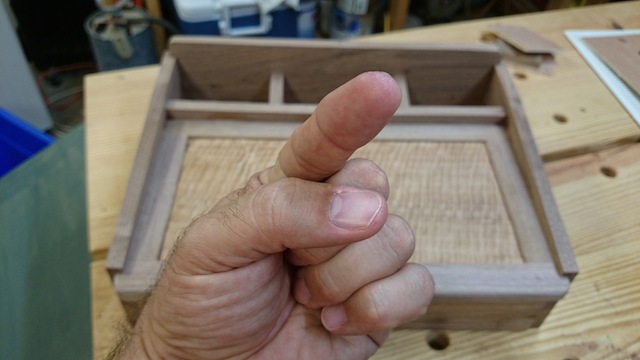
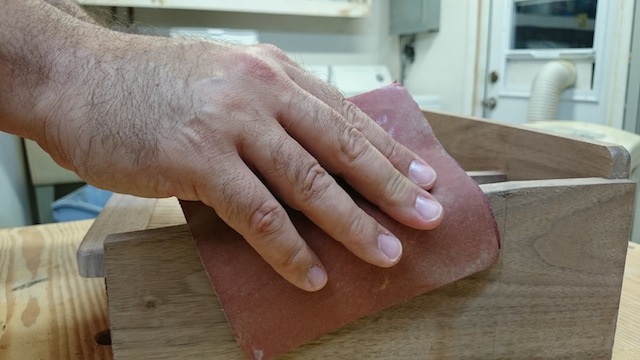
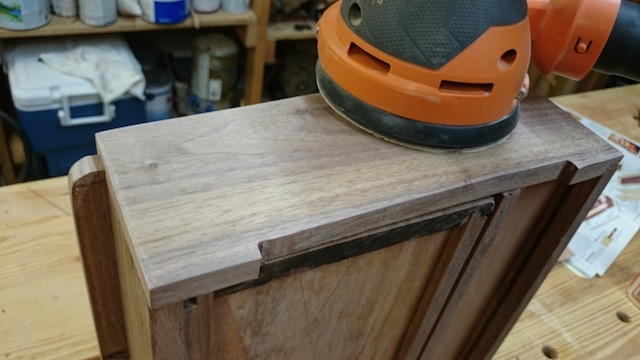
After much hand-wringing and many side projects, I am pleased to report that the summer of coffee tables is quickly coming to a close. With construction done and sanding complete, it’s time to turn my attention to how I plan on finishing the piece. Of course, before I started working on the finish, it was only appropriate that I take my favorite youngest son out for breakfast, the most important meal of the day.

From there, we came back to the shop, and tried to figure out the best way to apply the basecoat of shellac for the rude-and-crude finishing method. The top was going to be easy, as it was just flat. However, the base was going to be a little intricate, it’s still hot here in Florida and there were football games to watch. What was I going to do?
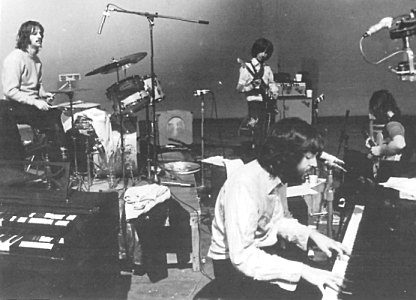
I took my cue from a John Lennon composition from the Beatle’s 1968 masterwork known as the White Album – Happiness is a Warm Gun. Actually, Happiness is an Air Gun in my shop – and HVLP gun to be exact.
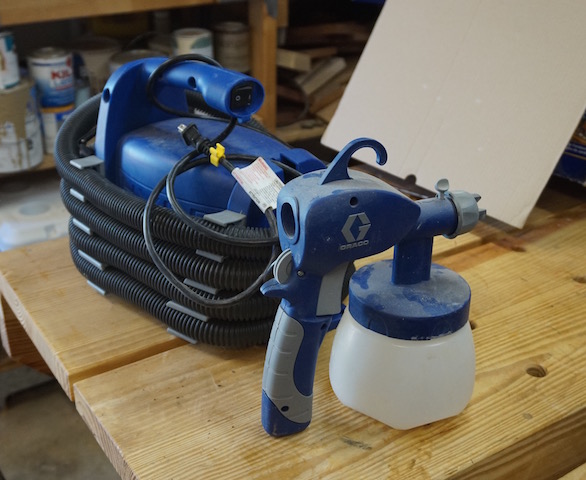
Yes, I have been holding out on you guys for a while. Even on myself. A few years ago, I bought this HVLP system. It was cheap, and I thought it could get me into the wonderful world of HVLP spraying. And, for a few projects, it has. But, for some reason, I can’t bring myself to use it on every project with different materials. I have sprayed shellac, but I hesitate to spray anything else because, well, it doesn’t have really fine control. Maybe it’s just operator error, but for the shellac basecoat, it’s a winner.
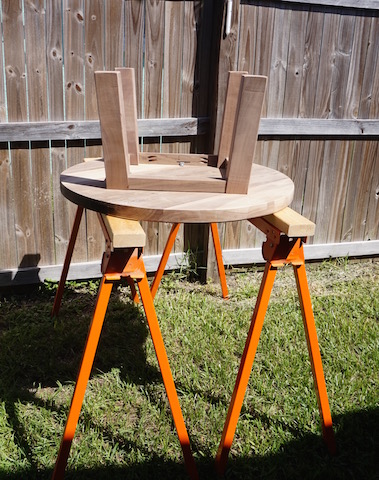
So, I popped open a few Portamate saw horses and moved the table out to the side yard for a little work. I popped it face down on the sawhorses so I could do the base first, and got the gun ready.
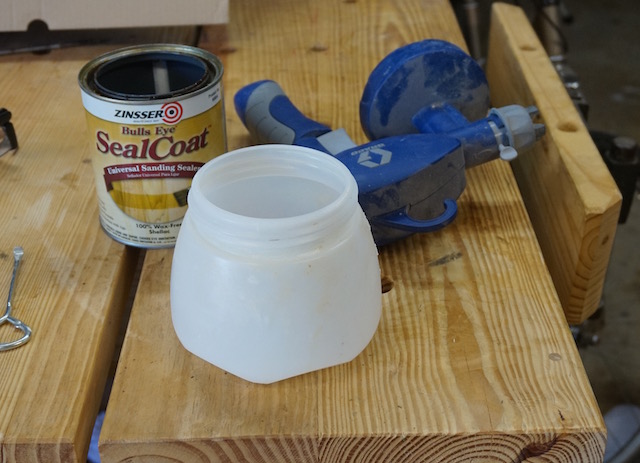
It’s actually a simple system, with the only real prep being to pour the finish into the finishing cup and screwing the business end onto the top of the cup. OK, that’s pretty easy…

From there, I plugged in the system and started up what basically is a small shop vac that blows the air through the system. I closed my eyes, pulled the trigger and started sending the finish onto the piece.
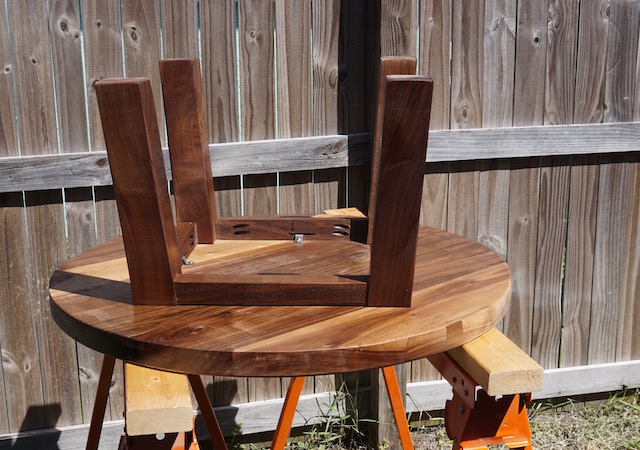
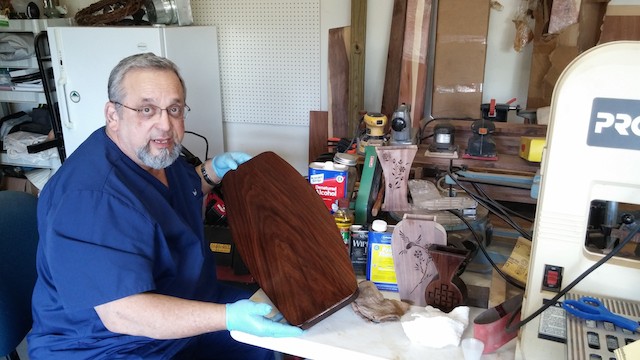
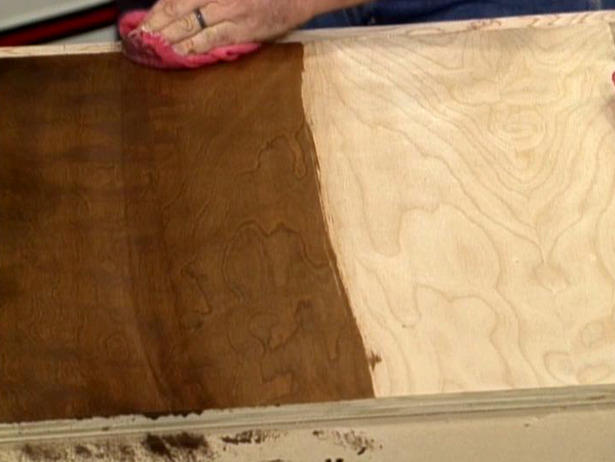
Holy smokes, how fast could that be? I mean, the entire base – with all of the angles, edges and such was covered in less than two minutes. A fairly decent coat, too, with just a few boo boos… nothing that can’t be sanded out when i get to that step of flattening out the undercoat with some 320 paper.
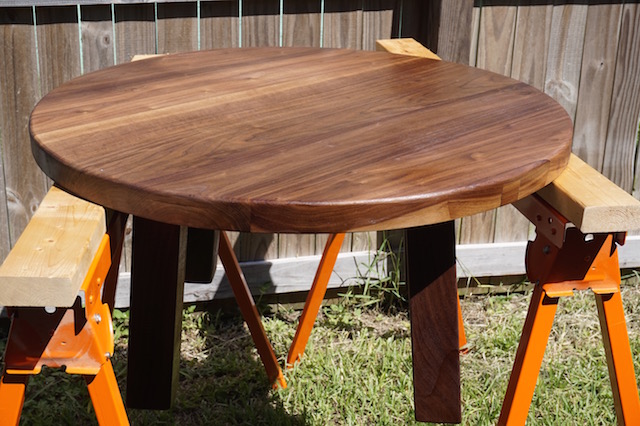
A quick flip over and I was spraying on the top. A really nice looking coat.
Clean up was easy by running some denatured alcohol through the gun, followed by hot water.
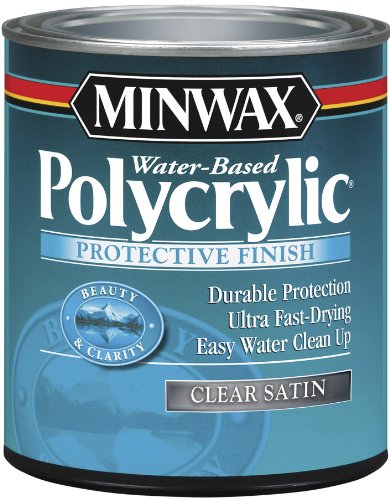
Now, I have to let the shellac cure overnight before I can really take it down with some paper. Because the top is going to take a lot of abuse, I know I am going to need a few coats of something tough to resist moisture, spills and other nastiness.
Maybe a water based topcoat administered by my old new HVLP gun, just to make clean up a little easier…