The weekly plan

Woodworking Masterclasses dovetail caddy

Paul Sellers is a master woodworker. What he can do with hand tools is amazing, and he teaches others how to master the craft.

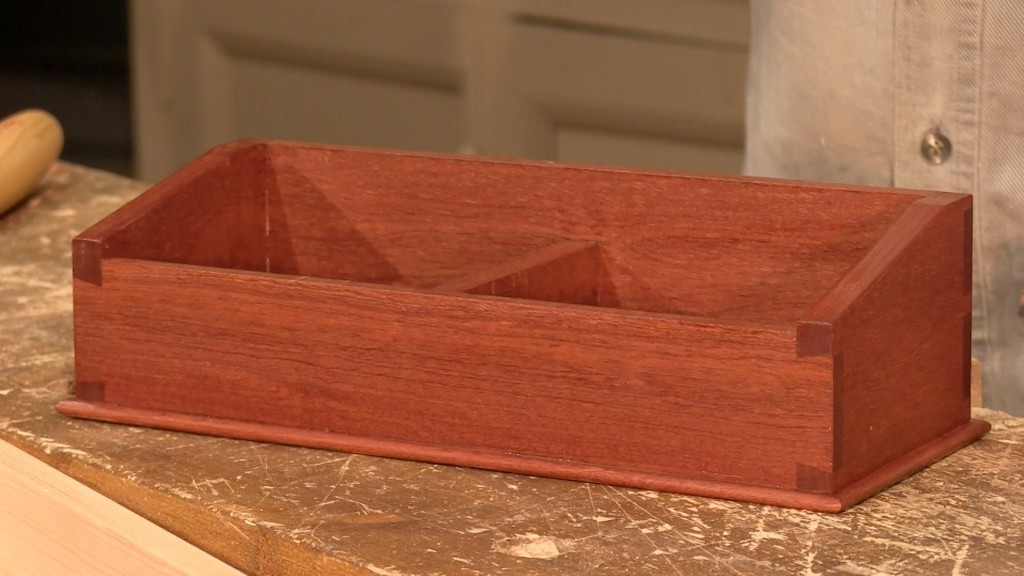
The dovetailed caddy

So, when I saw this plan for a hand-dovetailed caddy project that could be put to use as a sandpaper holder, I had to stop myself and do a double take. I mean, why would something this pretty be used as such a mundane shop project?

Well, it’s the answer to the old question, “How do you get to Carnegie Hall?” Practice, my friend.  A small piece such as this provides a tremendous amount of practice for the hand-tool novice. Knock this out, and the next thing you know, you’ll be building beautiful cases for your home.

The best part of this project is that it is accompanied by a five-part YouTube tutorial to walk you through the process.

###

MicroJig Art

Today, I Labored

Yesterday, I was hoping to get out into the shop, but instead, I did something I had never done in the 23 years I have spent in Florida. Rhonda wanted to go tubing on the Rainbow Springs river, and we all piled in the car for one last big hurrah for summer here in Florida.Tubing with StevenBut today I got my time in the shop to push the front coffee table further toward the finish line. In fact, with the top close to being done, the next step was to build a splay leg base for the table. No big deal, right? Well, I was certainly nervous, since I had never done that before.

Rip it, Dano.

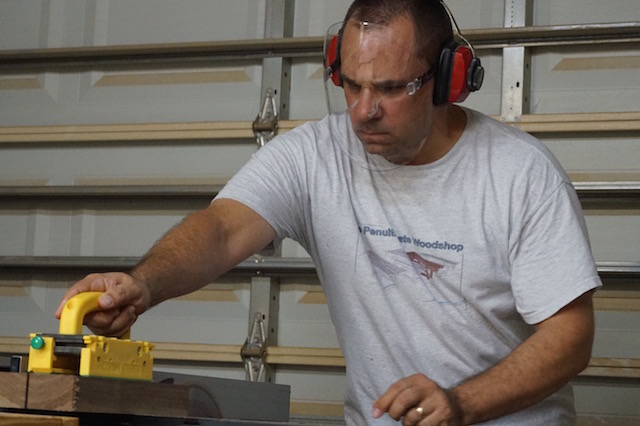
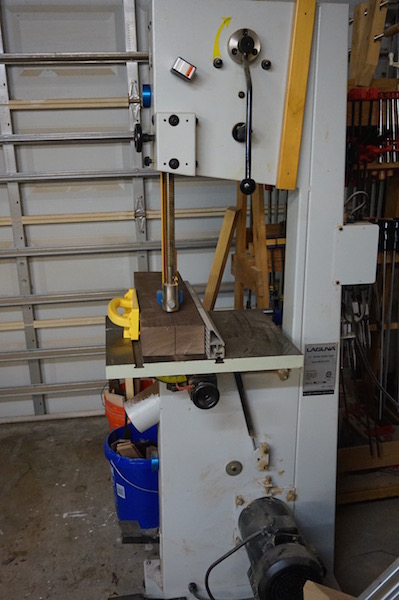
I first had to take a big chunk of walnut and turn it into four leg blanks. That was easy with my band saw. Using a MicroJig push block helped keep my hands safe, and the Infinity rip blades made resawing even 12/4 stock a breeze.
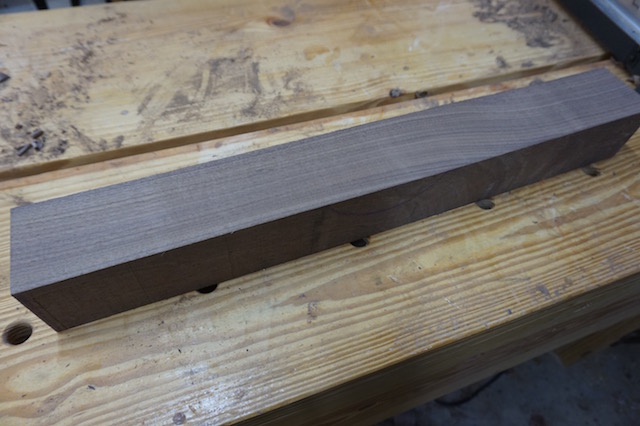
The cut right from the saw

I mean, come on. This was high-quality stuff! It took very little time to make these roughed out blanks clean and ready to use as legs. The next step was to calculate where the legs were going to go on the bottom of the table. I struck lines across the center pivot mark I had used to cut the table top into a circle and calculated about how far in from the table’s edges I wanted those legs to go. That was easy – I settled on four inches.
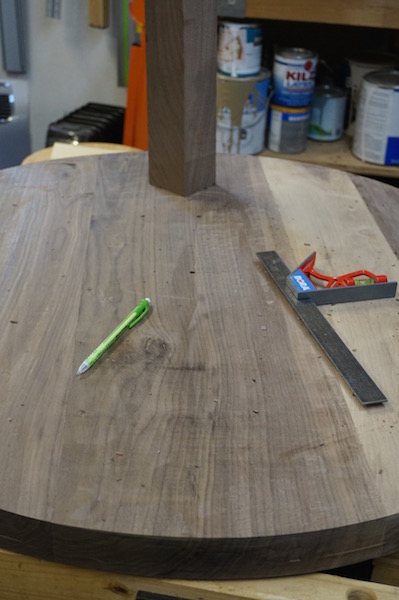
Setting where they go

From there, the part I assumed was going to be the toughest step was upon me. How was I going to get a five-degree splay on these beefy legs for the table? I mean, this is something I had never done…

Wait, I have seen it done a lot. Think, Tom. All the times you watched Norm Abram, Scott Phillips, Tommy MacDonald, Marc Spagnuolo… they all had this down to a science. Instead of figuring out how to cut two separate angles, you rotate the workpiece so you only have to cut the angle once…

So, i tipped the saw five degrees from perpendicular…
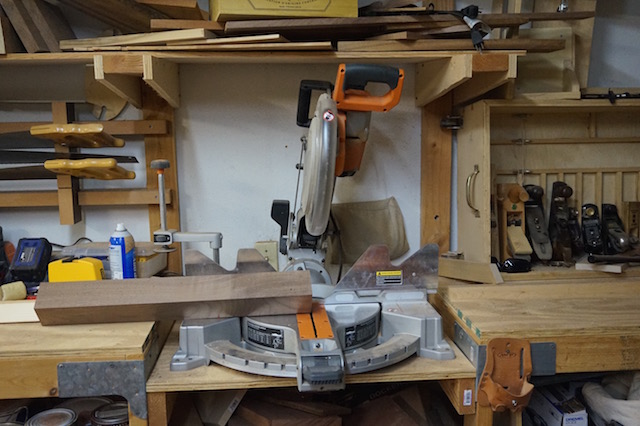
Saw tipAnd, in the scrap bucket, I found a piece of 2 x stock which I ripped with a 45 degree bevel for the workpiece to rest against …

A wedge to keep the piece tipped properly

Then, I made the cut. Ta da!  Like a champ. Once I made the cuts, I was sure to carefully mark which parts pointed where. With no marks on these babies, it would have been a very easy matter to get turned around.
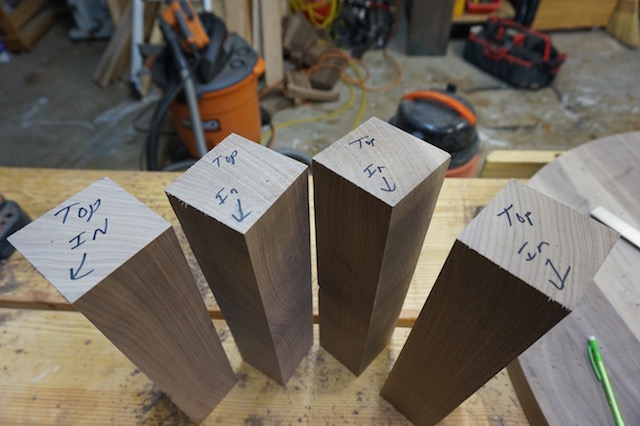
Mark it

From there, I wanted to verify that the angle on the ends of each of the apron pieces was going to be five degrees. Again, back to the scrap bin, a quick saw reset and instant gratification. Exactly as I had suspected.
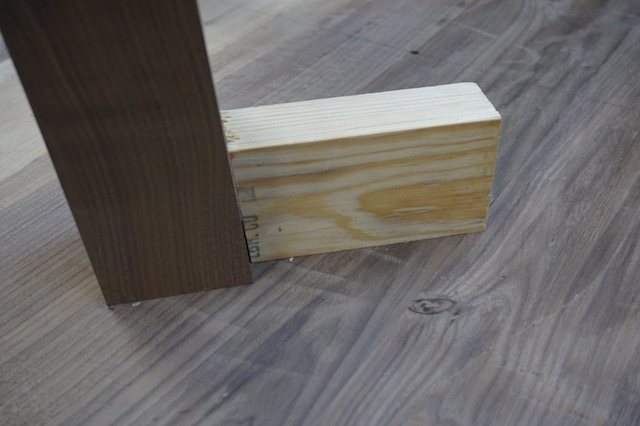
Verified

With things going this well, I continued to press my luck. I cut the aprons to their five degree angles, then marked out how long I needed them to be. Knowing that I wanted all four to be identical, I used a stop and made the cuts. Bingo. I also marked carefully where I knew I was going to need a five-degree bevel on the tops of the aprons. Just to keep things straight.
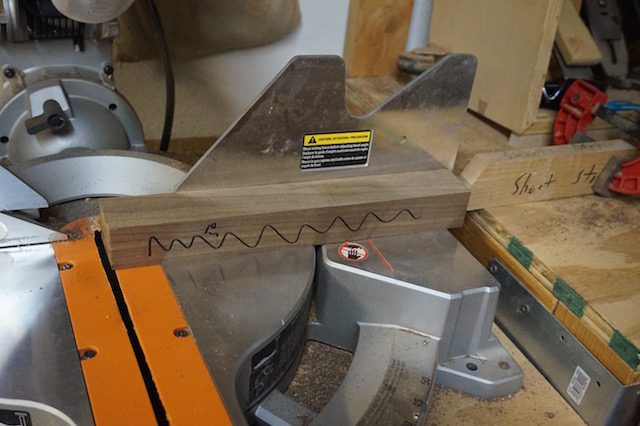
Time to bevel

How was I going to attach the base? With Z-clips. Those little bent bits of metal screw into the underside of the table, and a tab fits into a little slot you can cut with a biscuit cutter. Four quick plunges later, and I had my top ready to go.
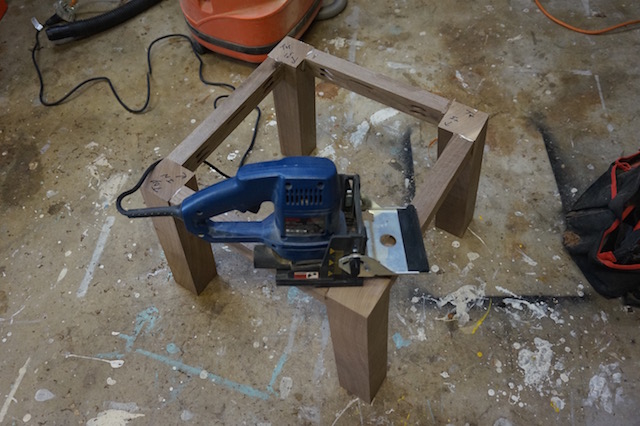
Biscuit

I carefully lined everything up, and screwed the base to the top. With just a little bit of effort, I wrestled the unfinished table into the living area and called everyone over to take a peek.
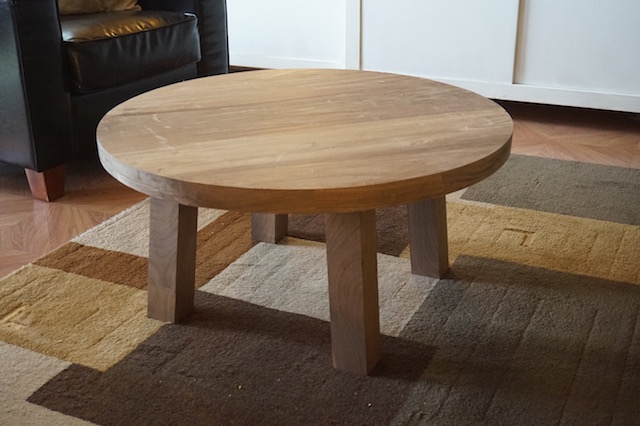
In place

Sure, it’s a departure from what I normally build, but I think that it came out looking really nice in the space. Now, I just have to start sanding, rounding over edges and finishing, then the summer of coffee tables can come to a happy conclusion.

My router confessional

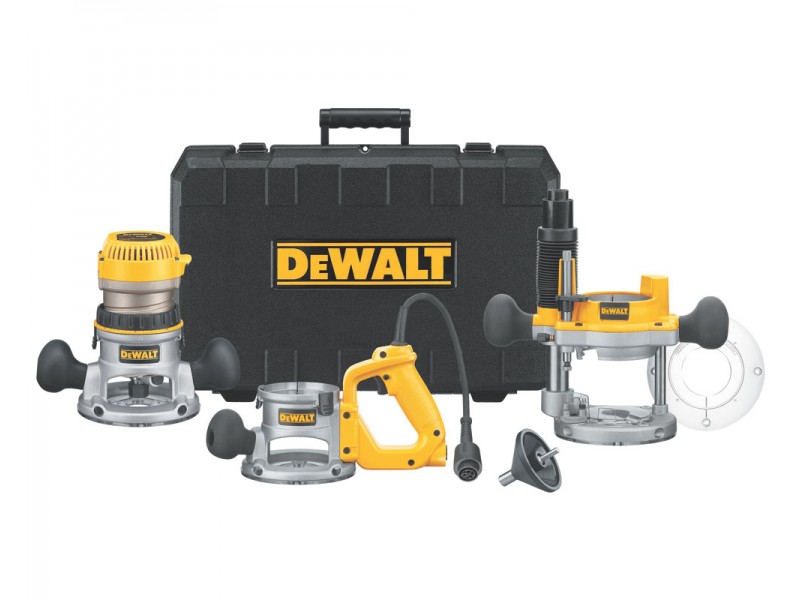
Remember when I cut that round table top? I mentioned that I was considering a new router because of ‘dust issues’, when I should have really come clean and admit that my DeWalt 618 router has bitten the dust. Seriously.

How do I come to this conclusion? Well, as I was routing, I realized that when I turned the motor off, the router bit came to a stop while the motor was winding down. Not one to take chances, I’m inclined to believe that if it isn’t broken now, it’s probably just a little bit down the road.
I am happy that I got my ten years out of this sucker, but I think I may have messed things up too much to bring it back from the dead.

Bummer.

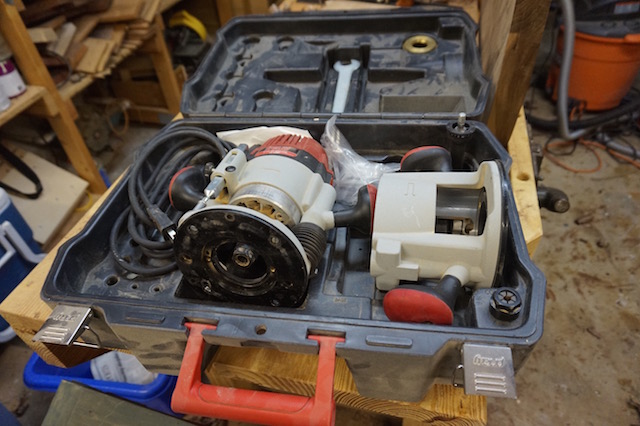
The Freud Router

But, before I admit that I have only my table based router and trim router to work with, I remembered that I had picked up this Freud FT1702 router about ten years ago at Lowe’s. They were on clearance for $100 at the time – a steal over the $250 they went for normally – and it has seen some sporadic duty over the past few years. For instance, when I needed to switch between bits for my Keller dovetail jig, I would set this one up along with the DeWalt, so I wouldn’t have to switch bits mid-project.

While the router is a pretty sweet operator, it does have some serious quirks that would keep it from being my primary router for long.

Adaptor ring

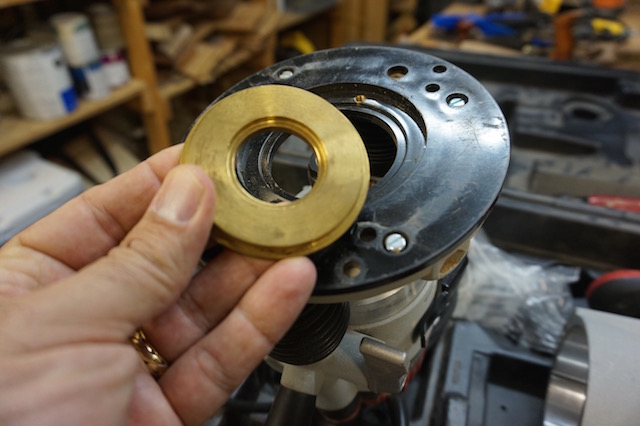
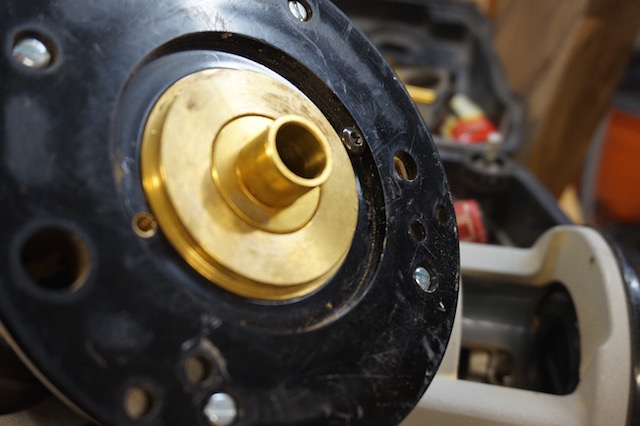
First, it is unable to accept standard Porter-Cable type subbases. They built this model with some funky geometry under the proprietary subbase, which prevents the use of any aftermarket models. Normally, not a huge deal, however, if you want to use a guide bushing, you had two options with this sucker. Either use Freud’s proprietary guide bushing setup, or shell out for the heavy brass adaptor which is held in with a pair of screws.

Missing screw

Needless to say, these screws are tiny, and are pretty much guaranteed to drop to the shop floor while you are removing the guide. As you can see, I am already missing one of them – time to run to the home improvement center to pick up a replacement. They are also threaded in metric dimensions, which means I will have to cross my fingers and hope that they have the right size.

Missed it by that much

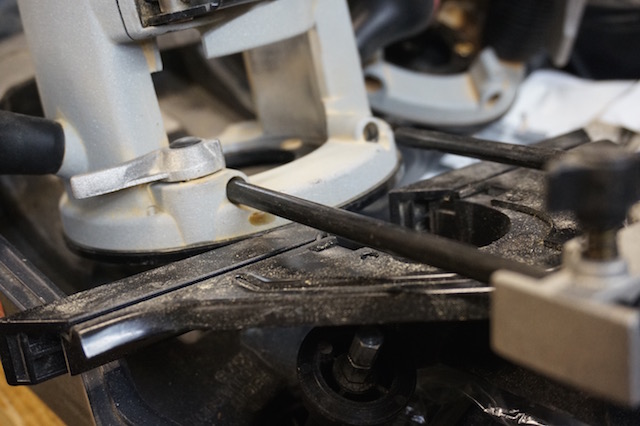
Another problem with this model is that it has guide posts which are set at a non-standard width and height from the subbase, meaning that you have to again have to get your hands on a proprietary Freud edge guide. Again, they are no longer manufactured for this out of production model.

Drats.

So, while I can make do with this router for a while, I will certainly be looking for a new one in the not too distant future. With my birthday and the holidays coming up in December, I hope I won’t have long to wait.

Cut that circle

You know, there are times when I grow tired of my day job, especially when it pulls me away from the shop. Last week, I was in Orlando teaching some basic public information officer classes, and once I got back, Tropical Storm Erika decided she wanted to cause a little mischief here in the Tampa Bay area. So, my posts didn’t really happen.

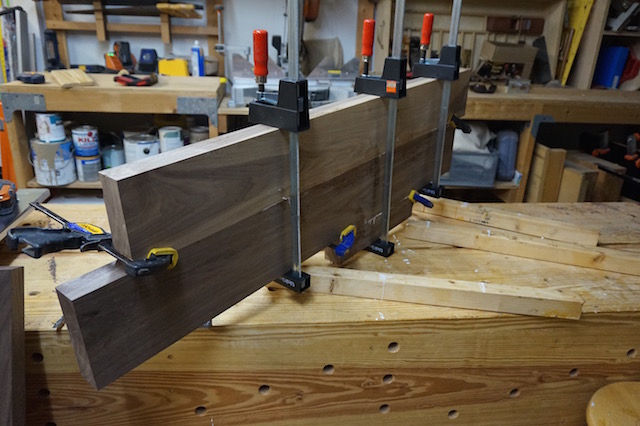
The top glue up partial

However, I’m back with a vengeance building the table top for the front room. As you might have guessed, the next step with the build is to glue together the pieces that were to become the top. This was easy, because I was going to do it in stages. First, the outside parts got glued up, making it easy to break the assembly in to easy to manage pieces.

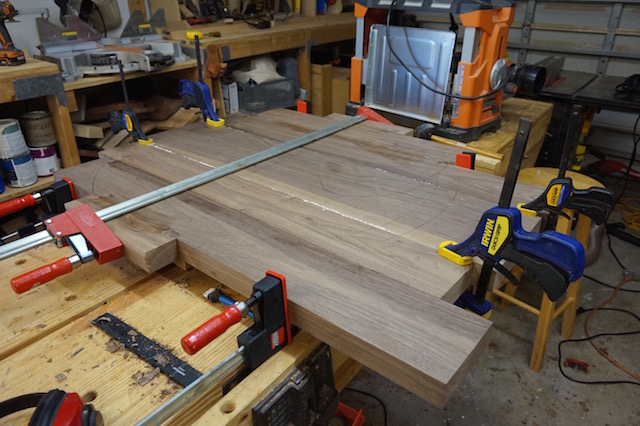
The full topåç

Once they were done, I brought the middle board and the two outside assemblies together to make the solid top. This way, I had a lot fewer joints to juggle during assembly, and allowed me to move through the assembly at my own leisurely pace.

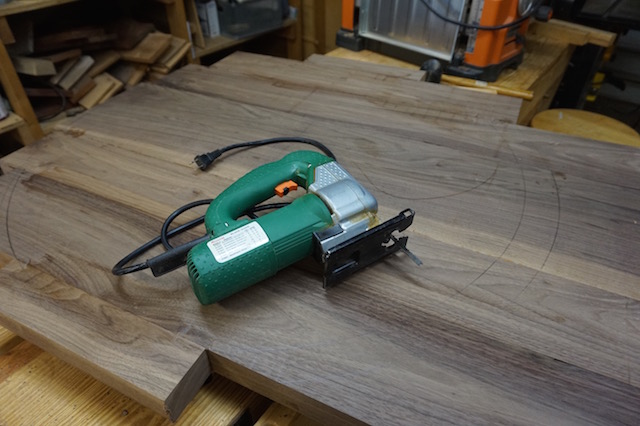
jigsaw

With the pieces together, the next step was to cut the rough shape out. Since this is a bigger assembly, I opted to bring the tool to the wood and chose my jigsaw. Armed with a high-quality blade, this sucker can do a great job with the cuts and brought the piece down to rough shape.

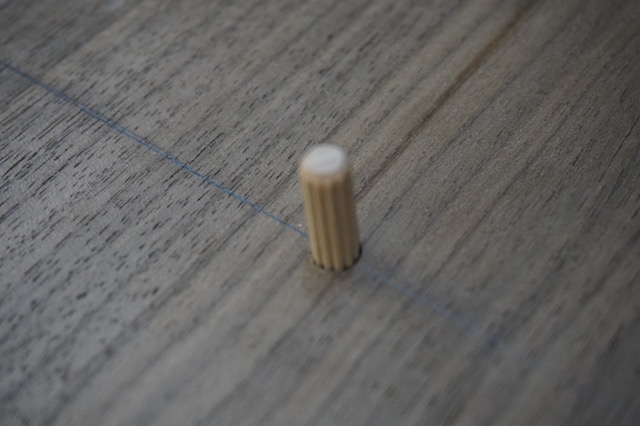
dowel pivot

From there, I turned the assembly over face down and inserted a 1/4″ dowel into a hole I had drilled earlier squarely in the middle of the assembly. This way, I could use it as a pivot point for my router.

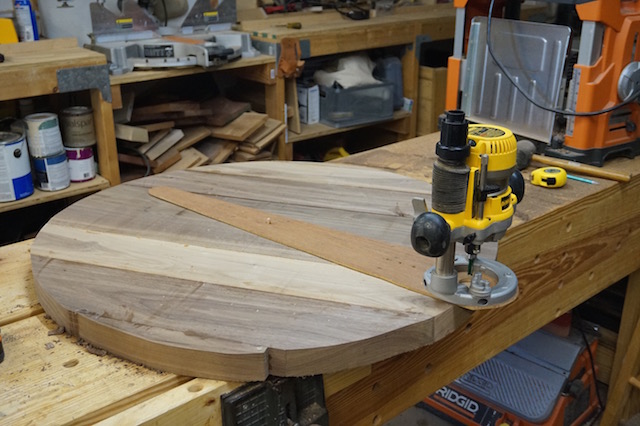
Round with the router

The trammel I went with was decidedly low-tech – a piece of 1/4″ plywood cut long enough to hold my router with a pivot hole drilled the radius I wanted. With a 3/8″ straight cutting bit in the router, I started it up, plunged it about 1/4″ into the board and made a pass.

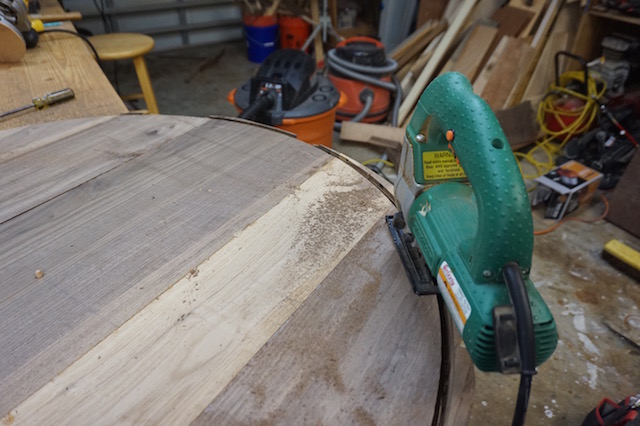
cut away the excess

With a track identified, I went back to my jigsaw and cut away any excess wood outside of the router bit track. This way, the bit would simply be trimming the wood away, instead of boring into it and compacting cuttings into the groove.

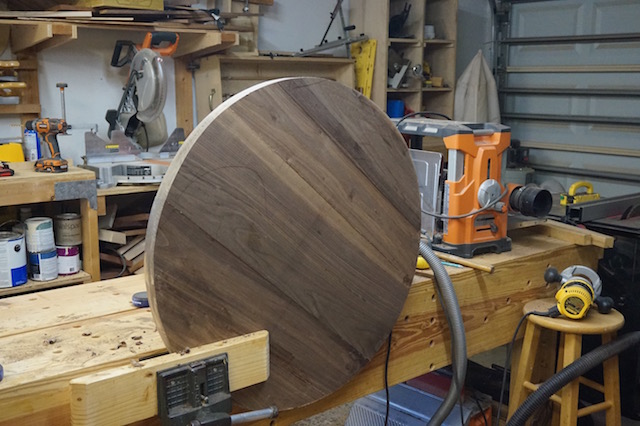
The circle

With just a little bit more routing, I ended up with a pretty sweet looking circle that I had to touch up with my belt sander to ensure everything looked its best.

Now, of course, comes the unenviable task of sweeping up all of those router trimmings. Perhaps it might be time to think about getting a router with some better dust collection … you know, the holidays are coming up. Maybe I have to drop a hint to my jolly old monkey…

The weekly plan

Rick Helm’s Morris Chair

Sure, it may be summertime now, but in a few months, we’re going to be looking for a comfortable place to settle down in front of a fireplace with a few comfortable blankets as old man winter pays us a visit. Since that’s the case, why not make that comfortable place as cozy and good looking as possible?

The Morris Chair

Enter Rick Helm’s Morris Chair plan. Built of traditional white oak, this plan maximizes the impact of the quartersawn grain, provides for comfortable seating and even offers a companion ottoman. Build one of these, and you’ll be sure to spend many comfortable nights during the frigid months to come.

The weekly plan

Lowe’s Entry Bench

The doors to your home are vital links between the indoor world and the great outdoors. While we can carefully control the indoor environment, the great outdoors requires we bring with us any number of items to keep us safe and comfortable. Umbrellas, coats, shoes, hats, gloves – the works.

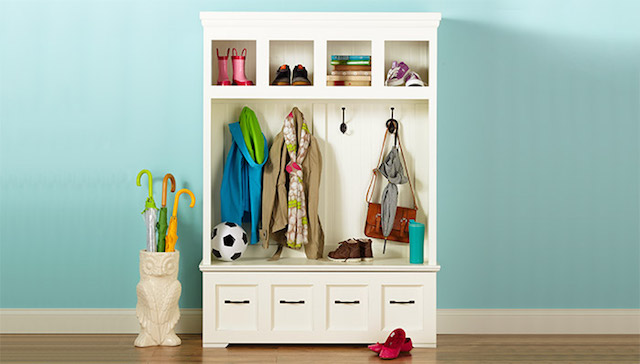
Lowe's Entry bench

Now, if you live with kids in the house, you will know that keeping all of these items organized can be a real nightmare without some piece of furniture for storage, donning or doffing the gear. That’s what today’s plan is all about – building an entry bench organizer.

Made from simple materials and easily buildable in a few shop sessions, this piece can help bring order to your entryways and make them nicer places to get ready to greet the world.

Saving scraps saves the day

Now that I’m off and running with the coffee table, my first thought was to build the top of the table. After all, once I have that done, the base should be pretty straightforward.

Missed it by THAT much

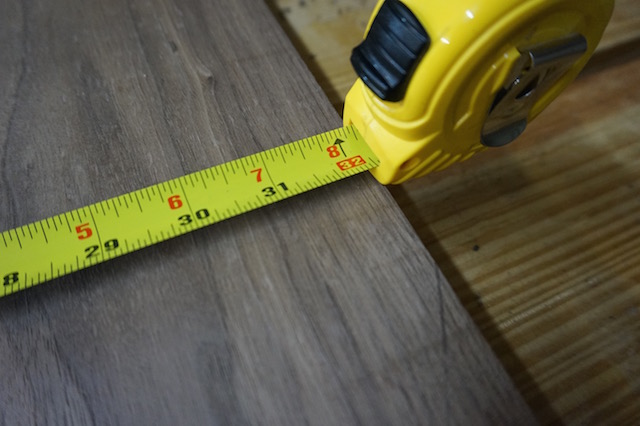
The only problem is that I needed the top of the table to come out to about 36 inches around, and, well, I’m just a little shy of that magic mark. What was I going to do to make up the difference?

Since I needed the remaining boards to make up the stretchers and legs, I was going to have to figure out a way to get that extra width.

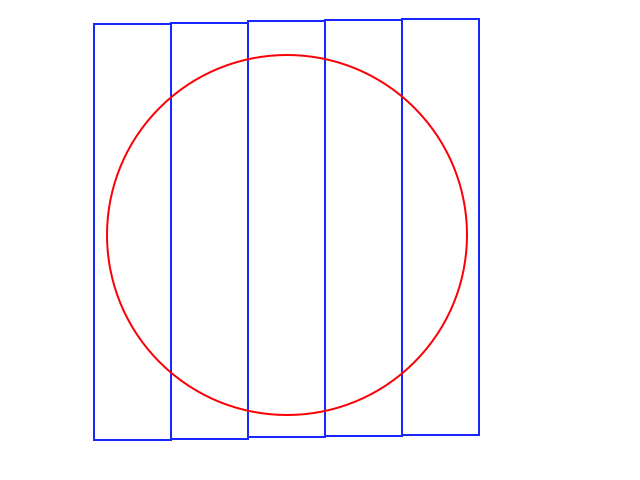
Inefficient layout

Now, normally I would just line up the boards like this and cut my circle, but as you can see, this is terribly inefficient. You end up with unusable scraps at the far ends. That dog just won’t hunt.

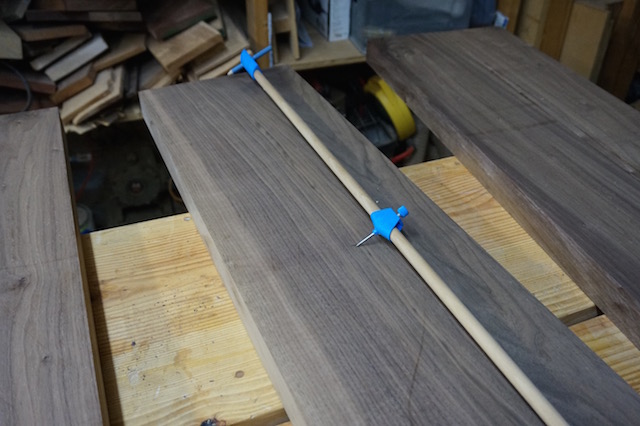
Beam compass

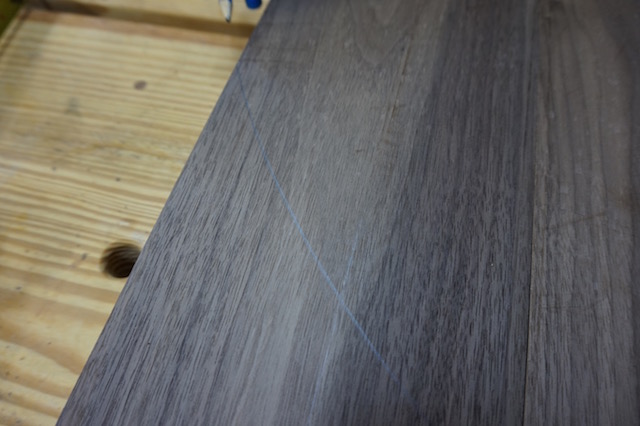
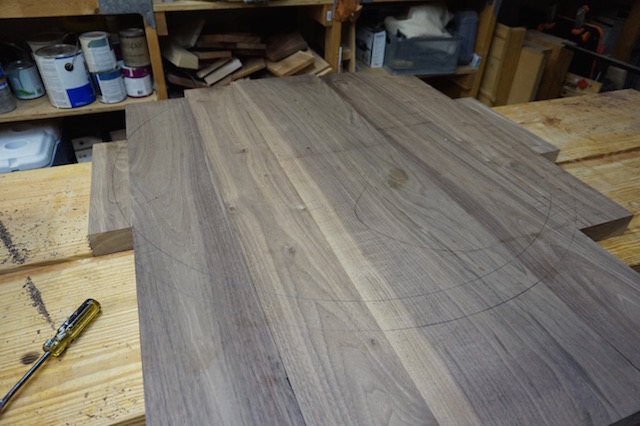
So, what I did was find the center mark of the middle board I wanted. I also used my beam compass to mark an 18 inch radius so I could gauge how far down the board I wanted to be.

One step down

Once I marked the arc on both ends of this board, I lined up the next boards but just down a little bit, so I would keep the highest edge against the top edge, I was able to swing the arc onto the second board, meaning I was able to use less of the board in the circle. By the time I got to the third boards, I was close. Real close.

Rip Away

I used my miter saw to cut the third boards as closely as possible to the line, then marked the outside edge of the circle onto the scraps. The first side used only a little of the board, so I headed to my table saw to rip that piece in half.

Just made it!

With it in place, it’s easy to see just how well this table top is going to look. Once I get it glued up, I will move on to building a router trammel to cut the perfect circle. But, that’s another post for another day.

part of the Wood Talk Online community