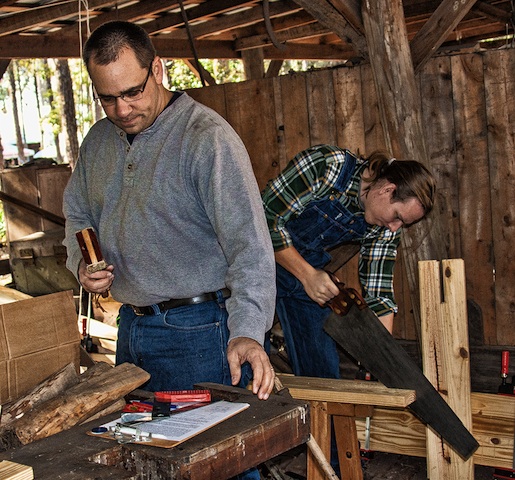
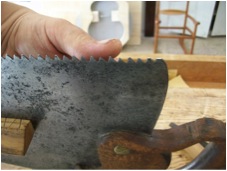
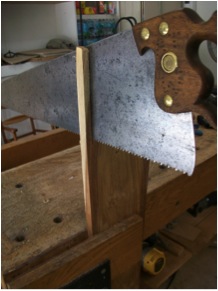
So, now that Andy Gibson has sharpened the blade of my old Disston rip saw, the next thing he wanted to do was to build a new handle for it. I mean, come on, he’s an artist. So, once he got to that, here’s how he made things happen:
Just about everyone has a saw hanging around that could use a new handle. If you are a flat worker the idea of carving a handle can be scary, to say the least. Don’t be scared to make a new handle for that old saw. After all, what do you have to loose?
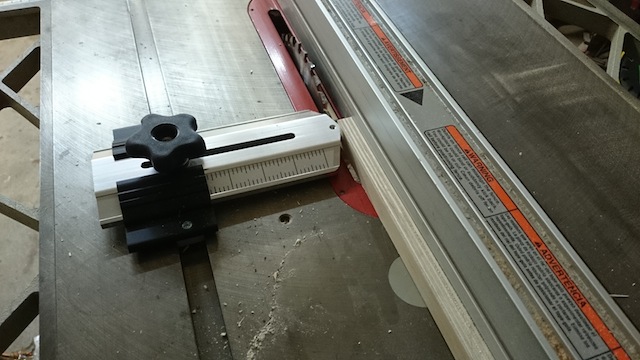
The tools I used to make this handle include a band saw, scroll saw, a few common drill bits, a few rasps and files, and sand paper. Yes, there is no escaping the sanding.
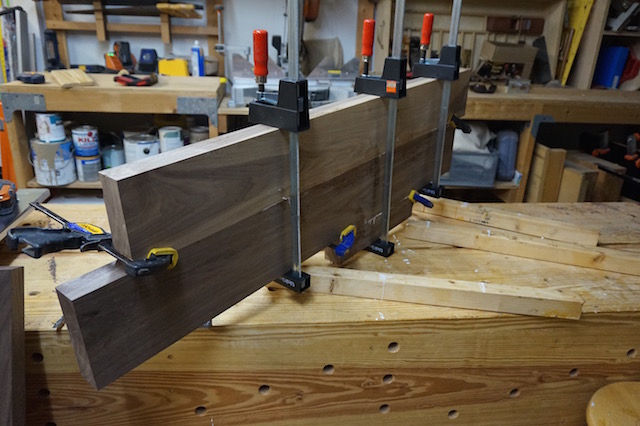
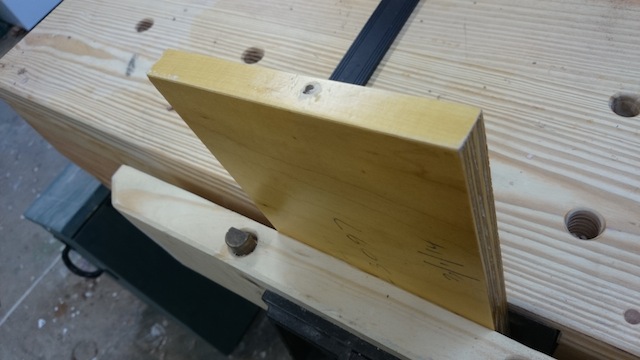
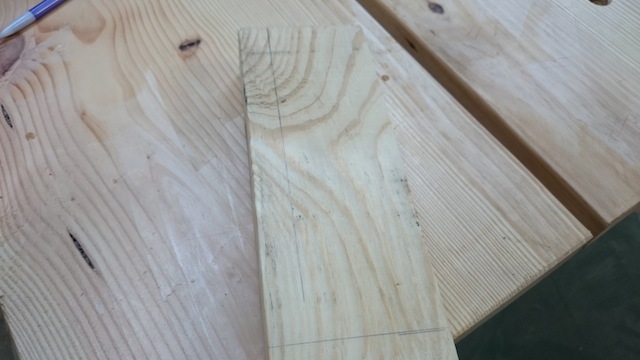
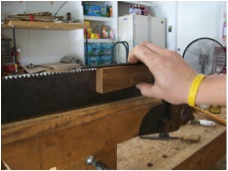
The first thing to do is select your piece of wood. I chose a piece of cherry, but many other hardwoods will do. It was an off cut that has been hanging around the shop for a while. Start with a piece at least 1 full inch thick for most saws. The piece I had was 8/4 thick, and I ripped then planed it to get started. The old handle was 7/8” thick, and I like to start a little thick. It’s easier to bring the thickness down after the initial shaping than to try to add thickness. I would say it is best to work with a piece of Quarter sawn stock, but this is not a hard and fast rule… In fact the piece I used ranges from rift at the top and flat sawn at the bottom of the handle. Just position your handle so that it has as much long grain running through the thin parts of the handle as possible.
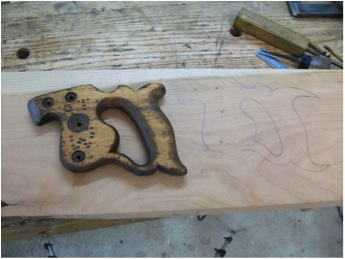
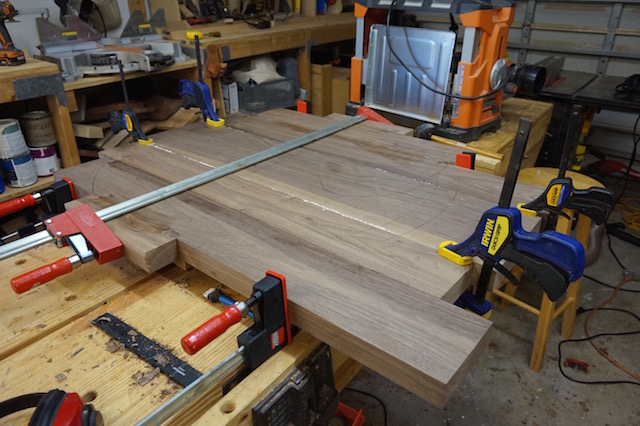
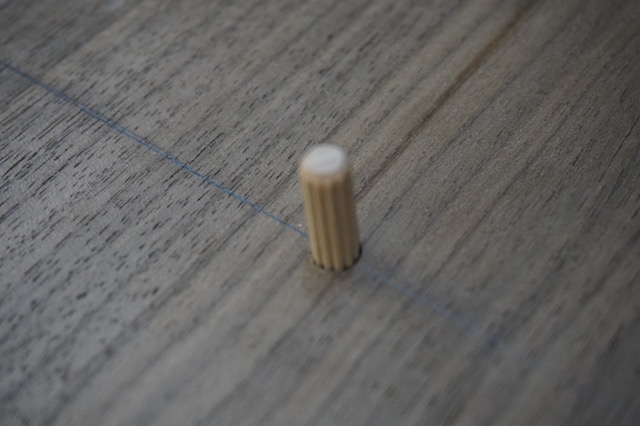
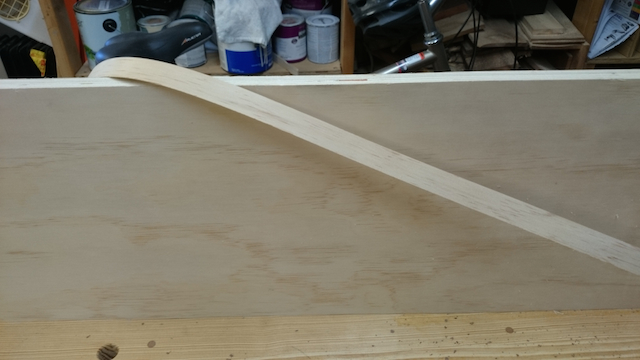
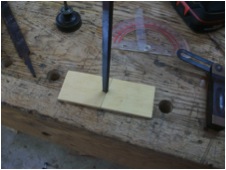
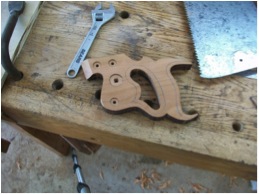
I used the original handle for the saw as a template for the new. I simply laid the old handle on top of the blank and carefully traced the shape. Take your time, because all the curves make this a little tricky. You may need to trace it a few times to get it just right. The horns on the original were long since gone, so I got my French curves out and drew them back in going by eye and also looking at a picture of the original I found on line. I used a brad point bit to mark the location of the bolt holes. This is possibly the most difficult part if the task, as you want these holes to be right on so they match up to the holes in the saw plate.
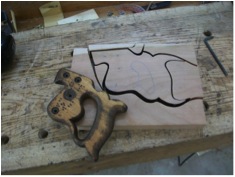
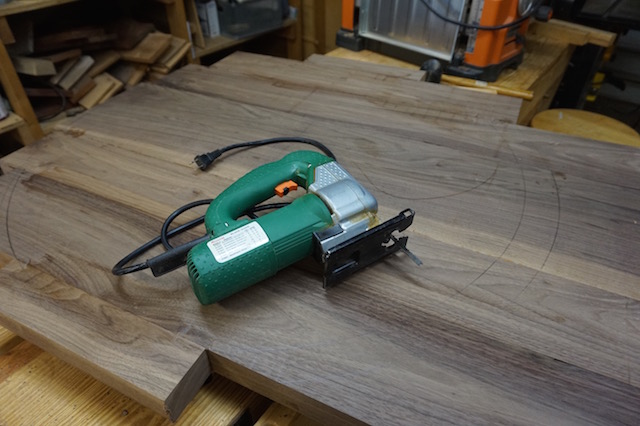
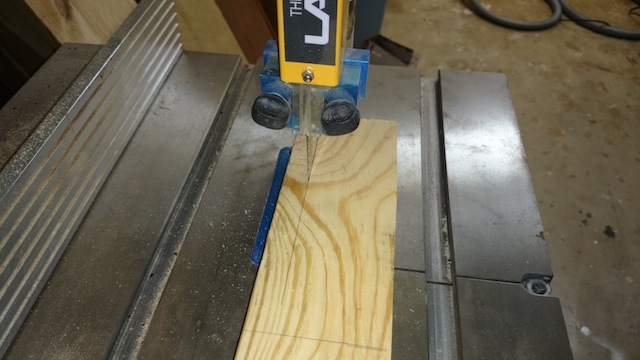
Now it’s time to cut the handle. I use my band saw with a ¼” blade to cut out the handle. In the past I have used a bow saw to do this, and you could use a scroll saw or even a coping saw to do this job. Now you have to remove the part inside the handle. For this, I used a scroll saw. Take your time cutting out the handle; the smoother your cuts, the easier it will be to remove the saw marks.
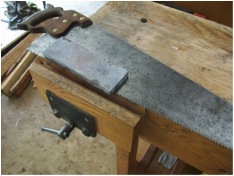
The next step is to make the slot for the saw plate to slide into. I did this with a large back saw and a rip panel saw. I marked the center of the handle with my marking gauge, and marked the base of the cut. Take your time cutting the slot. You could use a smaller, finer toothed saw such as a dovetail saw to score the cut around the handle, then finish with the larger saw. Try to use a saw that will cut a kerf the same width as the saw plate you are making the handle for. For me, this was my rip panel saw. Be careful not to force the saw plate into too narrow a kerf, as it will split and crack your new handle.
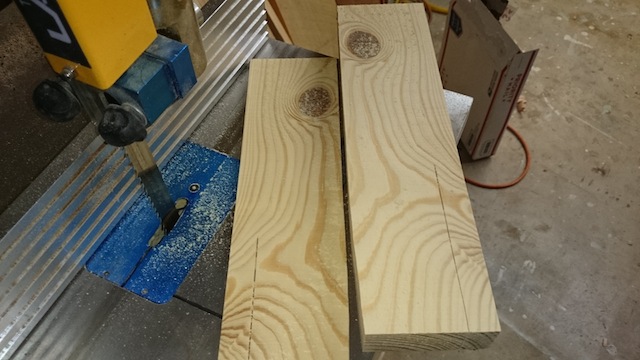
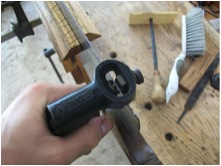
Drilling for the hardware is the part of handle making I least like. You need bits to fit your hardware, but the closest I had was a 1” and 5/8” forstner bit and brad points to drill out for the shaft of the blots. With the centers of the holes marked, start with the largest bits and move to smaller. First I drill the counter sinks for the heads of the bolts, then I drilled a small hole through the handle and used it as my center point to drill the countersink on the other side of the saw. Then I drilled the hole for the threaded shaft of the bolt, and finally used a step drill to drill the larger hole for the nut side of the saw bolts. Now we can check the fit. Hopefully the holes all line up.
Now is the time to fine tune the thickness of the handle. I left mine a bit thick for the bolts so I used a Stanley #4 hand plane and planed it down to the thickness on each side I needed… this ended up being right around 7/8” and finally I deepened the countersink for the bolt heads with the fostner bit.
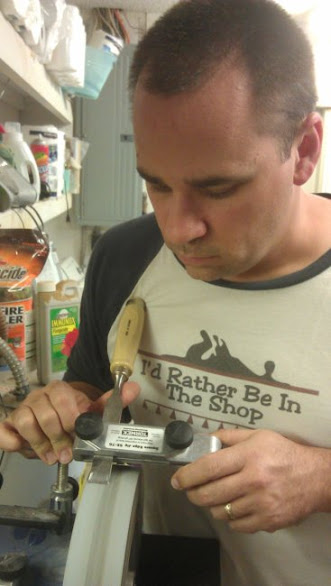
Now it’s time to shape that handle. This is the easiest part in my opinion, but the part that most likely scares the first time shaper. There is one tool I would recommend you think about getting – a saw handle makers rasp from tools for working wood. I use this rasp for a lot of shaping, not just saw handles. Along with this rasp I use an old Nicholson #50 that belonged to my grandfather.
Where to start? Take a pencil in your hand, use your finger as a fence and draw a line around all the faces to be shaped about 3/8” in on both sides of the handle. Grab your coarse rasp and start cutting at a 45* angle until your get to your pencil line. You may need to switch to the saw handle makers rasp, because it is curved and gives more room when shaping the inside of the handle. It is also safe on the back so you don’t chew into the other side of the handle. Once you are down to the line you can start rounding everything. Your hand and eye will tell you when you have it right. It’s that simple. A word of warning; be careful when clamping the handle in your vise, if you only clamp where you cut the kerf for the saw plate you can crack the cheeks or even break them clean off. Try to clamp over areas of solid wood. It’s a pain in the butt, but much better then starting over.
Now it’s time to sand, sand and sand some more. I started with 120 grit, but 80 is a good point also. If you have a half round and rat tail file, you may want to use them before sanding to get rid of the rasp marks. Files are also great for working the flat areas on the outside of the handle to remove the saw marks. Now just sand till you are happy with the finish of the wood… I sanded to 220 then I polished the handle with 0000 steel wool.
The last step is to fit the top edge of the handle to the top edge of the saw plate. I leave this edge about 1/16” tall so I can sand the top edge till it perfectly follows the top of the saw plate. I used my stationary belt sander for this, but a block plane and a sanding block will do the same job.
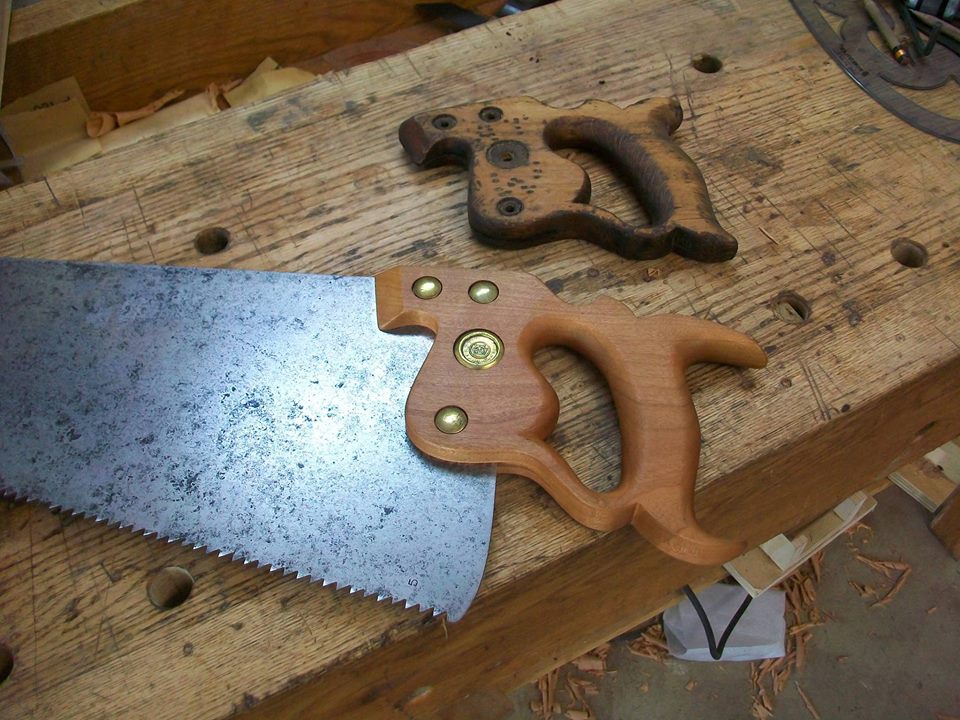
I used a finish on this handle called Odie’s Oil. It is rapidly becoming one of my favorite finishes. It is all natural with no chemicals and smells good to boot. It is an oil and wax based finish originally developed for floors, and is super easy to apply. Simply rub on a thin coat, it goes a long way, wait a half hour or so and buff it all off. Wait a few hours and apply another coat in the same manner. I did 3 coats on this handle.
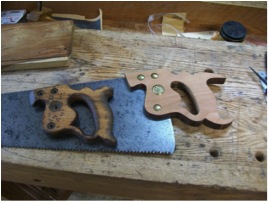
That’s it! Tom, I hope you enjoy your new saw handle.
Thanks, Andy, I think I will. Now, I need to build a low saw bench so I can start using this baby on a regular basis!