I have learned a lot in my 15 or so years of woodworking. From how much it hurts – and scares the heck of you – when you get hit by a board kicking back from a table saw to how practice can make a ton of difference in your abilities.
But, this past week I have learned so much more about the craft. It was once said that before the age of steel and plastics, that we were surrounded by wood from the cradle to the grave. It makes total sense.

Over the years, I have built cradles for my newborn sons as well as anonymous moms at pregnancy crisis centers. With nothing as precious as a newborn child, it was an overwhelming feeling to know that my handcrafted work was providing comfort, security and the gentle soothing only a rocking cradle can provide as my sons slept soundly, conducting the important business of growing up.
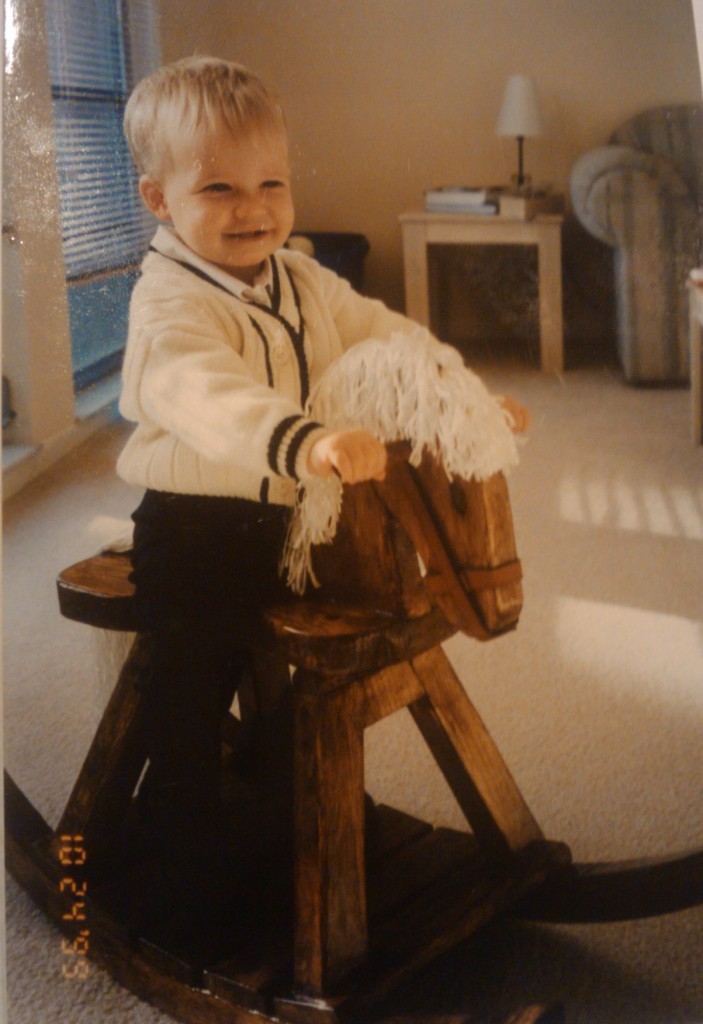
Toy boxes. Rocking horses. Book shelves to hold a growing collection of tomes that would expand my sons’ learning and exploration of the world.
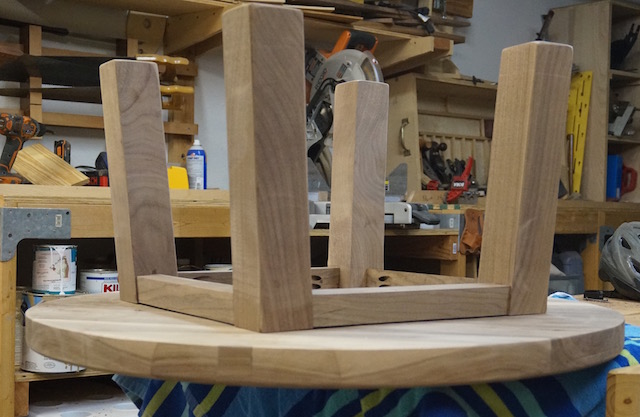
A dining room table where we could all gather – the four of us to enjoy an evening meal or to expand considerably as we gathered for a family feast to celebrate a major holiday.
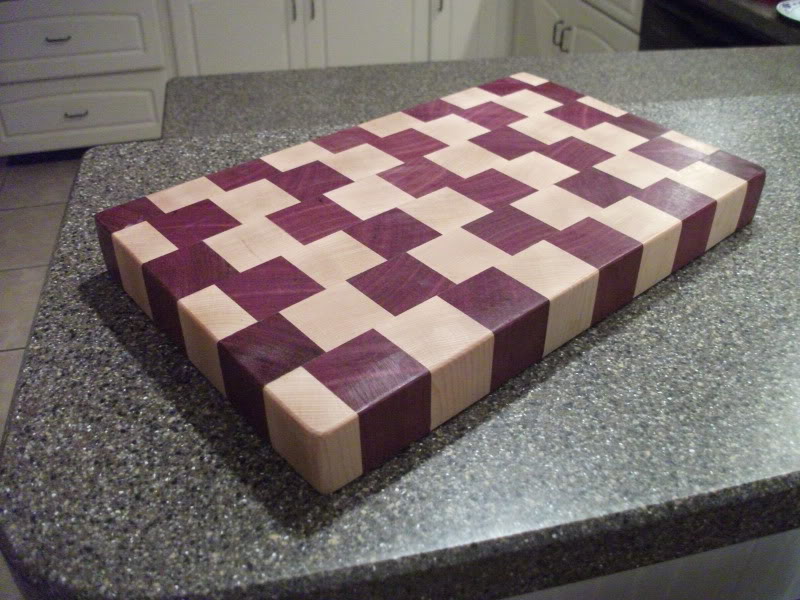
Coffee tables to host a competitive family game night, or to rest a few beverages and plates of wings on while we watched the big game or hosted parties with our friends. Cutting boards as gifts for those friends to help host us at dinner parties they threw.
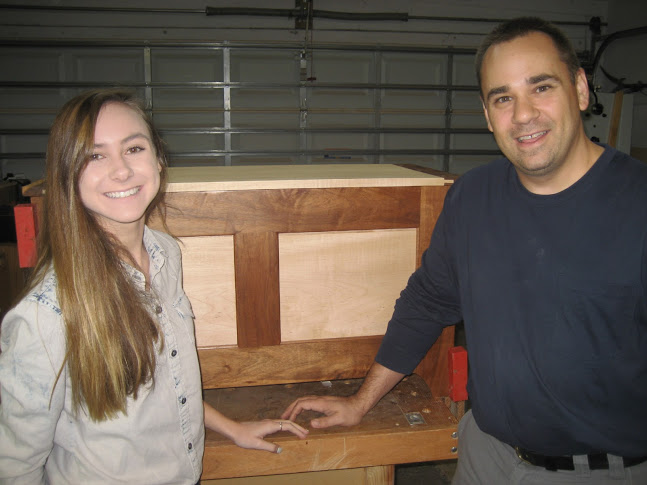
Hope chests for our nieces so they could save those important mementos of their lives as little girls as they blossom into beautiful young ladies. Keepsake boxes for friends who got married – and now for nieces and nephews who are preparing to tie the knot.
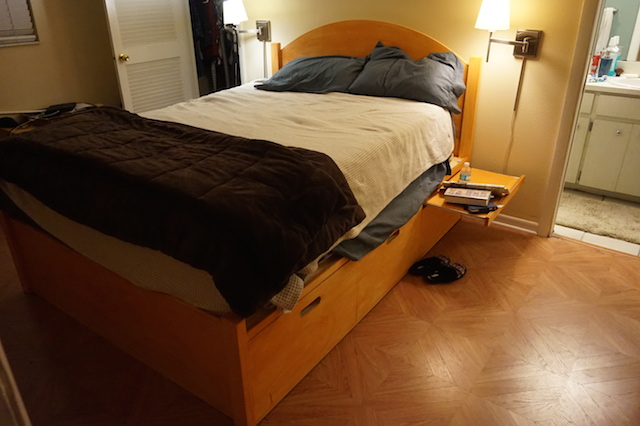
A comfortable bed for my wife and I to rest our tired heads at the end of our long, busy days. Maybe a few outdoor projects that will help her enjoy her gardening and love of nature.
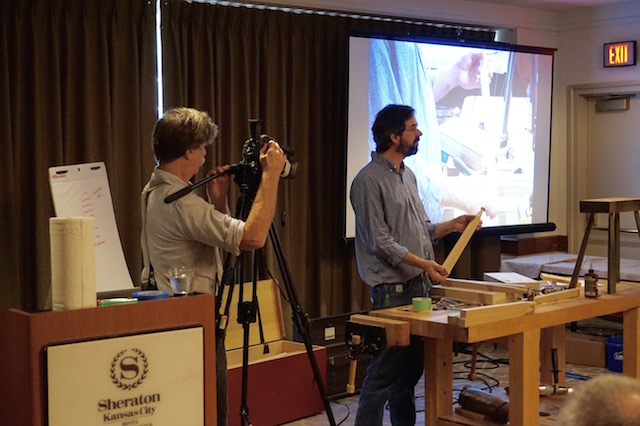
And, over the past week, I have been rather scarce due to the passing of my father-in-law just slightly over a week ago. It happened while I was coming back from Woodworking in America. Since that time, things have been a blur as Rhonda, her mom, her sisters and brother have all pulled together to make the final arrangements.
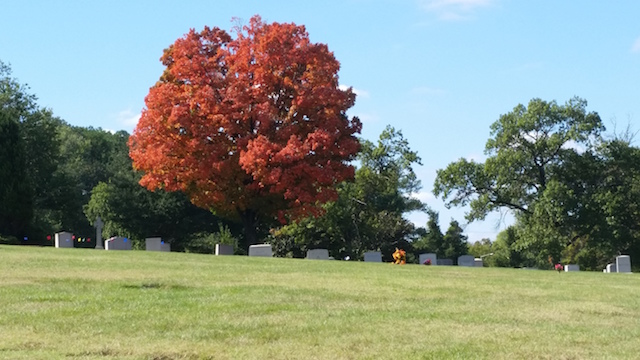
My father-in-law, a very strong and plain-spoken man, wished to be laid to rest in a plain wooden coffin, and that’s exactly what was chosen. And, on a chilly autumn afternoon in a beautiful cemetery just outside of Washington, D.C., that’s what we did, surrounding him as a loving family.
As I write this at about 34,000 feet somewhere above Virginia coming back from the funeral, it has struck me like a thunderbolt – every project I build is becoming a part of someone’s life. From the cradle to the grave.
And, I am humbled.