
You know, there are times when I grow tired of my day job, especially when it pulls me away from the shop. Last week, I was in Orlando teaching some basic public information officer classes, and once I got back, Tropical Storm Erika decided she wanted to cause a little mischief here in the Tampa Bay area. So, my posts didn’t really happen.
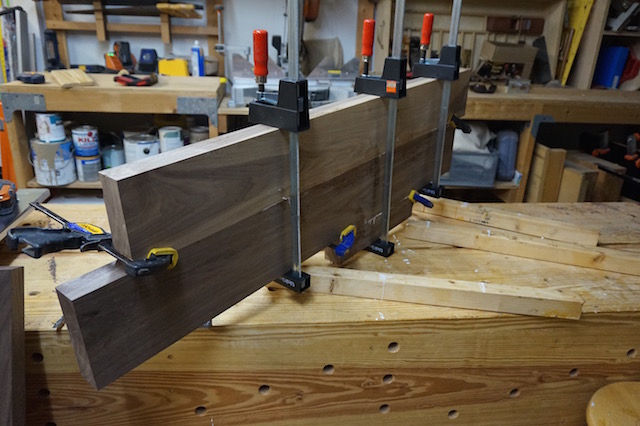
However, I’m back with a vengeance building the table top for the front room. As you might have guessed, the next step with the build is to glue together the pieces that were to become the top. This was easy, because I was going to do it in stages. First, the outside parts got glued up, making it easy to break the assembly in to easy to manage pieces.
Once they were done, I brought the middle board and the two outside assemblies together to make the solid top. This way, I had a lot fewer joints to juggle during assembly, and allowed me to move through the assembly at my own leisurely pace.
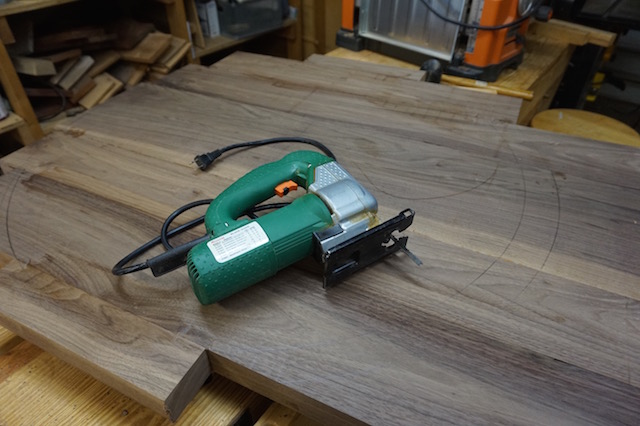
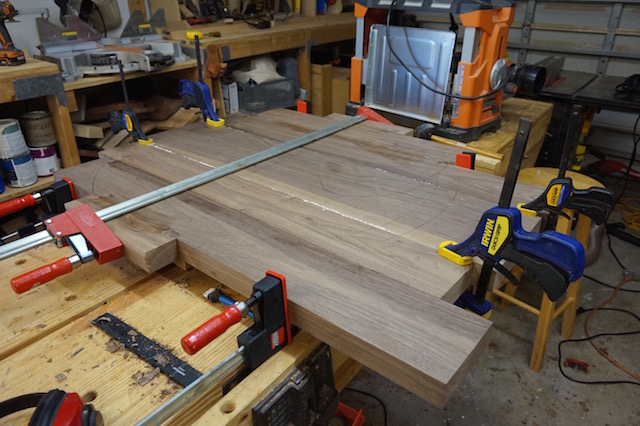
With the pieces together, the next step was to cut the rough shape out. Since this is a bigger assembly, I opted to bring the tool to the wood and chose my jigsaw. Armed with a high-quality blade, this sucker can do a great job with the cuts and brought the piece down to rough shape.
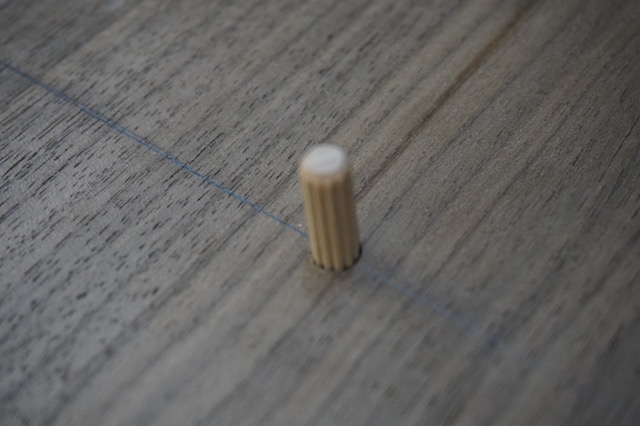
From there, I turned the assembly over face down and inserted a 1/4″ dowel into a hole I had drilled earlier squarely in the middle of the assembly. This way, I could use it as a pivot point for my router.
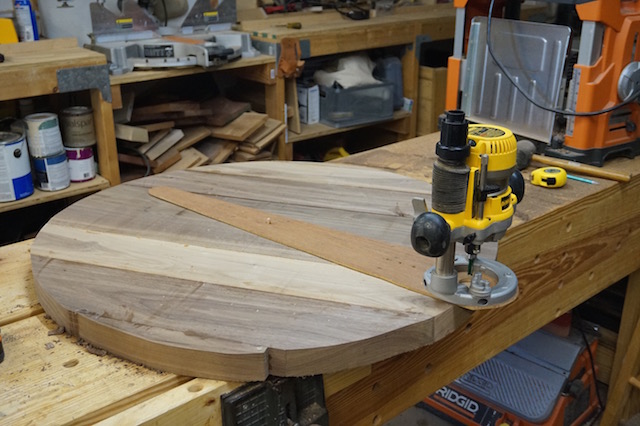
The trammel I went with was decidedly low-tech – a piece of 1/4″ plywood cut long enough to hold my router with a pivot hole drilled the radius I wanted. With a 3/8″ straight cutting bit in the router, I started it up, plunged it about 1/4″ into the board and made a pass.
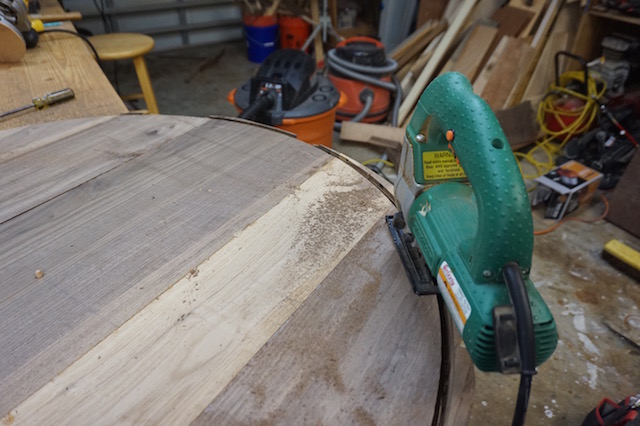
With a track identified, I went back to my jigsaw and cut away any excess wood outside of the router bit track. This way, the bit would simply be trimming the wood away, instead of boring into it and compacting cuttings into the groove.
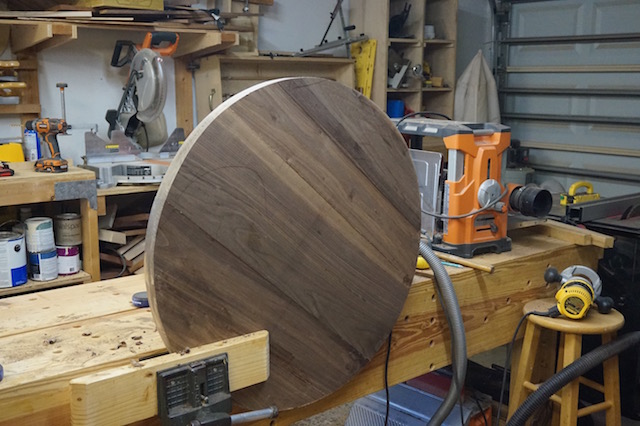
With just a little bit more routing, I ended up with a pretty sweet looking circle that I had to touch up with my belt sander to ensure everything looked its best.
Now, of course, comes the unenviable task of sweeping up all of those router trimmings. Perhaps it might be time to think about getting a router with some better dust collection … you know, the holidays are coming up. Maybe I have to drop a hint to my jolly old monkey…
Tom,
The table’s looking good.
For your router, first connect the built in dust port to your vacuum. Then check to see if DeWalt offers a factory made dust shroud. I use the DeWalt shroud on my DeWalt trim router and it collects more of the dust than my old Festool router used to.
Nicely done, Tom. I sometimes forget about using the router to create circles. Thanks for the reminder.
That’s a heck of a great suggestion for laying out and cutting a non-straight edge on a project! I don’t think I’ve seen any idea’s like that before – and I’ve been reading a while 🙂
Well Done!