There is little doubt that the mortise and tenon joint is one of the most important in woodworking. It’s incredibly stout and can be found in many different projects as an essential piece of joinery.
While cutting the mortise has its own challenges, cutting tenons can be even more difficult. First of all, the tenon has to have very smooth faces and square shoulders. Then, you have to make sure you have the length of the tenon exact. Finally, how do you cut these tenons on long pieces without creating a dangerous situation?
I’ve cut tenons several ways in the past – on a table saw, on the band saw, with hand tools. All did a fair job, but I may have hit on the solution I will be able to use more often than not.
While building my bench, I had to cut tenons on the end of the long side rails. I wasn’t looking forward to trying to balance these standing on end on my table saw, and trying to push them flat on the table while keeping them square to the blade could prove challenging.
 That’s when I went to my bookshelf and came out with Pat Warner’s book Easy, Fast and Accurate Router Jigs. There, I found the plan to build this.
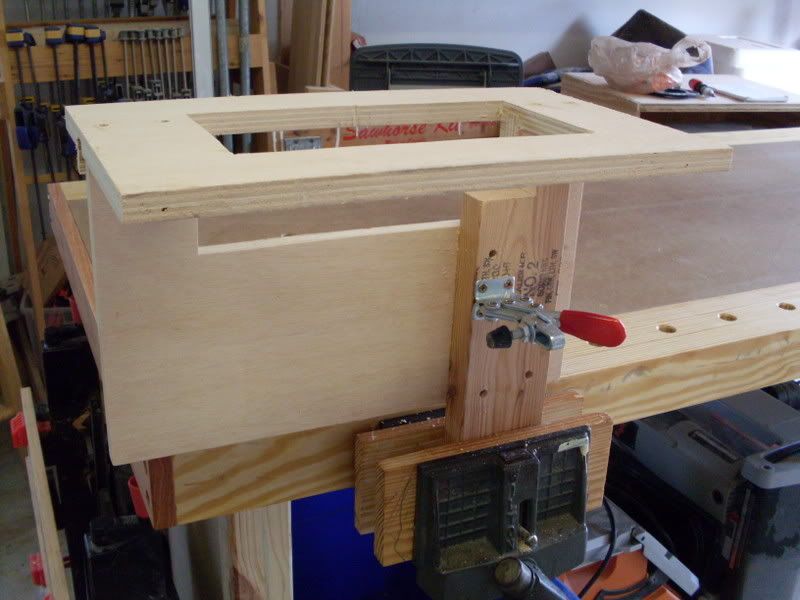
The jig is insanely simple, yet yields such incredible results. It consists of a top and a vertical fin – both made out of scraps (11″ x 17″) of cabinet grade plywood. The top has a window cut in the middle about 4″ x 9″, and a rectangular cutout roughly the same size in the fin. This assembly has to be square and tough, so I dadoed the fin into the top and screwed it. I also used some glue blocks on the back side of the assembly to further reinforce the joint.
The next piece is a fence. I used a 2×4 and notched it so the fence would protrude into the opening but not block the routing action. Again, make sure this is perfectly perpendicular to the top, or you won’t like the results.
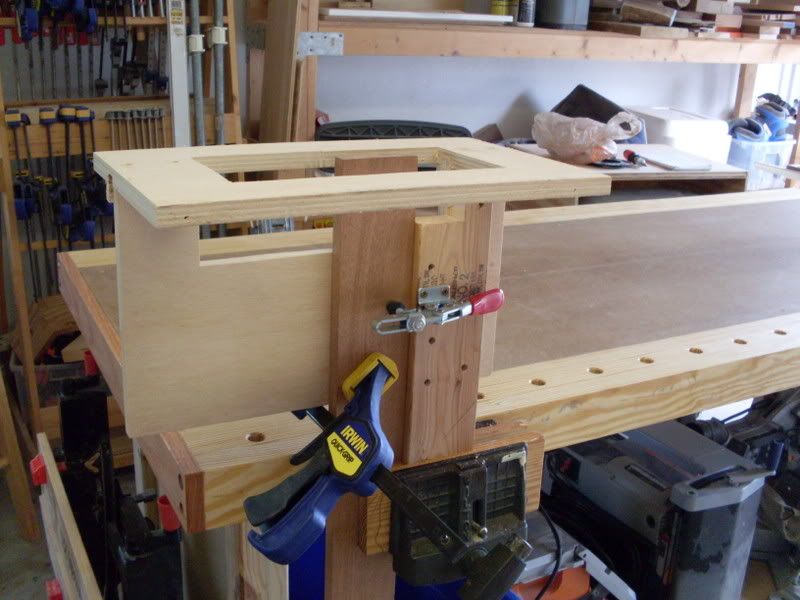 I screwed a toggle clamp to the fence, which holds the jig to the board I’m routing. However, I also throw a second clamp on the board, just to make sure the workpiece doesn’t move at all.
Now, clamp the board you want to tenon to the jig firmly against the fence. Set the top of the board slightly below the top of the jig – you can use a coin under the straight edge to set the depth.
Next, put a rabbeting bit into your router. The depth of the rabbet will help determine the width of your tenon. For this example, I put a 1/4″ deep cutting rabbet bit to use on a board with a width of 3/4″. This will leave me with a 1/4″ thick tenon 1/2″ shorter than the height of the board. If I wanted a 3/8″ wide tenon, I would use a rabbeting bit that cut 3/16″ deep.
 Set the length of the tenon by adjusting the depth of the bit below the router base. I’ve measured on my Freud router and found I could push the bit to cut a maximum of 1 1/4″ below the base – a decent sized tenon. If you need to extend the length of the tenon, you can use a top-bearing flush trim bit that can reach even further down the board after the initial rabbet cut.
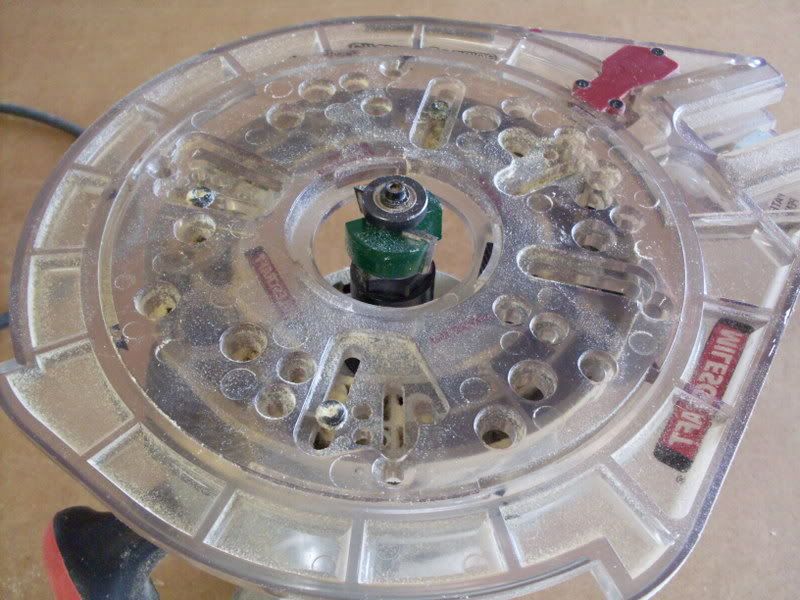
Another key component of this jig is to use a larger than normal base to ensure the router doesn’t fall into the jig. Here, you can see I’m using a Turn Lock offset router base to ensure that the router stays firmly in contact with the top of the jig during the cut. You could use an offset base such as this or even build a ‘ski’ type base made of plywood to get the necessary width.
 Next, you simply rout around all four sides of the board. The result is extremely impressive – a very crisp, square-cornered tenon that came out exactly to 1/4″ wide on this test board. It takes just seconds to cut this, and you never have to change the setup. So, in effect, you can cut dozens of identical tenons one after another in very short order.
And, what about really long boards that need to be tenoned? Well, you could clamp the work vertically in a vise and climb a ladder, but the beauty of this jig is that you can actually clamp the board on an angle in your vise. Put one edge on the ground and tip the rail over until the end is at a comfortable height for you to work. Put the jig on the board with the fence to the top of the work and clamp it in place. Sure, you’ll be working with your router at an angle, but I had no trouble with this setup as long as I kept the router pressed firmly against the top of the jig.
If you cut your mortise with a router bit, you will have to round the corners of the tenon. I did this on the rail tenons for my new bench by carefully paring back with a sharp chisel and then sanding the corners perfectly round to fit the radius.
Even after cutting just a few tenons with this jig, I know I’m going to be using it again and again to cut tenons.

 Looking for inspiration for your next project? Every month, Fine Woodworking magazine features a selection of the outstanding projects built by their readers.
 The router is one of those tools you are not sure that you will need before you buy it, then you wonder how you ever got along without one after you get it. There are scores of tasks a properly equipped and skillfully handled router can tackle. Of course, discovering everything a router can do is frustrating trying to learn on your own. It’s easier if you have a knowledgeable guide along to point out the pitfalls and steer you in the right direction.
 Turns out that this child prodigy had to wait another 30 years before he got active again in woodworking. While learning the ropes on his own, he got his first exposure to the router. “It was 1972, and I got a Craftsman 1 HP router with a 1/4″ collet. I was hooked, but surprised to learn that this tool could do a lot only with extra cutters, jigs and other fixtures.”
 Jigs such as the four-faced tenoning jig which I built are very clever and well thought out. Warner offers this and many other completely built jigs for sale on his website. “If you are the kind of woodworker who would rather be building furniture than laying out and building jigs, check out my site. I’m pretty sure you can find the jig that will do the task you need.”
 One question Pat gets frequently is about how a router novice should acquire bits. “There are two schools of thought. The first is to buy one of those huge mega sets of 100 or more super-cheap offshore router bits and learn on those. Understand that you may become frustrated with the quality and end up replacing the ones you use the most. But, that’s OK – you will learn a lot. The other is to buy high-quality bits one at a time as you need them. Sure, you may drop some big bucks on a very high quality bit, however, you will enjoy the results for a very long time.”
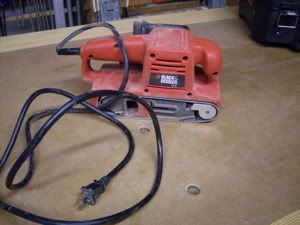 I’d like to take a moment to introduce you to the tool I love to love – and hate. This is my belt sander. A Black and Decker homeowner’s model I picked up at a local Wal Mart about six years ago.
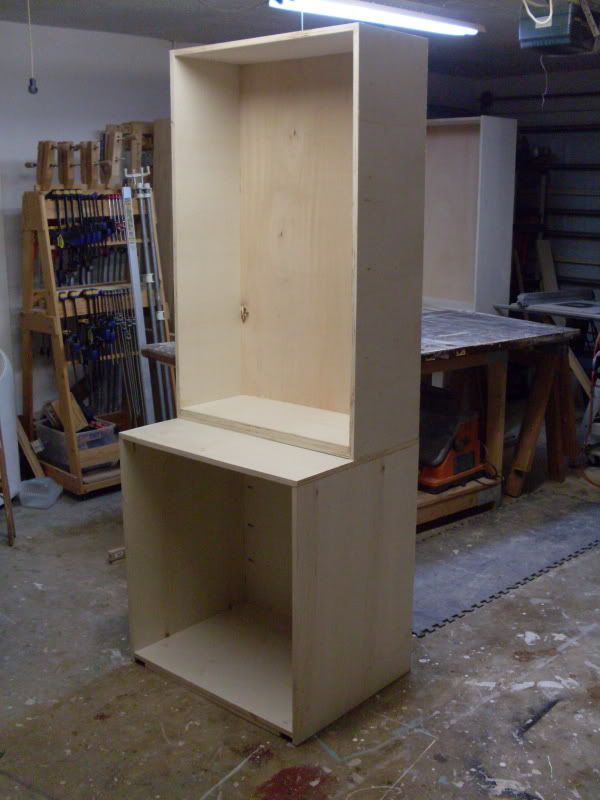 While building my new bench, the thought hit me that building large projects are a big pain in the butt. I would start to work on an assembly, then have to find someplace to store it while I worked on another. And, then, putting these assemblies together into a more complete project… oy! No matter where I turned, I was eventually tripping over pieces and parts and I was having some trouble keeping track of all the parts I was working on.
 Mention the word pine to some folks, and they will think of the soft, creamy white wood harvested in the northern reaches of North America and Europe. However, here in Florida and other southern locations in the United States, tall southern pine trees dominate, and their wood is really something special.
 There’s nothing like the first few days of a new year. All of the new calendars are out for display. All of the tragedies and triumphs of the previous year are tucked away into memory and the new year is a fresh slate.
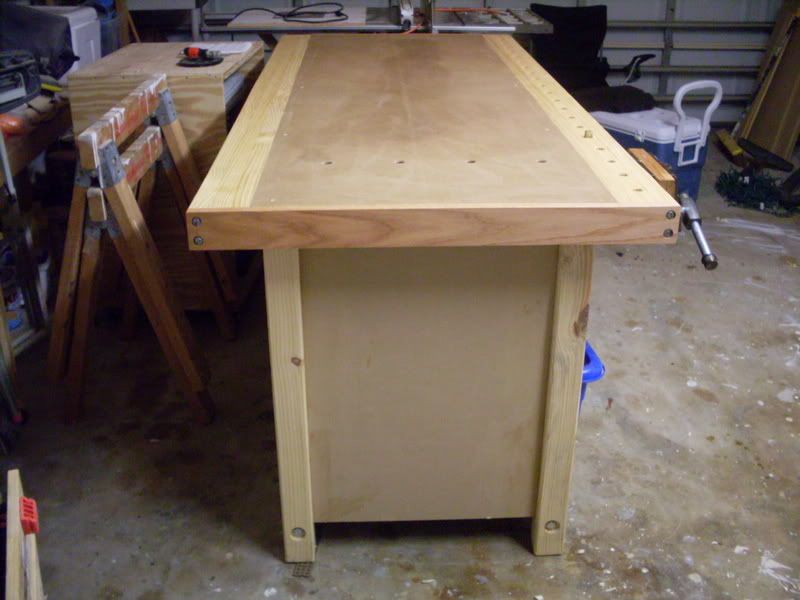 However, it’s shortcomings were becoming more apparent every time I used it. First of all, it was very rickety. I would hand plane on the bench, and it would rack, wasting most of my energy. It was also way too light for the kind of work I was doing. That was shown dramatically when I was trying to plane some maple for a recent project. For every stroke on the board, the bench actually rotated a few degrees. By the time I got the board planed, the bench was at a 45 degree angle to where I began. The time had finally come.
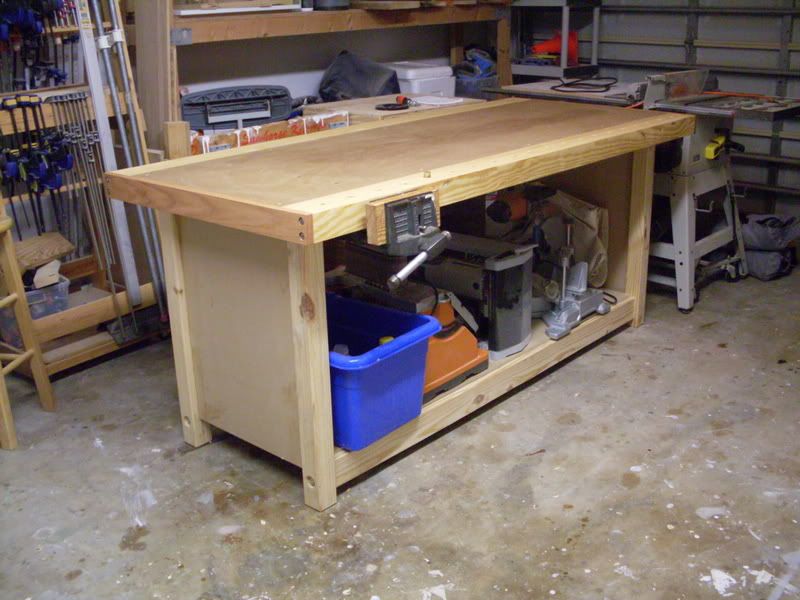 The top is a hybrid construction. I wanted the strength of natural wood for the dog holes, yet I also wanted a dead flat surface that I could replace if it ever got beat up. The core of this – going back to our friend Janus – is a solid core door my neighbor salvaged from a dumpster. It had some surface damage, but was sound for my purpose. I cut it to a width of 27″ and routed a groove in the side to accept a spline.
 From there, I bored the 3/4″ dog holes four inches on center so I could use my