Quick Poll

I’m gonna go out on a limb here and say that you come to my blog – and the blogs of other woodworkers – to get your daily fix of woodworking know-how.  Techniques, reviews and material selection are all featured in their full glory.

But, as bloggers, sometimes we post about personal stories that may be directly – or indirectly – related to woodworking. The shaving article I posted last week is a perfect example of something that isn’t necessarily a woodworking-related topic.

This week, I want to get your opinion about these slice-of-life kind of articles.  Do you think they are valuable, helping you get a better understanding of the mind of woodworkers, or do you just hate them?

[poll id=”155″]

Link of the week

Don McIvor’s turned shaving accessories

The response to Wednesday’s post was very impressive – I got lots of comments from folks I hadn’t heard from in years.

One response pointed me in the direction of Don McIvor, a wood turner who makes exquisite shaving brushes and bowls for whipping up lather for a great shave.

The woods he selects are exotic beauties such as Tasmanian Rose Myrtle, Cocobolo and African Blackwood. The brushes are made of silver tipped badger hair for maximum  shaving comfort.

Even if you aren’t interested in shaving this way, it’s hard to deny the artistry of Don’s work.

A close shave

No, I didn’t have a near accident in the shop.  And, no, this isn’t technically about sharp tools you find in a workshop.

Today’s post is instead about my personal grooming habits.  Disgusting, isn’t it?

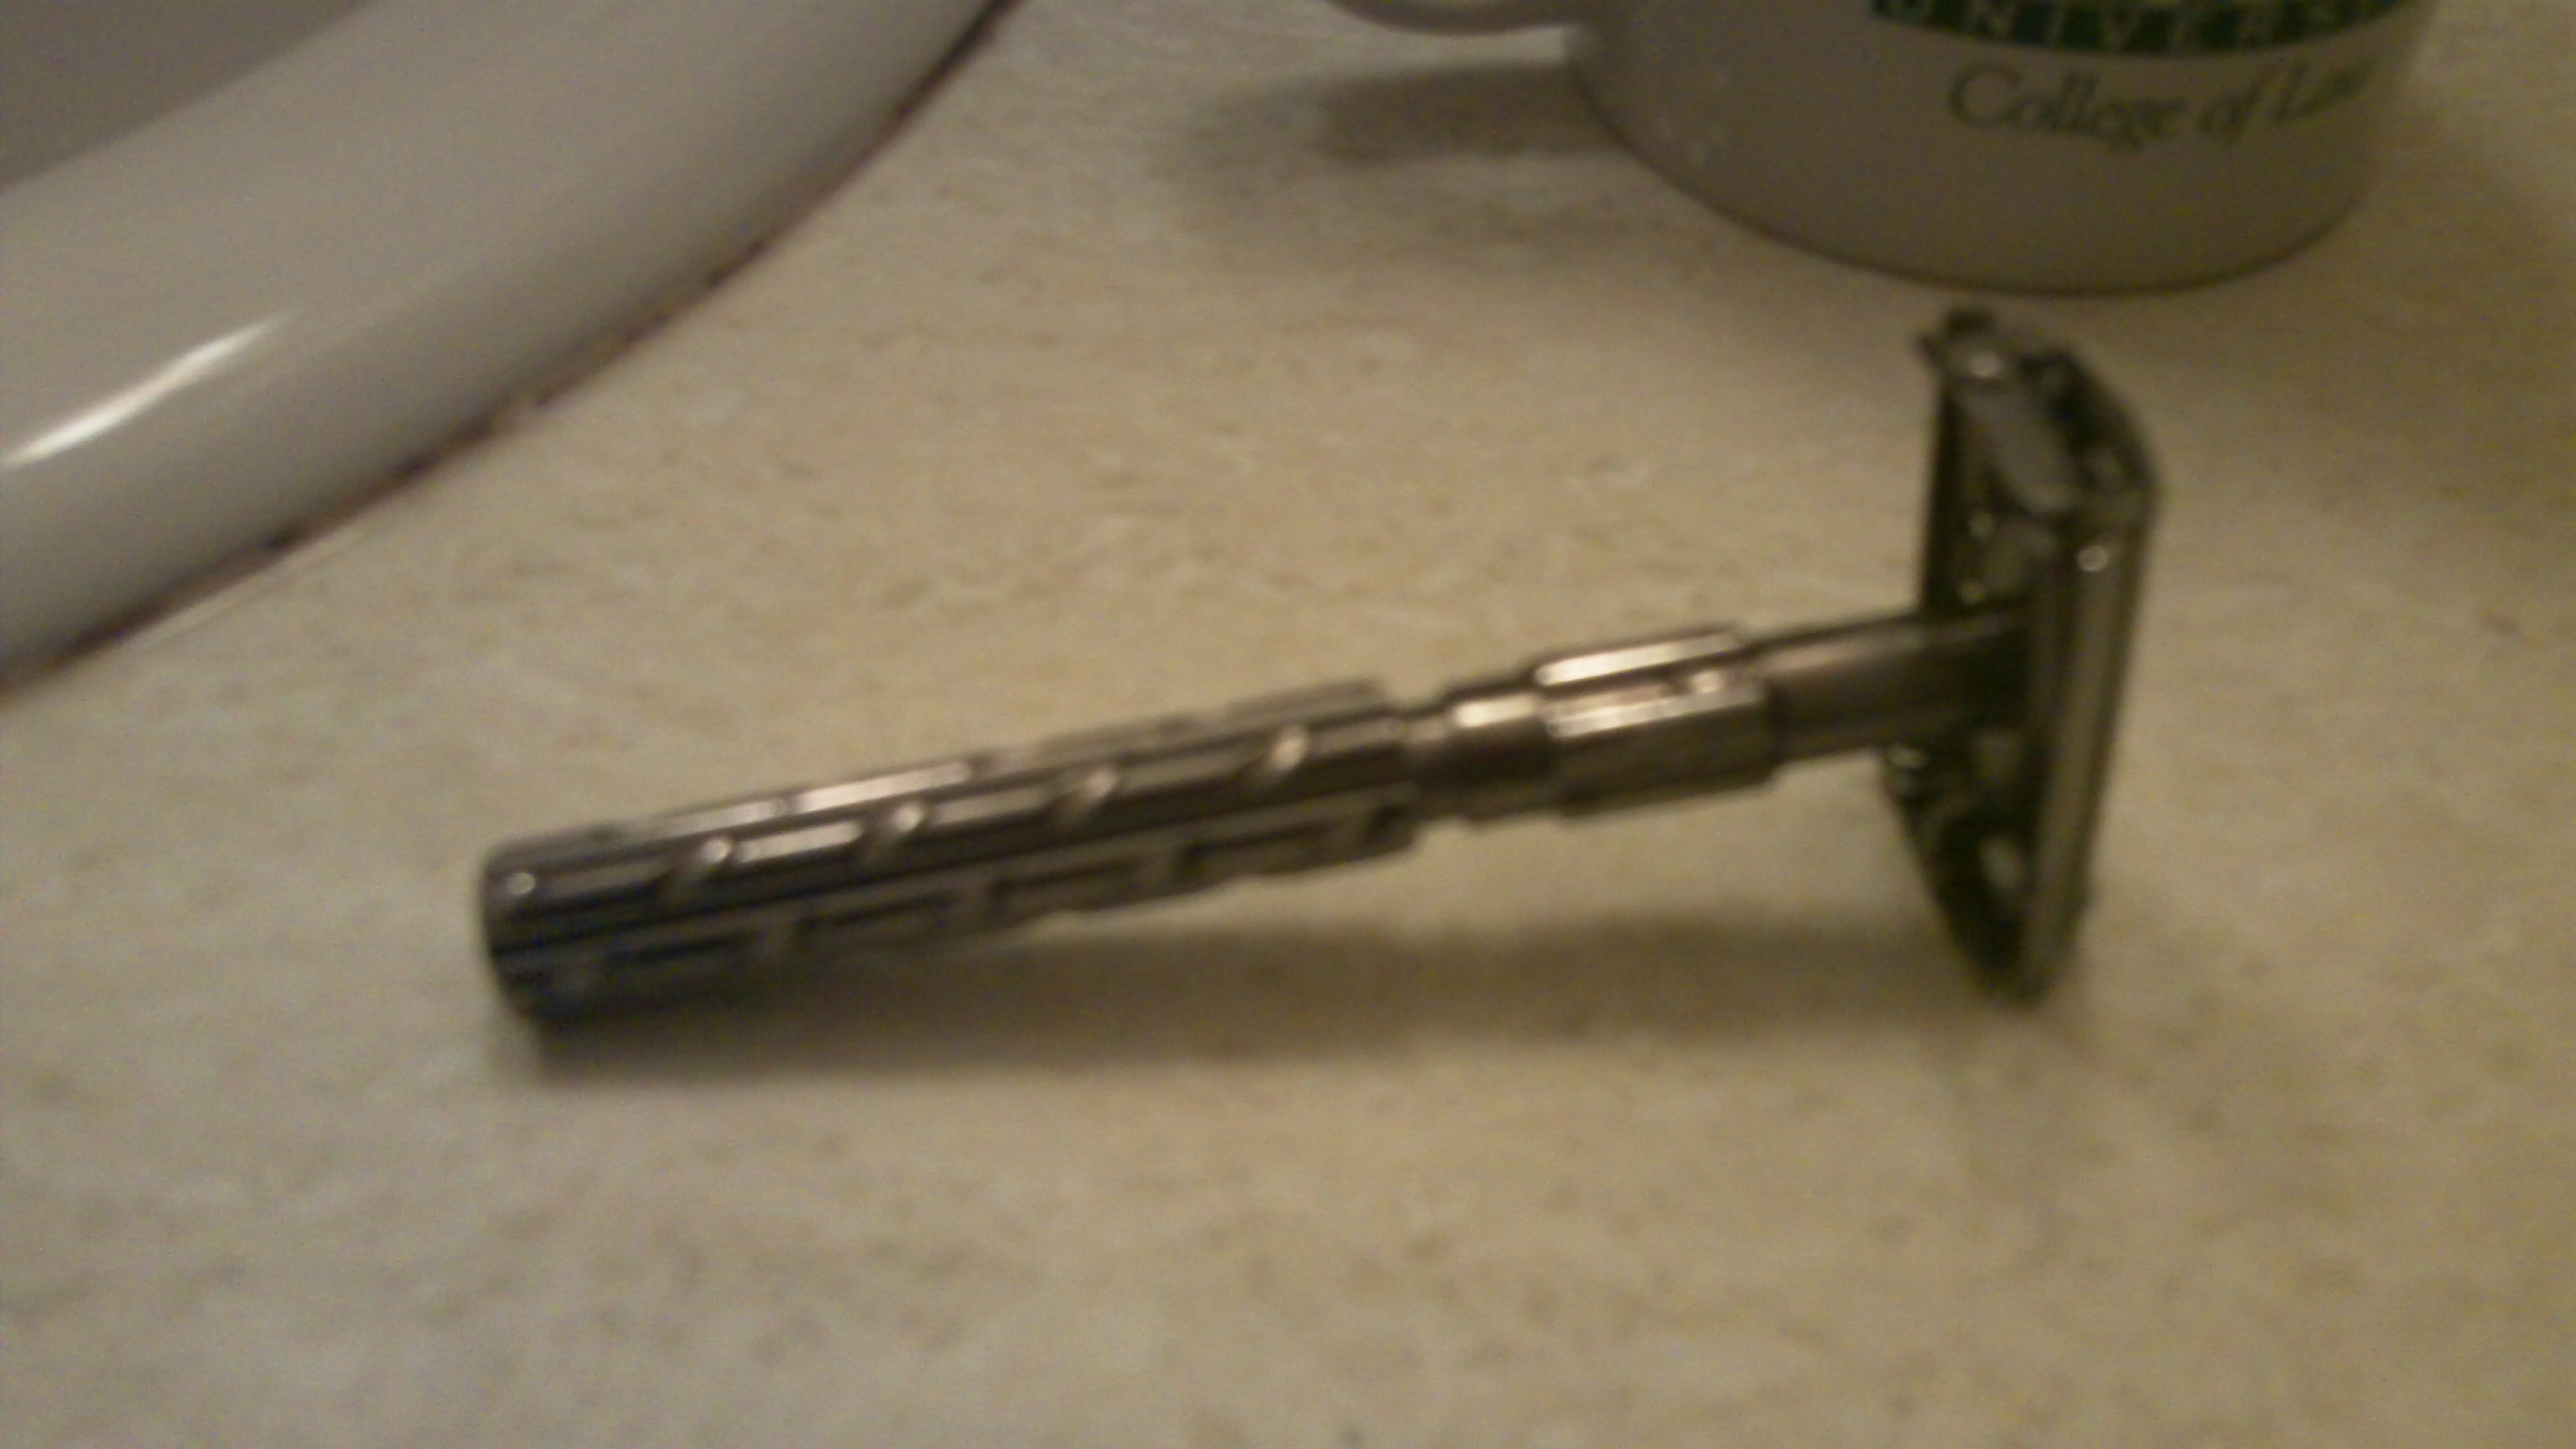
Rather than bore you with my choice of toothbrush, deodorant or foot powder, I’ll tell you about my new razor for shaving. After 26 years of searching for the perfect cartridge shaving ‘system’, I’ve gone back in time to start using a double edged safety razor.  A Parker 22R twist to open model with Wilkinson Sword stainless blades.

Maybe it was my quest for a closer shave with less razor irritation. Maybe it’s a nostalgic bent to use the same kind of razor my grandfather used before he went out to deliver milk from his dairy in Fairview, New Jersey.

Actually, it was because I can get a mountain of high-quality blades for dirt cheap when compared to those 3, 5 or 7 blade cartridges.

Before I took the plunge, I did my research. There are plenty of articles that wax poetically about the advantages of using this kind of razor. There are many how-to sites that tell you the best way to use the razor. And, I discovered a woodworking connection in how razors like this were made in the first place.

Flash back to Paris, France in 1762.  Back in the day, the only way to get a close shave was to use a straight razor.  These consisted of a handle and a pivoting blade of the finest and sharpest ground steel you could get. While capable of giving an unbelievably close shave, they are also quite capable of slicing off a chunk of ear during a moment of distraction.

One of the folks making these straight razors was Jean-Jacques Perret, a cutlery maker. While thinking of how he could improve the razor, he had a moment of inspiration after watching the workings of – of all things – a carpenter’s plane. (Interestingly, he was a contemporary of famous carpenter and bench designer André Jacob Roubo.)

In 1769, Perret wrote his book – which sounds like a totally awesome read – Pogonotomy or the Art of Learning to Shave Oneself.  In this riveting master work, Perret described a safety device he had worked on that would work with an existing straight razor. It was a wooden sleeve that wrapped around the blade, exposing only a small amount of surgically sharp edge to the skin, making any slip a little less painful. He called this device a rasoir à rabot, or a plane for the beard.

While Perret’s design didn’t take off, later developments by the Kampfe brothers and – more famously – by King Gillette, brought us disposable blades that didn’t need to be honed or stropped. Gillette, who won the contract to provide razors for soldiers being deployed overseas during World War I, was able to create a market of users when these young men returned from the trenches.

The safety razor reigned supreme until 1965, when Gilette introduced the Techmatic cartridge based razor. With effective promotion and marketing, the race to build the perfect cartridge razor was born. And, I bought into it hook, line and sinker. I had the daily razor irritation – and the lighter wallet – to prove it.

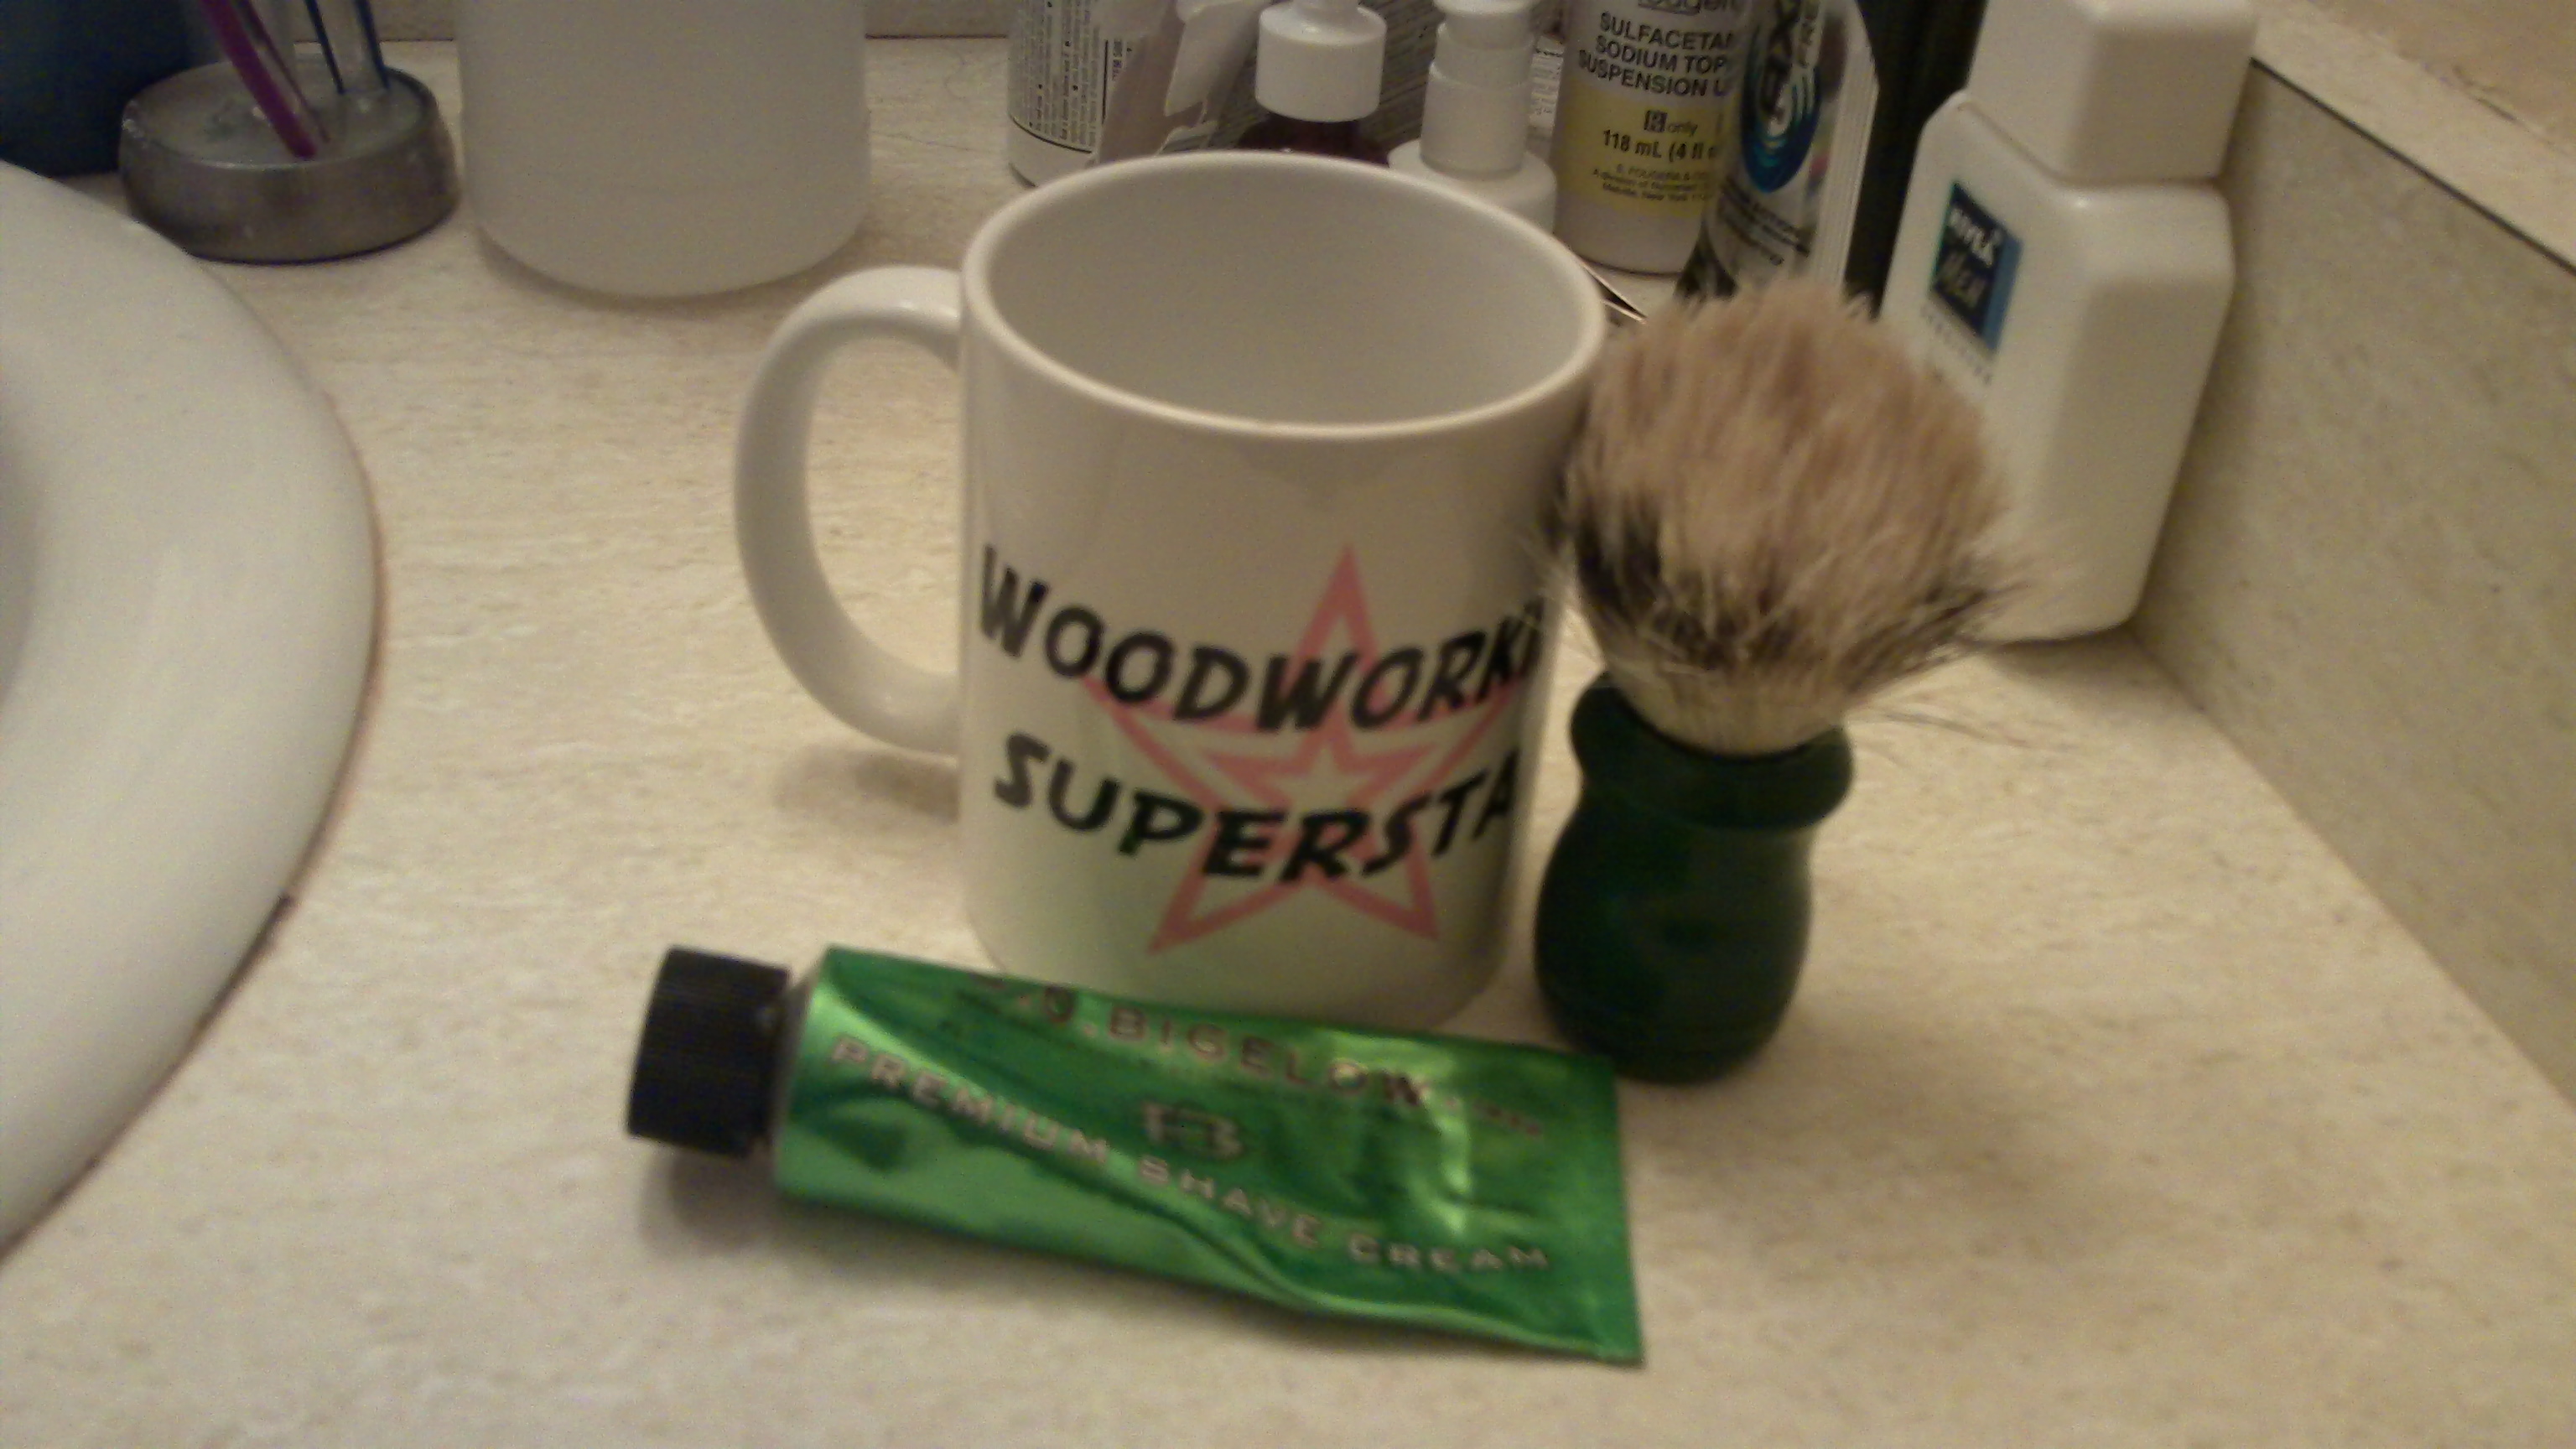
Now, not only have I changed razors, I have also gone to a tube-based shaving cream that I whip into a lather with a shaving brush. The stuff is luxurious, and a $10 tube lasts about a month and a half. It’s also given me an excuse to break out the Woodworking Superstar mug my kids had gotten me for a Father’s Day a few years back.

I have to allow a few more minutes for shaving in the morning, but that is offset by the clean results and the total lack of irritation afterward. Plus, it feels kinda cool to shave the way General Eisenhower did while at his European headquarters or how John Glenn shaved the morning he launched into space on Friendship 7.

In case you are curious about how to shave with a safety razor, here’s a great article from The Today Show about how the process works with some awesome tips.

Tools I use: Woodworking T-shirts

No, you can’t cut a single piece of wood with them.  You can’t route an edge with them. You can’t cut joinery with them.

You could use them to apply a finish, but that will be at the end of their lives.

Some of my favorite ‘tools’ in the shop are the many woodworking t-shirts that I wear as I work – and out in public. Some are funny, some are wacky, but they all reflect my love of woodworking.  This isn’t all of the woodworking shirts I own, but these are the ones that I wanted to feature – because a bunch of them came from other woodworkers. I just wanted to show them a little bit of love.

I want to apologize to you in advance, but if you click on the image above, you can get a closer look at the shirts – and my mug.

Clockwise from top center:

The woodworker’s jackpot from Andy Chidwick. Maple, cherry and walnut, it’s a big time payout as far as I’m concerned.  Andy also offers a number of other designs for sale at his site as well.

The Wood Whisperer by Marc Spagnuolo. What else needs to be said? Marc is da man, and this is da shirt of da site!

American Craftsman Workshop hat by Todd Clippinger. The chapeau is from Todd Clippinger, AKA Todd in Montana. Todd builds some sweet projects in the cold north…  The shirt I’m wearing came from Cafe Press, the woodworking collection. It reads “Measure Twice. Cut Once. Fill Gaps.”

Stop Looking.  This was the first woodworking shirt I had gotten from a fellow woodworker. Gail O’Rourke printed these up – the front reads “Stop Looking,” and the back reads, “You found your new cabinetmaker!” Very clever, but I’m not sure she sells ’em anymore…

Upper Cut Woodworks by Matt Gradwohl. The big fella will knock you out with his woodworking skills… Matt’s also about as funny as they come.  Shirt looks sweet!

What happens in the shop stays in the shop. Another Cafe Press shirt… And it just says it all…

I Roll with Roubo by Jonathan Szczepanski. I think we may have a pretty decent idea about Jonathan’s preference for bench designs…

The Penultimate Workshop by Dyami Plotke. Dyami’s design tells the tale well – the shop he’s in is a work in progress and probably will never be done. But, his shirts are very sweet!

And, in the middle, it’s time to Show me the Monkey! I still have a few shirts from my blog… it may be time for a reprint soon…

The one thing I can say about my shirt collection is that I hope it will continue to grow. As I meet more woodworkers, I look forward to showing the colors and promoting the work of others.

Quick Poll

I love Cracker Jacks. You know, that sticky popcorn and peanut concoction that you can eat as a snack during a movie or at a ballgame.  No doubt you’ve heard the lyrics:

Take me out to the ballgame, take me out to the crowd.
Buy me some peanuts and Cracker Jack…

They taste great, but the best part is that you get a toy surprise inside – a pleasant little something extra you didn’t expect.

In your shop, no doubt there’s a tool that was like that proverbial box of Cracker Jacks – one that offers you a whole lot more than you thought you were going to get.  Maybe it is the mind-numbing array of operations you can perform with a router or the ability to cut joinery as well as other options on your table saw.

This week, what is the most effective multitasker in your shop?

[poll id=”154″]

Link of the week

New Woodworker’s using router bushings page

Since the flattening jig I wrote about this past Wednesday required the use of a router bushing, I thought it would be a good idea to give you a resource about how to use them.

Tom Hintz – the New Woodworker – put together an outstanding page on what router bushings are and how they are used. Tips about how to set them up and use them with templates are offered.  Sure, they are simple, but they can provide you with so much versatility…

Smoothing the wild

One of the things I enjoy most about woodworking is jointing and planing boards.  Think about it – you start with this rough, dull board that looks like something you wouldn’t put into a home construction project. When you are done, you have a gorgeous board you can build a masterpiece with.

Since I face and edge joint boards with a hand plane, the process is also a voyage of discovery. I can feel how that  rough outer layer peels  leaving a silky smooth surface behind.

But, sometimes, there are those boards that don’t behave well. Ironically, those are usually the boards that are the most beautiful, full of figure and character. This describes a board that was recently sent to me by Bell Forest Products.  I was looking for a live edge slab, and the one they sent to me was beautiful – a slab of flame birch.

Now, flame birch is one heck of a board.  Beautiful waving grain. Its beauty, alas, comes at a price. It’s one bear to surface.

Even with my super cool, heavy duty Veritas bevel up smoother set to a very fine cut, it still tore out like nobody’s business. Running the board through the planer – even with the finest cut – led to much more ugly tear out.

I thought I may have had to run down to the local hardwood supplier to get the board run through their wide belt sander, but they were closed the day I was free. Bummer.  Thinking that I was completely out of luck, I went home and sat down for a glass of iced tea.

That’s when it hit me.  Why not make a thickness jig for my router? Without looking at a plan, I grabbed some plywood scraps from the kitchen cabinet pull outs and puzzled it out on my own.

The whole jig involves two pieces of plywood nailed to two cross pieces. The two pieces that go across the board are held 3/4″ apart, just wide enough for a router bushing to fit between. This way, the movement of the router could be carefully controlled while I pushed the board under it.  Under the cross pieces, I took some of the slab offcuts and used them as spacers.

I put a 1/2″ bit into the router and set the base up with a 3/4″ router bushing. I set the depth of cut until it just grazed the top of the board and then turned the router on.

Feeding the board from left to right, I cut row after row across the board.  The tear out disappeared and the board ended up good and flat. What came out the other side was a board with some very fine router tracks, which were easily erased by a random orbit sander and some 100 grit sandpaper.

I would show you the final project, but I’m still building it and don’t want to spoil the surprise. However, when the boards are wild and unruly, now I know the secret of how to tame them in my shop.

part of the Wood Talk Online community