
Cabinet doors. Chest sides. Drawer fronts.
 Look around at the furniture you come in contact with every day, and you’ll see them there. Some have transitions in their profiles that add shadow lines, yet others are soft and rounded, easy on the eyes. Raised panels just staring at you, adding visual dimension to plain, everyday items.
If you have never cut raised panels for a project, you might be intimidated to try, or believe that they require advanced tooling that would break your woodworking budget. Not so. In fact, there are several ways the average home woodworker can tackle these panels, making their projects that much sweeter.
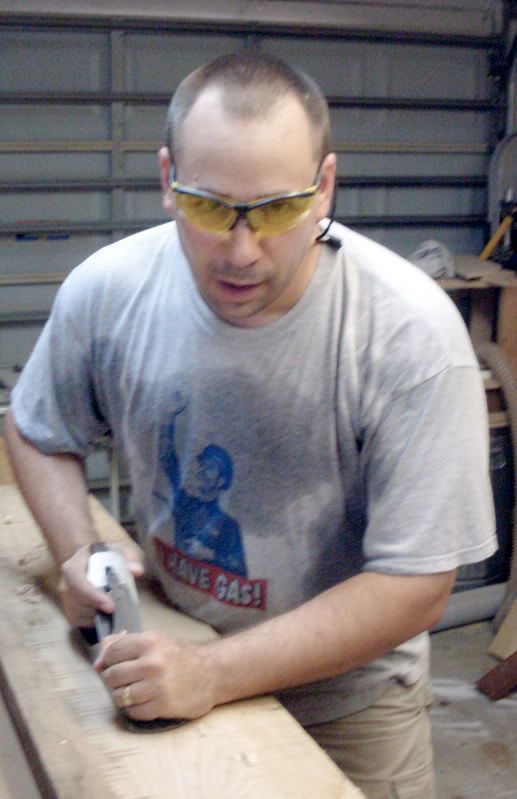
The first method is a throwback to the days before power tools were common… or even invented. Hand planes can raise a panel for you in a jiffy. Back in April 2008, I wrote an article about planing a bevel on a workpiece. Using just a jack plane and a marking gauge, I got very good results with a minimum of fuss and effort.

You could take the route my friend Craig Andrews went. He had a custom-made panel raising plane made for his shop. It’s a gorgeous piece of tooling, and it produces a very crisp bevel with some embellishment. Unfortunately, this kind of tool requires a considerable investment up front, but if you can swing it, the results are spectacular.

If hand work sounds like too much work, there are other options. How about your table saw? It may not seem like it would be a good choice at first, but the table saw can cut very crisp panels by simply beveling the blade and using a smart jig or two. Tom Hintz of New Woodworker.com offers his take on this process here.

The late Danny Proulx also offers plans on how to cut a coved raised panel profile on the table saw. His method does use an unprotected saw blade and is best executed with the kind of push blocks used at a jointer to provide control and protection.
If you decide to go the router route, there are several options there as well. Eric Reed, the product manager for Eagle America, gave me a quick rundown on the different kind of router bits available with their strengths and weaknesses.

Vertical panel raising bits are generally the least expensive option. They require less steel and therefore weight less. This means they can run in less powerful routers that are at least over 2 HP. This does require more than one pass – usually three. The downside is that they are more difficult to set up in a vertical position because there is less surface material riding on the table to support the panel as you are feeding it through. However, they work great with a flat bed horizontal router table where the router is perpendicular to the router table top and the face of the door panel is supported by the table.

Horizontal bits are generally a little more expensive than vertical bits. They require more steel and therefore weigh more. This requires a more powerful router, at least 3 HP. They still require at least 3 passes to achieve your full depth of cut. The upside to this style of bit is that it is ready to work in just about any router table with no modification or special equipment. The panel lays face-down on the table and is fully supported during the cut. Another bit of advice is to check your router’s speed control. Larger diameter bits do require a slower speed of rotation, so adjust your router accordingly.
If properly setup, both bit styles will produce high quality cuts. Ultimately, it comes down to personal preference and what you are comfortable working with.
Regardless of the method you use to cut your raised panels, you may want to consider cutting a rabbet on the back side of the panel. This relief cut will help prevent the pane’s face extending above the rails and stiles. If you don’t mind the panel being raised out like that, then it’s OK to go. But, a shallow rabbet on the back of the panel – say 1/8 to 1/4 of an inch – can keep your panels from riding proud.
If all of this panel raising sounds complicated, it’s really not. However, another option available to you would be to cut a groove in the stiles and rails of your door and use a plywood panel in the door. Or, you could use some MDF which can be painted or veneered…
You know, there are lots of ways to get this accomplished. Think of the possibilities you can try in your shop!
 If you are a reader of


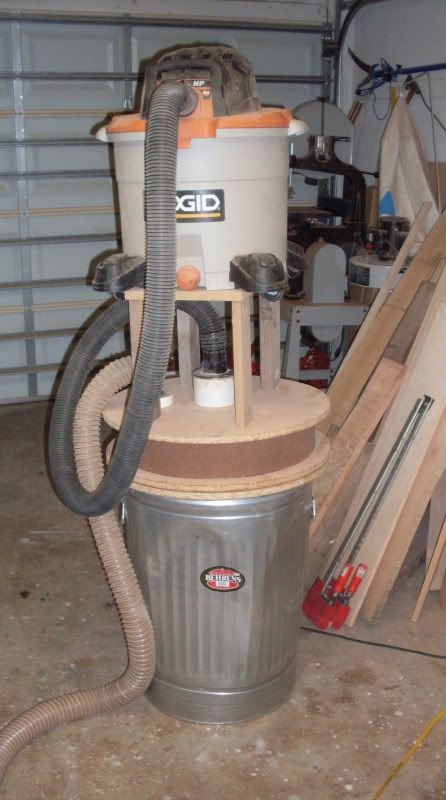 While it did look nasty at first, it may prove to be something that will change how I work in my shop.


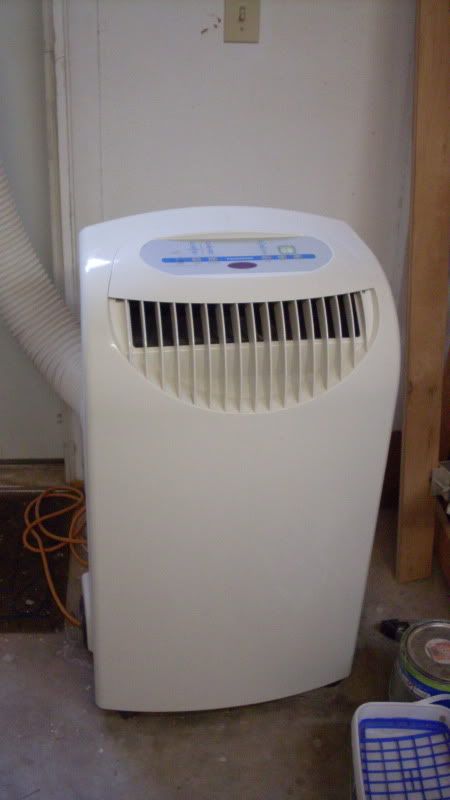 That’s where we found this little portable unit. The boys used to call it R2D2, after the droid of Star Wars fame. It’s a clever system that didn’t require me to make any modifications to the shop. It plugs in to a 110 volt outlet and has a vent which exhausts the hot air through the window on my side garage door. There is no condensation drain on the unit – apparently, the condensation is evaporated and sent out through the same exhaust port.