
So, you want to put a bevel on the edge of a panel? Well, you could use a special router bit. Or, you could rig up a high fence that works on your table saw. But, what if you don’t have the bit or feel uncomfortable with a large panel on edge?
Have you tried hand planes?
 It’s not as tough as you think. In fact, with just a few tools, this is a fast method that will work quickly on any size panel.
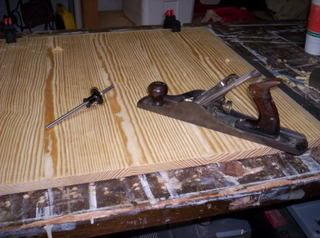
First of all, you have got to have at least one tool, and the other one makes the job a whole lot easier. The tools I used are an old Stanley Bailey No. 5 Jack plane (essential) and a wheel marking gauge. The gauge is going to mark out what needs to be removed, and the plane’s gonna do the removing.
.
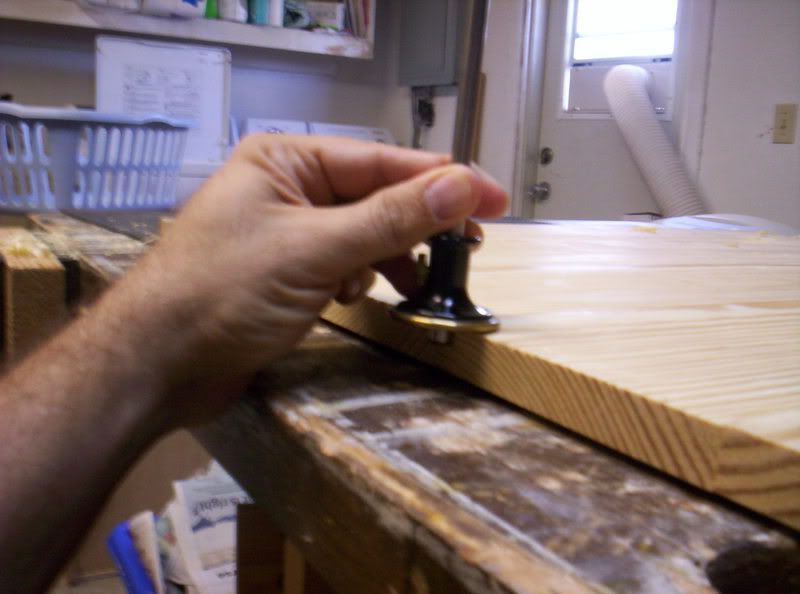
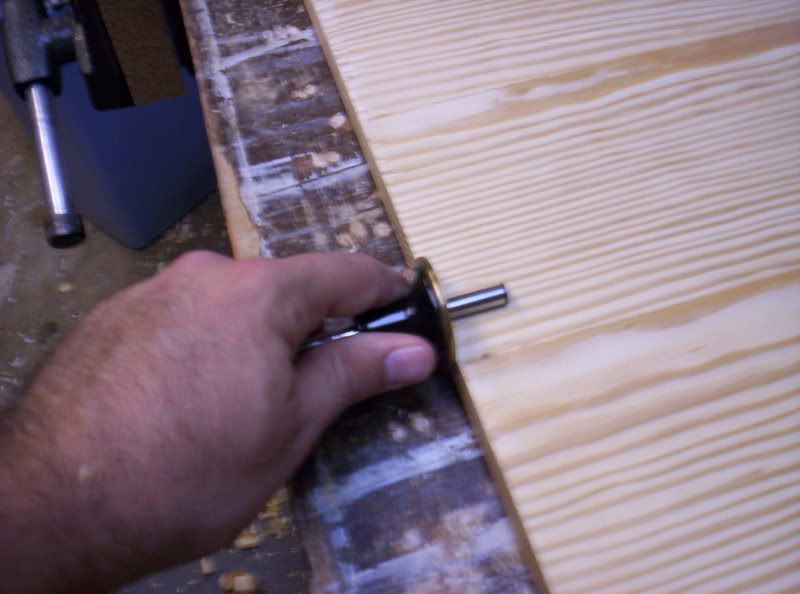 The next step is pretty essential, I’d say. You have to carefully mark the depth and width of the area you want to bevel. This way, you know exactly what you need to remove, and you’ll be able to keep a consistent bevel. For this exercise, I used one inch wide and one quarter inch deep.
.
.
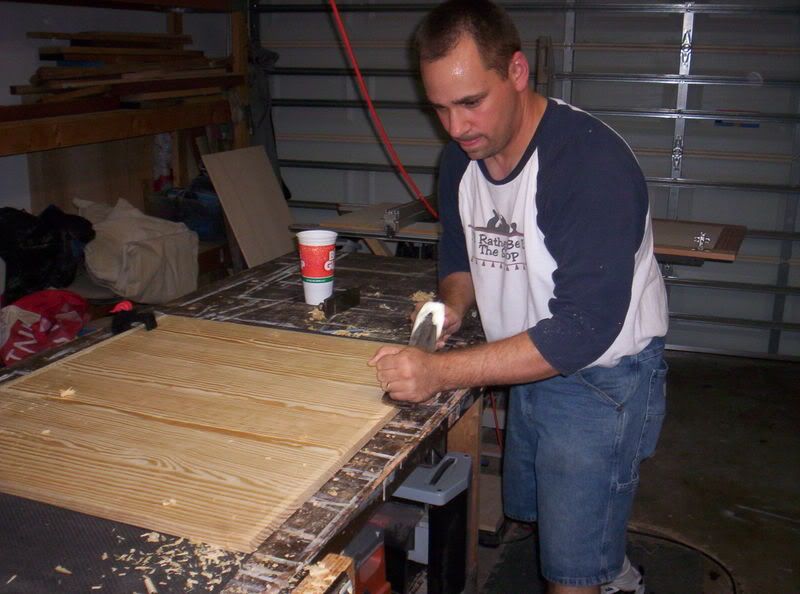 Now, with the panel securely clamped to your work bench, you can use your plane to remove the material to form the bevel. I start with the end grain, planing slightly ‘down’ and ‘out’ with the plane to prevent tear out. Once that’s done, then I move to the edge grain to remove any tear out – just as when you use a router.
.
.
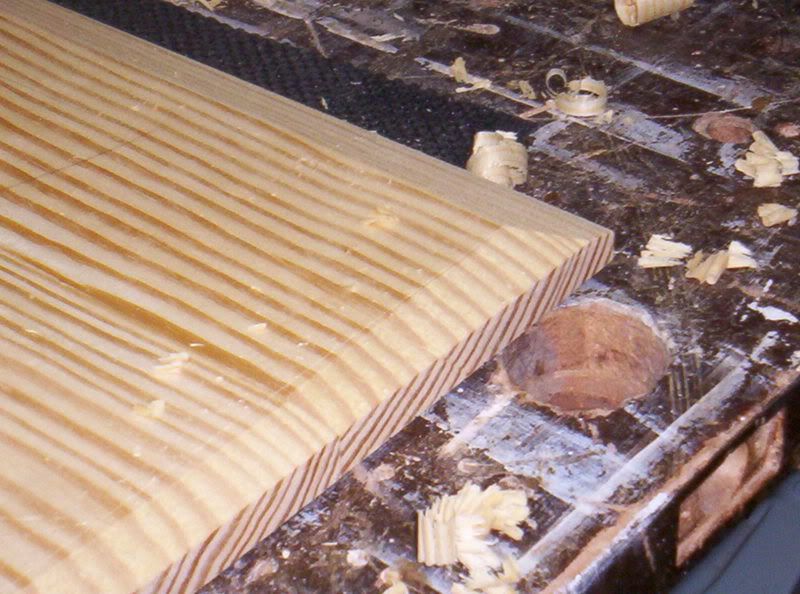 Finally, what you are left with is a crisp bevel that just needs a little sanding – especially on the end grain bevel. The beauty about this method is that you can use it to create any number of different bevel geometries. And, if you want to bevel a door panel, table top or any other piece of furniture, well, this method doesn’t require complicated jigs or expensive router bits.
.