If you haven’t been the parent of a newborn child in the past decade or so, wow, have you missed out on an interesting change in attitudes. In the good old days, my mom can relate stories of drinking blackberry brandy to calm her heartburn when she was pregnant with me. I’ve read accounts of people who can recall shooting .22 rifles at the age of five with minimal supervision. When a tyke bumped her head and fell down, she got a hug, an ice pack for the sore area and a sucker to keep her mind off the ache for a while.
Today, there is an incredible amount of deeply concerning information being given to new parents, and you can’t blame them if the new mom and dad are a little apprehensive about certain things you might consider silly. After all, some websites are attempting to link immunizations against deadly childhood illnesses with the onset of autism. A friend of ours who was expecting her first flatly refused to eat a glazed carrot dish that had a tablespoon of bourbon in the recipe for fear of causing fetal alcohol syndrome in her unborn child. Devices which monitor the breathing patterns of newborns as they sleep – and send alerts via pager to the parents if those patterns change – are now common baby shower gifts.
This extreme awareness of potential threats to the safety and well-being of newborns, babies and toddlers has a ripple effect that can be felt even into woodworking. Let’s face it, when we hear the news of a new child on the way, most woodworkers’ thoughts turn to hand-crafted cradles and keepsake boxes to mark this monumental occasion. For older infants, cribs, changing tables, play blocks and pull toys seem like appropriate gifts. And, what toddler’s eyes wouldn’t light up when given their very own wooden rocking horse or wagon?
For many woodworkers out there, they are exceptionally aware of the safety concerns while building gifts for their own children. For others who don’t have their own children or those who may be a little out of practice in raising infants, this may be their first attempt to build something age-appropriate for a little one in today’s climate. While their hearts are in the right place, building toys that are both safe for youngsters and put their parents’ minds at ease can prove to be a challenge. Fortunately, the United States Consumer Products Safety Commission has some great information providing clear guidelines to ensure that what you build will be as safe as possible.
Here are some tips to keep in mind when planning to build a project for a little one:
*Safety first. When looking the plans for the project you are building, always build safety into the project. For instance, there are a number of inexpensive soft-down lid closures out there which will prevent toy box lids from smashing down on vulnerable fingers. While this hardware may add to the cost of your project, the piece of mind they provide is invaluable. The same goes for safety straps on things like high chairs and changing tables. Having engaged in hand-to-hand combat while feeding and changing my two sons, I can tell you that safety straps have prevented several mishaps during the boys’ fussier moments.
 Another area of concern is items that fold. If you build a small reading chair or artist’s easel that folds, understand that the hinged areas are potential pinch points. Sure, mom and dad should be supervising closely, but building safety into a design helps to reduce the likelihood that something will go wrong.
Something else often overlooked are the rockers on a chair or other rocking toy. I had built a rocking horse for my son with gracefully fully arching rockers. The horse looked beautiful, but my energetic one-year-old managed to pull back on the reins and flip the horse backwards. On later versions I built, I added either a recurve or a knob at the rocker’s back end to prevent this from happening.
* Build the right size. If you have ever watched babies discover the world, you’ll notice that if they can grab it, it gets put right in their little mouths and gummed like crazy.
 It may seem like a strange reaction, but they are actually learning what things taste like and how things feel. Given this fact, building projects for little ones involves making projects large enough to not become a choking hazard. The best way to ensure you are building something large enough is to try to fit individual piece of a toy through the cardboard core of a roll of bathroom tissue. If it fits, the piece is too small and can become a danger.
If the toy has pieces attached to it – something like a toy truck’s wheels – be sure to check those wheels for size as well, since they could become detached during rough play. At less than a year old, babies don’t have very fine motor skills and can’t manipulate small items easily. Larger, chunkier toys than can be grabbed in a fist are much better options for play – and safety – for this age group.
* Mind the gaps. Another issue to consider, especially if you are building something like a crib, is that children can get their heads, arms or legs stuck between slats or bars. Many older cribs have bars that are too far apart to be safe. This warning also applies older crib woodworking plans. In proper slat spacing, a can of soda shouldn’t be able to fit between the slats. If you are working from an older plan, adjust the spacing accordingly to meet these guidelines, and you may also need to make the rails narrower to preserve the look of the piece.
Another concern about cribs is how high any corner posts rise above rails. While it has not happened often, a few cases of children being strangulated have occurred when something they are wearing gets hooked over a tall corner post. Your best bet is to not have any corner posts rise more than ¼” above the top rails. Even better is to build a top rail that covers all slats and posts, leaving no protrusions at all.
Before you build a crib or a cradle, be sure to get an exact measurement of the mattress or pad you will be using. The mattress should fit snugly in the crib to prevent children from being trapped in the gap between a too large crib and a too small mattress.
* Finish for safety. It goes without saying that thoroughly sanding any wooden projects is a critical step when building for children. Small hands and tongues can easily get splinters from improperly sanded surfaces. You will also want to round over, chamfer or break all edges of your project with sandpaper to improve the comfort and safety for the little ones.
 Nearly all common wood finishes – after they are given sufficient time to cure properly – are non-toxic. It’s the solvents that carry the finish that typically pose the health threat. So, if you are building something like a cradle for the newborn to sleep in, be sure to finish the project well in advance to allow proper curing time. A good way to check for proper curing is to press your nose to the project and take a deep sniff. If you can no longer smell the finish, that indicates that it has cured properly and is now safe for use.
For projects destined to be handled – and gnawed on – by curious babies, a shellac finish is a very good option. Shellac is commonly used in the food and pharmaceuticals industry to put a shiny surface on pills and candies. Since it’s safe to consume, mom and dad will have less to worry about when giving the toy to their child to play with.
* Think about alternatives. If building kid-friendly sounds like too great of a challenge or the parents of the little one you are building for are the highly-concerned type, you might be better off building a project that the child won’t handle on a day-to-day basis or one that they can use when they get much older. A shelf to hold future Little League baseball trophies, a music box for the most beautiful and graceful ballerina or a shadow box for mom and dad to proudly display the keepsakes of those first few days together as a newly-expanded family are just some great projects that will be appreciated for years to come.
Remember, you are building this gift out of love, caring and celebration for the arrival of a new family member. By following some simple common-sense guidelines, the beautifully hand-crafted piece you build will show just how much you care. In future years, you might be surprised to find that the gift you build may become a precious family heirloom passed to future generations.
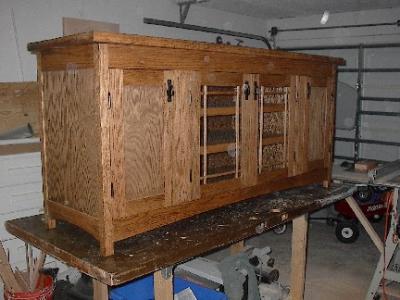 This is the project that made me a ‘made man,’ according to some folks over at the
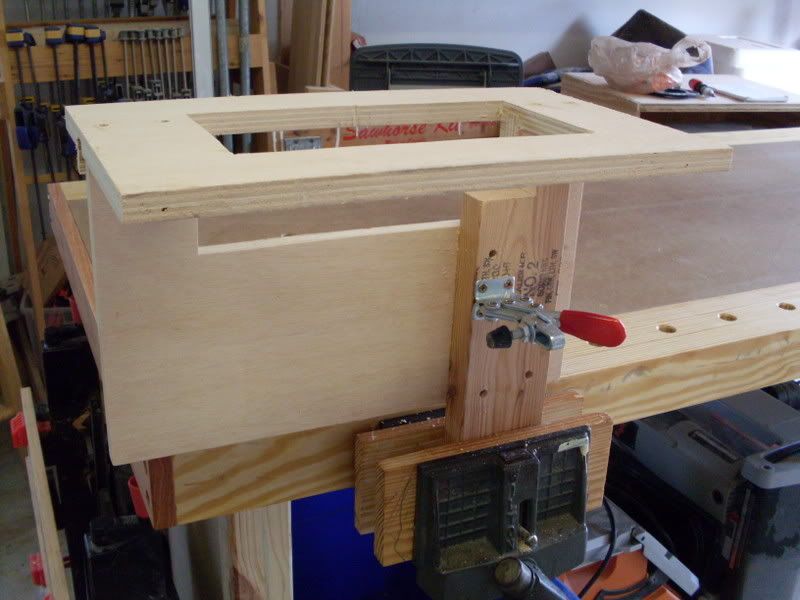

 There’s nothing like the first few days of a new year. All of the new calendars are out for display. All of the tragedies and triumphs of the previous year are tucked away into memory and the new year is a fresh slate.
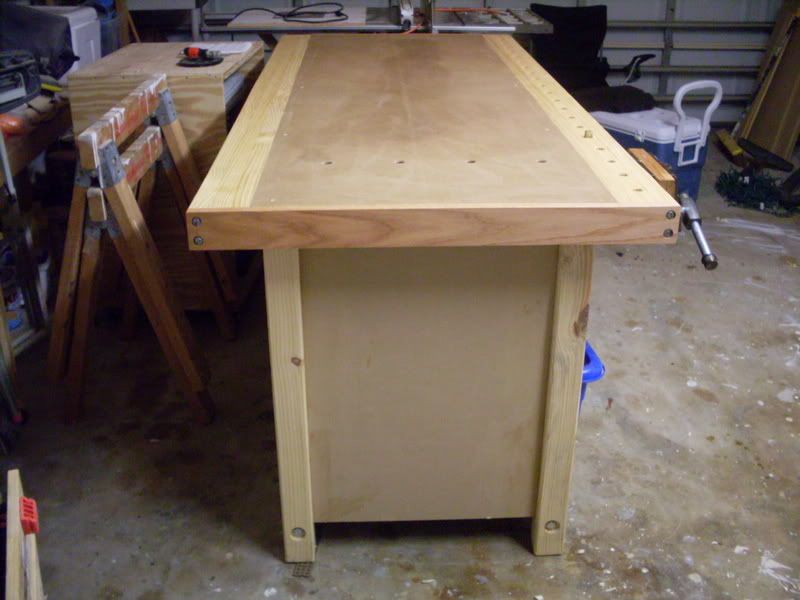 However, it’s shortcomings were becoming more apparent every time I used it. First of all, it was very rickety. I would hand plane on the bench, and it would rack, wasting most of my energy. It was also way too light for the kind of work I was doing. That was shown dramatically when I was trying to plane some maple for a recent project. For every stroke on the board, the bench actually rotated a few degrees. By the time I got the board planed, the bench was at a 45 degree angle to where I began. The time had finally come.
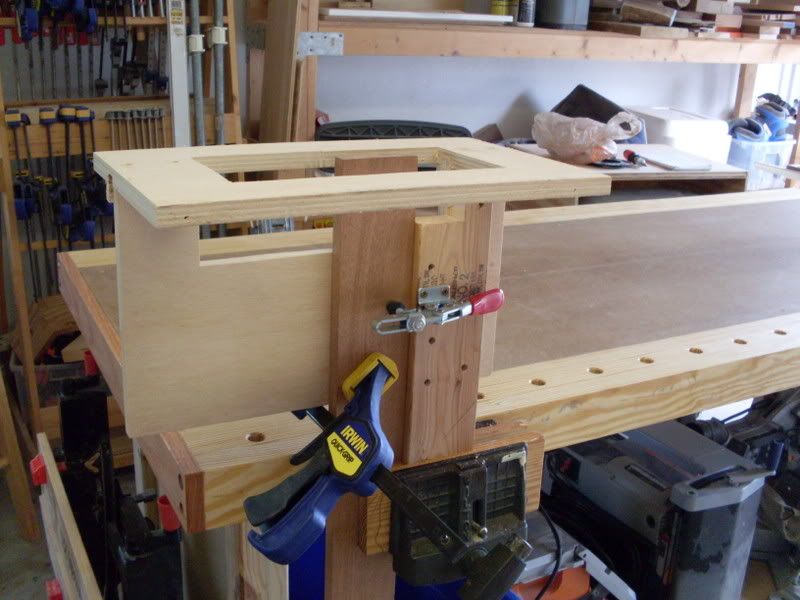
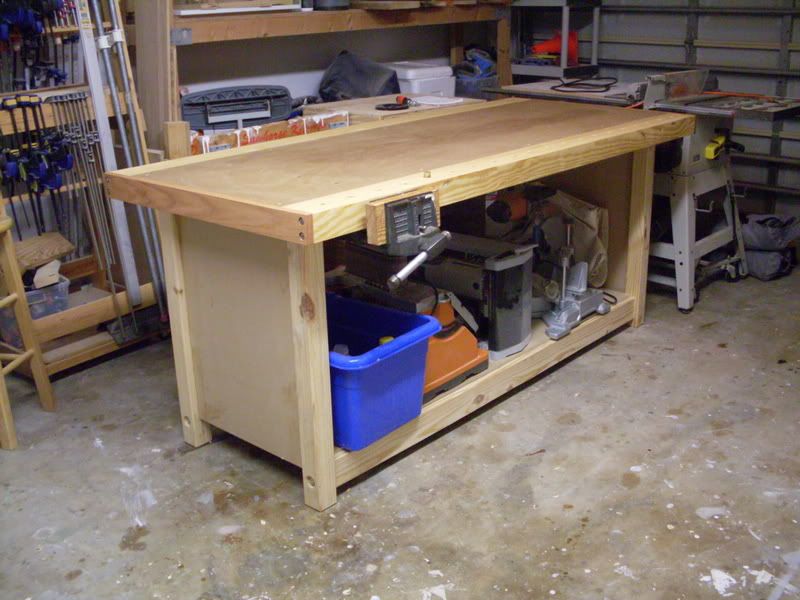 The top is a hybrid construction. I wanted the strength of natural wood for the dog holes, yet I also wanted a dead flat surface that I could replace if it ever got beat up. The core of this – going back to our friend Janus – is a solid core door my neighbor salvaged from a dumpster. It had some surface damage, but was sound for my purpose. I cut it to a width of 27″ and routed a groove in the side to accept a spline.
 From there, I bored the 3/4″ dog holes four inches on center so I could use my
 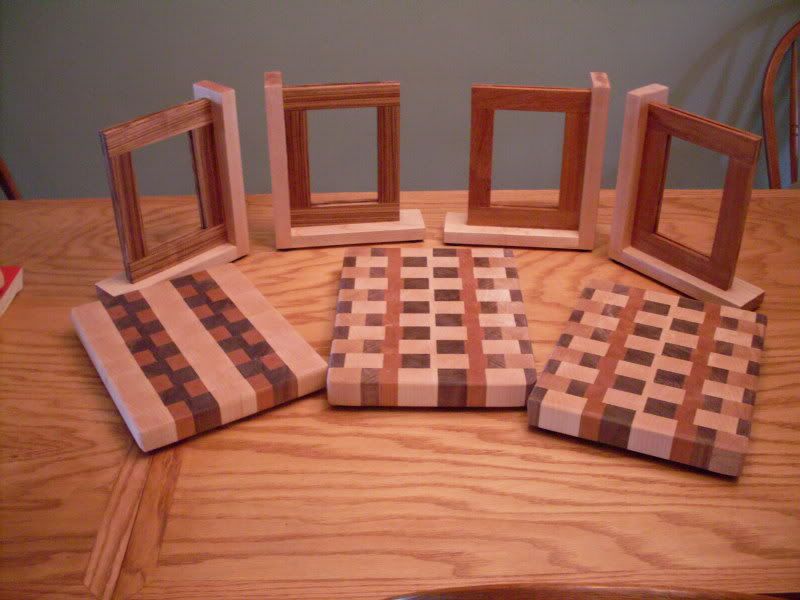 I FINALLY got them done!
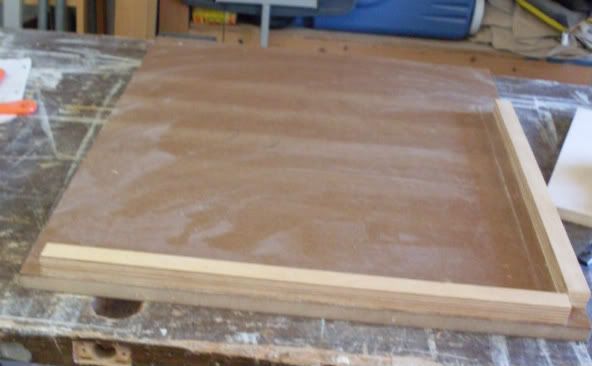 This is one of those projects I have always thought about, but never got around to building. That was until I had to build a box that had mitered corners. Trying to square those slippery joints and keep the joints aligned… well, that was tough.
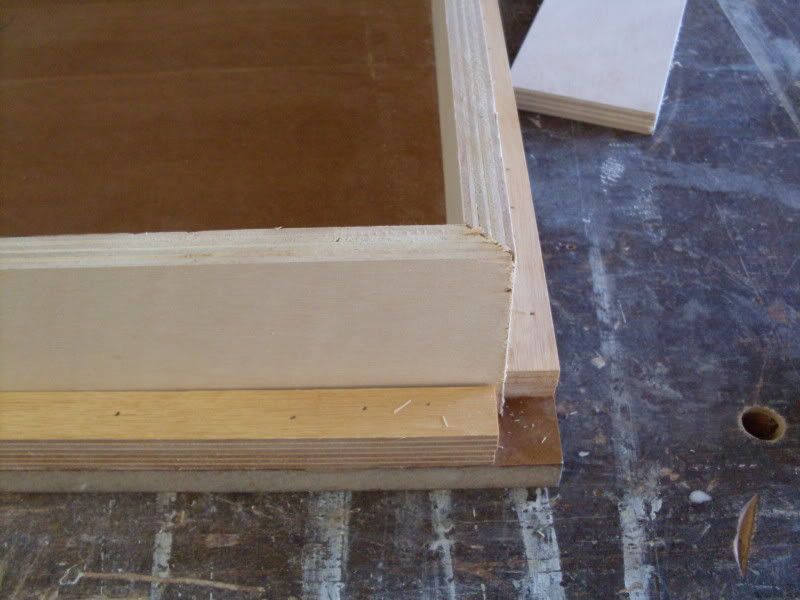 After I built this, I finished it with four coats of polyurethane to help prevent any glue from sticking to the jig.