 In case you have been living under a rock, a lady by the name of Maureen McCormick recently published her memoirs.
Why is this significant? Well, Ms. McCormick once played the lovely and talented Marcia Brady on the super-cheesy 1970’s sit com The Brady Bunch. You remember her – her younger sister Jan kept lamenting, “Marcia! Marcia! Marcia!” as she was elected president of her class, made the cheerleading squad and later went on to share the Nobel prize as she figured out a new way to split the atom.
Apparently, her years after the show were – to put it mildly – tumultuous. Problems with drugs and other issues plagued her life after the show ended.
Now, I have no plans to buy her book and learn all of the sordid details. It is interesting, however, to see just how many people are willing to put to print the details of the evolution of their lives and careers for the public to read.
It’s funny, because I have a similar book on the bookshelf in my living room. Is it professionally printed? Nope.
Does it tell all the intimate, embarrassing details of my life? Nope.
 However, it does – in a way – chart my woodworking progress through the years.
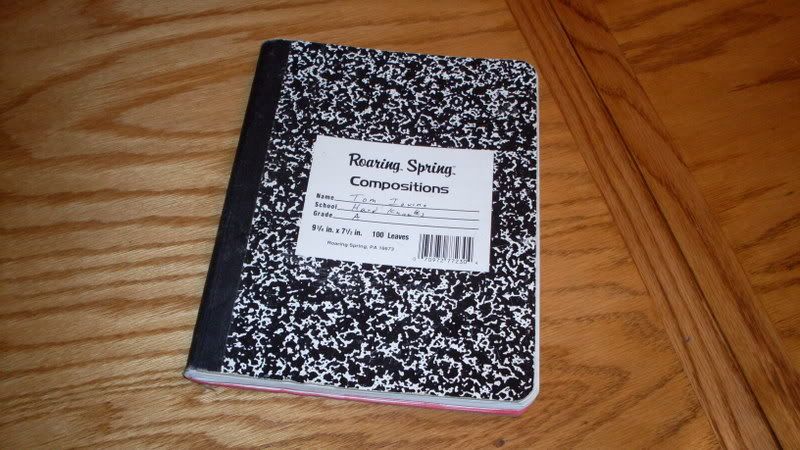
About 10 years ago, when I first started woodworking, I needed a notebook to jot down some ideas. Hey, I had a circular saw, a drill, a doweling jig and a whole lot of enthusiasm. I picked up one of those marble-covered composition books – you know, the ones with the black and white covers and the stitched binding – and started sketching out projects that I was picturing.
 Those front pages do tell kind of a funny story about projects that never saw the light of day, designed with just unbelievably bad technique. Many of those babies really needed to be strangled in their cribs.
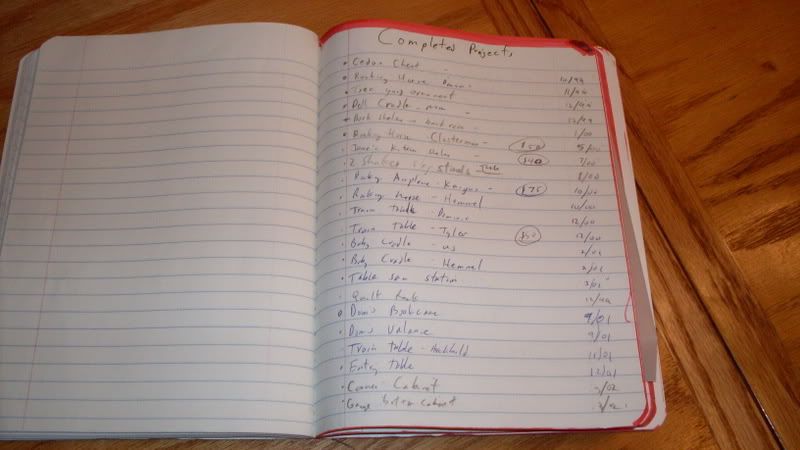
The best part of this book, however, happened on the back 20 pages. I took the time to color the edges of those pages with a red marker and start listing the projects I built on those sheets.
The listings are very simple. The name of the project. The month is was completed. Who was it built for – my home, a friend, a neighbor? Did I make any money from it?
At first, the projects seemed to take forever to get started. Simple projects, such as a step stool for my son to use to reach the bathroom faucet, took about four months to build. Other months, I was able to crank out project after project. I could tell when I got my portable shop air conditioner – that’s when I started actually building stuff during the heat of the Florida summers.
The most important function of this list, however, is for me to look back at what I have already built and see where I’ve come from. I have a few stars next to projects that were big steps for me. The first project I built. The first time I built stuff to give as a gift. The first time I sold a piece. The first time I cut dovetails. Each milestone brings back the memories of where I was, what I was doing and who I was building with.
My trips to a woodworking school that I used to go to in Indiana. Yup. Got ’em there.
The times when I worked with my brother-in-law at his house? There they are.
The times when my sons would come out and help me build projects? You betcha.
The cool thing is that everything I have built is listed there. No matter where those pieces are today, my list keeps reminding me that my work is out there somewhere.
If you are a hobby woodworker, you might want to consider starting your own book. Remember, when you build, you aren’t only building projects – you are also building memories.
OK, I have to admit that sometimes I get embarrassed when I look back at some of my stinker projects. But, hey, we all have those from time to time.
At least the public doesn’t have to read about them…

 No matter where you look, it seems as if every woodworking catalog or store carries a wide selection of tool belts. Some are rather simple affairs, with just a few pouches that connect to your regular belt and offer a small amount of convenience, while others are full-blown carpenters’ rigs that could keep you working on a roof all day.
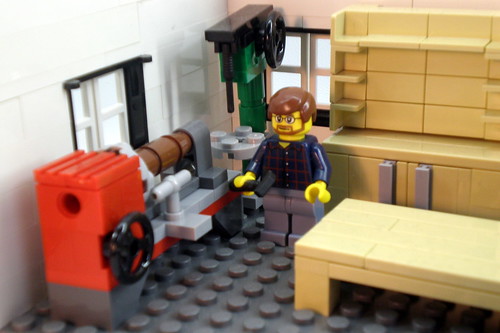 A person identified as Legozilla has created – in Legos – a complete replica of the New Yankee Workshop. Complete with a little whiskered Norm Abram.
 The router is one of the most versatile tools in the shop. Edge jointing, profiling, joint cutting, pattern cutting… you name it, and the router is up to the task.
 Woodworkers – as with most other people in the world – are creatures of habit.
 Tucked away in the small California coastal town of Fort Bragg, the Fine Furniture program at the College of the Redwoods, Mendocino Coast campus is a national treasure. Established in 1981 by master woodworker James Krenov, this program is one of the world’s most famous and respected. The work turned out by graduates is truly inspired.
 I picked up my veneer and some
 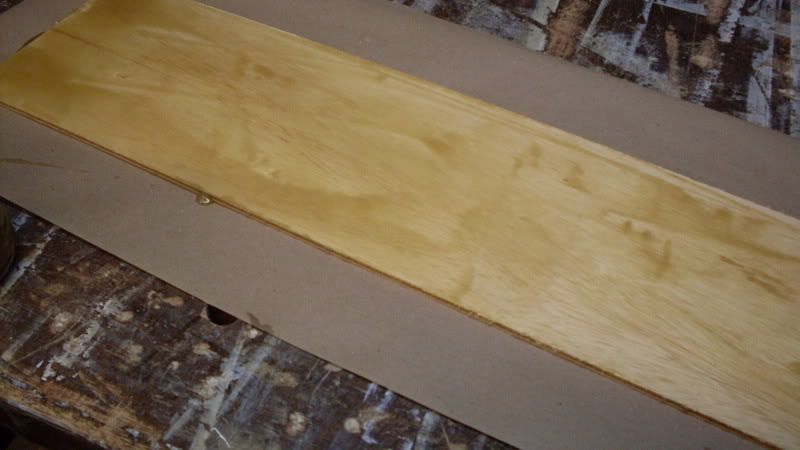 When I was ready to start the process, I brushed off the piece of 1/4″ plywood to get any dust off of it, and slathered a liberal amount of hide glue on the piece, making sure I got a nice, even coverage on the substrate’s surface. You shouldn’t have to race from here, but hide glue’s legendary quick setting time means now is not the time to make a sandwich, call your bookie or ‘answer the call of nature.’
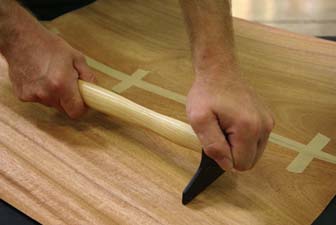 Now comes the fun part – I took the hammer and used the broad ‘blade’ end like a squeegee (Don’t beat on the piece with the ‘hammer’ – that’s not what it’s used for!), pressing the veneer down to the surface.
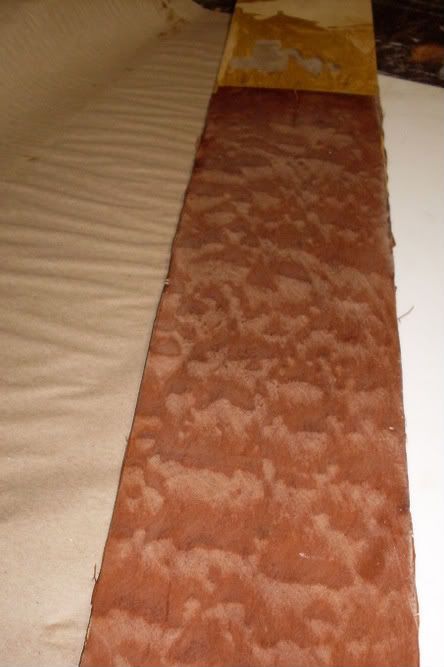 When I was done, I had a gloppy mess and a veneer that had a few ‘bubbles’ under the surface. Seemed normal to me. What I did was get a wet cloth and started mopping up the mess, rinsing frequently. Then, I started wiping off the veneer surface, getting the majority of the glue off. Sure, it looked like I was making a mess, but that wiping will help make finishing easier and it made the veneer just a little more supple so it wouldn’t split the drying process.