In my experience during the past decade, I’ve found that woodworkers are an exceptionally generous bunch. Most of the time, you can find them building gifts for friends and neighbors or volunteering their time to work on a project for their local school, scout troop or place of worship.
 This past weekend, I met a group of woodworkers called the ToyMakers of East Lake at a community event, and their story was a heartwarming one.
Back in 1982, a woodworker named Jim McCullagh was alarmed to hear that his grandson had no toys to play with while staying at a children’s hospital. Knowing that play can at least help keep little minds occupied, he and several friends began making small colorful wooden toys. That was the beginning of the ToyMakers organization. As the years past, the effort gathered momentum, and today, there are 101 chapters across the United States and four in Canada.
I met with Gene Watson, Mac Russell and John Little of the ToyMakers’ East Lake, Florida chapter, who graciously offered to take me on a tour of their spacious workshop. Situated in an abandoned garage on some land owned by a nearby Methodist church, the space allows the nearly 50 members and associated volunteers the space to work. Donated tools – band saws, table saws, sanders and drill presses – line the walls and occupy the shop floor.
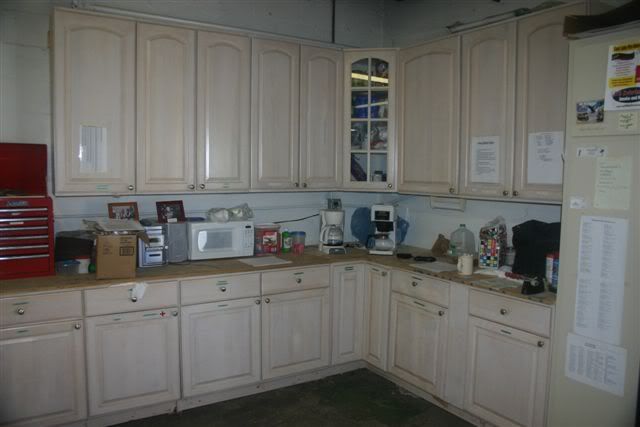 Even the shop cabinets were donated to the effort. In fact, they were actually custom high-end kitchen cabinets in a home until a chemical spill during a counter top installation went wrong, staining some of the cabinet doors.
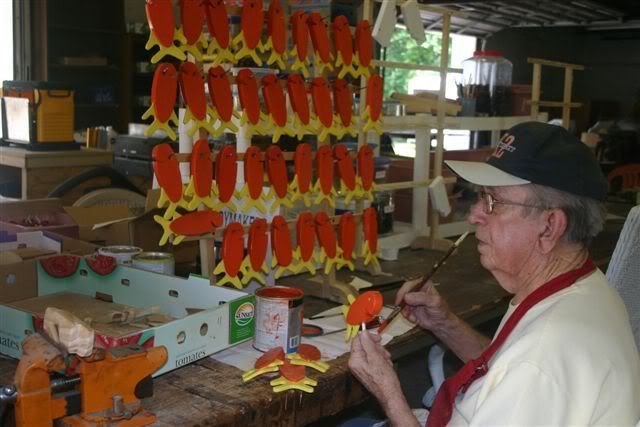
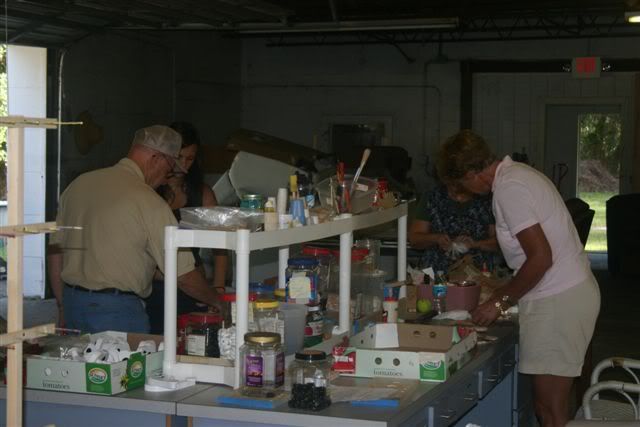
I arrived during one of their Saturday work sessions (They also have Tuesday morning sessions). Stacks of donated wood from area hardwood suppliers were stacked in shelves. Even though some of the members were away exhibiting the toys at other community events, the reduced crew was very busy cranking out parts for wooden ambulances, fire trucks, helicopters and other pieces. While some of the workers were cutting, many other were sanding, painting and assembling the vehicles to prepare them to go to kids in the community.
 Because of the ToyMakers’ non-profit status, high school students who are required to do volunteer service to qualify for state scholarships often sign up for service with the group. Given that the fate of their scholarships rides on their volunteer hours, working with the ToyMakers is a pretty enviable assignment.
Some of the toys do go to kids in area hospitals, while others go to other critical contact points with the community – organizations that shelter families from domestic abuse, centers that help parents break drug addictions – wherever the need is most critical.
While building the toys is a satisfying way to spend a Saturday, the real reward comes when the toy deliveries take place. The group aims to have four toy deliveries a year. Three months’ work can result in nearly 1,000 completed toys for area kids. In fact, the group’s motto is that they, build smiles, one toy at a time.
As I left the shop after one of the group’s coffee breaks, the members were right back to work. After all, the holidays are coming quickly, and there are so many more toys to build.
…
P.S. – The members of the group asked if I could post the following: For other individuals or groups interested in starting their own group of ToyMakers, we would be most privileged to furnish patterns, methods and suggestions that we have found to be most appreciated by the children and the centers where we deliver.

 Anyone who has watched an episode of Woodworks has seen the creativity, skill and calm demenor of David J. Marks. Sure, this Santa-Rosa, California based woodworker is famous for his shows, but they only touch the surface of this extremely talented man.
 Walking into any large retail store is always an
  interesting experience. Because mass merchandisers have to think well into the coming months, they have to push the products for events quite a long time from now.
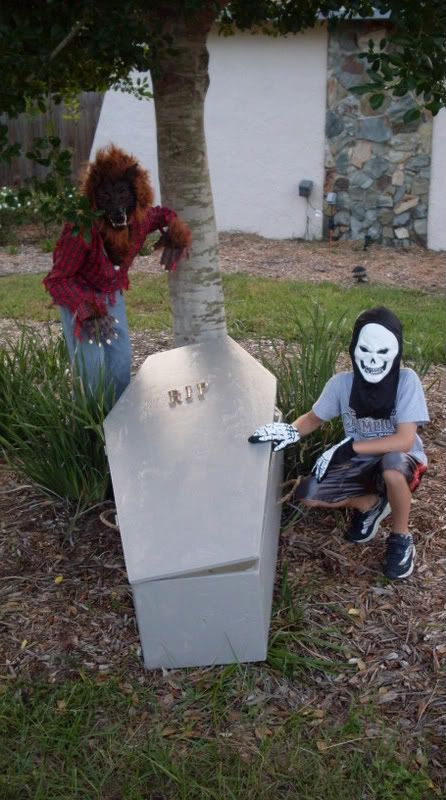
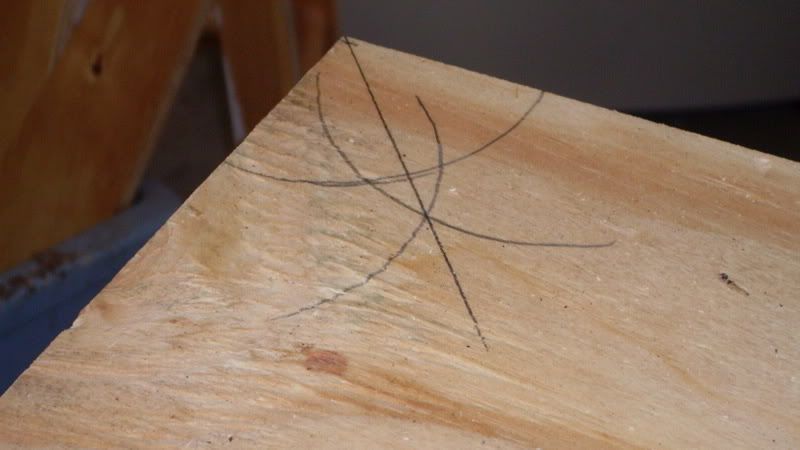 I got some galvanized T-hinges from the hardware section and used those to operate the lid. When we are out of the season, I’ll put all of the decorations into it and use it for storage up in the attic.
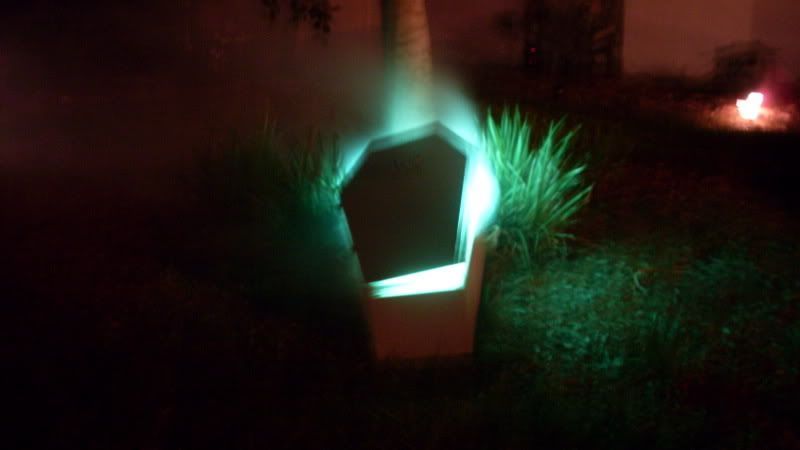 I have it chained to a tree in front of my house (unfortunately, in my neighborhood, nice seasonal decorations have recently developed this nasty habit of ‘walking’ away…). To complete the look, I added a green flood light and a fog machine, which spills an unearthly green lit fog across the lawn when it’s activated. Pretty cool stuff.
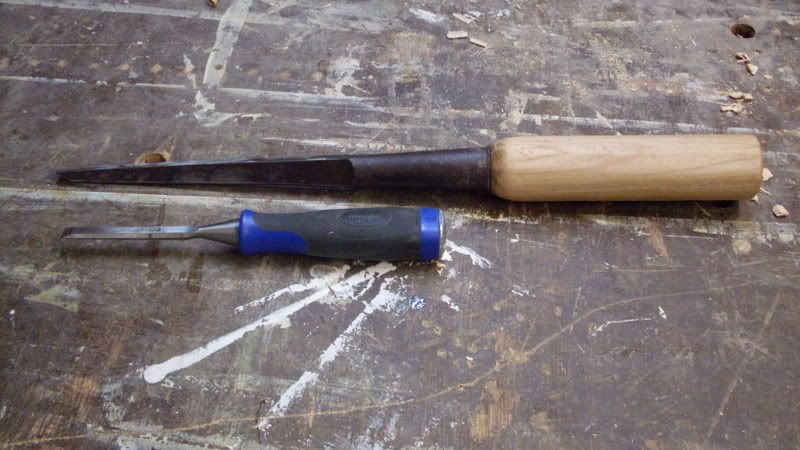
 In order to get tight joinery and excellent results with your woodworking projects, you have to start with flat, straight and true boards. And, when it comes to edge jointing your boards, there are lots of options out there.
 So, you want to build a bookcase with some shelves to hold a few nick-nacks in the living room. Rather than spend lots of money, you opt to build them out of painted MDF. After a few months of holding ceramic kitties and a vase of flowers, your spouse says, “Don’t you think it wold be cool if we put my 1957 collection of the Encyclopedia Brittanica up there? They look so good.”
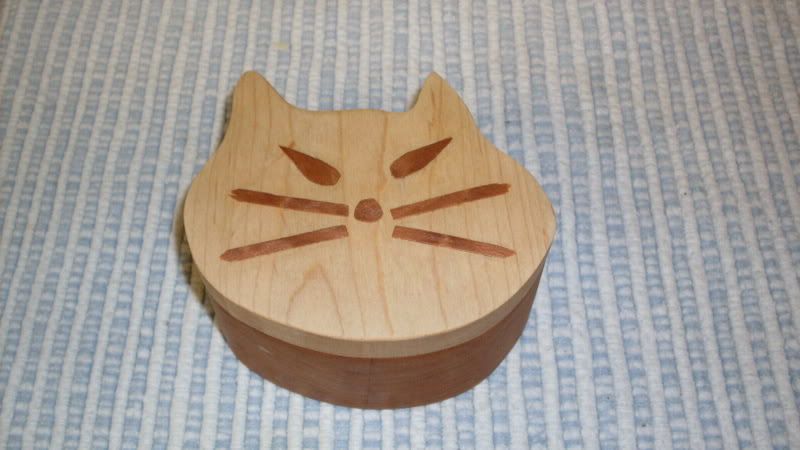 This is one of those projects that you don’t want to build, but want to put yourself into 100% once you agree to it. Recently, a friend’s cat passed away quite unexpectedly. It was pretty traumatic for her, and she asked if I would be able to build something for her to keep some of his keepsakes in – his collar, a clipping of his fur… stuff like that.
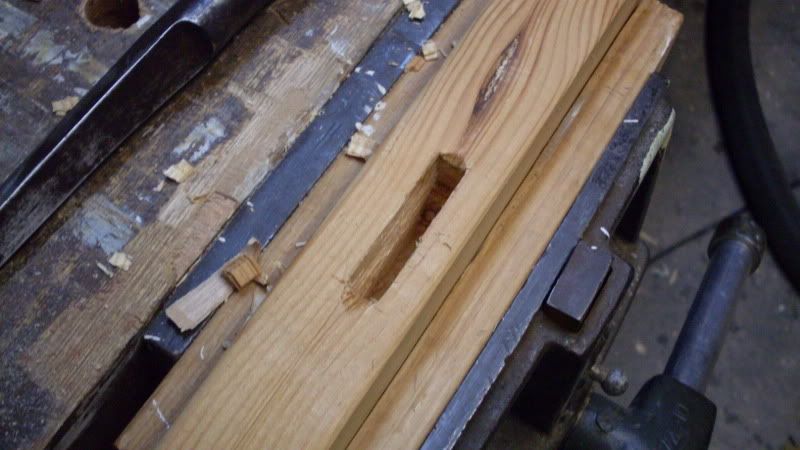
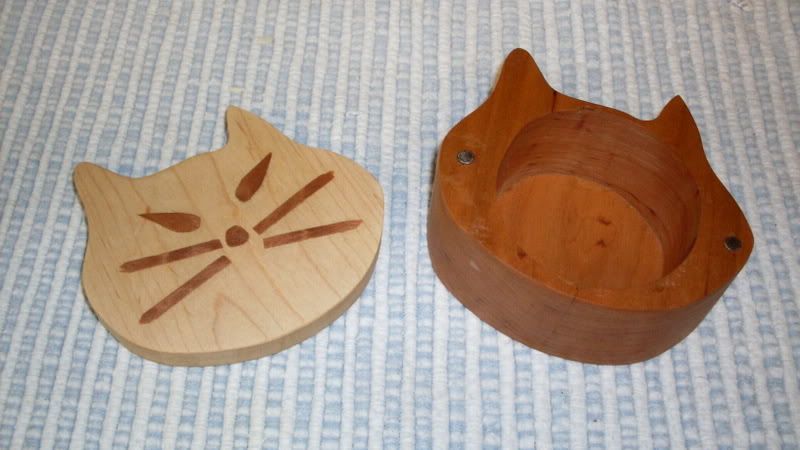 I taped together a sandwich of the pieces – the two cherry and the maple. I cut the outside of the box, then cut out the circle on the inside of the middle piece.