
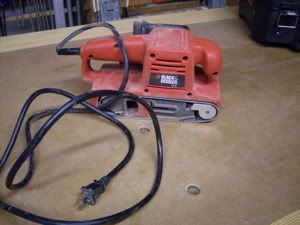
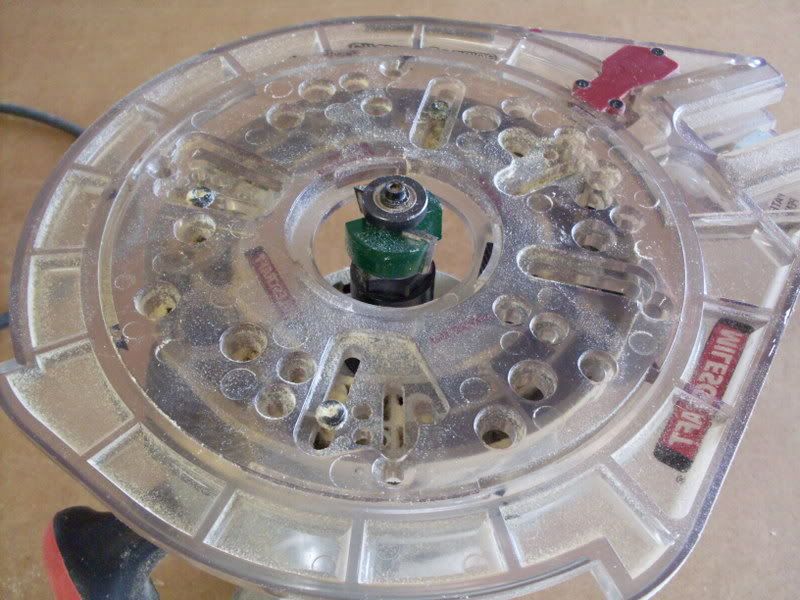
 I’d like to take a moment to introduce you to the tool I love to love – and hate. This is my belt sander. A Black and Decker homeowner’s model I picked up at a local Wal Mart about six years ago.
Before I go any further, yes, I am quite aware that I advertise myself as a hand tool enthusiast. It also obviously has a tail that plugs into an outlet. Many of you are also thinking that there is no place in the fine woodworker’s shop for one of these crude instruments of sound and dust. Besides, it’s not even made by a ‘serious’ woodworking tool manufacturer.
It’s all true. This bright orange baby (by the way, I believe it might be bright orange so motorists can avoid it when it’s pitched into a road) uses some of the most diminutive belts out there – 3″ x 18″. Even it’s lousy dust bag doesn’t work any more. I used to take the time to put it on the sander, but it developed a hole near the top zipper that just blows dust straight up into the air. And, it’s a very hungry machine. I affectionately call it the belt saw, because if you leave it on the work for too long, it digs out one heck of a divot in the wood.
So, why keep it?
Even in its total nastiness, it’s another one of those shop essentials I can’t seem to do without. Just recently, I was working on my Christmas presents, I had to reach for it several times. First when I was making the end grain cutting boards.
In my last post, I alluded to the fact that my milling and gluing operations need to become a little more exacting. So, when I pulled them from the clamps, they were pretty uneven. So, I had to mosey down the street to the local Home Depot, where, much to my surprise, I discovered that Norton actually makes a line of sanding belts in that tiny size. There were three grits to choose from – 50, 80 and 120, and I bought the two packs of all three grits.
While it did take the better part of a Saturday afternoon to grind the unevenness out of the boards, I knew it was much safer than trying to run the end grain boards through the planer. With my iPod on under my hearing, breathing and eye protection, I grooved while my errors were erased totally, leaving a perfectly smooth board. No mean feat, given that end grain is very tough stuff – making it an excellent choice for end grain cutting boards!
I changed grits to the 80, then finally to the 120 for those last very light passes, leaving just enough for me to sand out with the random orbit sander.
Later, when I tried out the Kehoe jig for a set of the photo bookends, the belt sander came out again. I trimmed the dovetail splines as close to the work as I dared, and then used the belt sander to take them down flush with the board.
Are there better ways to accomplish these tasks? Sure. I could get out with a block plane and use that. But, for some reason, I seem to get better results using the belt sander for the heavy lifting and the hand tools for the fine work.
So, I’ll keep my belt sander. For now. It does what it does, but it does what it does pretty well.
But, I’m definitely keeping a wary eye on that tool!
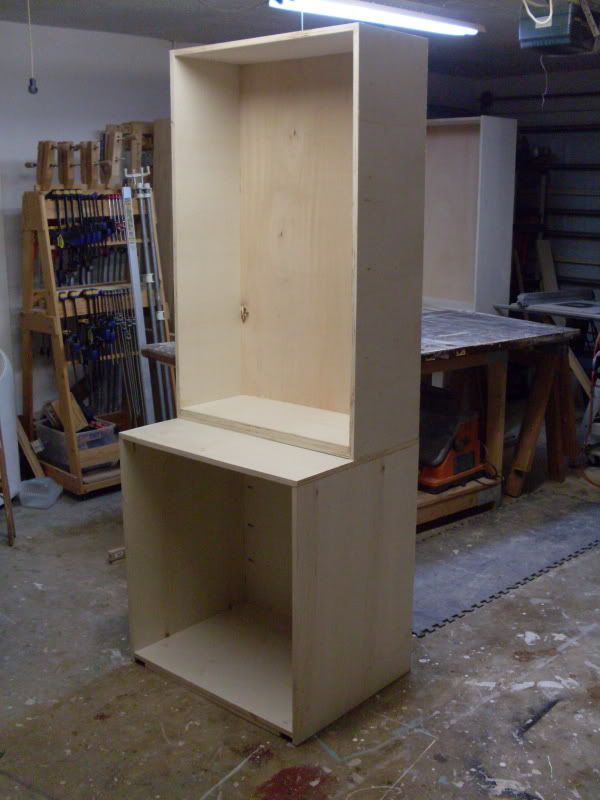 While building my new bench, the thought hit me that building large projects are a big pain in the butt. I would start to work on an assembly, then have to find someplace to store it while I worked on another. And, then, putting these assemblies together into a more complete project… oy! No matter where I turned, I was eventually tripping over pieces and parts and I was having some trouble keeping track of all the parts I was working on.
 Mention the word pine to some folks, and they will think of the soft, creamy white wood harvested in the northern reaches of North America and Europe. However, here in Florida and other southern locations in the United States, tall southern pine trees dominate, and their wood is really something special.
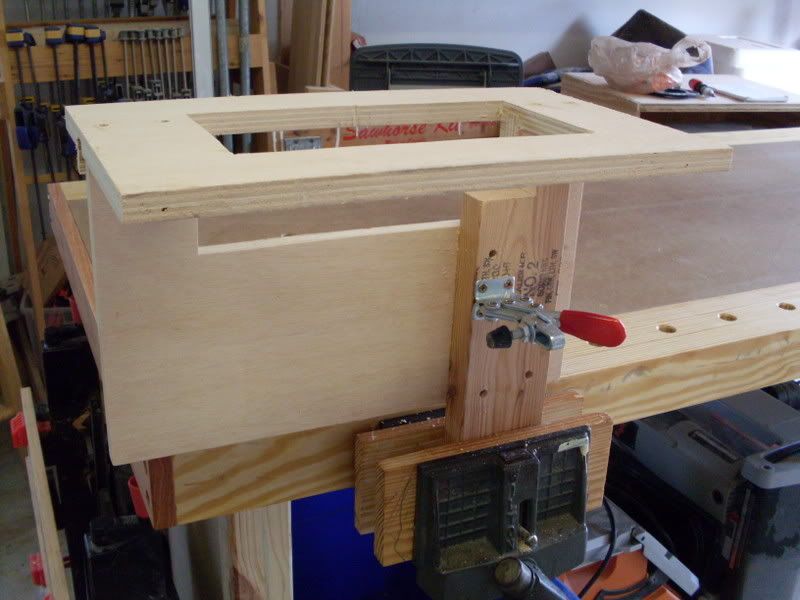

 There’s nothing like the first few days of a new year. All of the new calendars are out for display. All of the tragedies and triumphs of the previous year are tucked away into memory and the new year is a fresh slate.
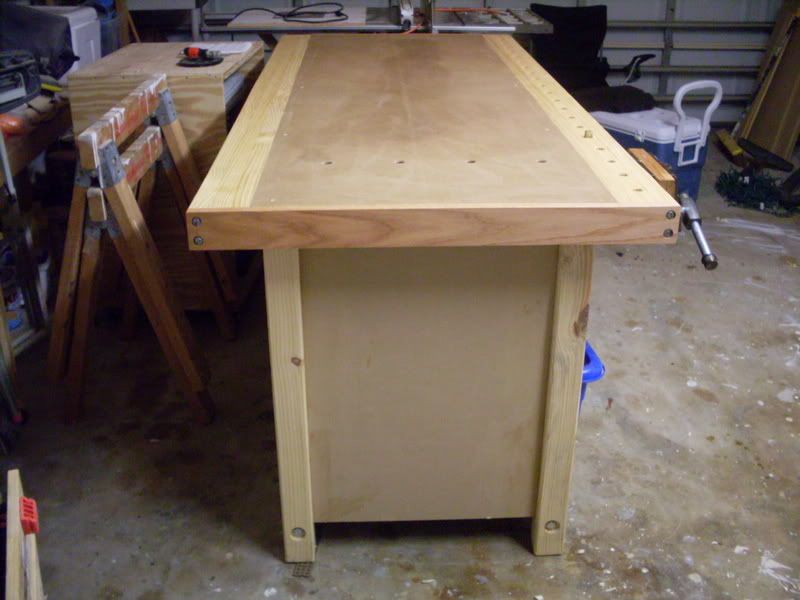 However, it’s shortcomings were becoming more apparent every time I used it. First of all, it was very rickety. I would hand plane on the bench, and it would rack, wasting most of my energy. It was also way too light for the kind of work I was doing. That was shown dramatically when I was trying to plane some maple for a recent project. For every stroke on the board, the bench actually rotated a few degrees. By the time I got the board planed, the bench was at a 45 degree angle to where I began. The time had finally come.
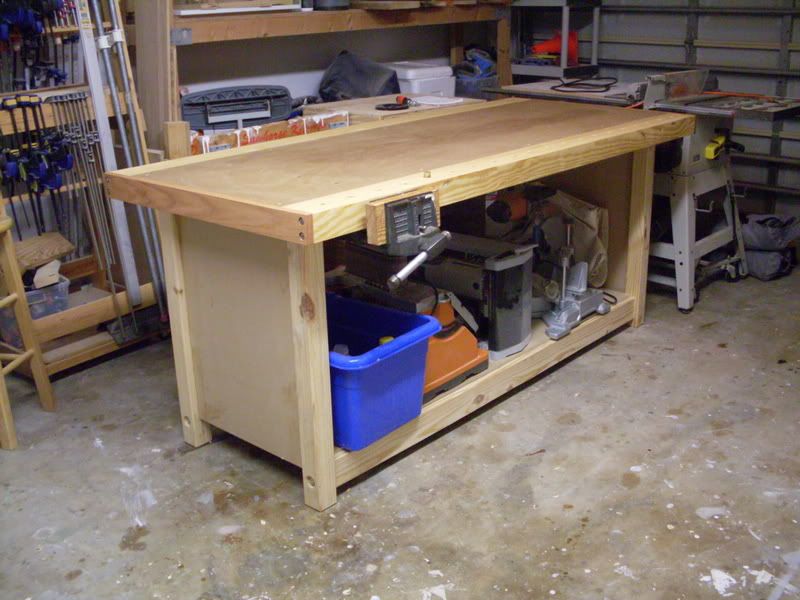 The top is a hybrid construction. I wanted the strength of natural wood for the dog holes, yet I also wanted a dead flat surface that I could replace if it ever got beat up. The core of this – going back to our friend Janus – is a solid core door my neighbor salvaged from a dumpster. It had some surface damage, but was sound for my purpose. I cut it to a width of 27″ and routed a groove in the side to accept a spline.
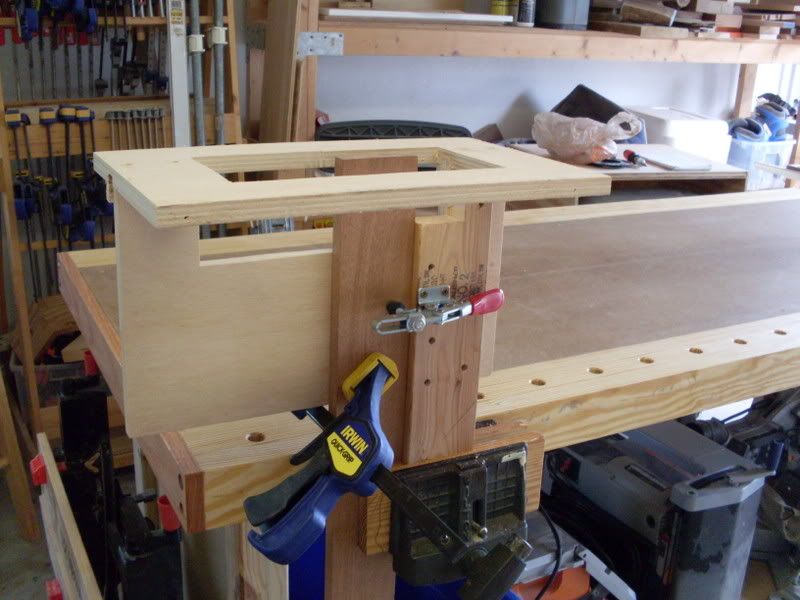
 From there, I bored the 3/4″ dog holes four inches on center so I could use my
  According to the
  But, when I needed to do more involved work, those basics at the local big box just didn’t cut it anymore. That’s when you need to turn to a true woodworking supply company. One place I have had quite a but of success buying from is
  Dan, and his business partner and wife Linda, took a big risk starting this little company two decades ago. With a mortgage, two young children and a dream, Dan and Linda had to follow the woodworking expo show circuit to make their sales in those early days before a catalog and the Internet. “I think the fondest memories for me of the startup were just being a part of something new. My brother and I used to help stuff envelopes and put labels on mailings at the kitchen table at night. I used to walk to the office after school to help in any way I could. There was an energy there, an excitement, that made things fun to be a part of as a child. It didn’t hurt that we also got to travel and occasionally miss school.” Tim paused. “Ah, the good old days! The shows really were a blast.”
 Eagle America spends a great deal of time evaluating all of the tools they sell to ensure that woodworkers approve. “We have a lot of woodworkers on staff and they are all involved in the product evaluation process. We even survey local woodworkers from time to time to get their opinions on products before we add them to our line. Everyone out there should take comfort in this, knowing that someone at Eagle America who is an actual woodworker has seen, touched and used all of the products we sell.”
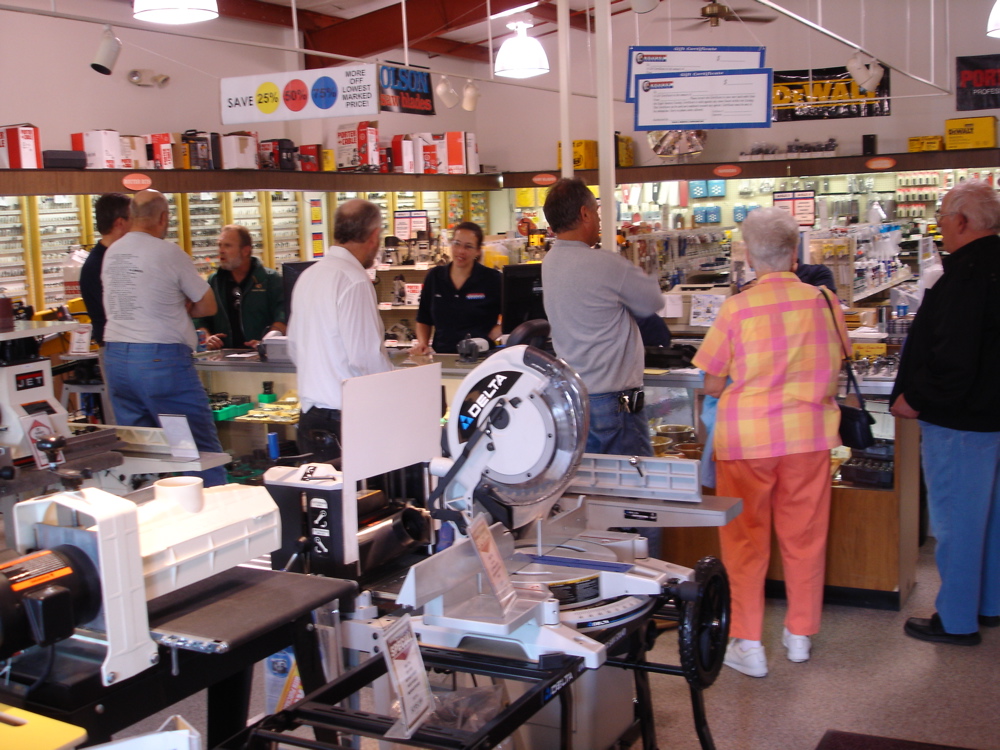 While Eagle America is one of those quintessential family businesses, the ‘family’ concept goes far beyond just those blood relatives. “Our staff is fantastic. We are blessed with the talent that we have on our team. From our warehouse to our call center to our Outlet Store and woodworkers on staff, the majority of them have been with us for a while which means they can handle almost every question that is asked or problem that may arise. We take pride in making the customer experience as easy and enjoyable as possible. If we are not meeting people’s needs, we want to know about it so we can do it better the next time. That mindset is a part of everyone here at Eagle America since we would be nothing without our customers!”