Quick Poll

Sure, there’s the wood selection. And the preparation. And the carefully cut joinery. Maybe some embellishment.

Yeah, that’s all well and good. But, whether you like it or not, the first part of your woodworking project that people encounter is the finish.

Applying a finishSince (hopefully) your holiday projects are getting close to the finish, this is an appropriate question. What is your go-to finish?  Is it a hand-rubbed oil? A lacquer you shoot on the project? Maybe a varnish you brush on?


Link of the week

Longleaf Lumber

Many years ago, when factories around the United States were springing up during the Industrial Revolution, many of those structures were built with massive beams made of woods such as chestnut, Douglas fir and southern yellow pine.

As the years passed, and companies either went out of business or moved to more modern facilities, those buildings deteriorated, crumbling with the onslaught of time.

An American Chestnut IslandFortunately, there are companies such as Longleaf Lumber, which have the foresight to see these abandoned buildings for what they are – a vast storehouse of prime, old-growth lumber.

On their site, you can see some of the old buildings they have salvaged lumber from, check out their stock and see portfolios of projects built with the wood they have salvaged.

This site is a must-visit for wood lovers and historians.

Stuff I’ve Built: My Nicholson Workbench

Wow, was my timing ever bad. There I was, ready to leap into the Last Minute Elf week just as I was finishing the new workbench. And, all through last week, I was dying to show you how it worked, but my patience was rewarded.

The bench in its resting placeYes, this is a Nicholson bench, styled after the one drawn up by Peter Nicholson in his 1831 book Mechanic’s Companion. It’s a traditional English carpenter design, and it has some pretty cool features that my old bench never could have dreamed up.

Yes, this was all built with dimensional 2 x lumber, all southern yellow pine. It did take some time in the local home center, picking out the flattest boards that didn’t contain the pith (center) of the log. I have cut a few boards with the pith in them, and they seem to warp and pinch on blades, making sawing them a pain in the patootie. I also had to make sure they were as flat as possible. Surprisingly, you can pick up a warped board very easily.

As you have seen in the previous posts, the construction is very straightforward. Mostly screws and glue, the bench went together easily, and I took my old Wilton vise off the old bench and put in on the face of the new one where it went to work immediately.

The tail endI also took an old Record quick-release vise off the front bench in my shop and bolted it to the tail end of the bench.  I also attached a chop to this vise, and it’s ready to work as a tail vise for planing on those long boards. I also lined up the dog holes so I could use those in concert with the dog hole on the vise.

Veritas plane stopDown closer to the face vise, I threw my recently purchased Veritas planing stop. It is one handy little tool, securing into a pair of dog holes so I can plane against it. As you can also see, I built the top as a split top, meaning I can insert a 1/2 inch board into the crack to serve as an additional stop to plane across boards.

Large BoardThe real magic about this bench is the choice of clamping arrangements. The front aprons are drilled with a pattern of holes where I can use a series of bench dogs and holdfasts to secure long and heavy boards to the bench so I can work on them. As you can see above, a leftover 2 x 10 is clamped into the vise chop, balanced on a pair of bench dogs in holes and held in place tightly against the bench with a holdfast. Believe me, that board is NOT going anywhere.

The best part about this bench? It cost me a grand total of $70 in lumber (I already had the vises, glue and screws around the shop) and took – brace yourself – about 15 hours for me to turn the stock into the bench.

Thank you, old benchAnd, what happened to the old bench, you may be asking? Well, my neighbor saw me working on the new one and asked me what I was going to do with the old one. I told him that it was his (if he wanted it), and later that morning, we carted it down the street to his house, to become the heart of his workshop. I hear I may have visitation rights…

An awesome woodworking weekend

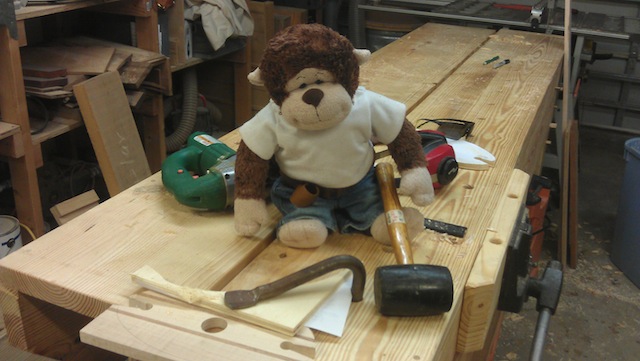
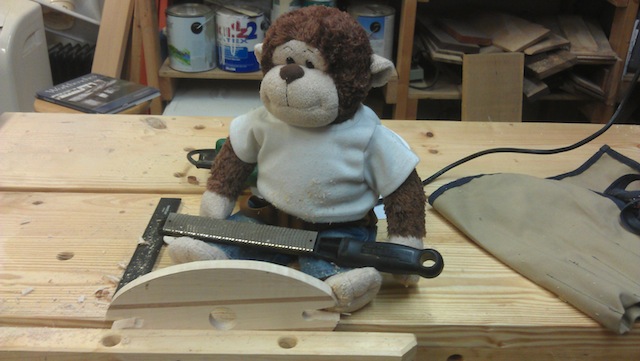
This past weekend, as the Last Minute Elf wrapped up, I left Iggy in charge of the shop because I had a very important woodworking event coming up. Jim Heavey of Wood Magazine was coming to town to teach a class over at the wood lab at Infinity Cutting Tools in Oldsmar.

I have got to tell you that Jim is one heck of a nice guy. On Friday, Jim flew in, I picked him up a the airport, and after a great lunch with Kurt Raschke, David Venditto and Jim at a local restaurant, we talked about the next’s day’s events. Next, Jim came to my house where we had some jambalaya, caught up and enjoyed the unseasonably warm Florida weather.

The students gatherThe next day dawned bright and early, and we gathered at the shop for the presentation. Jim led off with some really great insight into finishing. I discovered that his favorite finish is lacquer, followed closely by shellac. He loves the way that he can spray lacquer, turn his sprayer off without cleaning the gun, then start spraying again months later. After a few seconds, the solvent dissolves the hardened lacquer and he’s spraying again. (You can’t do this trick with catalyzed lacquer or any kind of varnish, or you will turn your gun into an expensive paperweight).

Jim also said something very profound about the finishing process. “Did you notice how woodworkers will spend big money on tools and wood, then ruin the project buy trying to save a few dollars using old finish?” Jim advised to buy small containers of finish and, if you haven’t used them up in about a year, discard them properly and buy new finish.

Kurt using the vacuum bag
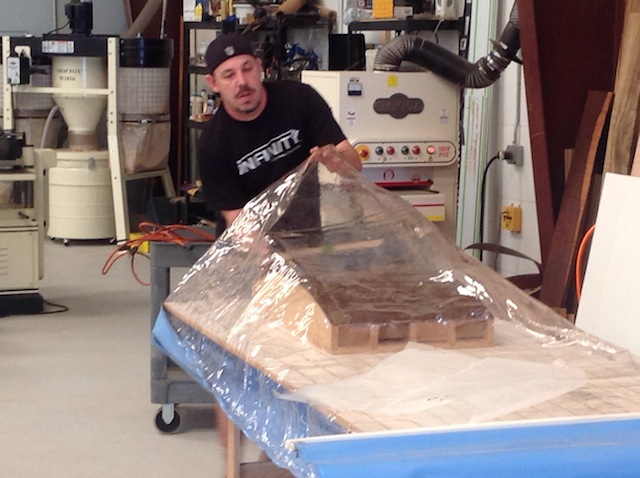
Jim was able to take a break later in the morning as Kurt took over, sharing the secrets of how he uses his vacuum bag to do bending. It’s a really slick system, where thin sheets of bending plywood are stacked over a form with a beautiful veneer, and then the vacuum created by a pump is used to clamp everything in place. With an epoxy, and given enough time, that stacked lamination is very strong and holds its curve with ease.

Andy works with his ukelele form
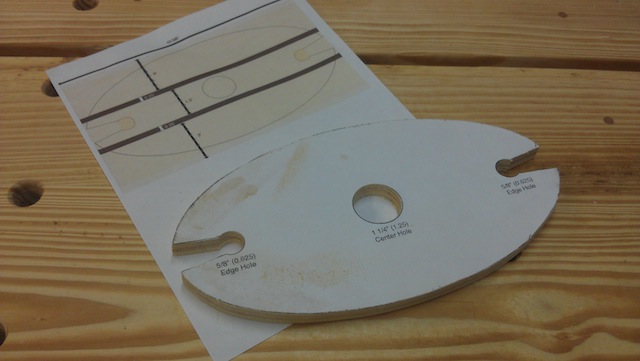
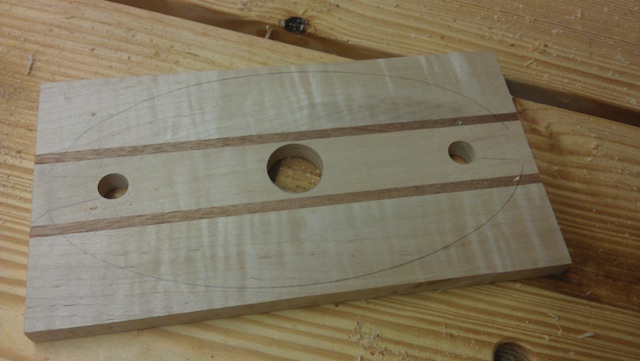
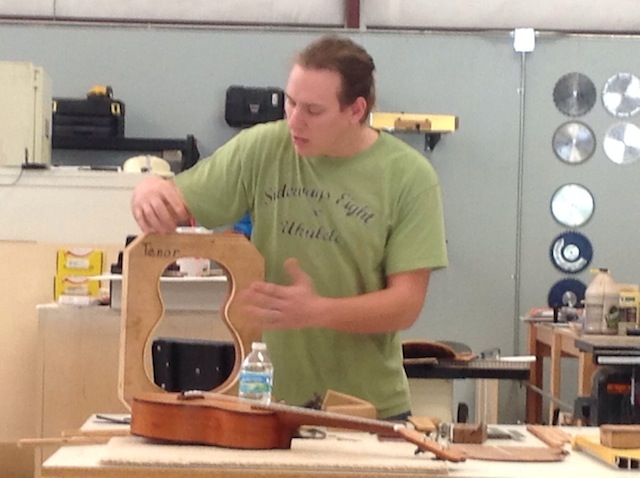
All of the students and instructors convoyed over to a local restaurant for some lunch, and after we came back, we jumped right into the afternoon session, where Andy Gibson showed his techniques for building ukeleles and guitars. He showed how easily he could bend wood using a hot pipe – a traditional luthier tool. Andy went into much more detail about  how he sands a curve into the sides of the instrument he’s building by using a hollowed out form and sandpaper (driving the bus) and how he ensures the frets are the proper distance from the nut, ensuring that the instrument can be played.

Jim' A/V skills
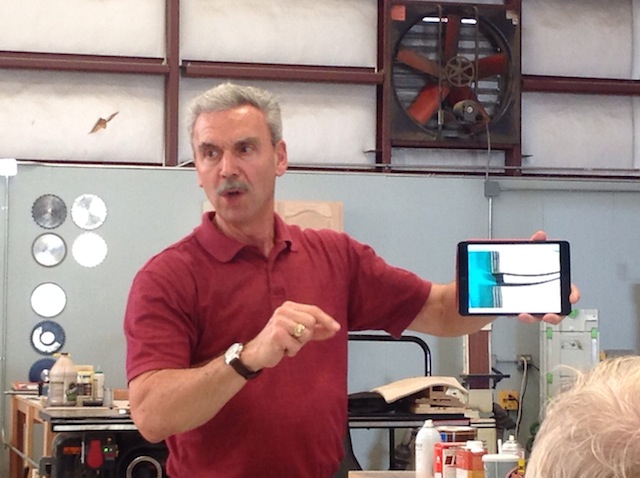
Jim came back to the front to finish the day. Now, Jim had a bunch of images he wanted to share, but someone (I’m going to blame Iggy) forgot to bring a projector. Oh, well, Jim was able to make do passing around his iPad mini…

epoxy as an inlay
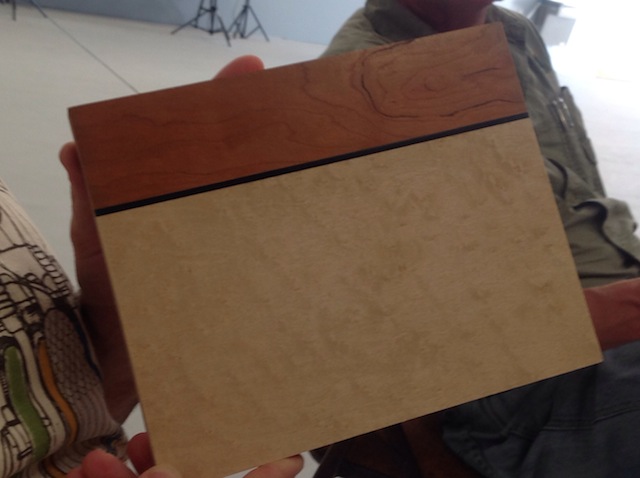
Jim’s afternoon presentation was on embellishment. And, one of the neatest tips he had was how to use epoxy as stringing. By coloring the expoxy, and using it to fill a saw kerf, he in effect created the equivalent of an ebony inlay. Not bad stuff…

Once the big day was over, we gathered everyone who wanted to join us at a local pub for a few brews, and then it was off to a Mongolian place for some dinner.

Say 'hi' Jim...As I drove Jim to the airport yesterday (before he whacked his head on the the trunk lid of my car – OUCH!), he told me how much fun he had over the weekend, and he reminded me that he’ll be back in March when the Woodworking Show comes back to Tampa.

See you then, pal. The Jambalay will be hot, and the beer will be cold!
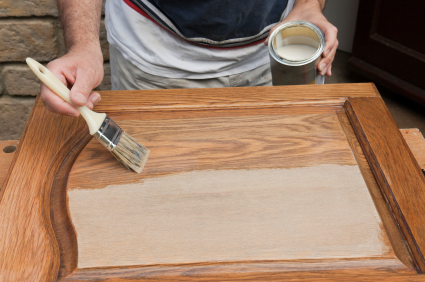
Last Minute Elf 2013: Saturday

The Last Minute ElfWell, gosh, that went very quickly!  It seems as if the week just began, and now, Iggy and I are sending all of you elves on your merry way. Hopefully, the projects we have featured and the links we have provide give you a bit of inspiration as you move ahead into the holiday season, ready to get to your workbenches and build something special for the ones you love.

But, before you begin, remember that there are two important things you have to keep in mind:

  1. The only way you are going to get them built in time is if you actually get started.
  2. Never say that you can’t build something that will be good enough for your recipient. Over the past years, I have seen many people build awesome projects, but spend all of their time pointing out all of their ‘mistakes’ and belittling their work. Believe me, the only way the recipients are going to know about that tiny, microscopic gap is if you point it out to them. Just give them the present, shut your mouth and say, “thank you” when the recipient expresses his or her recognition.

happy gift recipientsNow, if you will excuse me, I hear some of the power equipment running in the shop. I have to go see what Iggy is up to!

And, we even have some more links for you!


Last Minute Elf 2013: Friday

The Last Minute ElfChallenges.

Being a last minute builder myself, I have run into many challenges over the years trying to beat the clock for holiday presents.

I have had plenty of long shop nights, struggling to get everything done in time.  I have had to delay the giving of gifts because, well, they didn’t get done on time.

And, I can remember the one year that I was building a special train table for my nephew. The little guy wasn’t all that old – maybe five or six. And, he loved Thomas the Tank Engine more than life itself. And, I made the mistake of promising my sister-in-law that I would build the table.

Bad move.

Now, back then, my brother-in-law Larry was a much more accomplished woodworker than I was (he was the first of us to get a table saw), and had built a simple train table for his daughter. He showed me the rough dimensions of the project, and, well, I knew I could build it.

A train table similar to the one I builtFortunately, it was easy to build with plywood. And, I was going to paint it, so some exposed sanded through plies or glue splotches weren’t going to be a big deal.

I was well into the build when it hit me. The scratchy throat. The runny nose. Body aches. Soon, I was deep in the middle of a bad cold, coughing up a storm and running a fever. All I wanted to do was to lay on the couch and sleep, but my brain kept screaming at me to finish the table, because we were less than a week away from the holiday.  I struggled through the rest of the build, stopping frequently to blow my nose, take more Advil and sit down when I felt woozy. Which was frequently.

Suffering with a coldBut, I did it. Darned if it didn’t near kill me. My sister-in-law picked up the table and thanked me profusely, but I swore then that I would do two things…

First, I would never promise I was going to get anything done for a specific event…

And, number two, I always plan to give a back up gift, just in case those last minute plans don’t work out.

Just be sure to take your Vitamin C, eat well and get plenty of rest so you can fight off the bugs this holiday building season!

Chris' TunnelSticking with the train theme today, our winner for the Last Minute Elf building contest today is Chris Crozier. Those toy train toys are totally awesome for kids to play with, but, come on, what’s a train without a tunnel?  I mean, you have to use that train whistle for something, right?  Chris was able to set up an Instructable on how to build this tunnel using basswood, although something like MDF would probably make for an interesting project as well.  Chris, how about a pair of of 24″ Revo Jr. K-Body Clamps from the folks over at Bessey?  They would make building your next train table scenery that much easier.

Today’s articles?  We got ’em!


Last Minute Elf 2013: Thursday

The Last Minute ElfHey, everyone. Iggy again.

It’s a good thing that Tom has left me alone in the shop. Without having to stop to answer his inane questions, I have made good progress on the wine bottle topper. Which is good, because I have a feeling I may need to make a boatload of these babies.

The patterns all setBut, first, I did the smart thing. I took the plans that David Piccuito sent me and made a template out of some 1/2 inch plywood. I resisted the urge to just slap the pattern down on the workpiece because I wanted to have a nice pattern to rout to, if I wanted to go that way. Plus, it would be a lot more durable for when I’m cranking out those babies.

Holy hardwood, Batman!Once I traced the outline, I took it over to the drill press to make the holes for the neck of the bottle and for the wine glasses. With the right size forstner bits, it’s a piece of cake to get some nice looking holes.

HoldfastWith this done, I turned to the jigsaw to make the cuts. With a good quality blade, it’s amazing how accurately you can cut with one of these. To snug the piece down for cutting, I used a holdfast in one of the new bench’s dog holes. Holds like a champ, and stays out of the way while I am cutting.

Feeling a little raspyWith the rough cutting out of the way, I used a Microplane rasp on the piece to ensure the curves were fair. These things are the bee’s knees.. great for making smooth cuts on board edges…

The next step was to sand and round over the edges. After I did some work on it, I had to take it for a ride. I think the lucky recipient of this is going to be very happy!

Ooop OoopNow, maybe for a little nip. But, you all know I prefer banana daiquiris…

One of Brian Benham's ornamentsToday’s winner? Hmmm, let’s see… One skill I have always wanted to try, but have been afraid I might catch my tail on, is turning. Fortunately, Brian Benham has sent this entry for how to turn holiday ornaments. Using some glued up scraps, he was able to turn some sweet looking ornaments.  Great work, Brian. How would you like a copy of Popular Woodworking’s DVD of editions from 1995 – 2012, plus a one-year subscription to their magazine?  I think you may find some more ideas in there.

Now, for today’s articles… how about these?


part of the Wood Talk Online community