There are lots of tool companies out there, offering loads of tools for sale. And, while they look totally enticing, anyone wanting to buy these tools might have a few questions. How did the tool maker come up with the design? What are some other uses for the tool? How can I get the most out of my investment?
In order to help prospective tool buyers, the folks at Infinity Cutting Tools have set up a blog, where woodworkers in residence Kurt Raschke and Andy Gibson use the tools, offer tips and tricks and go into detail on the best way to set things up. No, it’s not a groundbreaking idea, but it does offer some additional guidance while deciding if that tool is right for you and your shop.
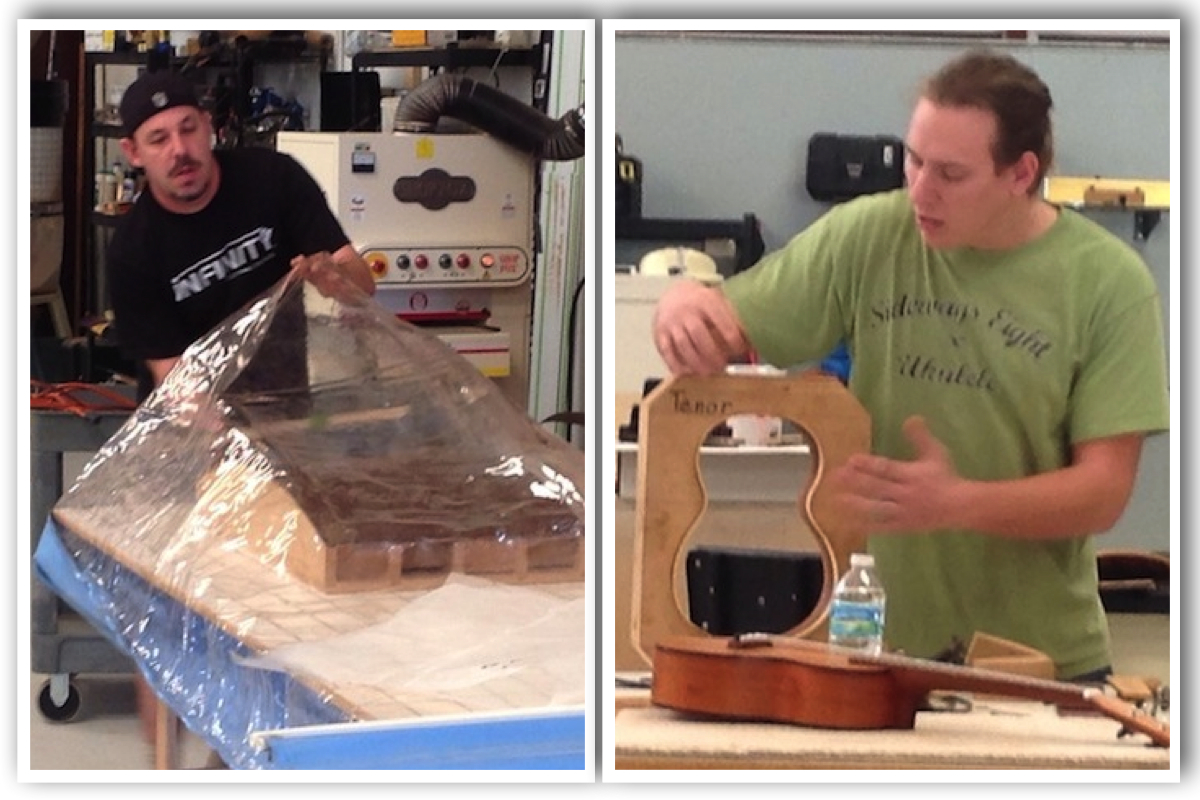
My friend Lawrence Wroten is a real up and coming woodworker, but his blog, Midnight Woodworking, doesn’t get much traffic.
That’s a real bummer.
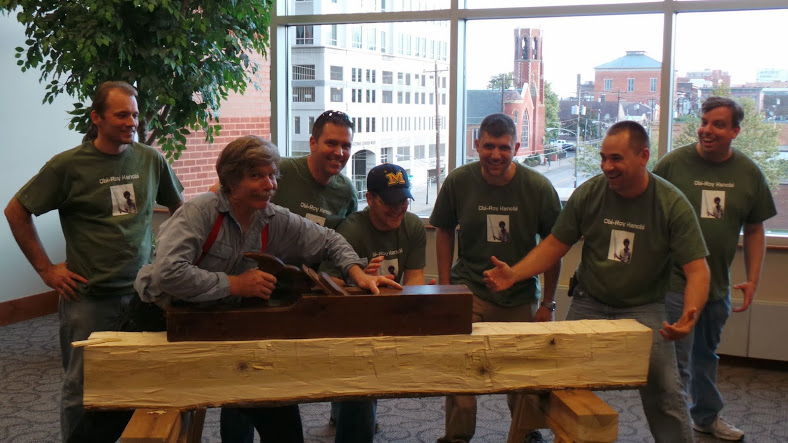
Lawrence, on the left, taking in what appears to be a woodworking rendition of the last supper
It’s a real shame, because the content he has is just so darned good. For instance, he recently told me about a little experiment he conducted on how to sign his work, and the idea was nothing short of genius.
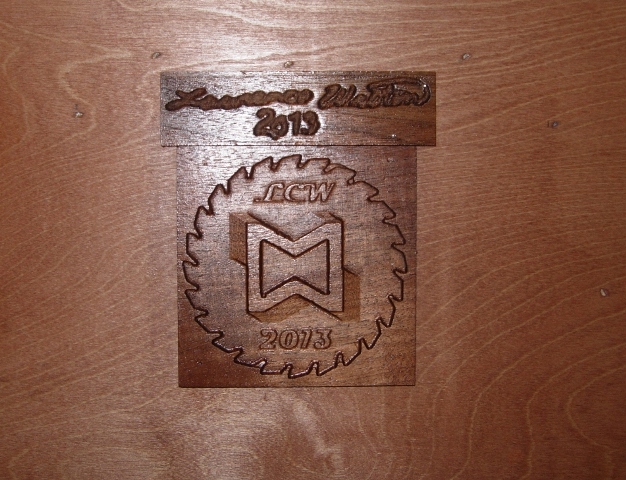
First, the background: Lawrence is out of his mind. Seriously. Instead of signing, branding or inlaying something into his work to identify it as his, he carved – yes CARVED – his logo into the project at the end. With such an intricate logo, this carving was adding about four hours to each project.
I can understand being proud of your work and wanting it identified for years to come, but, come on… FOUR extra hours? Wow…
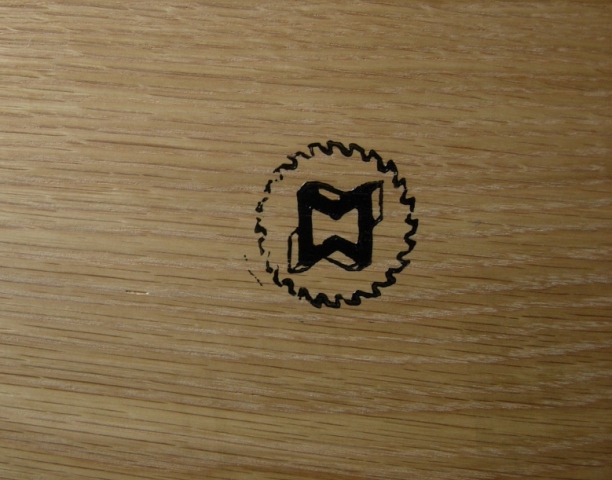
So, he got to thinking, why not create a stamp that he could use to apply an inked image onto the projects?
I don’t want to give away the method he went for, but I can tell you, it was inspired, and the maker’s mark came out looking good.
No, this isn’t more about the new weekly plan feature that I debuted yesterday (Although, that’s pretty cool!). This is instead about my visit to the Woodworking Show in Tampa this past weekend.
You see, I wanted to do some new stuff this week when I went. The first thing I thought I could do was to bring one of my sons with me. My oldest son Dominic was at some big high school business event taking place in Orlando, so he was out. But, my youngest was free, and he is also an excellent photographer and videographer, so I invited him to come along for the day. He went for it.
But only if I included breakfast. That kid drives a hard bargain.
After a big plate of pancakes and bacon, we were then off to the State Fairgrounds where the show was being held. When we got there, I was the one who was too excited to contain myself. My son had to calm me down and refocus me on the important stuff.
When we got inside, it was great to be there early, before the crowds got in, to conduct a few interviews and get some shots of the vendors before the madness begin.
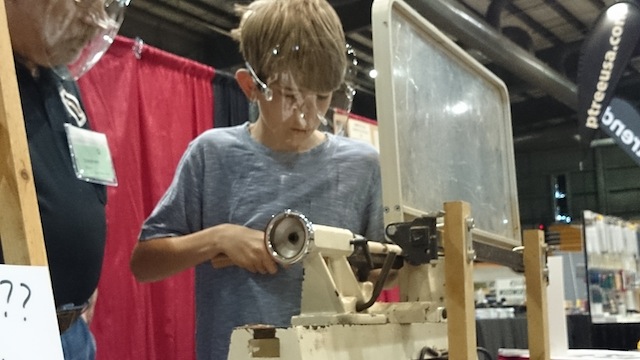
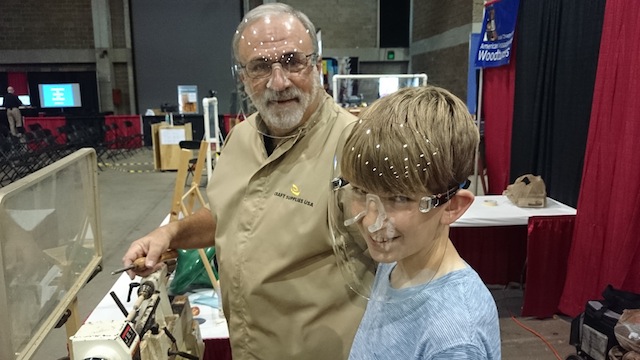
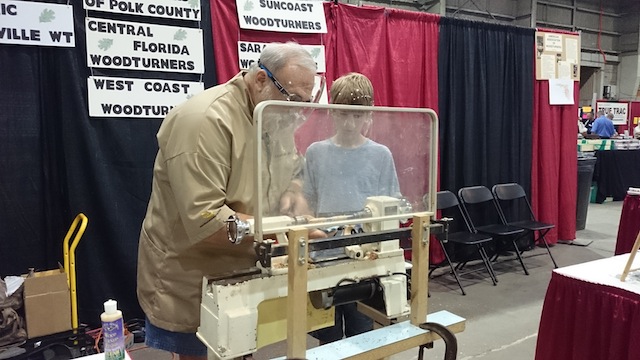
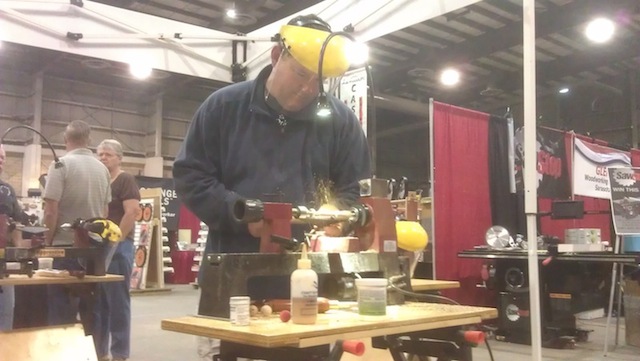
The real highlight, though, was watching my son turn his first pen. At first, he was very apprehensive, but with some great guidance, he was able to go from square blank to turned pen with ease.
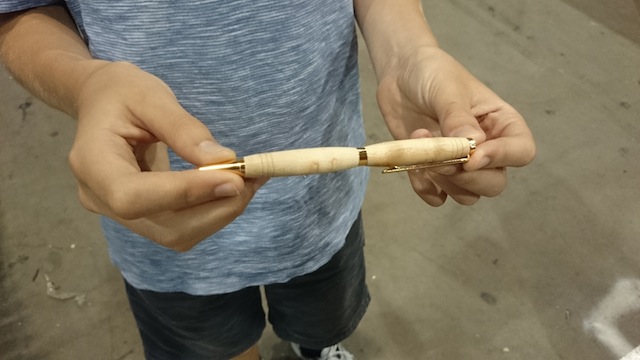
And, the result.. well… it was something to see!
His first effort was so inspirational, well, I just had to to do something on iMovie…
Now, of course, I have my hands full. The first thing he said when he was done with the turning was to tell me, “Hey, dad, we need a lathe!”
Since I started Tom’s Workbench back in 2007, a regular feature of my weekly posts has been the weekly poll. In fact, the last poll I did was my 300th iteration of the feature.
While it would be easy to keep going the way I have, I have decided to change things up a little bit.
From now on, Sunday’s are going to be links to woodworking plans I think are pretty cool. I hope to spread the plans around the house – bedrooms, kitchens, offices, shop fixtures… the like. Some of the plans may be free, while others may cost a little, but I hope that this new feature allows you an opportunity to explore some pretty cool ideas you might want to tackle in your shop.
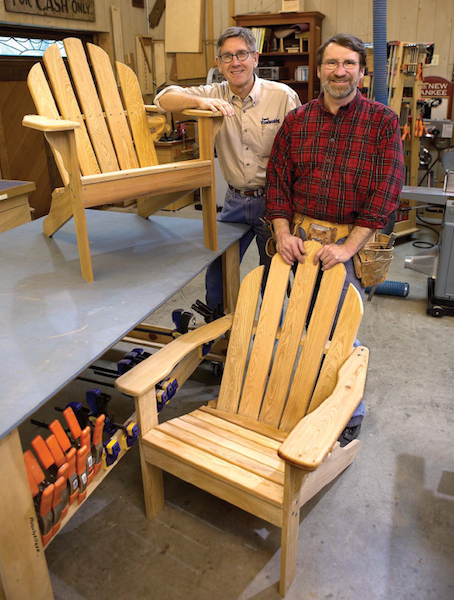
This week,with spring in the air – and a request from reader Kevin Lambdin in my inbox – it’s only appropriate that we kick of with a plan to build an outdoor classic – an Adirondack Chair. This plan comes from our friends at Popular Woodworking, and was build by none other than the New Yankee himself, Norm Abram.
Now, where have the polls gone? Trust me, they haven’t gone anywhere. In fact, Marc Spagnuolo has asked if I would be able to do weekly polls over at the Wood Whisperer’s site. This way, you can keep voting – and submitting your awesome ideas to me, so we can keep that up and running.
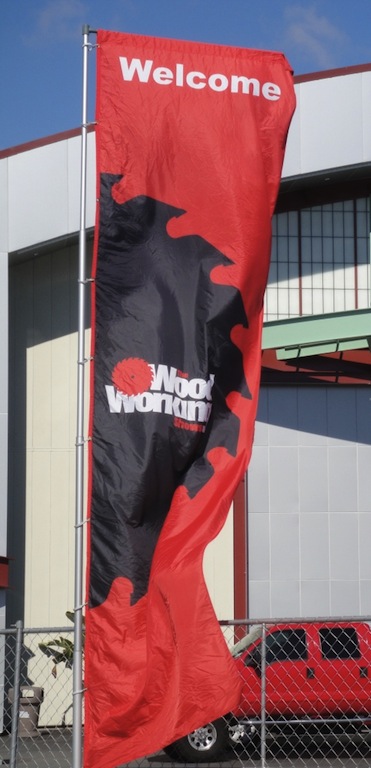
The Woodworking Show tours the country each year, Cris-crossing the states to bring high quality woodworking education and showcase some fine woodworking wares to craftsmen and women. This weekend, the show wraps up its season here in Tampa.
If you are in the Tampa Bay area and want to swing by, the event is being held at the Florida State Fairgrounds. And, I plan on being there on Saturday, running around, doing interviews and getting the entire Woodworking Show experience.
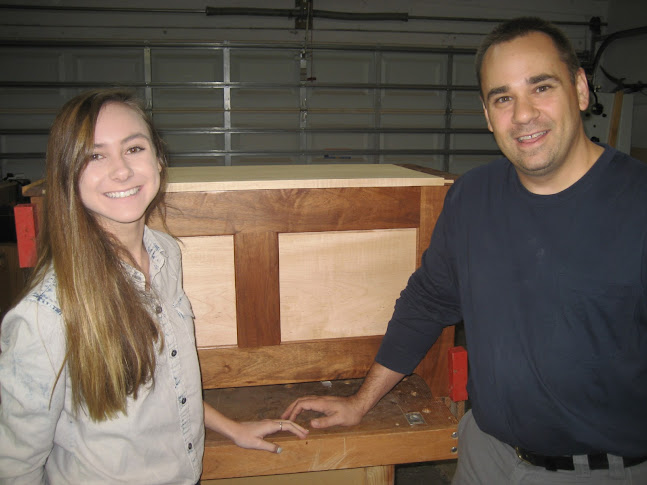
OK, I will admit, I am a sucker for my nieces. As they have been turning 16 years old, I have been building hope chests for them. So far, two down, and two to go. (Plus, a couple of friends of ours asked if they could have one for their daughter… who am I to turn down an offer like that?)
Lauren, her hope chest, and a relieved woodworker..
That has been pretty cool so far, but Rhonda has been asking me, “What about the nephews?” I mean, how could I leave them out of the action?
But, what do you build for young fellas? I mean, they can’t really use a hope chest… And something like a keepsake box isn’t really something I think they would like. Plus, I have more nephews (7) than nieces (4)… and three of them are already way past their 16th birthdays!
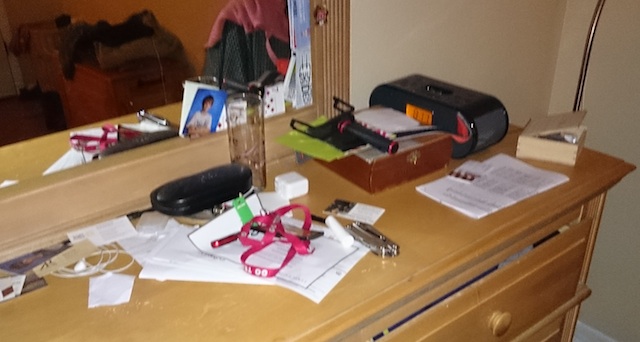
Inspiration came to me one night while looking at my messy side of the dresser top in my bedroom…
As with most males, I carry quite a bit of stuff on me in my pants pockets. A wallet. Keys. A multi-tool, My work ID. Pocket change. There are also papers on that dirty sucker, so I will need to clean those items up. But, how can I get control of the sprawl? I mean, there has to be a solution…
Wait a minute….
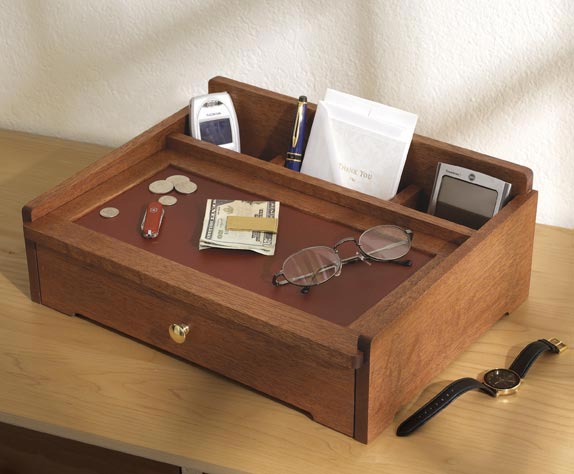
What about a dresser top valet? You know those things… they are a catch-all for all of the crap I carry on me during the day.
And, you know what else? Why not a valet that also has a place for me to stash my smart phone and connect it to a power supply to charge it? That way, I can keep the whole kit and caboodle in one location, and give it a glance over before I hit the hay for the night.
Fortunately, I’m not the first person to think of an idea this crazy. There are TONS of dresser top valets out there… with many of them made out of pleather-covered cardboard or some el-cheapo laminate that just won’t work. Others are highly-lacqured, overcomplicated behemoths that just won’t work.
Even back in 2005 (Check out the awesome looking cell phone in that back area!), the plan designers thought about including a corralled in area for electronics, and an area on top for loose change, keys and the like.
The plan also includes a drawer under the top part for stuff you might not use all that much – maybe a dressier watch or something else.
This looks pretty darned good for my nephews. There are some things I might change. For instance, the top calls for a padded vinyl panel, but I’m afraid that might look a little cheap. So, I might go for a leather insert, or maybe a rich green felt.
Also I have to pick the right kind of wood for this. Masculine, but still striking. Maybe walnut or cherry.. not sure yet. Fortunately, the plans look fairly easy to execute.
I think I may go with one for myself first, just to make all of the mistakes on one that won’t see the light of day and perfect my technique once I start pumping them out.
So, I’m done with the front entertainment center. And, my bench is clear, with no project on it.
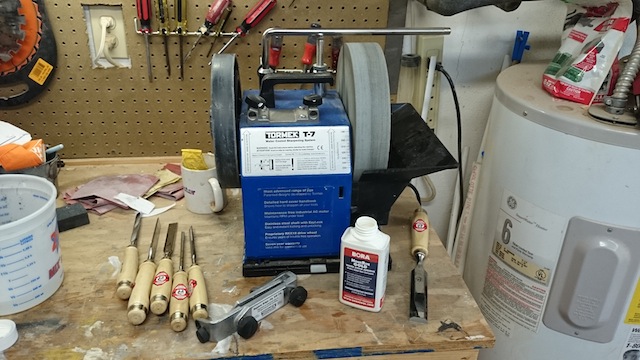
Making it the perfect time to tend to some important shop maintenance. One of those tasks is to tend to a little sharpening. My bench chisels have been taking a lot of abuse lately, and while they have worked well, it’s time for me to show them a little bit of love.
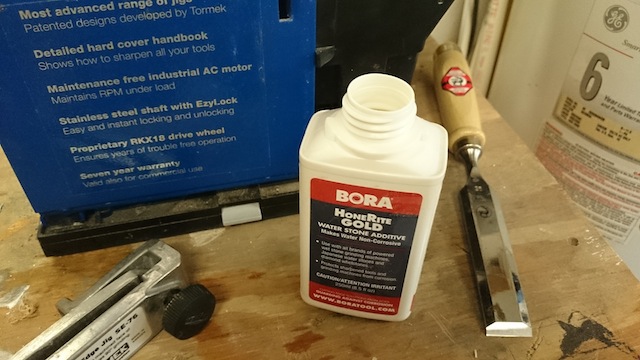
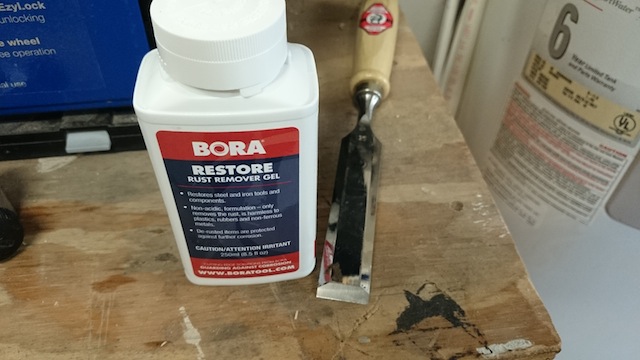
First step was to break out the Tormek to put a new edge on those suckers. I took the time to fill the water bath with water and a capful of Bora’s HoneRight Gold, which helps prevent rust from forming on the tool and the sharpener. While it may not be absolutely necessary, I need every advantage I can get in my humid shop.
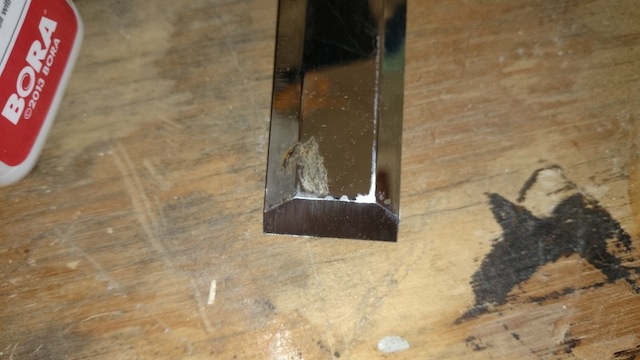
After jigging up the smaller chisels and doing them in ascending size order, I got to my one inch chisel and noticed this crap… What?
Apparently, I had left a glob of glue on the edge of my chisel, and it created a rust spot on the top. Dangit.
Fortunately, my Hirsch chisels are made of pretty tough stuff, and I was able to tackle the rust on the blade.
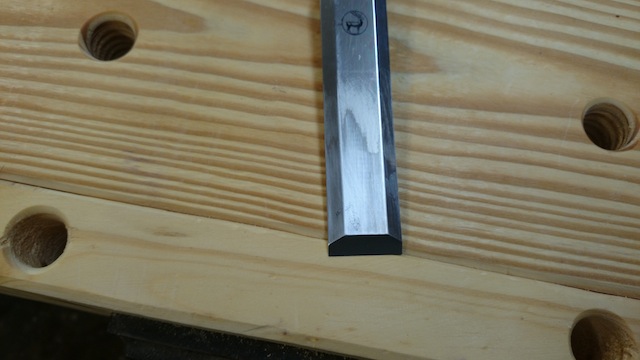
I put a little dab of the rust restorer on the stain and rubbed it gently with some 600 grit wet/dry paper. I wasn’t looking to impart a satin sheen on the chisel – just use enough abrasive to get the glue, rust and crud off of the tool.
Just a little bit of elbow grease was required, and the results were very nice.
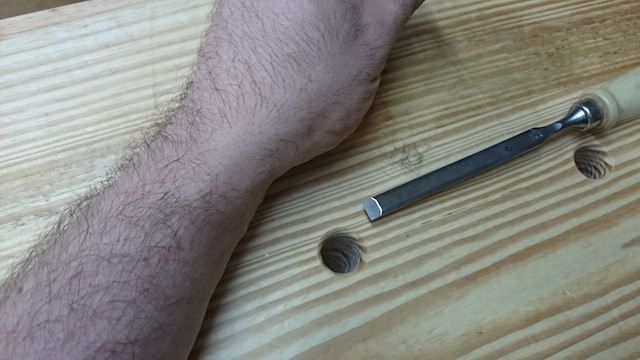
After each of the blades got a good sharpening and honing, I wanted to test just how sharp each of the edges was. After all, if I wasn’t getting a sharp edge, I was just wasting my time. Being of Italian decent, I am not lacking in a way to test the sharp edge…
I wonder how long it will take for that arm hair to grow back?
Satisfied with the edge, I put the chisels back into my tool chest, and I started planning for my next build… what will it be? I’m not even sure!

 In order to help prospective tool buyers, the folks at Infinity Cutting Tools have set up a blog, where woodworkers in residence Kurt Raschke and Andy Gibson use the tools, offer tips and tricks and go into detail on the best way to set things up. No, it’s not a groundbreaking idea, but it does offer some additional guidance while deciding if that tool is right for you and your shop.