Category Archives: Projects

We’re gaining on it.

Remember when Norm Abram would get close to finishing a project on the New Yankee Workshop? He would always throw out that expression, “We’re gaining on it.”

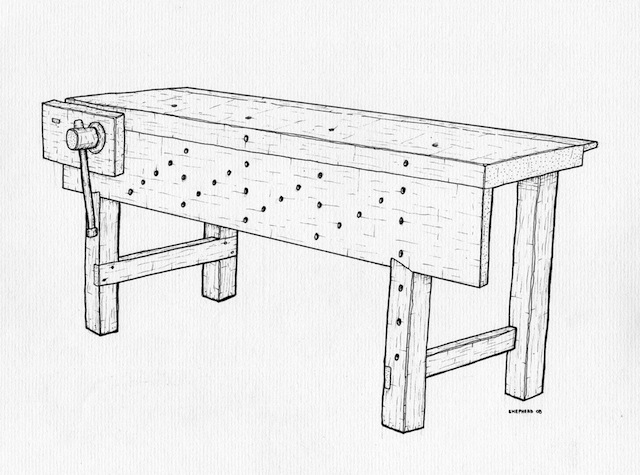
Well, that’s exactly how I feel about this bench.  I’m definitely gaining on it, and I think I may be very close to done.

The drilling rig
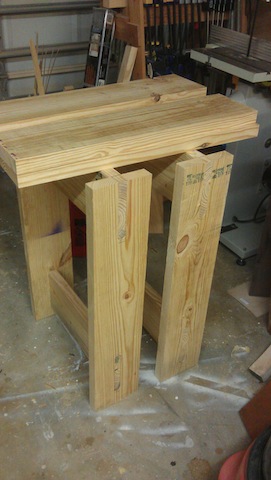
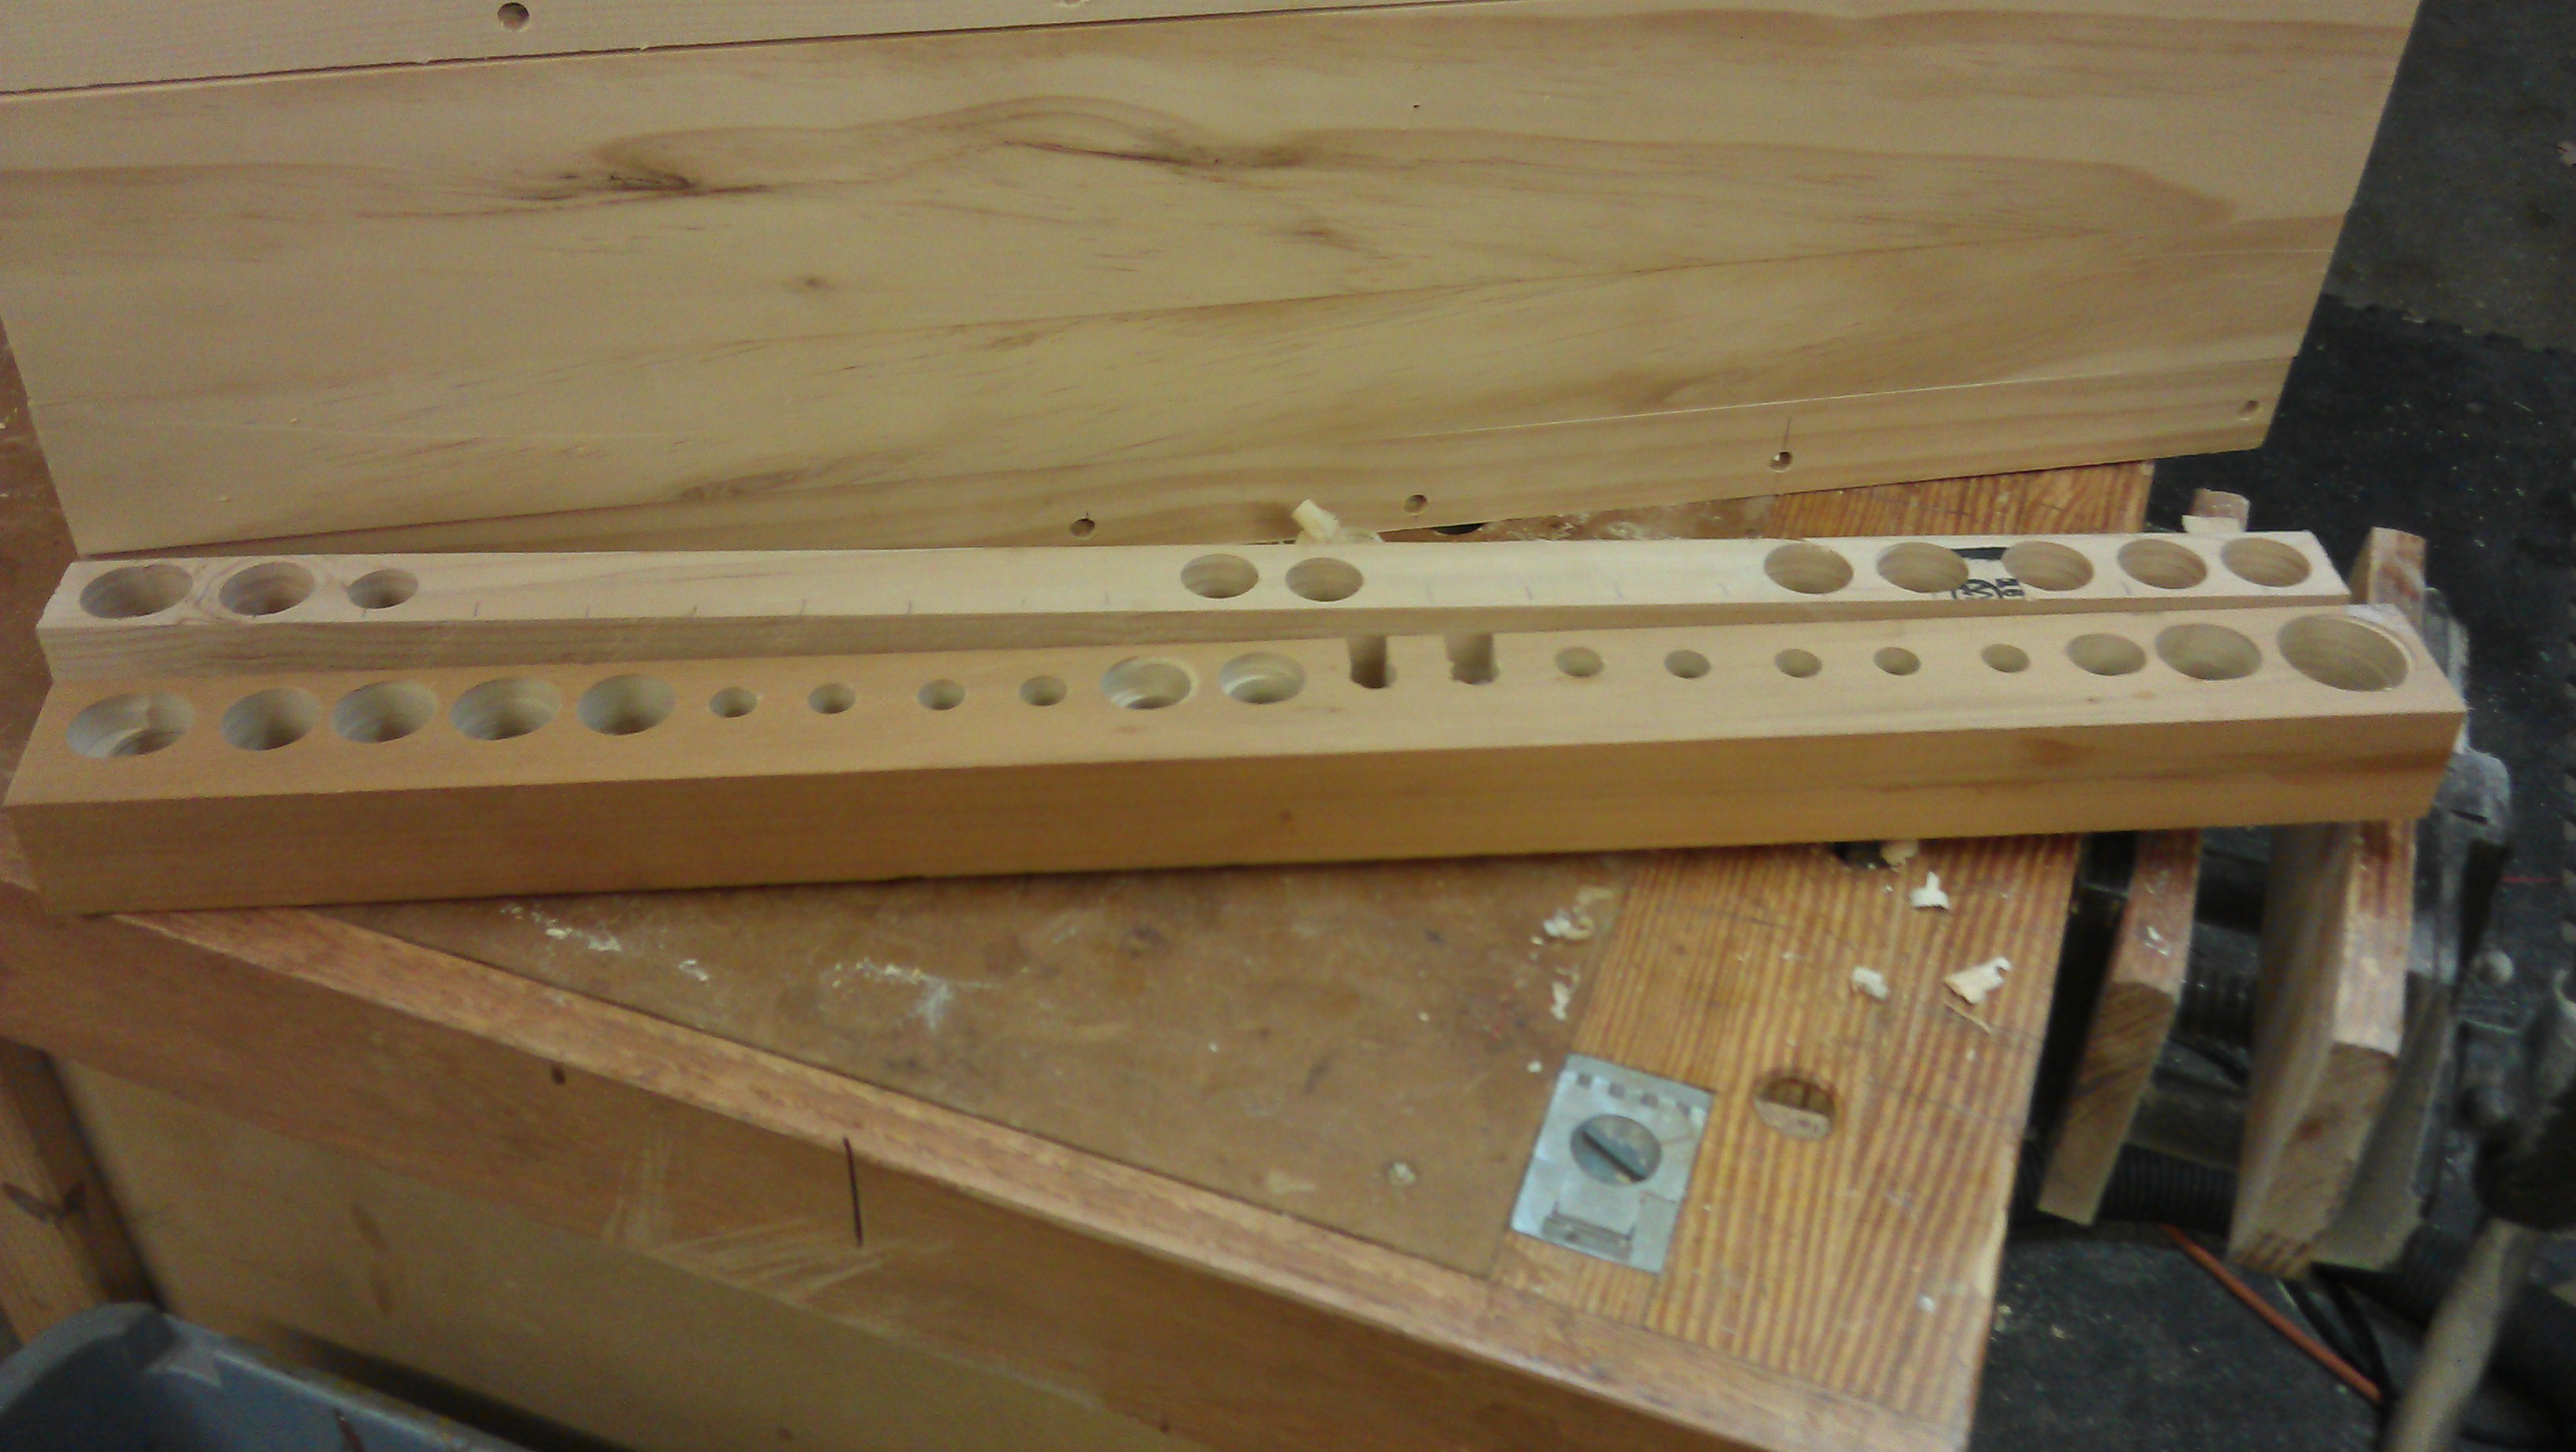
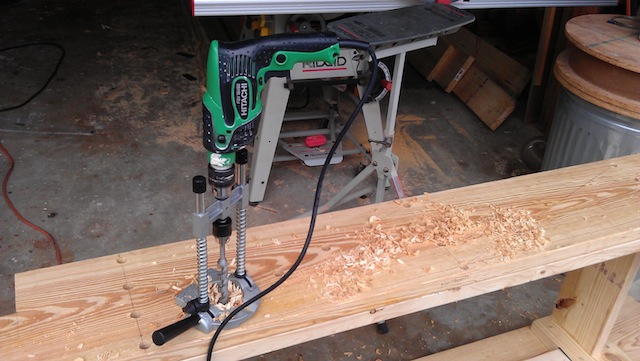
With the side aprons attached, I was able to tip the assembly on the ‘back’ rail and start drilling the holes in the sides and down the leg away from the vise. These would be able to hold pegs to support work while I’m working on it in the vise. I used this drill jig I picked up for $25 at a large retailer in order to ensure the holes are perpendicular.

Drilled out
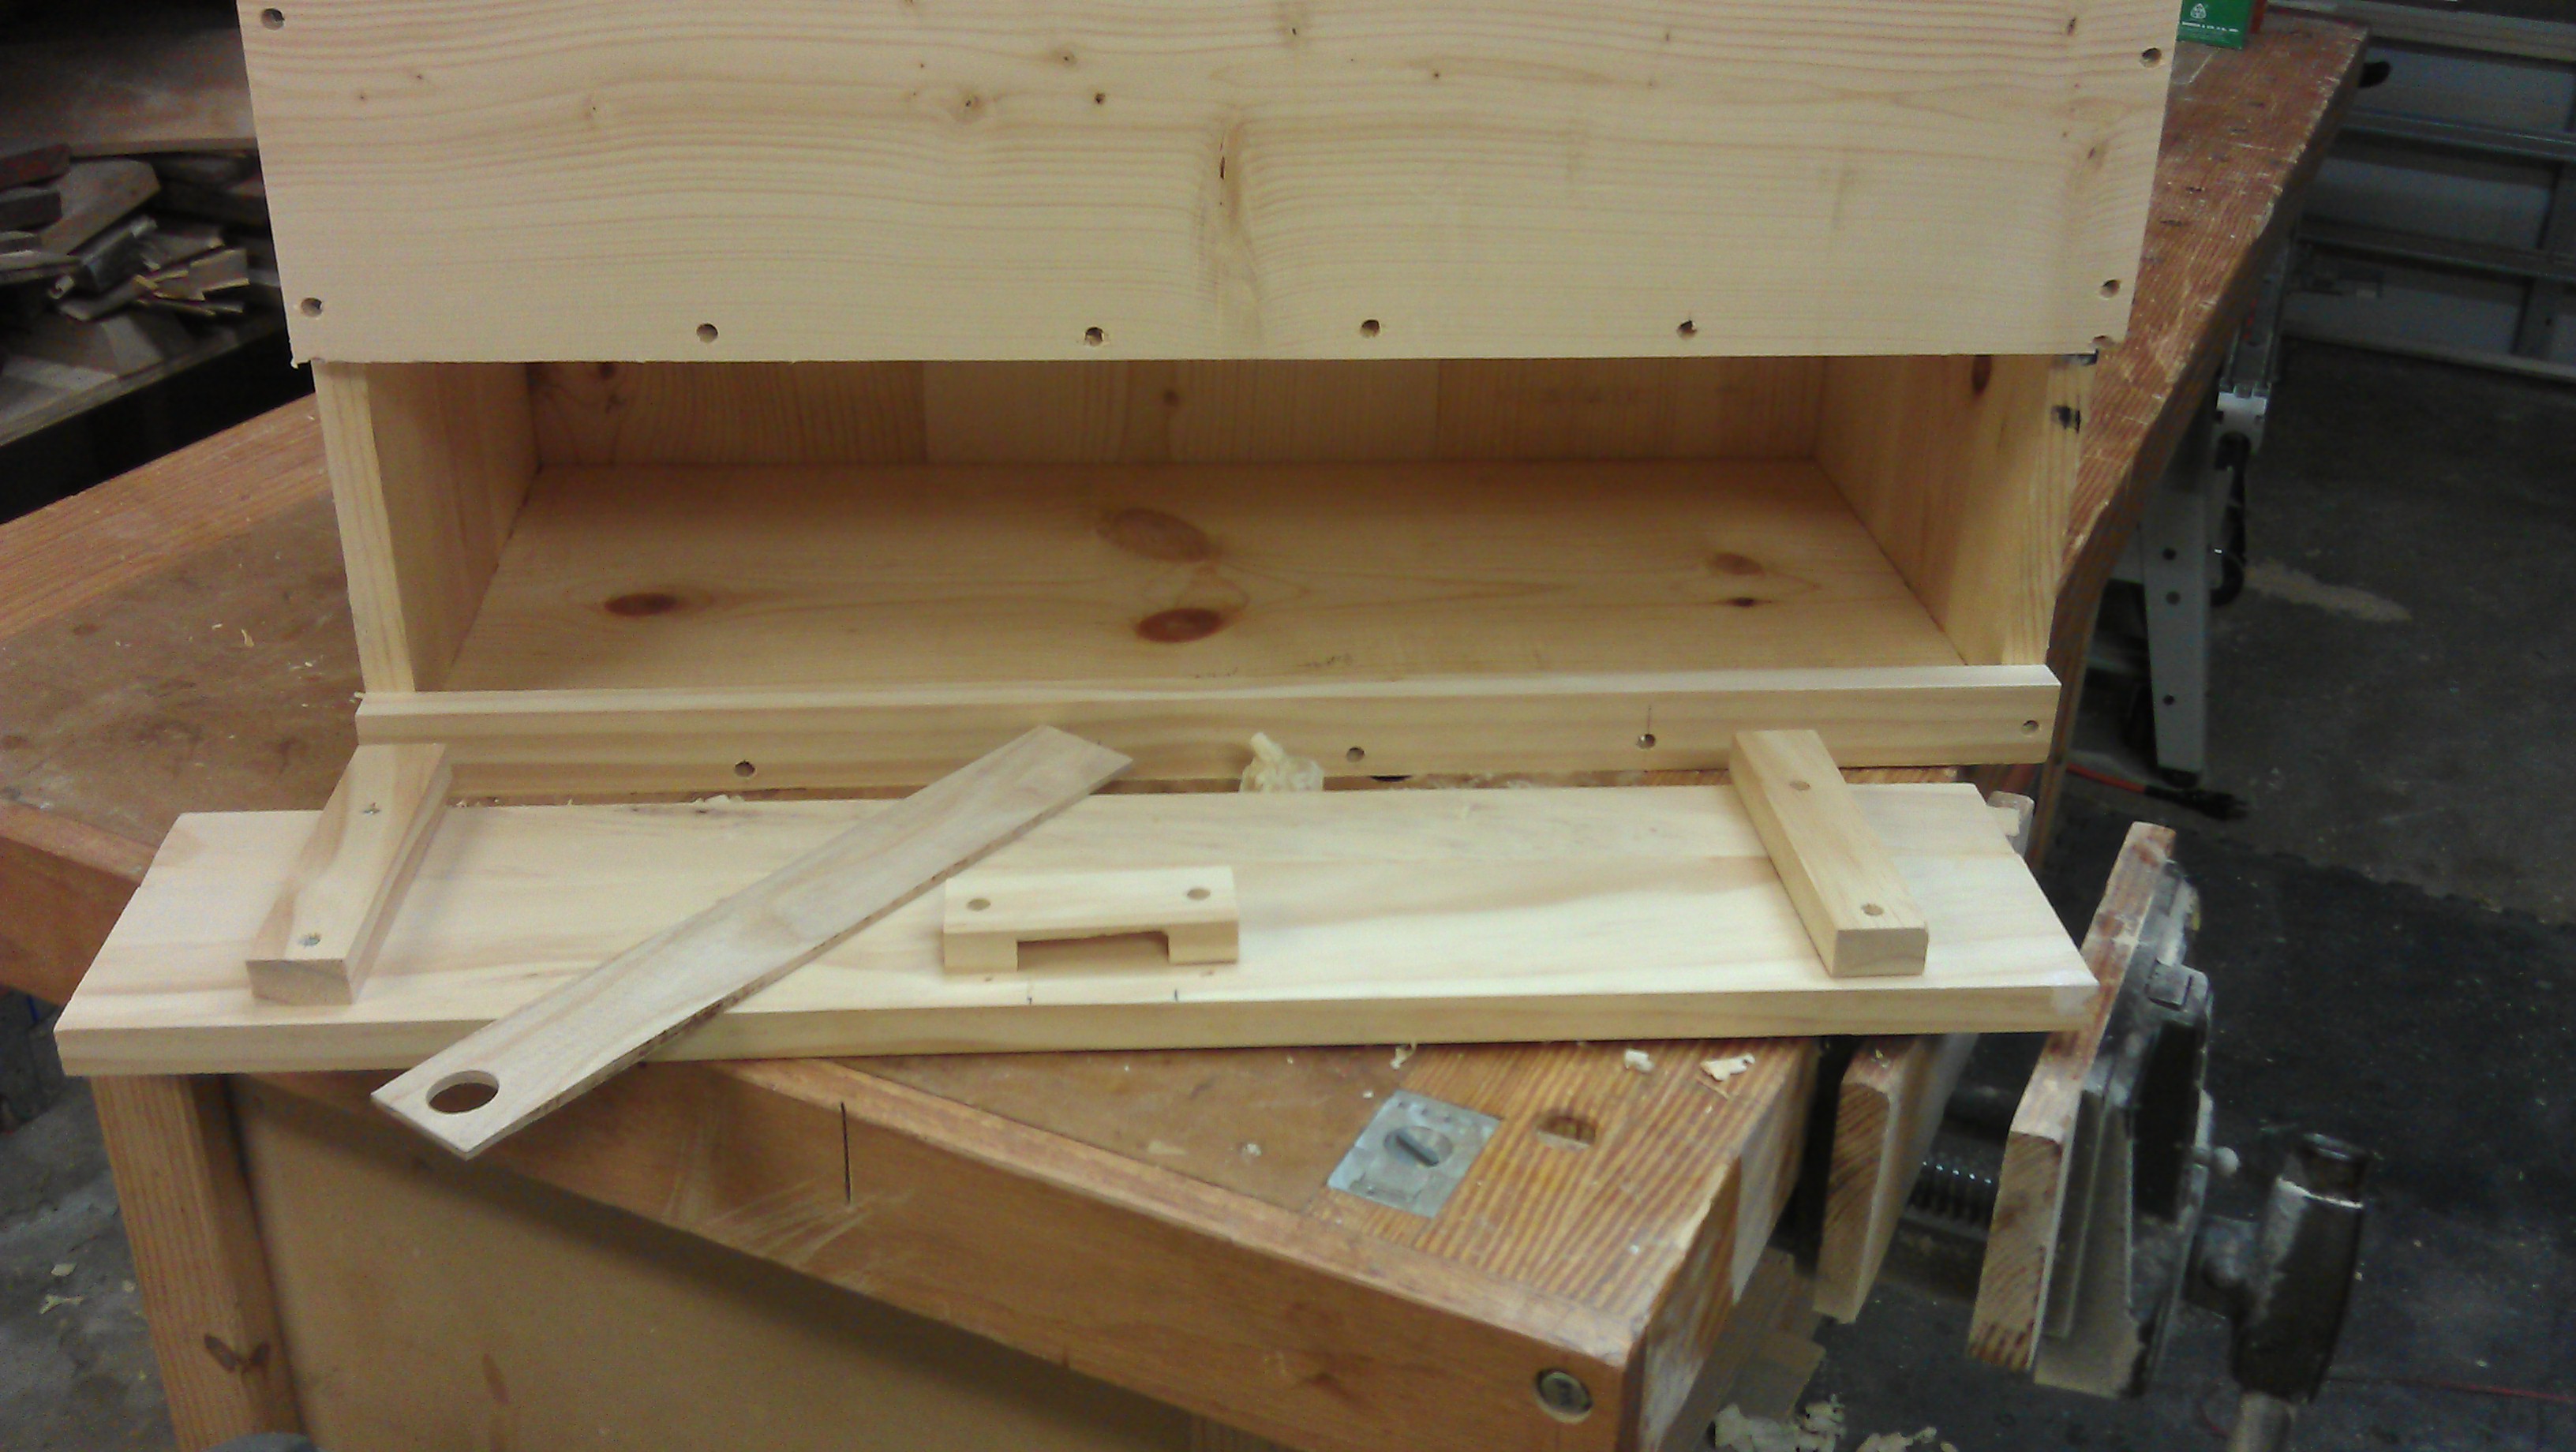
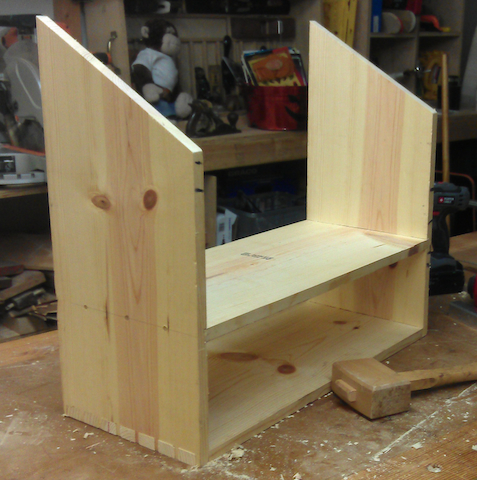
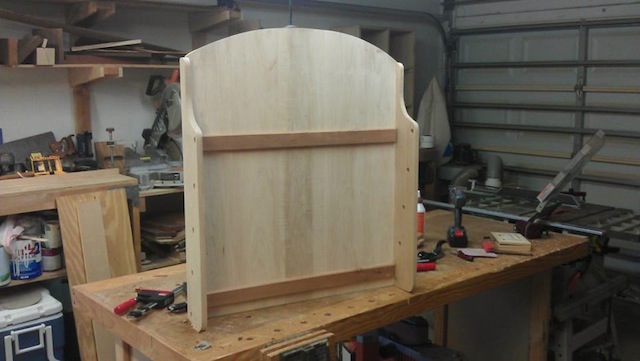
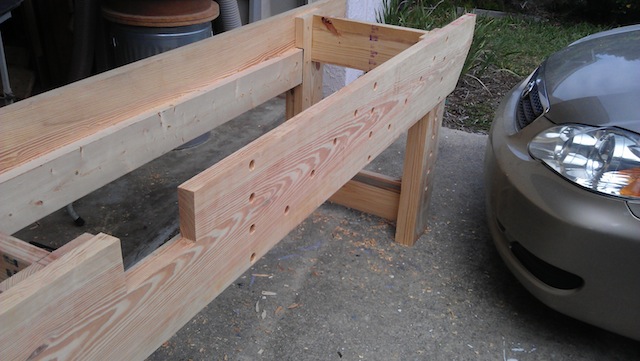
After measuring, marking and drilling, I stool the bench up on its feet again and admired my handiwork. I had even taken a router with a round over bit to the holes to prevent chipping (and around the sharp edges as well), I put in six cross members to catch the top.

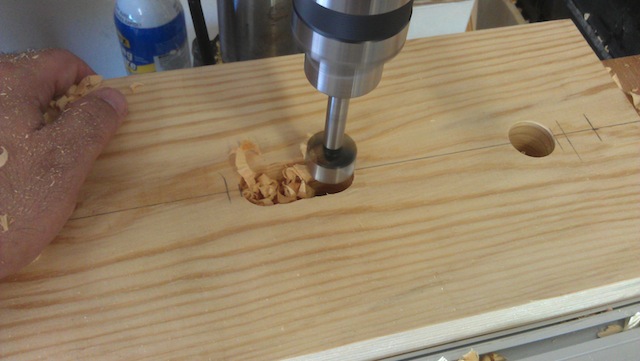
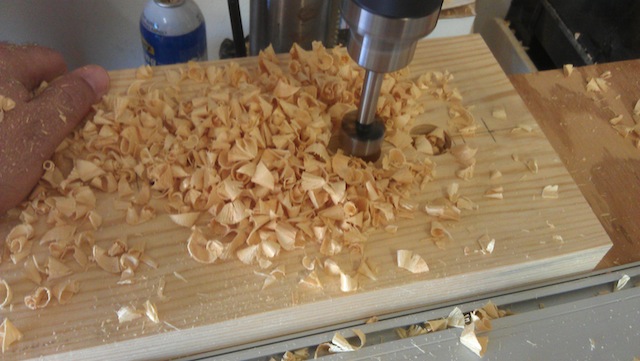
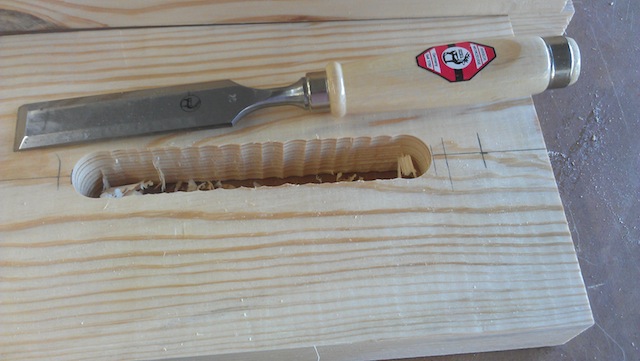
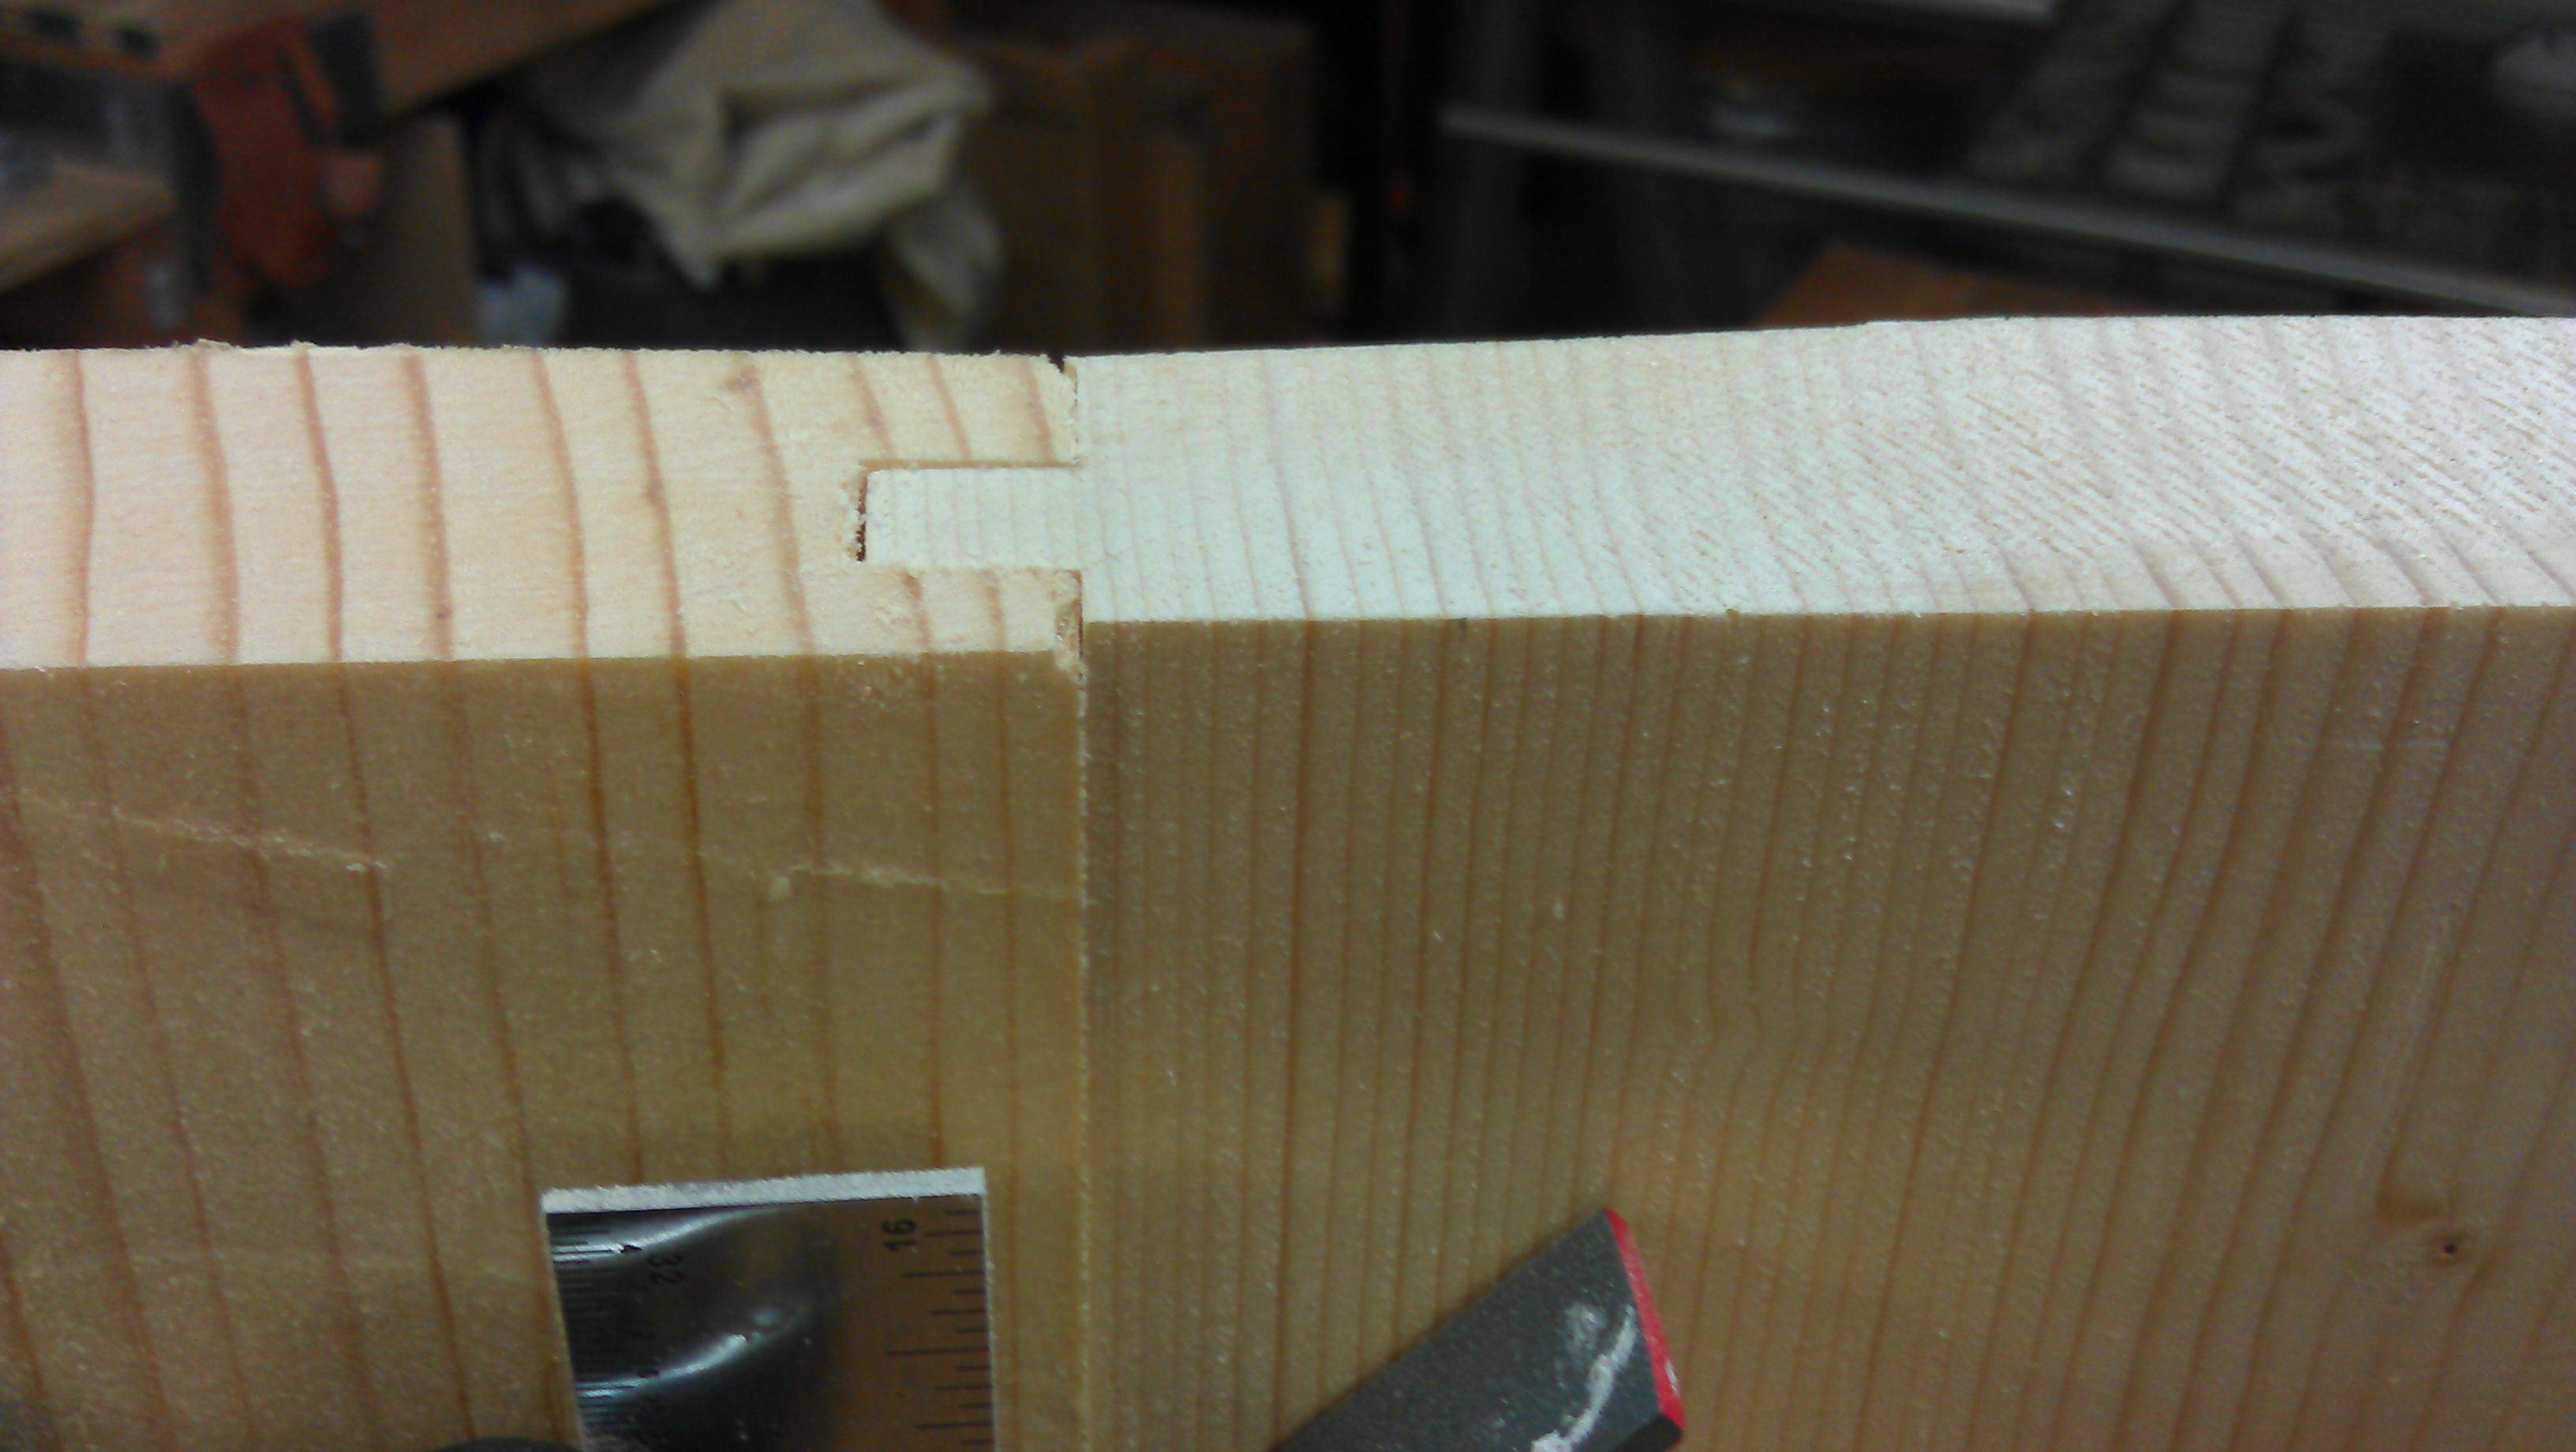
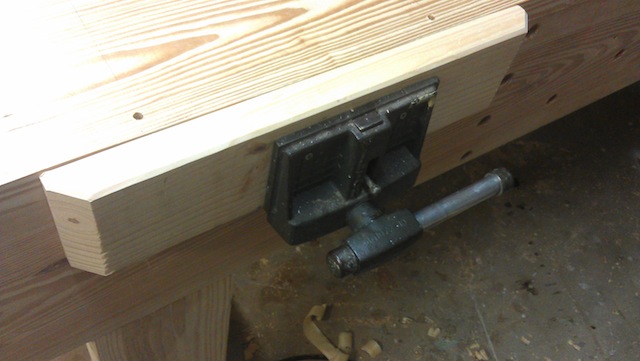
As you can see from the photo, I notched out for my old Wilton face vise. While I worked on the top of the bench, I also notched out a recess so the back jaws of the vise would be flush with the top. It took some time with a forstner bit and a chisel, but I got the back jaw recessed…

The back jaw is mortised
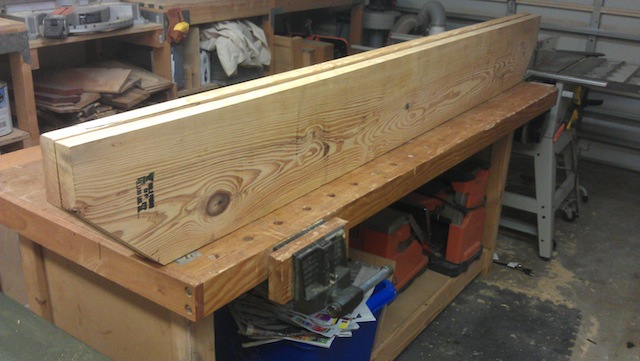
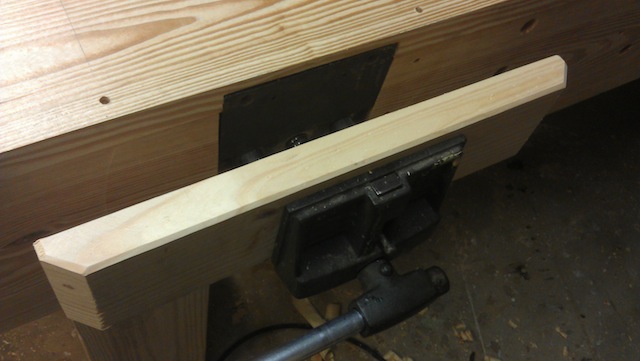
On the front jaw, I put on a long wooden chop. I know, someone’s going to say, “Hey, Tom, that vise is going to rack!”  First, at Woodworking in America, Chris Schwarz mentioned that a vise like my Wilton really won’t rack… its running gear is 100% metal. Plus, I could always throw something in the opposite side if I feel as if something is going to go awry.

The vise closedI kind of like the big wide wooden chop on the vise. It looks substantial.

End on I still have some more work to do on this tomorrow… I need to trim the ends so they are nice and even. And, I still have to put on the Record fast action vise on the far end, and start boring some dog holes on the bench top.  Maybe I’ll even throw in a little shelf for mallets, holdfasts and other goodies…

The bench is almost ready!
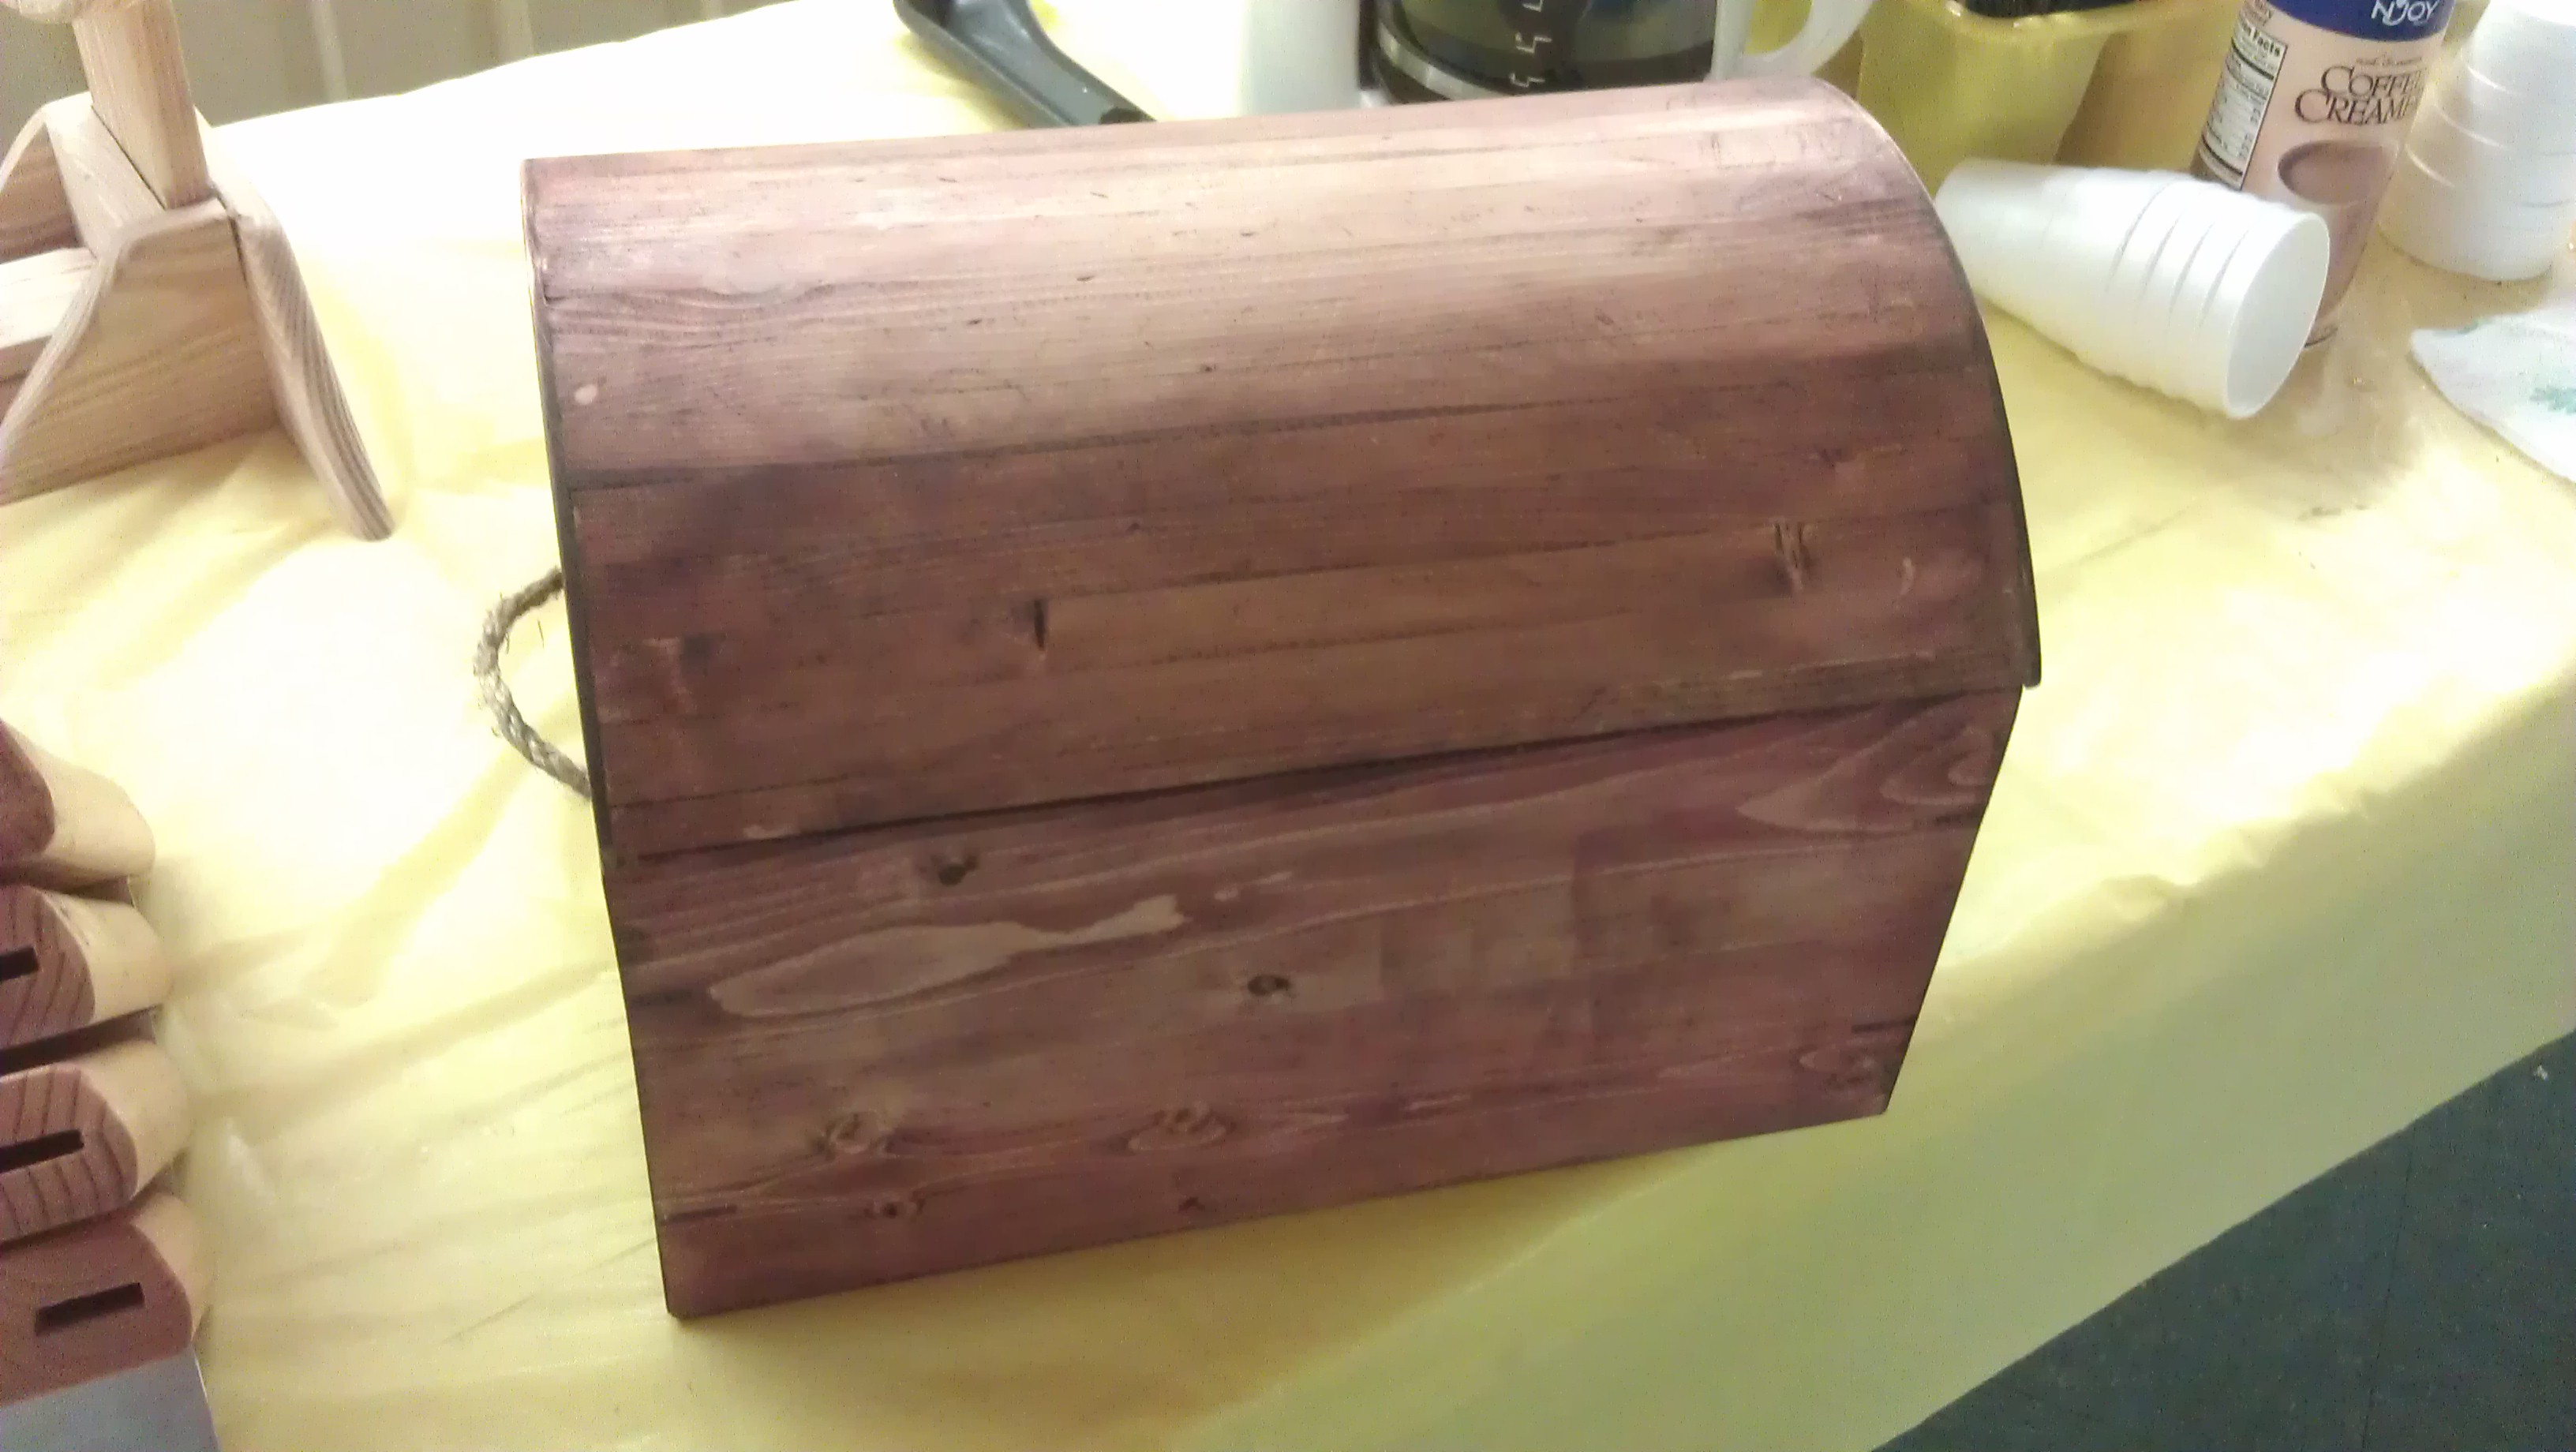
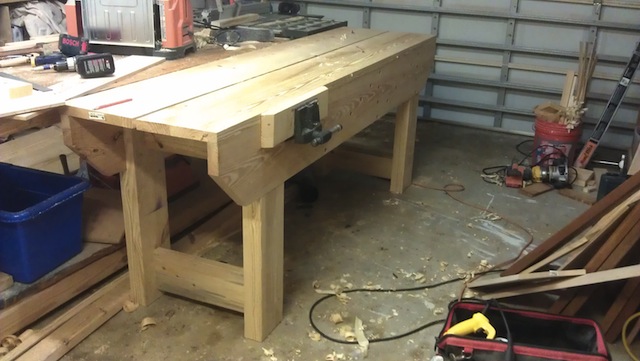
But, for now, I’m just very happy with the results. Oh, I will be ready to go for Last Minute Elf week for sure!


Bench press(ure)

OK, no quick poll yesterday. What’s the excuse this time, Tom?

It’s not like I had to rearrange my sock drawer… but, I did have to do a ton of laundry. There was also the annual purchasing of the turkey for Thanksgiving. And, there was a sand castle contest in Treasure Island, Florida, where we saw some interesting sculptures.

A sand sculpture on Treasure IslandWhile these were all great events, they weren’t the reason why the quick poll didn’t come out. It was due to this….

Stack o' wood

And, just what is this pile of Southern Yellow Pine supposed to become?  Something like this:

A line drawing of a Nicholson benchYes, I’m building a new work bench. A Nicholson bench, to be exact.The bench I built back in 2008 is nice, big and heavy, but there are some things I can’t do with it.  I can’t clamp anything to the face of it in order to secure it for edge planing. I really don’t have a good tail vise. And, I think the time has some to remedy this.

After using – and laying on – Mike Siemsen’s Nicholson at the Hand Tool Olympics, I really got the bug to build one.

Mike Siemsen's benchThis weekend, I headed over to big orange, and started buying southern yellow pine dimensional lumber. Man, those boards are pretty sweet.  Not a lot of knots, pretty darned flat and ready to be worked.

Starting the mortisesSo, I started with building the legs. I used 2 x 8’s, ripping the radiused edges off until I had 7 inch wide boards. After marking out where I wanted the mortises to live, I set up the drill press with a one inch forstner bit. I have never made mortises this way before, and I have to admit, it was pretty cool. And made quite a mess…

Mortising MessFresh off the drill press things were nice, but needed a little cleaning up to get ready for the tenons.

A little chisel work in orderI cut the tenons on the table saw for the cross pieces, and with some work with a shoulder plane, they fit nicely.

The leg assemblies good to goWith the leg assemblies together, I can now turn my attention to the upper part of the bench. One critical component of a Nicholson bench are the sides. So, ripped off the radiused top of the board, and nipped off the bottom corners of the sides, and now need to start thinking about boring holes for them and getting them ready to mount to the leg assemblies.

The sides ready for workWhy now? Well, I know with the long Thanksgiving weekend coming up, it will be a great time to get out to the shop and get everything put together.

Hopefully, I’ll have it all ready in time to build some projects for the Last Minute Elf week…

Stuff I’ve built: My Dutch Tool Chest

There was an old commercial from the 1970s… Someone would ask, “Is it soup yet?” and the patient, ever suffering hosuewife would say, “No, not yet.” Eventually, she would yell, “Soup’s on!” and everyone would come running.

The chest is finishedWell, just like that housewife was relieved to feed her hungry brood, I am relieved to say that yes, indeed, the soup is on! I finished the Dutch tool chest this past Saturday, and I couldn’t be happier with it. Based on the design by Chris Schwarz in the October 2013 edition of Popular Woodworking magazine, this baby is the bee’s knees.

Bare chalk paintAfter building a breadboard end for the lid, I was able to start finishing the piece. This is the first time I have ever used milk paint, and I can tell you now for certain that I will be using it again.   I used the product from the Old Fashioned Milk Paint company, and it’s pretty wild stuff. I brushed it on with a foam brush and let it dry. It became a chalky mess, but a coat of boiled linseed oil on top really deepened the color.

I used the Sea Green color, but I can assure you that I didn’t need the entire pint. The company’s owner told me that leftover paint powder can be saved in a clear jar and used later.

The inside is left totally bare – no finish at all. Chris was pretty adamant that the smell of varnishes or oils would just get trapped inside, and I’m not going to question the guy who has built lots of tool chests.

Tool SplayThe fun part about the piece is just how much you can store inside of it. This is just the collection of items I can fit in the top till… planes, chisels, saws, marking gauges…. the works. With these items now handy to my bench, I can get to them a whole lot easier than I used to by rummaging around in the steel tool chest I have. BTW – that steel chest will now be used to house some power tool accessories…. Pretty clever.

Tucked AwayTucked away, the tools fit nicely into chisel racks, a saw till or on the floor of the top of the case. Since I don’t envision taking the pieces around a lot, I guess I’m not going to need to really secure things down all that well.

Parked next to my bench, however, it will be great to have everything close at hand.

DownstairsDownstairs, the one tool bay is able to house a ton of tools as well. I’ve put scrapers, rasps, my manual drill and other goodies into the bay behind the drop front, and since they are all protected in cases and tool rolls, I have no fear they will bang around.

Open wide!For the hardware, I passed on the hand-forged pieces and just went with the home center variety hinges, hasp and handles. They are surprisingly sturdy for a tool chest this size. But, again, this chest was sized to keep just those essentials close at hand so you can reach them with ease, helping to keep the weight down.

Lock it upFinally, there is a lock. I have had this Master padlock since I was in college, and I have never found a use for it.  I don’t envision the need to lock the chest up in normal use, but if I ever do have to move the chest, this will help keep the contents enclosed so they don’t get out.

Nice rack!Making this tool chest a pretty handy thing to have around the shop.  Now, to build something with the tools inside…

In media res

In Latin, this expression means in the middle of things, and is usually used in discussion about literature.

In this case, well, it’s a peek in the middle of my case.. my tool case that is.

Case ProgressYes, the case of the toolbox is just about complete, and I couldn’t be any happier with the results. With the back and front on – man – this piece is looking pretty sweet. Now, when Chris Schwarz made the piece, he used all hand tools, but I didn’t…

However, I did use them more than I expected. Let me tell you, there’s nothing quite like paring pine with a sharp chisel.. it’s a pretty darned cool thing.

The tool rackIt was so cool, in fact, that I made this cool tool rack. Sure, Chris had gone with a plain board with holes drilled into it, but I went with a wider board that I notched two slots into the back, and secured it through the back with some screws put through slots. This allowed me to store some other tools, such as wider Japanese chisels and some squares, along with the chisels.

What should have been the easiest part, however, caused me a few issues.

The all American rejectsOK, so that was a mess. But, most of it was 2 x 4 scraps… and I have a fire pit.

The fall frontOne of the coolest features of this chest is the fall front, which is basically an unhinged front held on with a few battens and a sliding lock of wood that rides in some notches. This is where I got some really good hand saw and chisel practice, and it was fun. I see more hand tool work in my future.Tongue and grooveOne great joint I used for the first time – ever – was the tongue and groove. Using a router bit setup, I was able to join the back to make it solid, and it didn’t even need glue to make a nice tight joint. Now that I have done it once, I have become fascinated with cutting this joint with a set of matched hand planes…  But, that’s a post for another day.

Now, I have to do the lid, sand everything and finish it with some milk paint. Then, I can start becoming more friendly with my hand tools…


Challenge accepted

Remember the 2×4 challenge earlier this year? You know, the one where I built a pirate chest with a domed lid?

Well, you will never guess what the St. Petersburg Woodcrafter’s Guild is up to next… It’s the annual green challenge, where the majority of your materials need to be reused from another source. Last year, I didn’t get involved in the challenge because I ran out of time (oops!) before the deadline. But, this year, there was a convergence that kicked me in the rear.

DutchFirst, at Woodworking in America, I saw a great project built by Chris Schwarz of the Lost Art Press. He recently build a Dutch Tool Chest for Popular Woodworking magazine, and something about that project really caught my interest. The size, the shape, the slanted lid, the storage and the blue milk paint really tripped my trigger.

The other part has to do with the rebounding real estate market. For the past six years, home sales have been pretty darned terrible here in Florida. Some homes on my block sat abandoned, while others were rented out. As the economy has recovered, suddenly there is a flurry of sales in the neighborhood. And, with that comes the inevitable renovations. And, every week as I go around the neighborhood, I see piles of vanities, kitchen cabinets and other debris that has been thrown out.

That’s where I found some sweet, good old no. 2 common pine used as shelves. Since the tool chest has to be both strong and light, Chris built his out of pine, and I couldn’t pass on the opportunity.

The plan can be found in the October edition of Popular Woodworking, and it’s very simple. Sure, I broke with tradition and didn’t cut my joints with hand tools, but the final piece will be function just as if it had been.

The piece in progressThe sides of the case are dovetailed to the bottom, providing some tremendous strength for the assembly. A middle shelf is dadoed and screwed into the sides to help keep the case square and to provide a location for the back and front to be attached to the case, providing more strength. My plan is to use plugs to hide the screw heads from view once the piece is complete. Oh, and when I cover it in a coat of blue milk paint, I hope those plugs just disappear…

Of course, I have a long way to go with the case, but I hope to have it ready to go for our next guild meeting. After that, wouldn’t it be great to stash those nice hand tools in a protective, portable and stylish chest out in my shop?


Stuff I’ve built: Sydney’s medal and ribbon rack

YES!  There’s nothing like a lazy weekend in the shop to get a project done, and that’s exactly what I had. It’s a great feeling to take a project from a big stack of lumber to the finished piece, and this project was no exception.  Here’s a quick look back at how Kevin’s daughter’s piece came to be.

The initial glue upAs with just about every project, everything starts with a good glue up. This one was for the back board. Yes, I had some problems with the resawing, but a quick call to the folks at Laguna helped me get through the work and end up with some beautiful pieces.

The back board cut to sizeWith the glue up done, the next big step was to cut that backboard to the right size. I got it to the final width by ripping the edges on my table saw, and then trimmed up the bottom with the track saw to get the bottom even and at a right angle to both edges. I cut the top arch out with my jigsaw and smoothed it out with a belt sander. The top made a nice, fair arch…

smoothing plane and cabinet scraperBefore everything was assembled, I took the opportunity to smooth everything out. Yes, I used a random orbit sander for some of the work, but using the smoothing plane and the cabinet scraper was a whole lot of fun.

The case is taking shapeOnce everything was smoothed, I cut some rabbet and dado joints to join the sides of the case together. This was, of course, the dry fit, because before I glued everything together, I took the opportunity to drill the five sets of holes that would accept the cherry dowels that would hold the medals and ribbons Sydney won.

The decorative cherry bracesOnce everything was glued up, I needed to make the vast expanse of maple a little more interesting, and attempt to keep this large piece from warping in the dry Yuma air. To do this, I used some cherry decorative ‘strongbacks’, except they were mounted to the front. Yes, this is a cross-grain situation. That’s why these were held in from the back of the case with three screws. One was screwed into the middle of the piece, with the other two screwed into the cherry pieces through slots I cut in the maple back, allowing the piece to move with the screws in place.

Clamping the overlayThe next step was the overlay with Sydney’s name cut out of a cherry overlay. I showed you how I did the cutout, and this arrangement was how I clamped the piece in place using a few clamps and my heavy toolbox on a plywood platen. This was the best way to get everything in place and make it all happen.

The final piece, ready to shipNow, all I needed was to finish the piece. First, I finished the sanding to ensure it was looking good, then I did my finishing regimen of a seal coat of shellac, followed by a thorough sanding and then wiped on the finish of poly, boiled linseed oil and thinner.

Today, it gets packaged up and sent on its merry way to Yuma. I just hope that Syd the Kid likes it!