
OK, no quick poll yesterday. What’s the excuse this time, Tom?
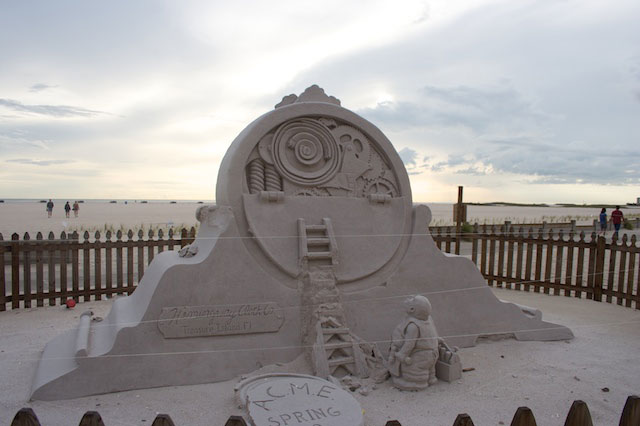
It’s not like I had to rearrange my sock drawer… but, I did have to do a ton of laundry. There was also the annual purchasing of the turkey for Thanksgiving. And, there was a sand castle contest in Treasure Island, Florida, where we saw some interesting sculptures.
 While these were all great events, they weren’t the reason why the quick poll didn’t come out. It was due to this….
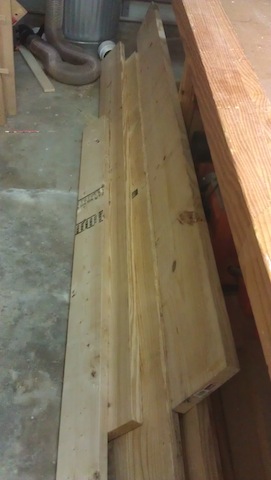
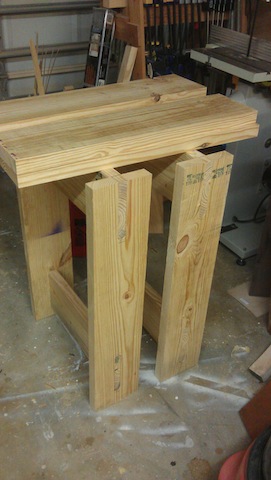
And, just what is this pile of Southern Yellow Pine supposed to become? Something like this:
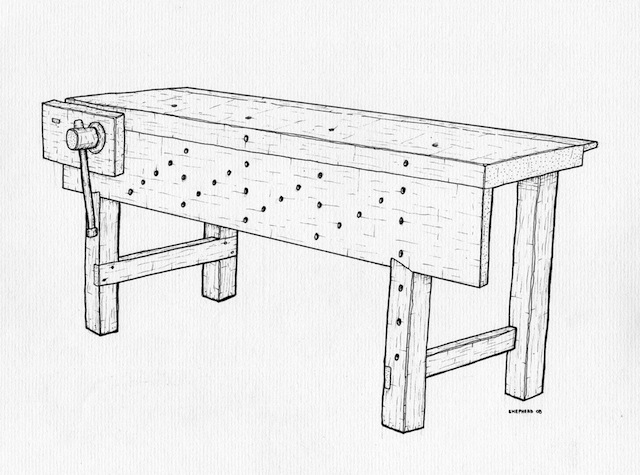 Yes, I’m building a new work bench. A Nicholson bench, to be exact.The bench I built back in 2008 is nice, big and heavy, but there are some things I can’t do with it. I can’t clamp anything to the face of it in order to secure it for edge planing. I really don’t have a good tail vise. And, I think the time has some to remedy this.
After using – and laying on – Mike Siemsen’s Nicholson at the Hand Tool Olympics, I really got the bug to build one.
 This weekend, I headed over to big orange, and started buying southern yellow pine dimensional lumber. Man, those boards are pretty sweet. Not a lot of knots, pretty darned flat and ready to be worked.
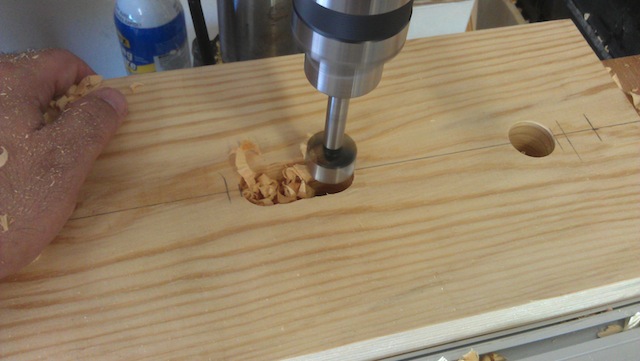 So, I started with building the legs. I used 2 x 8’s, ripping the radiused edges off until I had 7 inch wide boards. After marking out where I wanted the mortises to live, I set up the drill press with a one inch forstner bit. I have never made mortises this way before, and I have to admit, it was pretty cool. And made quite a mess…
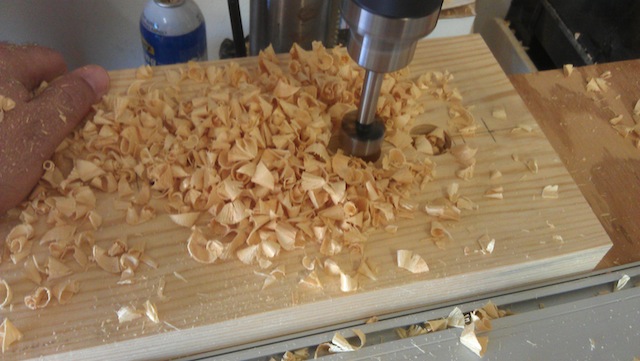 Fresh off the drill press things were nice, but needed a little cleaning up to get ready for the tenons.
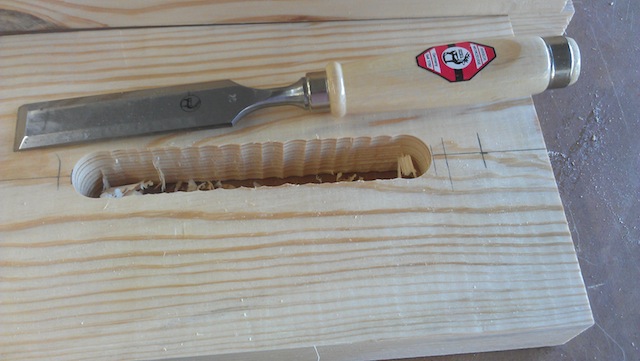 I cut the tenons on the table saw for the cross pieces, and with some work with a shoulder plane, they fit nicely.
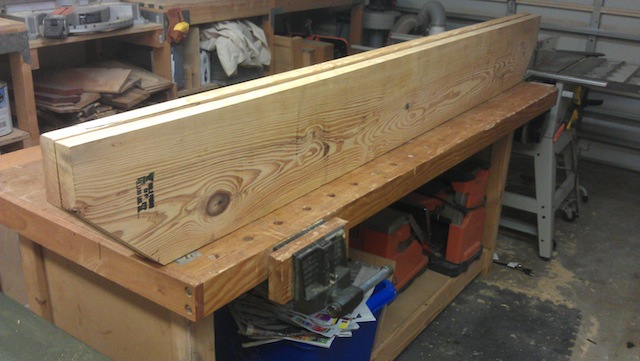
 With the leg assemblies together, I can now turn my attention to the upper part of the bench. One critical component of a Nicholson bench are the sides. So, ripped off the radiused top of the board, and nipped off the bottom corners of the sides, and now need to start thinking about boring holes for them and getting them ready to mount to the leg assemblies.
 Why now? Well, I know with the long Thanksgiving weekend coming up, it will be a great time to get out to the shop and get everything put together.
Hopefully, I’ll have it all ready in time to build some projects for the Last Minute Elf week…
Ahhh!!!
I’ll forgive you for no “quick poll” since you were in the shop actually working but, don’t let it happen again!
Just joking, I just enjoy the quick poll but, can understand with how busy you are with everything you do. You are allowed to enjoy some time in the shop making sawdust from time to time.
Good luck with the new bench and keep us posted on the progress.
Rog
Thank you, sir. May I have another?
Seeing Mike’s bench at WIA this year also gave me the bug to build one. Getting close to completion myself, hopefully we’ll both be successful at finding some time over the holiday. Yours is looking good so far.
Regis
Tom,
I like your creative spelling of my last name! One of the great things about a Nicholson bench is getting the top flat. Joint the aprons, then attach the cross bearers and joint them flush to the top of the aprons(#8 plane). You now have a flat frame to attach your top to. Since the frame was flat you will have very little planing to do to flatten the top.
Looks good, Tom. Apparently I’ll be the last of us to have a grown up work bench.
OOopsie, Mike! Sorry about that… I’ll that name thing fixed… 🙂
Yeah, I’m discovering that this is a pretty sweet design…. It’s coming together very well.
Nice to see another Joiner’s bench entering the world Tom.
may a bench be with you
happy thanksgiving
Can’t wait to see the final product.
Did Iggy approve this design?
Iggy’s the guy building it…
Tom, I too am beginning to make the Siemsen/Nicholson bench. Can you comment on the vise you used and any problems you had installing it?
Thanks.
Jeff
Sarasota, FL
Hey, Jeff – you are gonna love the bench! It’s great.
I went with a standard iron woodworking vise. An old Wilton 9″. I simply notched out the front apron where I was going to put it so the back jaw would be flush with the front apron, and I screwed a long chop to the outside jaw. This gives me a lot of clamping surface to work with.
The installation was a piece of cake. I simply notched out the front apron to the right size before I assembled the bench, and I had to be careful that the top of that back jaw would be below the benchtop. A few lags into the bottom of the top boards, and I was home free.