
YES! There’s nothing like a lazy weekend in the shop to get a project done, and that’s exactly what I had. It’s a great feeling to take a project from a big stack of lumber to the finished piece, and this project was no exception. Here’s a quick look back at how Kevin’s daughter’s piece came to be.
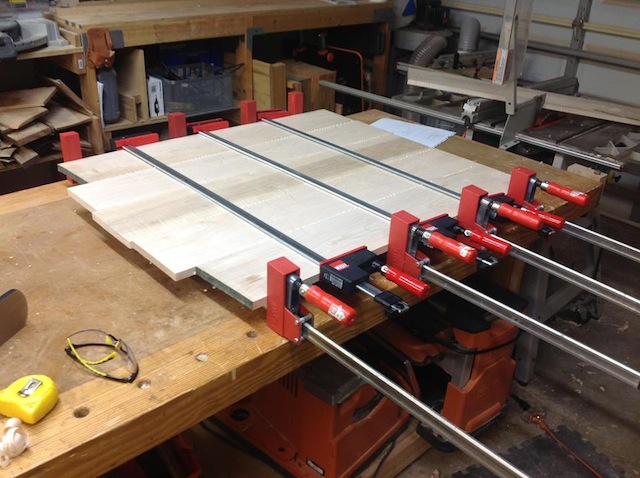 As with just about every project, everything starts with a good glue up. This one was for the back board. Yes, I had some problems with the resawing, but a quick call to the folks at Laguna helped me get through the work and end up with some beautiful pieces.
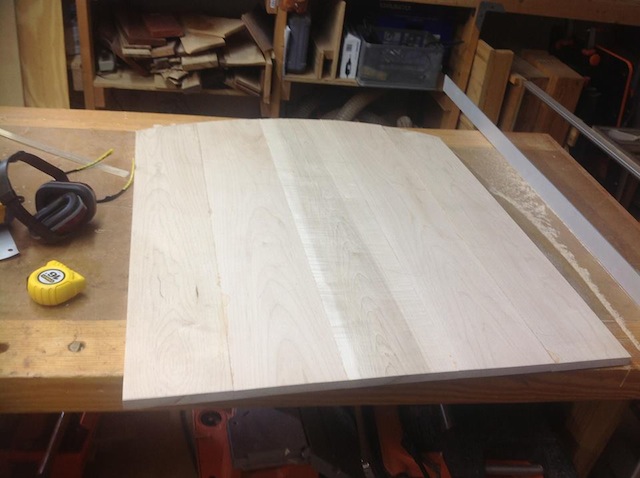 With the glue up done, the next big step was to cut that backboard to the right size. I got it to the final width by ripping the edges on my table saw, and then trimmed up the bottom with the track saw to get the bottom even and at a right angle to both edges. I cut the top arch out with my jigsaw and smoothed it out with a belt sander. The top made a nice, fair arch…
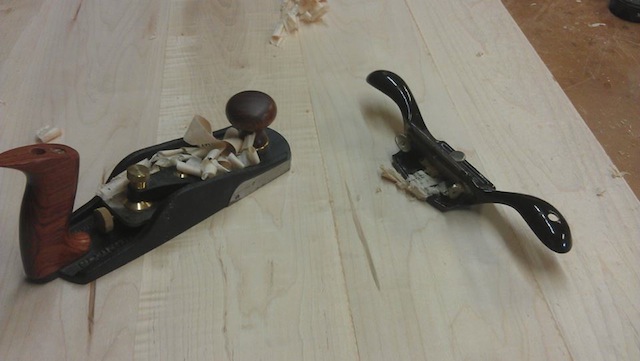 Before everything was assembled, I took the opportunity to smooth everything out. Yes, I used a random orbit sander for some of the work, but using the smoothing plane and the cabinet scraper was a whole lot of fun.
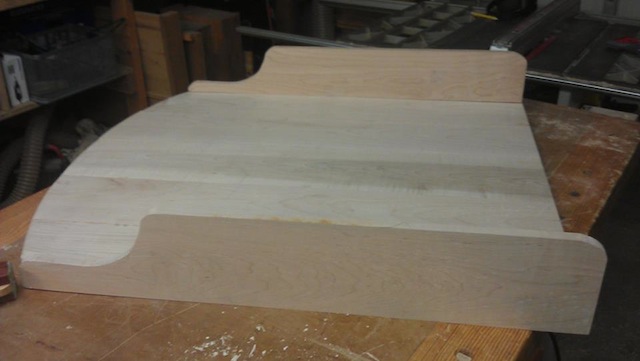 Once everything was smoothed, I cut some rabbet and dado joints to join the sides of the case together. This was, of course, the dry fit, because before I glued everything together, I took the opportunity to drill the five sets of holes that would accept the cherry dowels that would hold the medals and ribbons Sydney won.
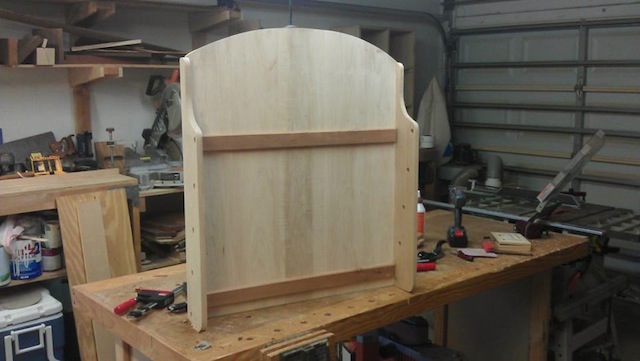 Once everything was glued up, I needed to make the vast expanse of maple a little more interesting, and attempt to keep this large piece from warping in the dry Yuma air. To do this, I used some cherry decorative ‘strongbacks’, except they were mounted to the front. Yes, this is a cross-grain situation. That’s why these were held in from the back of the case with three screws. One was screwed into the middle of the piece, with the other two screwed into the cherry pieces through slots I cut in the maple back, allowing the piece to move with the screws in place.
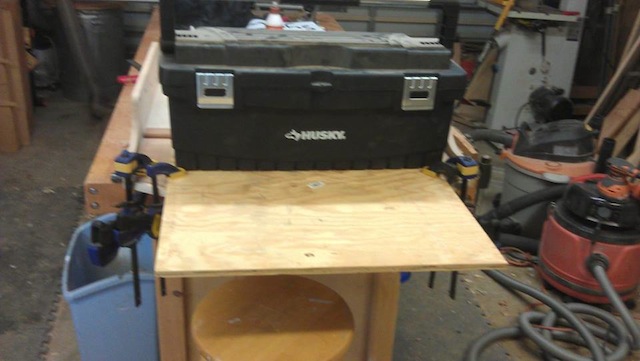 The next step was the overlay with Sydney’s name cut out of a cherry overlay. I showed you how I did the cutout, and this arrangement was how I clamped the piece in place using a few clamps and my heavy toolbox on a plywood platen. This was the best way to get everything in place and make it all happen.
 Now, all I needed was to finish the piece. First, I finished the sanding to ensure it was looking good, then I did my finishing regimen of a seal coat of shellac, followed by a thorough sanding and then wiped on the finish of poly, boiled linseed oil and thinner.
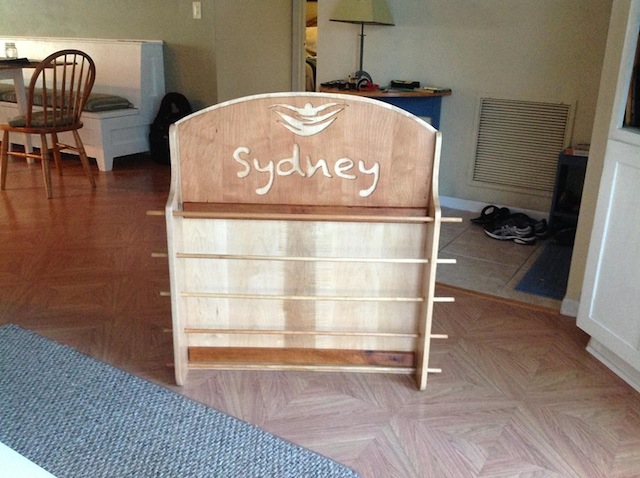
Today, it gets packaged up and sent on its merry way to Yuma. I just hope that Syd the Kid likes it!
Nice work
Really nice job Tom.
I bet Sydney loves it.
The typeface you chose for Sydney’s name is really striking. I don’t think I would have thought about doing that. I think she will love it and treasure it forever. So what’s next?
The fun part is that basically all computers come shipped with tons of fonts installed. You have choices!