This weekend, I made a whole lot of progress on Kevin’s project for his daughter. I decided that I was going to attempt to do the cutouts with my trim router. This was the first time I had ever tried this type of work, so I steeled my nerves and got to work.
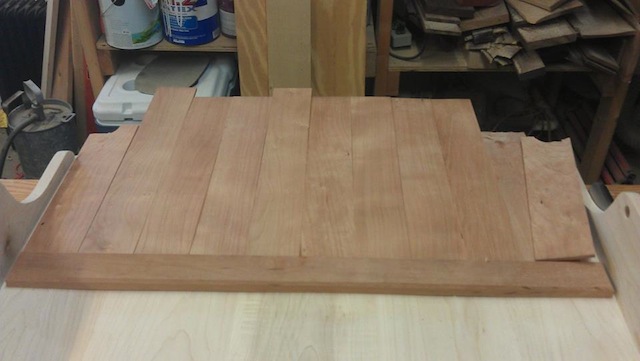 But, first I had to get the boards glued up for this overlay. Using the band saw and planer, I got everything cut to size and thinned down to 1/4 inch. To glue them up, I clamped them down to a waxed piece of MDF with a few cauls on top to keep everything level and a clamp across the sides to pull the joints tight.
Once I pulled that out of the clamps and gave it a rough sanding and cut the top into an arch that mirrored the top of the ribbon case. , it was time to get it ready for cutting out the name.
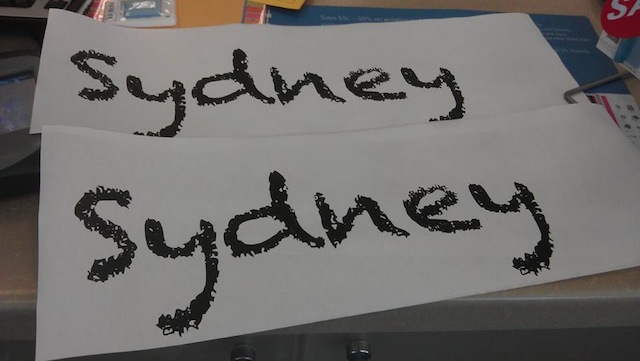 I had a little swimmer logo that was going to go on top, and I went to the local copy shop to enlarge Sydney’s name to use as a guide. I ran a few font samples past Kevin, and this is the one he went with. Yes, the font designer made it look all grungy, but I was just going to use it for a guideline.
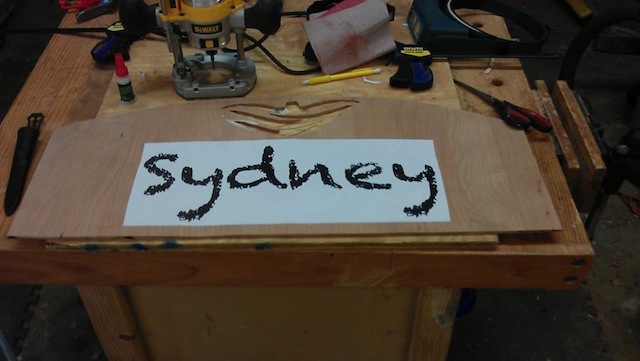 I sprayed the back with some adhesive and stuck the name to the board. How did I center it? Easy, I marked a center line on the board, then folded the paper in half, lining up the edges of the letters to ensure I had it folded exactly in half. Then, I stuck it on the board. That easy.
 One critical piece of equipment I needed was a magnifying visor. This piece of equipment brought the lines I needed to follow into sharp focus, making it tons easier to follow them with the 1/8 inch router bit. While I could have done without this, it made it so much more easier.
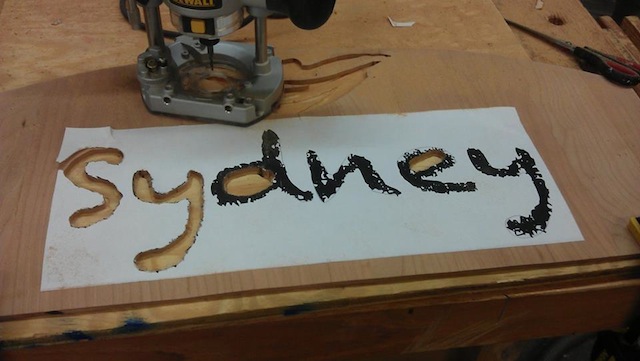 It was pretty darned easy routing out the letters, with my DeWalt trim router hugging the curves in the letters with ease. I mean, this kind of stuff was fun! I had my hearing protection on, listening to the games in the first week of the NFL season, stopping only to watch the Buccaneers lose in the final few seconds of their game. Bummer.
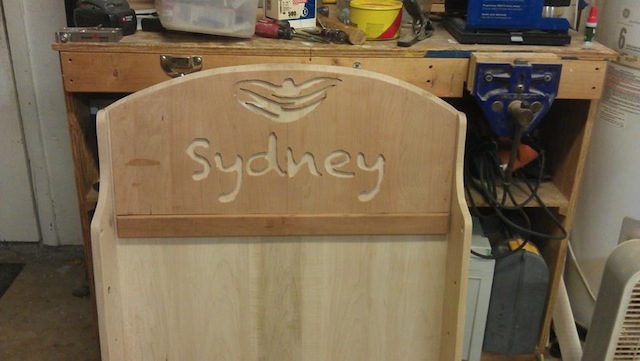 It wasn’t long before I had everything cut out and glued into place. You know what? I don’t think it came out bad at all. In fact, I’m pretty darned proud of what the result was. Now, for a lot of finish sanding, and the a good finish for the swimming sensation…

I guess I’m missing something. In the 6th picture, it looks like you cut out the center of the “d” and “e” which would be a mistake, however in the 7th picture it all came out alright . Howdidyoudothat???? 🙂
Rog
Simple… I cut out the centers of the letters first and put them aside. I cut out the rest of the letter and when I glued everything down, I returned the centers of the D and E to their proper spots. Easy peasey lemon squeezy…
Who the heck needs a $5,000.00 CNC machine when they have the skills of “Tom, the Trim Router Specialist” ?
Nice work man. That is going to be a really sharp looking trophy case !
OK! Now I get it! You cut completely through the 1/4″ and glued it onto the backer. I was thinking you were “engraving” it into a thicker piece of wood. I’ve done the same thing with my scroll saw (which is what I would have used) but, the router confused me. Just wasn’t thinking…
Rog
Make sure and post final pics. That is turning out nice and I have a similar one coming up for my nieces and gymnastics.
That really looks great Tom. I just picked up the DeWalt trim router combo kit. (For those of you who receive Home Depot gift cards for birthdays and other occasions, you can order it online and use your cards. Happy Birthday to me!)
I am definitely going to try this soon.
Tom, that is AWESOME – as someone who leans (heavily) on a CNC for a lot of my work, I really appreciate the skill you showed with this project. Well done, and thanks for sharing it with us,
Lawrence