Category Archives: Projects

Convenience in the cabinet

Now that we’re in 2011, my wife and I are looking forward to working with our newly organized cabinets.

Last week, I sorta kinda completed the work in the kitchen cabinets. I just have a few more details to complete and my wife is covering the shelves with contact paper to make them look pretty and be a little more functional.  It’s the non-slip, cushiony kinda contact paper like the stuff you would line the bottom of a set of tool drawers with…

The pull out trays were built very simply. First, I ripped the sides from a 2 x 8 southern yellow pine construction board.  Yes.  This sweet SYP was destined to be a door header or some other structural member.  The stuff we get at the local Home Depot and Lowe’s is great to work with.  Once I ripped the pieces to size, I then milled a 3/4″ groove down the side.  It’s actually a little shy of 3/4″, because it was cut with an undersized plywood bit on my router.

The 3/4″ ply I bought for the shelves fits perfectly into the groove.  Following the instructions that came with the slides, I made the width of the drawers one inch less the distance between the upright frames.  Once I glued the ply into the groove and glued the joint where the sides and front intersected. Then, I reinforced the joints with brads.

Sure, I could have used dovetails or finger joints, but ya know what, the drawers certainly don’t have to look pretty.  The cabinet doors will be closed most of the time, especially when we have visitors. Also, with the glue and the snug fit, I’m confident that the joints will hold for years. And, with the sweet rolling action of the slides, things should be cooking in the kitchen.

An unexpected family project

I love my home. Built in 1980, it’s your average Florida ranch. Three bedrooms, two baths, a separate living and family room and a two car shop – err – I mean garage.

Sure, there are parts of the house that I’m not crazy about, but I can deal with. Our dining room is kind of in an awkward place – the pass through from the front to the back part of the house – but we’re coping with that.

But, the real deficiency lies in our kitchen.  Don’t get me wrong, I love our kitchen. It’s an open, airy space in the middle of the house. Perfect for entertaining, because you can see everything. During a party, it’s the gathering spot. There’s plenty of counter space for food prep, small appliances and the like. And, since we replaced the counter tops, it’s looked very good.

The problem lies in our kitchen cabinets. As you would expect from a house of this vintage in Florida, they are laminate particleboard. We had them refaced back in 1998 with new thermofoil doors.  They look good and are still in decent shape. But the storage is awful. Abysmal. Let’s face it, it stinks.

They consist of large boxes that appear to have been built in place when the home was built. There is the sink bank of cabinets… not bad with the sink and dishwasher. The oven stack is OK, with a relatively unusable cabinet at top, but three VERY useful drawers below the hot box.

The areas of concern are under the stove and under the peninsula. The stove side has three doors. The door closest to the sink area is a small one, and the two doors under the stove open to an area with plain Jane storage and a short, useless shelf. A similar area exists under the peninsula area – two doors opening to a worthless storage area.

I had attempted years ago to make the area under the peninsula more useful by building a pull out tray. It helped, but I built it wider than a single door, which means that both doors have to be opened to gain access. Plus, there’s no upper rolling shelf, which means we’re back to shoving stuff in there hoping it won’t fall…

Well, there’s the rub. My wife and I are both very busy people, and we don’t have the time to pull everything out and  reorganize after washing the dishes – carefully restacking everything into a stable, compact form.  Plus, we’re asking the kids to do more chores around the house… and they don’t always get the point that they need to be careful in restacking.

Well, today – a week after we broke a Corian bowl – there was another one of those slip-bang-clatter louder-than-it-should-be wife-screams-in-surprise moments when all the baking pans spilled out over the floor.  All metal today… nothing fragile. Exeept my nerves…

“THAT’S IT!” I exclaimed. “I’m going to the home improvement center and building pull out shelves!”

I took some brief measurements and sketched my idea out onto a piece of paper. Then, I was into the van over to the Home Depot to buy a sheet of plywood, a 2 x 8 southern yellow pine board and eight pairs of 20 inch cabinet slides.  This afternoon, I ripped the 2 x 8 into all of the pieces I needed for the frames and supports. I’m building this with pocket screws and glue – no fancy joinery here. My goal is to get these eight pull out trays built and in place before I go back to work on January 3.

It’s not what I planned on doing this break – however – the cost of replacing our kitchen equipment is getting steeper and steeper. I’m hoping to show you a few step by step pictures… but today, I have an appointment to go see something special that involves woodworking.

Look for an interesting article on Wednesday…

Until then, hey, I have a date with my Kreg jig to do a little work…

5:30 p.m. EST update

Yeah, boy!  Take that 1980 Florida home  designer…

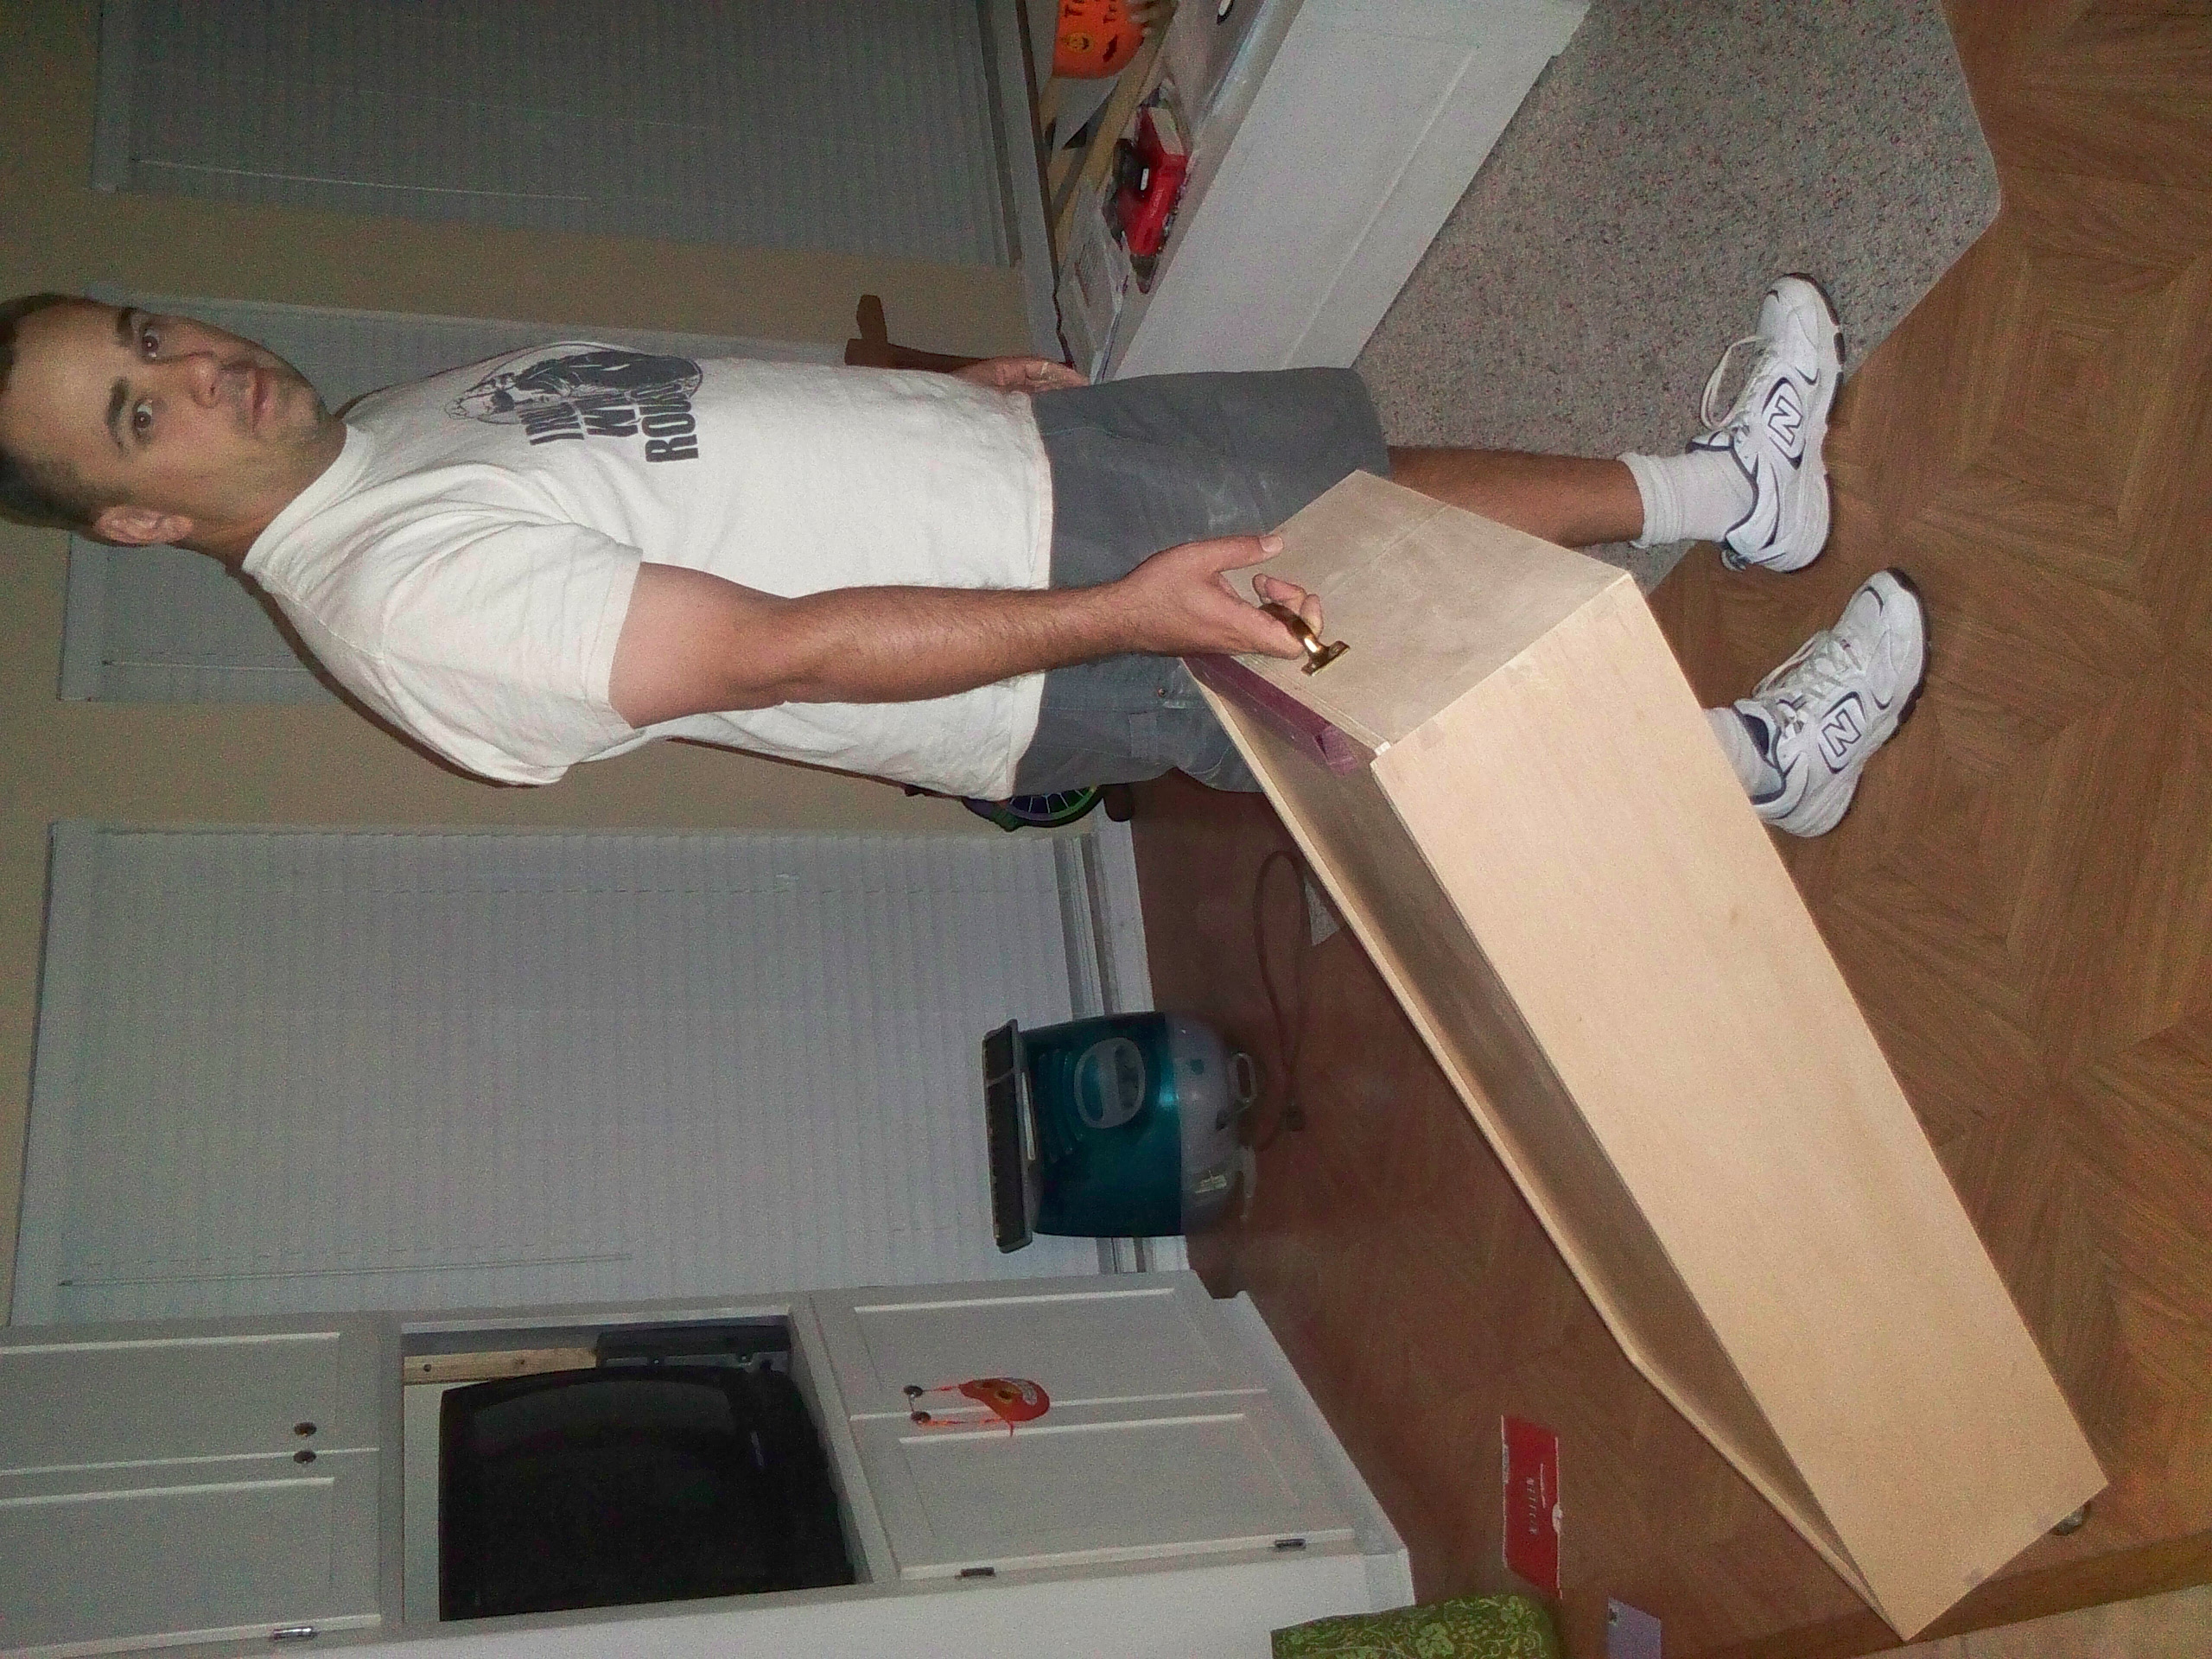
Gimme a day off from work, access to the shop and I’m off to the races… Here’s a shot from under the stove – the results of one day’s work. But, now, it’s time to take my patient wife out for dinner…

More work tomorrow…

Signs, signs, everywhere there’s signs…

How many times during the day do we rely on signs? Street signs. Store signs. Directional signs. And, is there anything more welcome than a sign pointing to the restroom when nature is calling.

Like it or not, signs are a big part of our lives. From the mundane to the fancy, the help keep us on track… even at home.

“Everyone has a street sign in front of their place,” said Tim Walter of Eagle America. “As a woodworker, you can help make something basic such as that a whole lot more interesting for your home – or for a gift recipient…” From the basic block letter sign carved into some pressure treated southern yellow pine to something fancier in a weather resistant board like teak, putting your home numbers into wood will help bring a little extra life to the front of your house and even serve as something that helps your home stand out when someone is looking for your address.

If you are only thinking about house numbers outside, you aren’t exploring all of the possibilities. “Of course, kids love personalized signs for their rooms. Think also about people who may be wine collectors, photographers, gardeners, cooks or others who would be surprised to get a sign helping them celebrate their hobby. I also hear that woodworkers sometimes enjoy signs that identify where their shops are…”

When it comes to methods for sign making, you have some choices. “If you are a power tool kinda person, you might want to take a look at the Milescraft Signmaking kit. It comes with everything you need to make beautifully lettered or numbered signs with perfect spacing. Simply rout the pattern and bingo, you are there.”

If you want a little more free form approach, you can change the router bits to give a different look , or you can pick up a copy of the book Making Wood Signs or the DVD Freehand Routed Wood Signs Made Simple to really help your imagination get running. “Vee cutting plunge bits make sharply relieved bottoms in the numbers and letters, while undercutting bits allow you to recess under the face of the characters, making them appear to be floating over the background.”

Another great way to make a sign would be to stack laminate two contrasting boards. “Say you were to cut the numbers from a lighter board with a scroll saw, then glue it to a darker board underneath… You’d have the depth and contrast that would make your sign draw a lot of attention.”

For those who are more hand tool oriented, there is the Flexcut line of carving tools. “When you are looking to carve the numbers and letters on your signs, knives, mallet tools and palm tools can help turn your design into reality.”

A sign featuring just numbers or letters could look kind of blah without something else to catch your eye. Tim told me about a number of corner rounding templates which can help you enliven a rectangular or square signs. “For ellipses or circles, we offer a our Curv Pro Circle and Oval cutting system, which easily allows you to cut those smooth curves accurately.” Designs carved into the face – whether modern and interpretive or classic – can drastically change the overall appearance of the sign.

Of course, sign edges need special treatment, and there is no limit to the options you can make with a single bit or with combination of others. Flutes, coves, beads, chamfers…. they can be combined in nearly limitless ways to personalize your creation.

And, when you proudly display your creation – or the recipient sees it for the first time – it will be easy to identify just how unique and meaningful it will be.

Stuff I’ve built: the Chihuahua ramp

Before anyone gets all worked up, no, this is not some kind of apparatus to make a small dog become airborne like Evel Knievel. So, don’t get your shorts in a twist, OK?

Instead, this project is the result of a favor asked for by a good friend of mine.  He has two Chihuahuas, and one of them – a brown and white pup named Sable – has a bit of a hip issue. She loves to hop up onto the couch and spend some quality snuggle time, but the leap is proving to be just too much for her.

To help her get from the floor to the couch without the indignity of being carried by her master, my buddy Dan asked that that I build a Chihuahua ramp.  Nothing too crazy… 13″ tall by 23″ long by 16 ” wide – a solid base for the pup to scamper up. It also has 2″ step up from the front – just enough to reduce the slope a bit.

First, I cut out some pieces of 3/4″ plywood for the front, back and both sides. I used the track saw to cut the sides at the designated angle.  Ganged together, they were easy to do.  The ends were mitered to get the box to come together without any visible plywood edges.  This was easy cutting the side pieces, but, when it came to the front and back, both ends had to be mitered, and the top had to be cut at an angle to catch the plywood deck. It took a little bit of fiddling – I’m glad that I cut the pieces a little wide and had to trim off a little bit to get the angles to line up.

Where the miters went together, I wanted to ensure they wouldn’t come apart.  I could have used my Kehoe jig to drop in a few dovetail splines, but instead, I opted to use a few chunks of square ash I had after milling parts for another project.  I made sure they were cut square and then glued them into the corners.

Since this ramp had to be stable to provide the pup with secure footing, I also installed some leveler feet.  The ramp is being put into a 1950s era terrazzo floored home that may not be 100% level, so having that adjustability in the design was critical. Once set where it had to go, it could be made rock solid.

I wiped on a finish of thinned polyurethane after sanding it down a bit, and attached a raw construction grade ply top to hold a piece of carpet that Dan was going to attach.

I dropped the piece off at work for Dan, and he was stunned with the results.  But, that was just the owner… what would Sable think? After he brought it home and initially tacked the carpet on the ramp, the true test took place.

Aye Chihuahua! I think I may have another satisfied customer!  Not bad for one afternoon’s work and some scraps.

The tale of the till…

So, when last we left the rolling plane till project, I had just finished the outer shell of the case and just had to put in the dividers to hold the plane arsenal.

That’s just what I did.  I had to choose a material to use for the dividers, and I went for more plywood.  You must be thinking, “is there any end to the scraps coming out of Tom’s shop?” but WOW, a cabinet job leaves you with a bunch of ’em!  I ripped larger pieces of 3/4″ plywood down to 1/2″ wide slats and then crosscut them so they would fit the length of the case.  Once that was done, I had to start arranging planes to fit in the case.

OK, my bevel up jointer and my transitional fore plane took up some serious space.  So, I had to run them parallel with the length of the case.  They were also different widths, so I had to spend some time trying to match widths of planes as closely as possible.  I discovered that my shop made bubinga plane was very close to the width of the transitional fore plane, so those babies went together.  The old No. 5 jack (I’m still looking for a replacement cap iron), while thinner than the jointer, was a nice snug fit when I added a scrap of a slat.

After I laid the planes nose to tail, I glued the backs of the slats and bradded them into place.  I’m sure I could have used a more sophisticated method of attaching them, but hey, I’m trying to get this done, alright?

Once I had the longer planes secured, I discovered that if I placed my longest shorter planes perpendicular to the flow of the first two rows, they would fit beautifully… YES!  So, I measured out the slats and made repetitive cuts using a stop on the table saw to make a stack of sticks.  After that, it was a piece of cake… put the next plane down, glue and brad the stick tight to the plane’s sole, then move to the next.  I took the planes out ever so many sticks were attached to wipe any excess glue that may have leaked out from the box and the plane soles.

Then came the moment of truth.  Could I stand the plane till up on its wheels to cart it around without the planes falling out?

I had spent a lot of time thinking this one over. Leather straps attached at each slat to wrap over the handles of each plane? Maybe a cut up bungie cord?

Turns out I didn’t have to do anything.  Because the slats were attached tightly to the plane soles, they stuck firmly in their slots while I wheeled the till around the shop floor. I may still add something later, but for now, they rock.

An even tougher test was yet to come.. could I stand the till upright against the wall behind my side bench without having them all clatter out of their holders?  To help stack the odds in my favor, I screwed at 1″ thick strip of maple from my scrap bucket to the plywood top to prevent the till from dropping to a full 90 degrees – it would stay tipped back just a little bit to help hold the planes in place.  I hoisted the rather heavy case up onto the side bench and lifted it into place so the front edge sat on the maple strip.  I eased the till back against the wall… BINGO…

The planes held their spots easily… and when I go to pull a plane out of its little cubby, it comes out smoothly. And, when it’s time to return it to its home, it slips right back into place.  No fuss, no muss…

Since I had made the plane till so deep – probably 1.5″ deeper than it really needed to be, I have plenty of room to slip in a chisel roll and my nylon saw scabbard.  This way, when I take these tools to my sons’ schools, I’ll just have to bring the one case.

Of course, with a project like this, it made me take a good hard look at the condition of my planes.  And, yes, it was definitely time for me to do some sharpening, which is what I spent the majority of yesterday doing.

But, when you have a project that showcases the planes in your collection like this one, well, you never know when you’ll be asked to bring the iron out to show how well it works!

For whom the plane tills…

One of the things I enjoy most about my ‘day job’ is that I get to speak in front of groups about hurricane and disaster preparedness. This year, I must have conducted about 80 individual talks to groups of all ages. Some have been to students, others have been to civic groups and still more were done to businesses.

Over the past few years, one of the events I have come to look forward to is the Great American Teach In. In mid-November, my sons’ school system opens the doors for guest speakers to come and talk about what they do. I’ve gone for the past five years, and each time, I’ve wowed the kids with pictures from inside hurricanes and some neat weather experiments.  Nice stuff…

This year, however, I’ve decided to take a personal day off work and go to talk to the kids as a woodworker. That’s right, I’m leaving the weather guy behind – for this year at least – and bringing some of my tools in to talk to kids about what I do in my off hours.

When I started planning for this talk, I knew I needed to bring in some tools to show off. Saws, planes, chisels… the basic hand tools. But, how to bring them?   And, after the big day, I was still going to need a far more organized storage system for my planes – something better than the pegboard I have stuck up behind my side work area.  Wouldn’t it be great if it could also serve as a plane till?

That’s when my mind got to thinking about a design that could be portable and come back to the shop as a permanent piece of storage.  Initially, my thought was to build a masterpiece from red oak, with dovetails, carving, and a beautiful raised panel to showcase my skills.

Of course, I did have a ton of left over plywood from the past few projects that was just taking up space in the shop.  So, I called an audible and built this.

Yup – it’s a plywood version of what I had planned.

The case is 40″ long and 16″ wide, standing 8″ tall. I cut the pieces to width, then mitered the corners so I wouldn’t be looking at the edge grain of the plywood. I cut a pair of grooves for the top and the bottom to capture the lid and the floor of the box.  I glued the box’s floor in place when I glued up the sides, then, to reinforce them, I routed some dovetail splines using my Kehoe jig.  The splines were cut out of cherry and slid right in… no fuss, no muss.

The front of the box was cut so I could slip the lid in and out of the grooves to cover the planes. Once I had cut it size and slid it all of the way home, I realized that I couldn’t slide it out.  So, I had to screw on a block of scrap purpleheart as a handle.  Yeah, kind of exotic, but won’t the kids love to see it the day of the talk!

I screwed on a pair of handles I had in the shop for about ten years (they never got used on the original project they were intended for) and a pair of fixed casters with a weight limit of 125 pounds.  Now, when I grab the handle on the top of the box and tilt the case up, the wheels eventually contact the ground, and then I can roll the case to where I need it to go. Not too elegant, but it beat the complicated wheel system I was planning on building.

Yes, the case holds all of the planes in my collection.  Now, I have to cut some dividers to build plane cubby holes inside the box and figure a way to hold the planes in place while in transport and when I eventually place this case on its side on my side bench.  Rare-Earth magnets may work for the metal planes, but I’m gonna have to get more creative with the wooden body ones.  I’ll also have to think about how I’m going to hold the spokeshave and cabinet scraper in place as well…

At least I have until November 18 to get this right, but not a bad start!

Stuff I’ve Built: Paul’s Home Office

Remember this?

That was my friend Paul’s home office arrangement when he called me over and asked me to consider helping him build a home office setup.  Something with storage, work space and a nice little computer area.  What he had obviously wasn’t going to work.

Well, it’s been about two and one half months, and, we’ve gotten to…

Hold on, that’s the Finnish line….

Nah, that’s the finishing line…

That’s it!  We’ve gotten to the finish line… and boy, does it look good…

The doors are in, the drawers all work and the book shelf is ready to be loaded up. Paul and his wife spent a lot of time with the finish – Waterlox on all of the panels that are cherry plywood and Danish oil on all the solid wood doors and drawer fronts. The computer desk and the CPU tower cases are grommeted to allow the cables to run without snaking all over the place.

Even with the sweet finished  product staring me in the face, there was something I enjoyed a whole lot more than getting this one completed.

It was the fact that Paul and I were able to work so well together and both of us were able to learn a tremendous amount about cabinetry. Oh, and I got to meet and work with a hell of a guy…

Now, time to clean up the shop, get everything sharpened, and start thinking about the next project.