Before anyone gets all worked up, no, this is not some kind of apparatus to make a small dog become airborne like Evel Knievel. So, don’t get your shorts in a twist, OK?
Instead, this project is the result of a favor asked for by a good friend of mine. He has two Chihuahuas, and one of them – a brown and white pup named Sable – has a bit of a hip issue. She loves to hop up onto the couch and spend some quality snuggle time, but the leap is proving to be just too much for her.
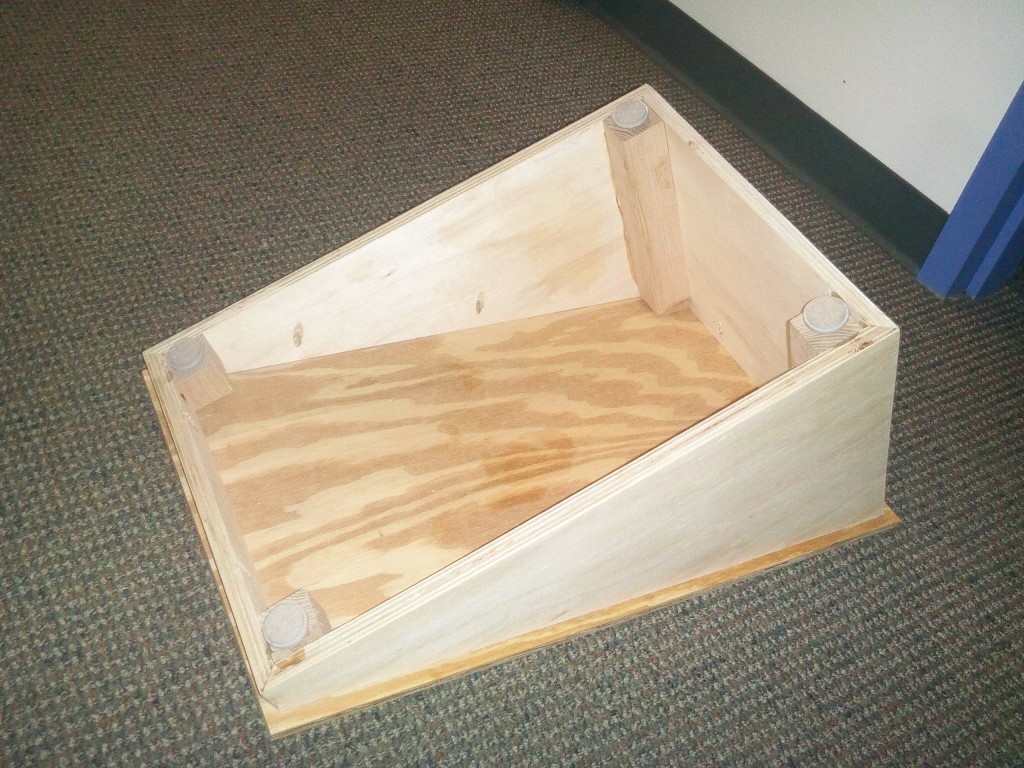
To help her get from the floor to the couch without the indignity of being carried by her master, my buddy Dan asked that that I build a Chihuahua ramp. Nothing too crazy… 13″ tall by 23″ long by 16 ” wide – a solid base for the pup to scamper up. It also has 2″ step up from the front – just enough to reduce the slope a bit.
First, I cut out some pieces of 3/4″ plywood for the front, back and both sides. I used the track saw to cut the sides at the designated angle. Ganged together, they were easy to do. The ends were mitered to get the box to come together without any visible plywood edges. This was easy cutting the side pieces, but, when it came to the front and back, both ends had to be mitered, and the top had to be cut at an angle to catch the plywood deck. It took a little bit of fiddling – I’m glad that I cut the pieces a little wide and had to trim off a little bit to get the angles to line up.
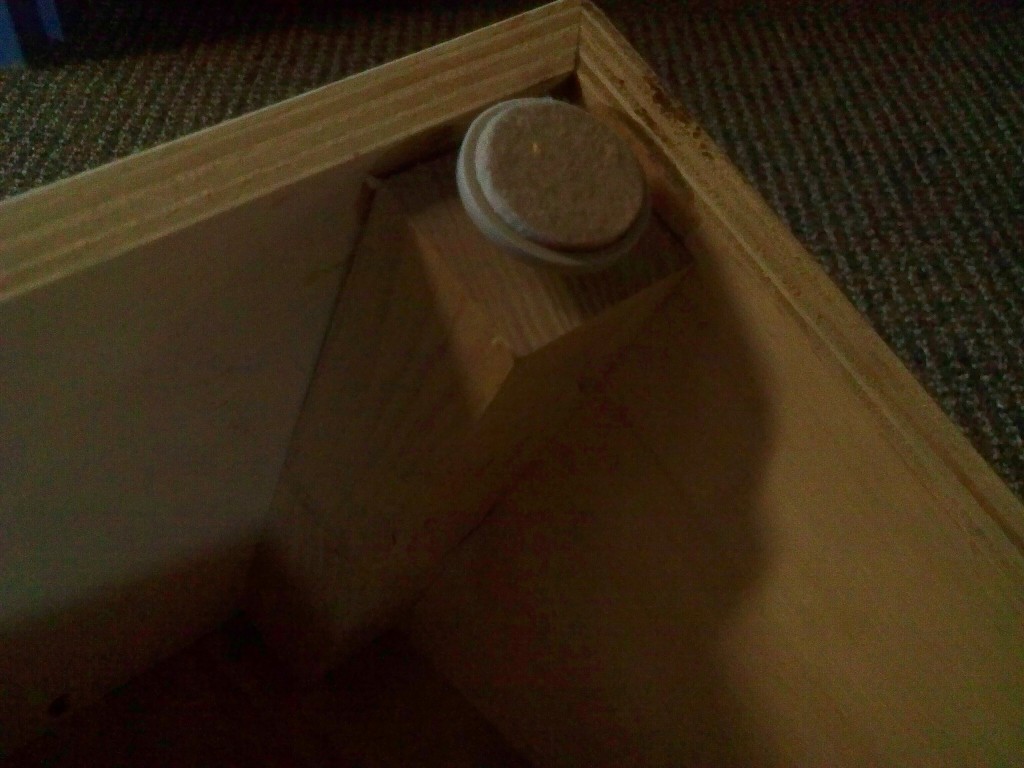
Where the miters went together, I wanted to ensure they wouldn’t come apart. I could have used my Kehoe jig to drop in a few dovetail splines, but instead, I opted to use a few chunks of square ash I had after milling parts for another project. I made sure they were cut square and then glued them into the corners.
Since this ramp had to be stable to provide the pup with secure footing, I also installed some leveler feet. The ramp is being put into a 1950s era terrazzo floored home that may not be 100% level, so having that adjustability in the design was critical. Once set where it had to go, it could be made rock solid.
I wiped on a finish of thinned polyurethane after sanding it down a bit, and attached a raw construction grade ply top to hold a piece of carpet that Dan was going to attach.
I dropped the piece off at work for Dan, and he was stunned with the results. But, that was just the owner… what would Sable think? After he brought it home and initially tacked the carpet on the ramp, the true test took place.
Aye Chihuahua! I think I may have another satisfied customer! Not bad for one afternoon’s work and some scraps.


I built doggie steps for a pug to get on the bed once. I figure one day I will use the knowledge gained to build a step stool for the kidos.
This is ironic!
Just last month, I helped a friend build a ramp for his daughters Chihuahuas!
Our ramp was for the outside steps from the yard to the back porch of her house. One of her dogs had hip trouble and couldn’t make it up the two steps.
Ours wasn’t qute as nice as yours but, we used a truss design and included “hand” rails on the sides for safety and a rubber runner for traction.
Rog
I’m sure the shop monkey was proud that you assisted another member of the animal kingdom too.
Nice work Tom!
I have build several set of steps and ramps for customers and friends over the years for their pets, some very simple in design and some very elaborate, I have always enjoyed doing projects like that.
Joey
Just found your blog. I made something like that for a friend – also a quick and easy project. See it here: http://www.woodfever.net/2010/05/maxs-step-stool.html
Jeff
Sable loves her ramp! At first she would get a running start a few feet away. Didn’t take her long to get the hang of using it. 🙂
Glad to hear about another satisfied customer! 🙂