
- April 2000
Being a dad is one of the best things that has ever happened to me. Watching my two sons grow up from birth has filled me with awe and amazement. From hearing them cry for the first time to hearing them figure out their math homework has been nothing short of a miracle.
Oh, sure, it’s had its ‘moments’, but those rough times have been more than compensated for in all of the good stuff.
 One of the toughest things to do as a parent is to let your kids discover their independence. When that three-minute-old child is handed to you, he or she is 100% dependent on you. Later, they will learn how to turn over, sit, stand, talk, eat for themselves, walk… then run. All of this is preparation for the day they leave home and make their own way in the world.
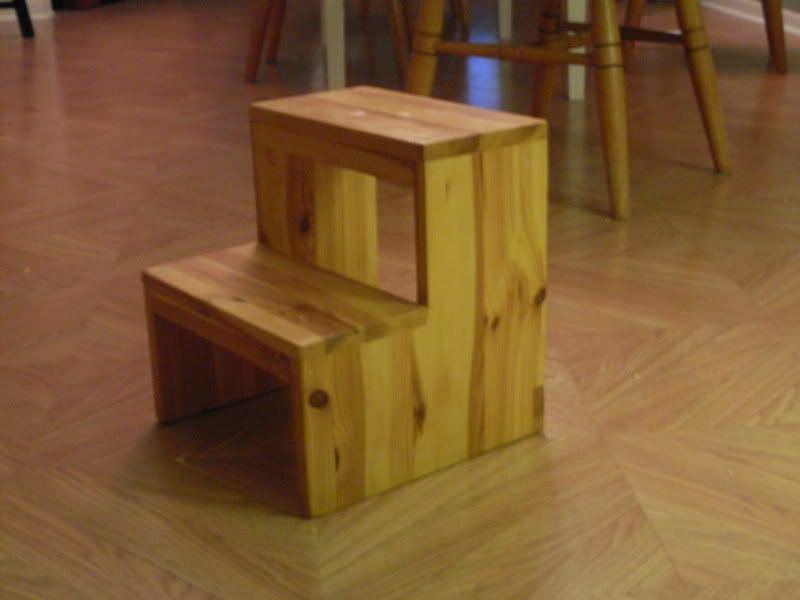
To help my boys on their road to independence and self-reliance, I built this – a plain pine step stool. After all, kids are pretty short and can’t reach all of the adult-sized amenities. Very roughly based on a Shaker design, it was – to that time – the most involved project I had ever tackled.
I built the sides out of pre-glued pine panels I picked up at the local Home Depot. Those panels are pretty convenient for the beginner woodworker – they have tight joints and are made of solid wood. The piece I bought was long enough for me to cut out both sides.
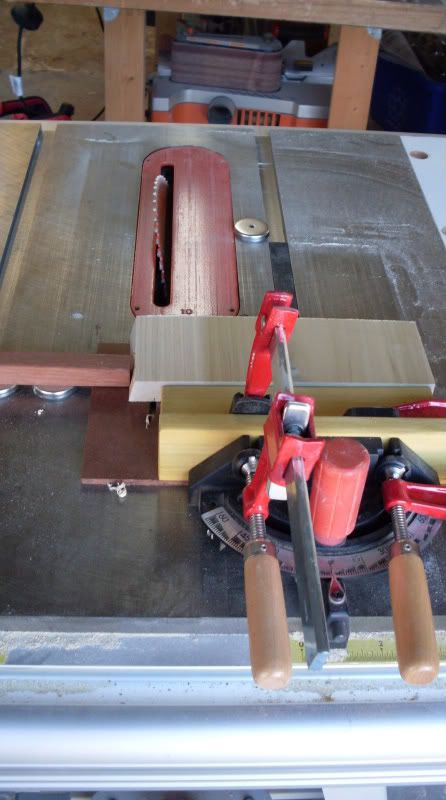
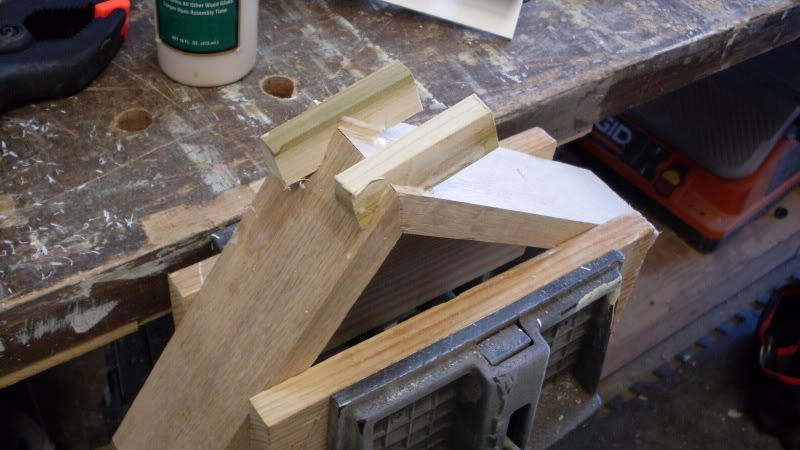
After I notched out for the step with my jigsaw, I also notched out for a back stretcher. I saw this piece done for the fancier step stools Norm Abram built on the New Yankee Workshop and figured it would help strengthen the piece.
The step treads and back stretcher were cut from leftovers of the panel . Assembly was pretty easy – some glue and finish nails. I glued and nailed the little stretchers under the fronts of the treads to give them extra support.
I sanded the piece down with my 1/4 sheet finish sander and brushed on two coats of Minwax’s Poly Shades honey pine to give it a ‘pinier’ look.
While this step stool wasn’t made of high-end exotic hardwoods and put together with dovetail joints, it has held up for the past nine years under some pretty tough use. Its primary home was parked in the kids’ bathroom, so the little fellas could reach the sink to brush their teeth and wash hands. The stool even served the boys well in the kitchen where my wife and I gave them their first cooking lessons.
And, amazingly enough, my wife and I would use the stool to stand on when we painted the rooms in our home. It was just tall enough to make trimming out the ceiling an easier chore.
Today, the piece is just as solid as it was the day it was completed. It’s still sturdy and easily holds the weight of my boys (Who both now tip the scales over 65 pounds) and their dad (Who tips the scales at a much higher weight than when he built it).
While I would build something like this much differently now, this project wasn’t as tough as you might expect, and was pretty easy to build for a beginner with few basic tools.


 From those humble beginnings, Bell Forest Products has grown to a 37,000 square foot warehouse and full production sawmill. While the majority of the wood they sell is locally grown bird’s eye and tiger maple boards, they have branched out to carry a tremendous variety of exotics. At any one time, they have about 50-60,000 board feet in inventory. They buy logs and saw them at the mill then closely supervise the kiln drying of the stock to ensure the highest quality possible.
 While all of this sounds impressive, convincing woodworkers that they can trust the online wood buying experience was one of the most difficult issues that Bell Forest Products had to overcome. “Oh, buying wood online can be a huge leap for some woodworkers. A drawback to buying wood online is that they can’t fulfill that desire to pick up a piece of wood, to smell it, drool on it, taste it… you know. Some folks just need that close connection with the wood before they decide to buy it.”
 I picked up my veneer and some
 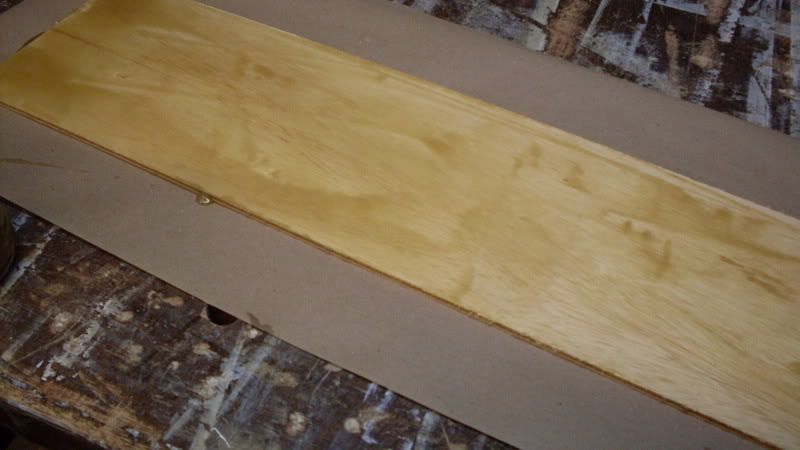 When I was ready to start the process, I brushed off the piece of 1/4″ plywood to get any dust off of it, and slathered a liberal amount of hide glue on the piece, making sure I got a nice, even coverage on the substrate’s surface. You shouldn’t have to race from here, but hide glue’s legendary quick setting time means now is not the time to make a sandwich, call your bookie or ‘answer the call of nature.’
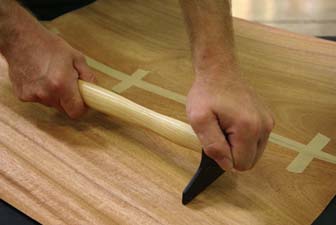 Now comes the fun part – I took the hammer and used the broad ‘blade’ end like a squeegee (Don’t beat on the piece with the ‘hammer’ – that’s not what it’s used for!), pressing the veneer down to the surface.
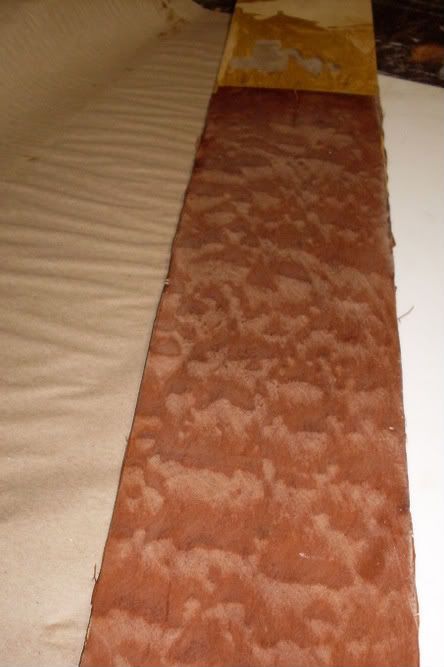 When I was done, I had a gloppy mess and a veneer that had a few ‘bubbles’ under the surface. Seemed normal to me. What I did was get a wet cloth and started mopping up the mess, rinsing frequently. Then, I started wiping off the veneer surface, getting the majority of the glue off. Sure, it looked like I was making a mess, but that wiping will help make finishing easier and it made the veneer just a little more supple so it wouldn’t split the drying process.