
When it comes to working on my projects, I always seem to find myself reaching for a hand plane. Whether to flatten a board, true an edge or plane a bevel, my planes give me total control over whatever wood I am working with.
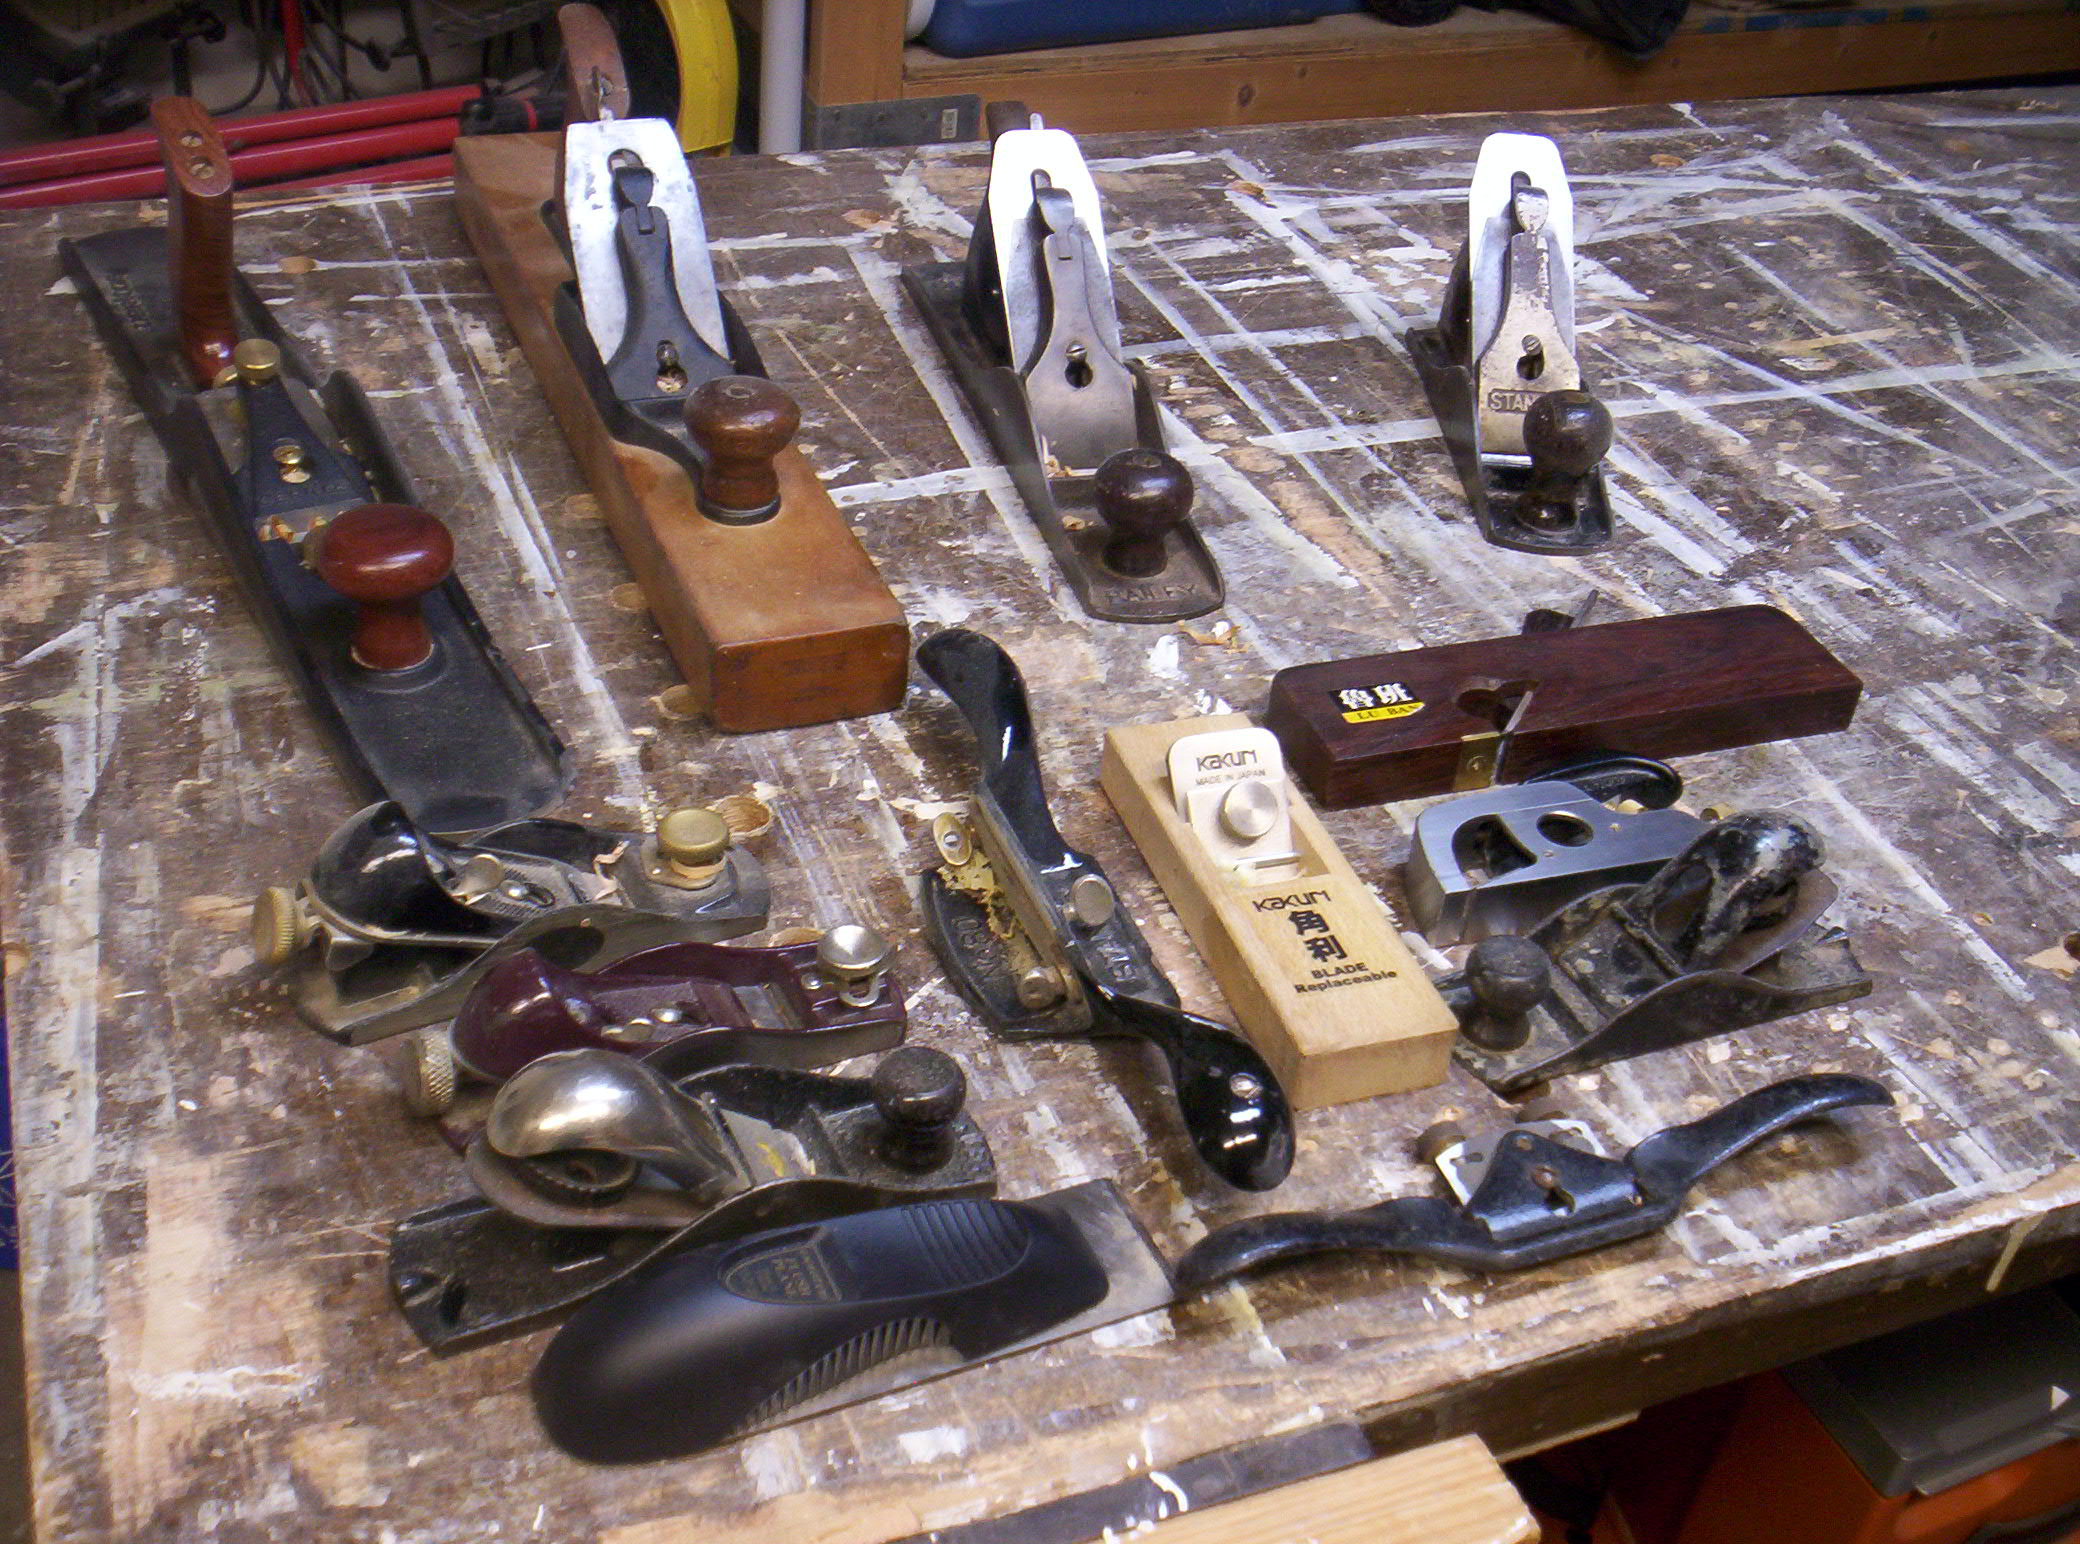
Since I’ve written a lot about my hand planes, it’s only fair that I show you the family photo so you see which ones I use.
Across the back row from left to right, I have:
- A Veritas bevel up jointer plane. This baby gets the most work by far when I’m in the shop, especially when I’m making boards square and flat.
- A Union No. 28 transitional fore plane. This plane dates back to the mid 1890’s and I love it. The beech sole rides beautifully over whatever wood I’m planing. I have this plane set up almost like a scrub plane, and it takes pretty thick shavings as I level out the boards.
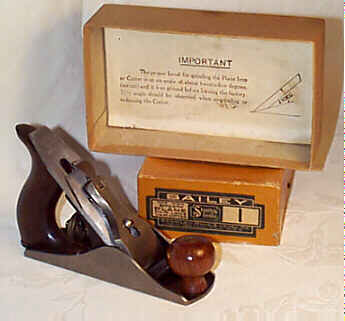
- A Stanley Bailey No. 5 jack plane. This one dates back to the early 1900’s, and I replaced the iron with a Lee Valley O1 model. This plane is great to work with, giving me consistent results whenever I need to reach for it.
- A Stanley Bailey No. 4 smoother plane. I got this one from a friend who bought a ‘bag o’ planes’ for me at a flea market for $10. Another plane I fitted with a Lee Valley replacement iron. This plane has pushed sandpaper down the importance list and really made finishing projects a whole lot more fun.
On the left side, from back to front:
- A newer Stanley block plane. This was my first real block plane, and it works really well.
- An older Stanley low-angle block plane. This honey is a gem. The low-angle action slices through end grain like nobody’s business.
- Older Staney No. 100 block plane. A relatively new acquisition that I’m growing to love more every time I use it.
- Veritas Flush Plane. Wow, an interesting tool that can handle all manner of tasks. Got some glue stuck in an inside corner? This baby can clean it out with no problem.
In the middle row from back to front:
- Stanley No. 80 cabinet scraper. OK, it’s not technically a plane, but it does the work a scraper plane could do. It took some time to properly sharpen and adjust this one, but it’s really nice that it works now!
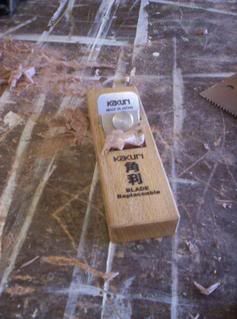
- Kakuri Japanese smooth plane. This plane is a champ. It doesn’t have an adjustment mechanism – you use a mallet. Properly set (it takes some practice), I can plane translucent shavings from a board, leaving an an absolutely smooth surface. You pull this plane toward you – different feel, but boy, does it ever work.
- Stanley No. 92 Spoke Shave: Again, not technically a plane, but until I can buy a compass plane, this tool is the one I reach for when I fair up curves. Spokeshaves have very small blades – sharpen with care!
And, the right side from back to front:
- A Lu Ban Asian-style shoulder plane. Another wood plane that takes some time and care to set, but once it’s in the sweet zone, it’s all butter. I routinely cut my rabbets a little thicker than needed and use this plane to make a perfect fit.
- A Veritas bullnose plane. A great value from Veritas. This plane can function as a small shoulder plane (I wouldn’t do a lot of work with it), and the nose comes off for the work as a chisel plane. Again, great for reaching into those corners.
- Another old Stanley No. 100 block plane. Again, a nice plane to work with.
Over the next few months, I’ll keep on doing how-to articles on working with these planes to achieve excellent results on your projects. Until then, hey, since I have the planes on my workbench, maybe I should give them a good cleaning and hone the blades!


 Sure, it sounds like a page where people might talk about gruesome murders or the latest shoot-em-up video game, but this is actually one of the best resources for Stanley hand plane information on the Internet.

 One of my most favorite movies of all times is Raiders of the Lost Ark. Who could ever forget Indiana Jones trekking around the world to find the lost Ark of the Covenant, battling bad guys left and right while taking a beating that would kill just about any mortal person?
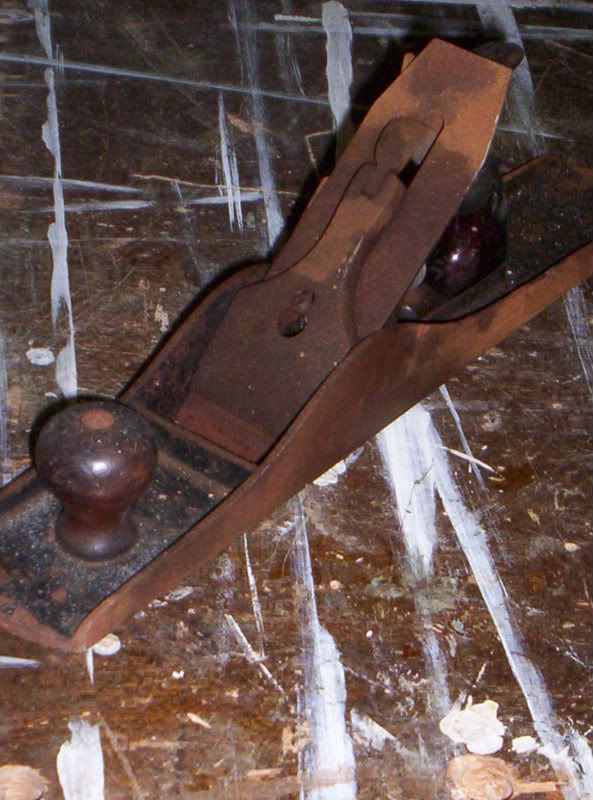
 1. Before you buy – or after you receive one as a gift – check the plane out thoroughly. Look for broken totes and knobs (you can buy or make replacements), cracked iron, warps and twists, missing pieces, etc. I’ve received some planes that look like they were used for target practice – needless to say, those babies are probably not going to get put back into service. I typically put the broken planes up on a shelf in my garage for decoration and as sources of spare parts.
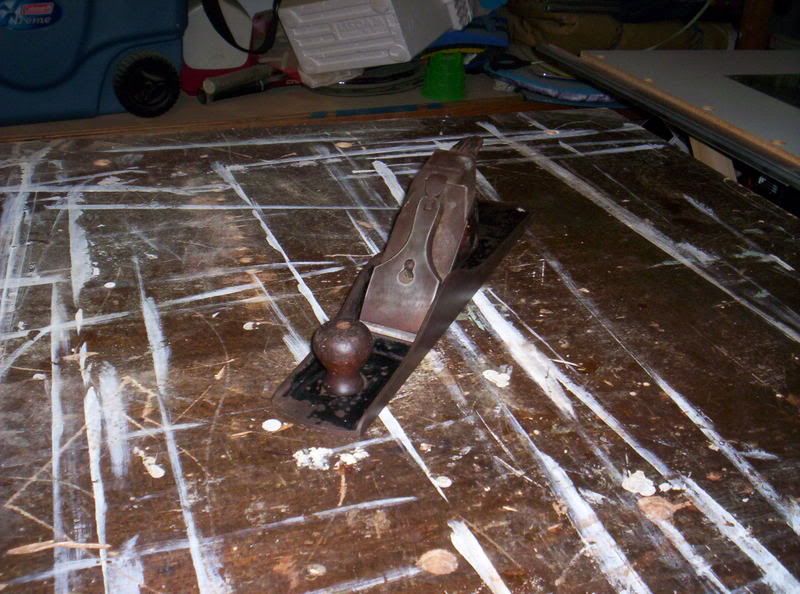 4. Assemble the tote, knob and frog into the plane body, but hold off on the blade and chip breaker. I usually stick a piece of 320 grit wet/dry paper down to my table saw, lubricate with the WD-40 and rub the sole of the plane until its clean. You’d be surprised how much bright red rust comes off the sole of some of these babies! Keep wiping the crud out of the paper so you can eventually flatten the sole of the plane.
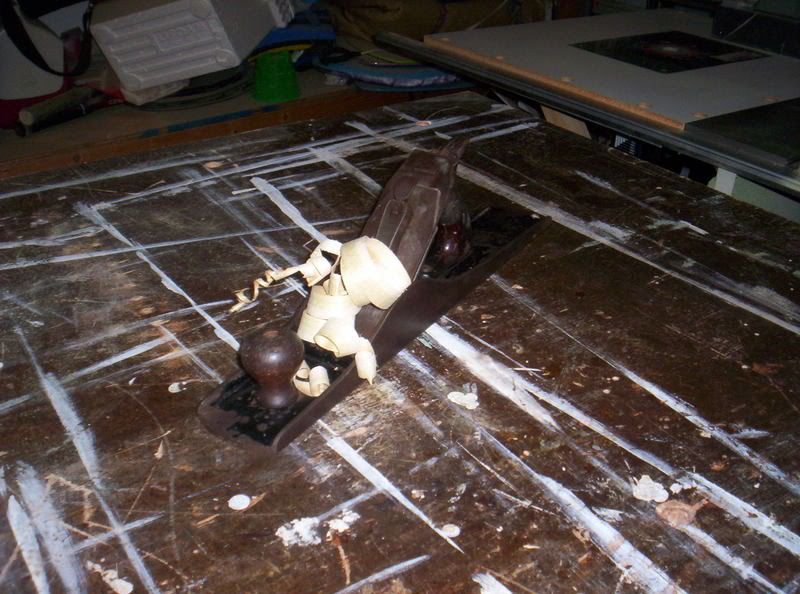 6. Once you have everything nice and shiny, look at the plane iron. Sharpen and hone that sucker. If you can swing it, look to get a replacement plane iron. There are some killer replacement plane irons out there for $25 – $40 from Lee Valley, Lie-Nielsen, Hock tools and others.