 One of my most favorite movies of all times is Raiders of the Lost Ark. Who could ever forget Indiana Jones trekking around the world to find the lost Ark of the Covenant, battling bad guys left and right while taking a beating that would kill just about any mortal person?
In many ways, I see myself as a little bit of that adventurer/archaeologist when I start hunting down old hand tools. (OK, it’s my childhood fantasy to run around exotic marketplaces with a bull whip and a brown crusher on my head. There. What’s it to you?)
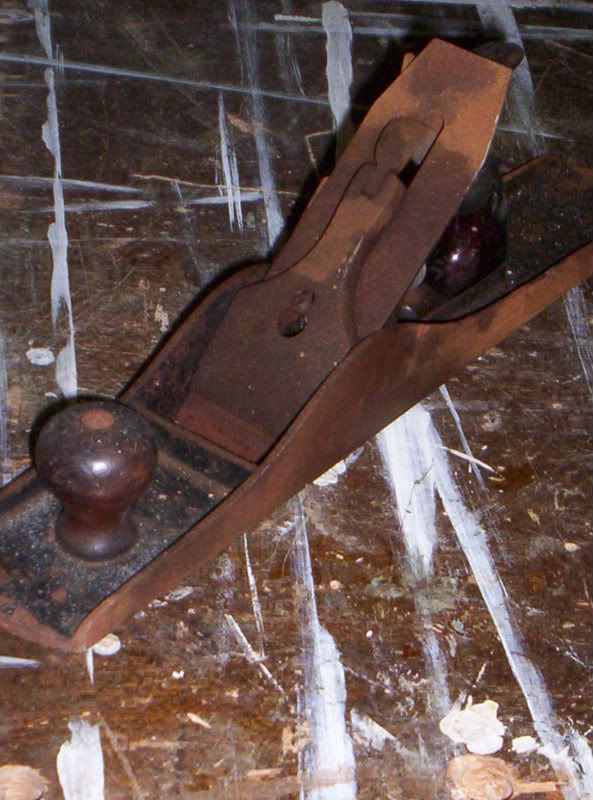
Instead of running away from evil Nazi agents, I can be found some Saturdays walking around the long-running flea market a few miles from my home. My wife hates going there, but I get a kick out of looking at the old tools hand tools for sale. Some are in pretty tough shape, while others look like they have never seen a square foot of wood in their lives. Some have reasonable prices on them, while others… well… you have to wonder why a nasty looking chunk of rust with a rotten handle can cost more than a plane you can buy new from a woodworking store…
I’ve bought lots of old tools – especially hand planes – at that flea market and in the other big virtual flea market out there – eBay. Since I have told my family about my interest in old tools, I’ve been getting them by the bushel. Old hand planes, spoke shaves, auger bits – it’s a bonanza of old iron that shows up at my door – whenever someone needs something built!
Before you decide to take the plunge, it pays to become familiar with what hand planes are all about. You can check out an excellent primer at Wikipedia (http://en.wikipedia.org/wiki/Hand_plane), or, what I would recommend would be to get to a library and check out Garret Hack’s The Handplane Book. These are both great places to look for the basics.
Once you get the old tools, you really want to put them to use as soon as possible. While you could take a rusty old hulk and try to work with it, it pays to do a few things first.
 1. Before you buy – or after you receive one as a gift – check the plane out thoroughly. Look for broken totes and knobs (you can buy or make replacements), cracked iron, warps and twists, missing pieces, etc. I’ve received some planes that look like they were used for target practice – needless to say, those babies are probably not going to get put back into service. I typically put the broken planes up on a shelf in my garage for decoration and as sources of spare parts.
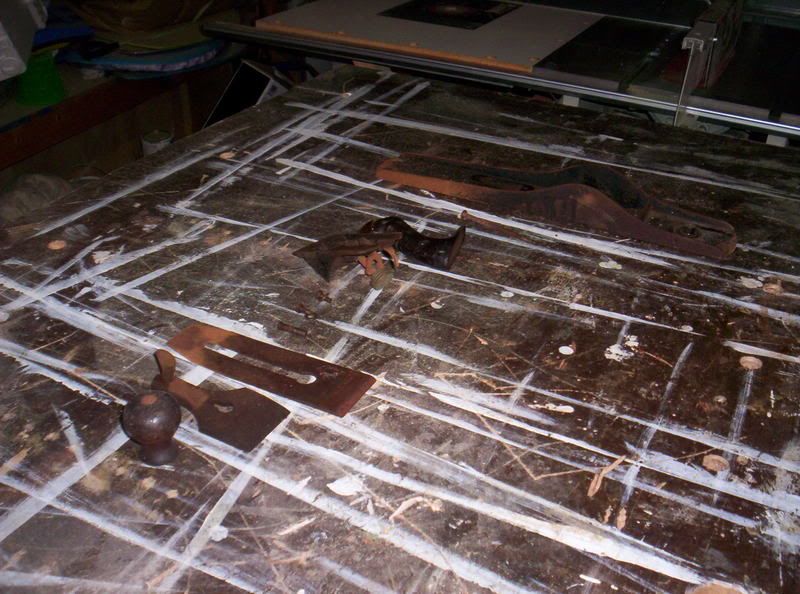
2. Once you decide you want to rehab the plane, take the entire thing apart. Remove the handles, cap iron, frog, everything. I usually start with wiping everything down with a rag sprayed with some WD-40 and a blast of compressed air for the nooks and crannies. For screws, use an old toothbrush to get the crud out of the teeth.
3. Some folks become crazy about getting rid of rust. I’ve seen people sandblast their planes, submit them to electrolysis and a bunch of other methods to strip off a layer of rust. For me, I’ve found 400 grit wet/dry paper with a blast of the aforementioned WD-40 can clean up the pieces very nicely.
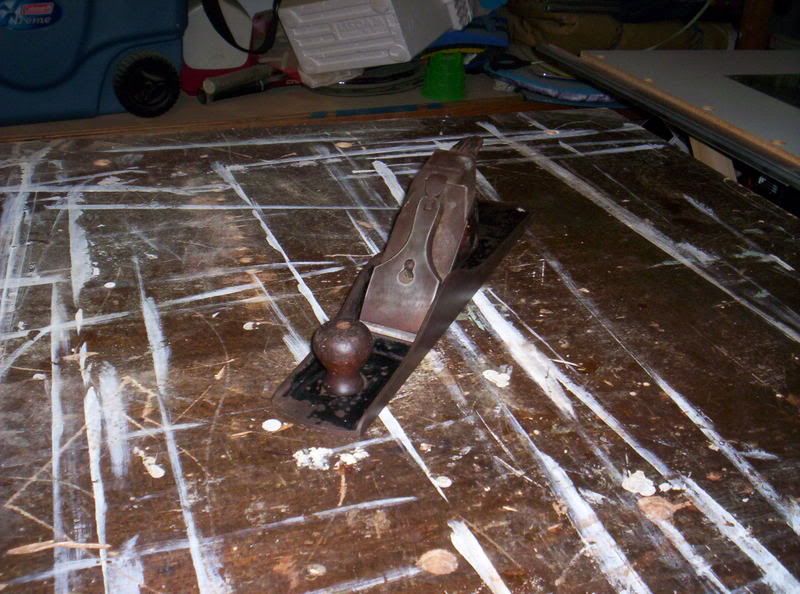
 4. Assemble the tote, knob and frog into the plane body, but hold off on the blade and chip breaker. I usually stick a piece of 320 grit wet/dry paper down to my table saw, lubricate with the WD-40 and rub the sole of the plane until its clean. You’d be surprised how much bright red rust comes off the sole of some of these babies! Keep wiping the crud out of the paper so you can eventually flatten the sole of the plane.
5. And, when it comes to flattening plane soles, don’t make yourself batty about it. An easy way to ensure the sole is flat is to draw a squiggly line with a permanent marker across the sole. Rub the plane on the sandpaper a dozen strokes, then lift the plane up and look at it. Where is the marker still on the sole? You want to make sure the front and the area around the mouth are nice and flat, so rub the plane until those areas are without marker.
 6. Once you have everything nice and shiny, look at the plane iron. Sharpen and hone that sucker. If you can swing it, look to get a replacement plane iron. There are some killer replacement plane irons out there for $25 – $40 from Lee Valley, Lie-Nielsen, Hock tools and others.
7. Assemble the entire plane and give it a good wipe down with some furniture paste wax. That keeps rust at bay and allows the plane to glide nicely across the board.
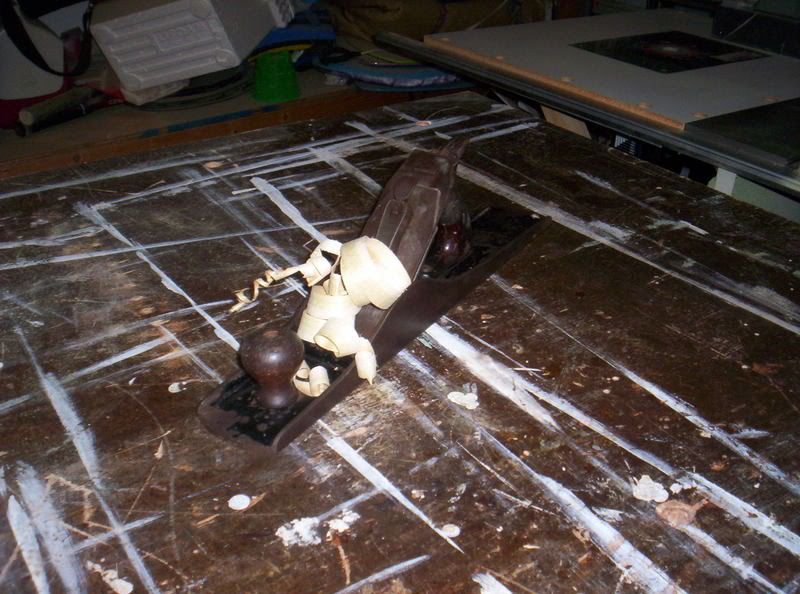
8. USE THAT PLANE! Give your jointer, planer or random-orbit sander a rest and develop the skills necessary to dress, joint and smooth wood the old fashioned way.
You may never give up your power tools, but you will gain valuable insight into how wood works, and just how fortunate you are to have those modern shop tools. Now, there’s something to discover all on your own.
