So, last time I showed how I face plane using hand planes. Now, we move over to the edge of the board. Believe it or not, this is actually easier to do than face planing… No, really, it is.
(Click on images for larger versions) First thing you have to do is secure your board to your bench. You can do that with a regular woodworking vise and a special ‘appliance’ you build to hold the wood. Mine is made of two pieces of southern yellow pine dovetailed together (it’s a VERY rough dovetail…) with holes for some inexpensive hold-down clamps. This is the end of the board that doesn’t fit into the vise.
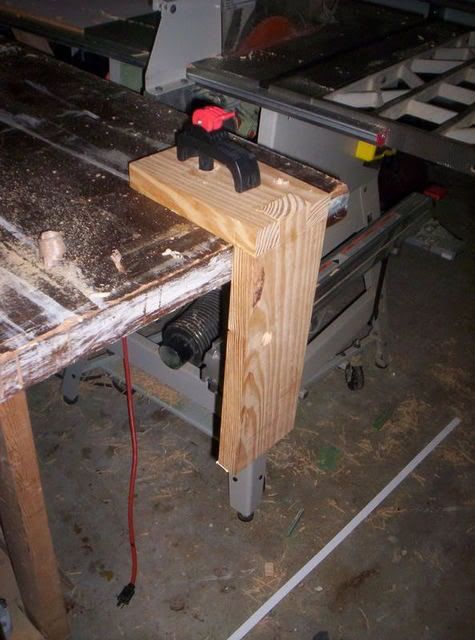
Can you use two face vises? I don’t see why not… but the one to the right (for right handers) is not going to get a lot of use in a traditional set up… this appliance can be removed when not in use… and it costs a whole lot less!
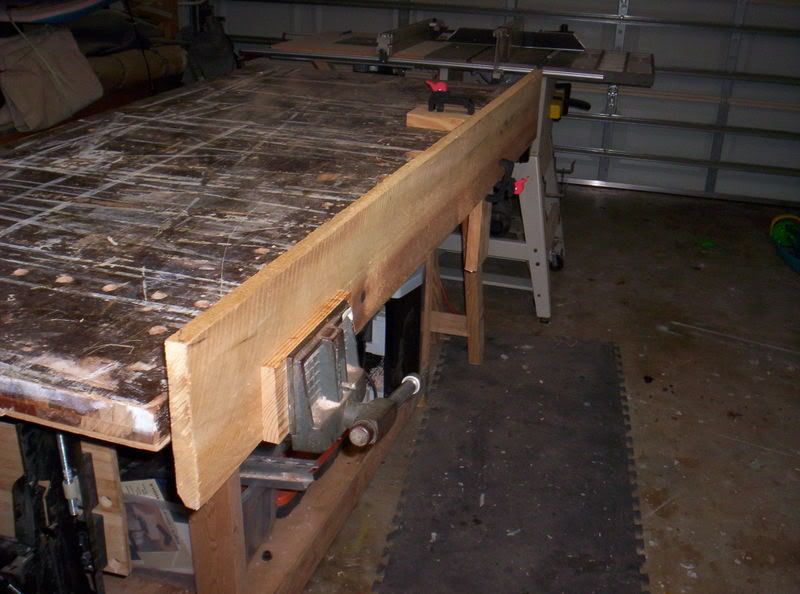
This is what your wood should look like when you get it all set in the vise and appliance. In this arrangement, there is little – if any – chance the board will slip. That is essential when you plane – you want the wood to stay still while you move the tool.
Once it’s locked in, sight down the length of the board. Get as close as you can to the edge and squint, looking with one eye to see if there is a crown or dip in the board. If you notice high spots, mark them in chalk or with a pencil so you will know where to do the first work.
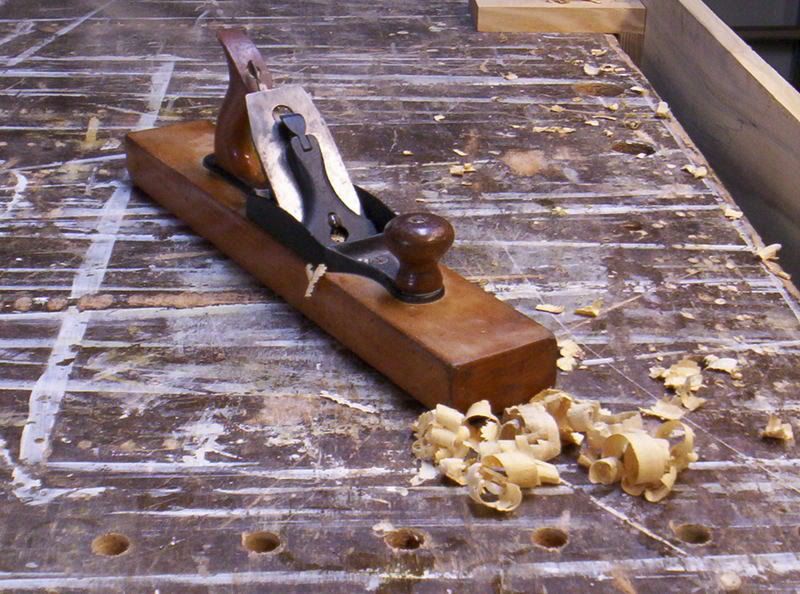
The next thing I do is take out my old No. 32 transitional fore plane set for a heavy cut. I want to get those high areas out of the way quickly and get that edge as straight as possible. This task can also be done with a No. 5 jack plane with a metal sole. I just prefer the wooden soled plane because I think it slides more nicely on the wooden edge. As you can see, the shavings aren’t curls… they are much more like wood chips. I’m not going for finesse here, I’m roughing in.
From there, I get out my trusty Veritas bevel-up jointer plane. Yes, I bought a newly minted plane instead of finding a quality used one. I haven’t had much luck finding a complete No. 7 Stanley jointer – most of the ones I have purchased had ‘issues’ that were beyond my abilities to repair. Since my shop is relatively crowded, and the plane was less expensive than a powered jointer, I figured I would spend the money I was saving for a powered model on this beautiful tool.
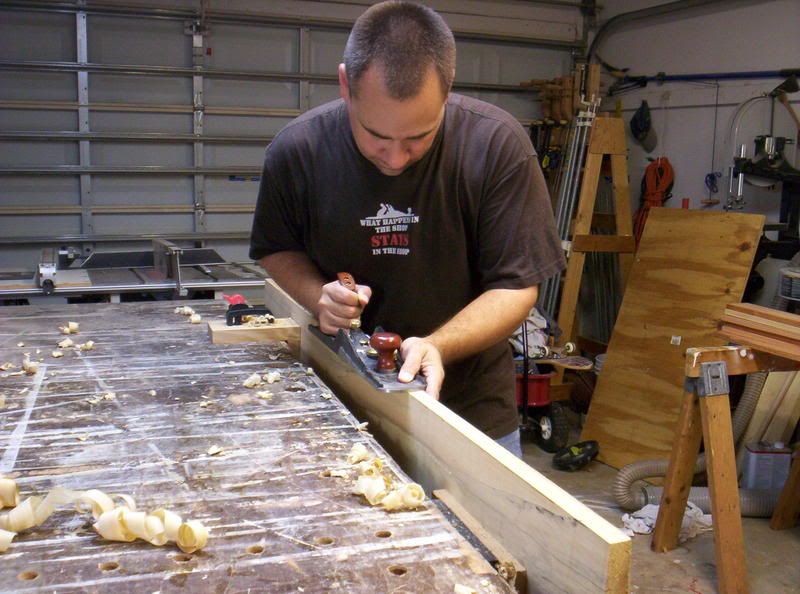
I also bought the 90 degree fence for the plane. True, if I was edge jointing two boards for a glue up, I could plane them both side by side in the vise, with any variations in angles canceling each other out. But, I have found that true, crisp 90 degree angles glue together more nicely. That’s my experience – of course, your mileage may vary.
The technique is very simple. When you start planing, push down hard on the front knob while you push the plane along. Once the plane is completely on the board, push down evenly as the plane glides along. When you get to the end, relax your pushing down on the front knob and bear down on the tote (the back handle). Think about scooping up a bucket of water. Practice, practice, practice and it will come easily.
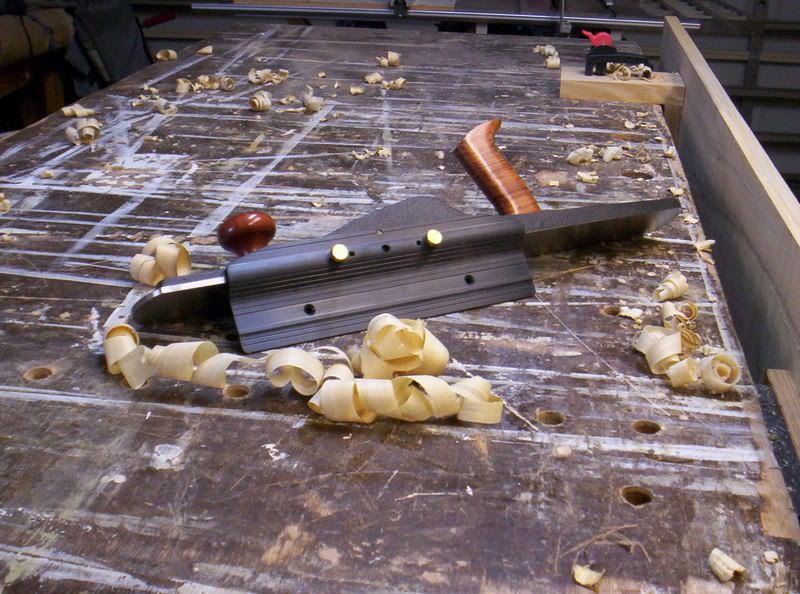
As you can see, the are the nice, board-length curls you come to expect from a hand plane. When I get to the jointer, that’s when I want to make the cuts a lot finer to refine the edge of the board.
The real test comes when you run a square along the edge to confirm you have planed at 90 degrees, and you remove the board from the vise and appliance and lay it down on the bench top. You should not be able to see any light passing under the board.
Total time to edge a board? I dunno – three to four minutes. No snipe. No screaming motor. No chance of losing fingers or the board exploding if a jointer knife snags a knot. There’s a lot to be said about those hand planes!

Great. Thanks for the tutorial. Looking forward to practicing! Of course, I only have a #5 to do everything, but I’ll make it work (like I have a choice)!
Hey, Eric – the No. 5 is pretty decent for shorter boards, so don’t knock it! 😀
Once you get the technique down, it’s pretty darned easy. Maybe you are teetering on the edge of that slippery slope… 😀
If you didn’t have the fence for your jointer what would you do to insure that the plane stayed 90 degrees to the face of the board?
An interesting question, spudwood. Here’s how I would tackle this one. Be sure to have a small square with you at all time while planing, and check your progress after every stroke. Sounds kinda basic, but it will keep you from getting out of whack to begin with while you develop the ‘touch’ to get the plane held the right way.
Another way to get there is to clamp the two boards you want to join (if you are gluing them up later) and put them top face to top face in the vise. When you plane, if you are off a little bit (say 89 degrees on the front one), the back board will be planed to a complementary angle (91 on the back).
I hope this helps!