There are hundreds of ways to make woodworking joints. That’s part of the reason I love woodworking so much. Regardless of your skill level, amount of tooling or where you work, you can cut a joint that can far outlive the wood the project is made out of.
That being said, many of the joints to choose from out there are simple variations of a similar joinery methods. Pocket screws are simply screws driven from different directions. The Festool Domino is a variation of the venerable mortise and tenon.
One interesting joint that invites a number of variations is the dovetail. From the basic hand cut through-dovetail, a great number of variations have sprung up over the years. Half-blind dovetails, machine cut dovetails in a wide and growing variety of flavors – and my most recent discovery, a jig system that creates what is called tapered dovetail splines.

While traditional splines are typically cut with a sled on a router table, that method involves building an extremely precise sled first, then carefully marking and ensuring that the splines line up accurately – especially going from corner to corner. A tolerance of 1/32” is unacceptable because a gap even that small shows up like a pencil line you apply the finish. And of course you have the tedious and difficult operation of cutting the splines themselves . . .
While doing my interview with John Lucas, I stumbled across the Kehoe Jig, an innovative system that enables you to cut these joints faster, tighter and stronger.
 The “system” actually consists of three jigs. The main jig itself, which is used in tandem with a router to cut the spline grooves into the workpiece with a perfect one degree taper, and the Spline-making jig, used on the table saw to cut splines using whatever species of wood you choose. This jig also the matching one degree taper incorporated into it so that the splines will fit tightly into the grooves. The third jig is called the Corner Inlayer. It is also used with your router, and allows you to cut a perfect “mini-dado” of whatever width and depth you choose, but at an angle exactly perpendicular to the corner itself, versus from one of the flat sides of the workpiece. This jig is normally optional, but right now they are running an online special that includes this jig at no additional charge.
 The Kehoe Jig was invented by Larry Kehoe out of one part necessity, and one part frustration. According to Kevin Jaynes, owners of the company, ” . . . . while in the middle of building an oak desk, he was dreading hauling out his dovetail jig to build the drawers because he had never found a dovetail jig that was not slow and cumbersome, and he hated test cuts. As he was walking across the basement shop floor with the traditional dovetail jig in his hands, he had one of those “Flash Of Genius” moments where he actually saw the jig in his minds eye; the jig that would eventually become the Kehoe Dovetail Spline Jig. Larry told me he had seen it ‘in remarkable detail, especially the taper.”
From that first flash of inspiration, Larry perfected it over the first couple of years by tweaking the design. He made dozens of improvements, and even different types of jigs. In effect, the splines slip in loosely to start with, but quickly tighten as they are tapped home, creating a joint that’s beautiful as well as strong.
 While the joint is similar in many ways to traditional dovetails -and creates a strong joint – the beauty of it is that the Kehoe Jig can be used in boxes made of materials such as plywood – since the cutting of the spline grooves doesn’t expose the material’s end grain.
Another strength of the jig – as well as this technique in general is that you can add splines in contrasting woods that can serve as a design feature. According to Kevin, “It is not unusual to have your woodworking friends look at the work piece, turning it over and over in their hands and then accuse you of painting them on.”
Kevin is actually the co-owner of the company with his wife Terry. Mr. Kehoe passed away in 2007, “I got a call from Elizabeth (Mrs. Kehoe) one cool April day and she gave me the sad news that Larry had passed away. I had expressed an interest in the company a couple of times over the preceding years, in case they ever decided to retire. It was not so much a source of income for them as it was a hobby. Many others had also expressed the same interest over the years, but to make a long story short, she and Larry had decided I would be the best bet to ‘Keep Larry’s baby alive.’ We could never had gotten it back off the ground without Mrs. Kehoe’s knowledge and unselfish help. We consider it a privilege to be the caretakers of this business. ”
 Today, the Kehoe Jig continues to be a useful and interesting jig with an even brighter future. Kevin and Terry have already made three prototypes of variations of the jig, and are about a month away from releasing the first one. “It’s along the same lines, but cut’s smaller splines in a pattern closer together. Perfect for the smaller jewelry boxes, small drawers, and small humidors like many of our customers make. The current jig does this as well, but this one will just make it all the faster and easier. We also have a 28” coming right on the heels of that for larger projects.”
This may well be the first time you have heard of the jig, but if Kevin and Terry have their way it won’t be the last. “Larry was a genius tinkerer and inventor, but he hated marketing and selling. He hardly ever advertised it. What he enjoyed most was going to 2 or 3 wood shows a year and just taking orders. He liked meeting people and talking about his jig. We are trying to bring Larry’s ingenious invention to the world, and with the help of happy customers and woodworking sites, we are starting to make a dent.”
 Besides looking like an interesting jig to cut dovetails with, the story of Kevin and Terry has captured my attention. “We’re one of those rare American mom-n-pop shop manufacturers that are still making a go at it. We are making some dramatic improvements in the jig kit, and are also committed to keeping the manufacturing 100% within our borders. We are woodworkers ourselves and have dealt with many online suppliers over the years. It has been our experience overall, that most woodworking supply and tool companies have excellent customer satisfaction. Customer satisfaction is our first priority as well, because we believe that’s the foundation of any business.”
I think I’m going to have to give this jig a shot and tell you my impressions…

 Believe it or not, there is a way to get extreme precision with your circular saw for a small investment of some scrap sheet goods, screws and wood glue. You can build one of these babies and use it to break down sheet goods with no hassle and minimal measurements.
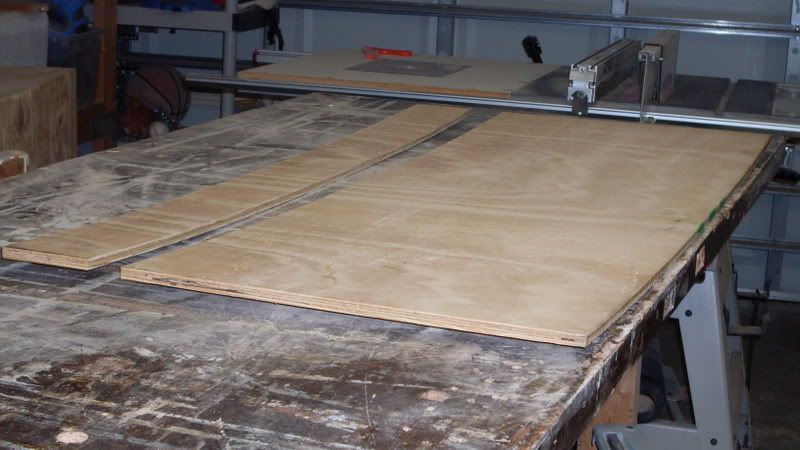
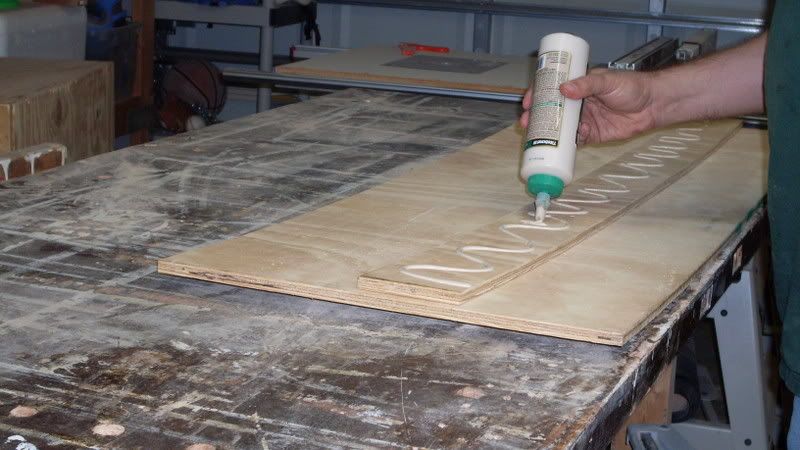 First of all, I took this scrap of B-C plywood lying around the shop. It’s 4 feet long, and about 22 inches wide. I ripped a 4 inch wide piece on my table saw and sanded the edges of what would become the top edge to prevent any splinters.
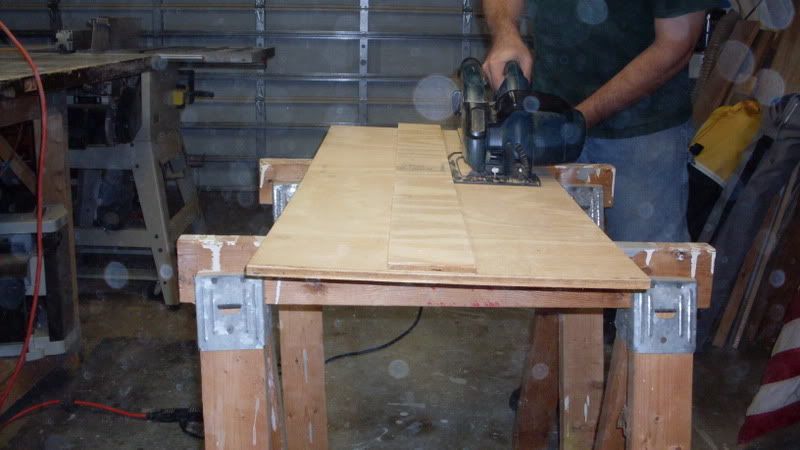 Once you have the pieces screwed together, what you want to do is set the edge of your saw’s base against the fence and make a cut. You will automatically have a guide that will be the exact distance between your saw’s base edge and the blade. It’s genius!
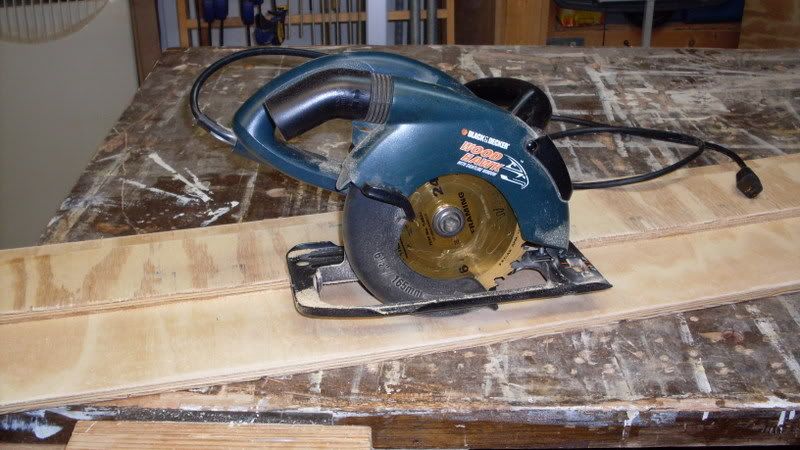 If you clamp the Sawboard to the ‘keeper’ side of the cut, the jig actually presses down on the wood fibers, keeping them from lifting. A pretty nifty idea.
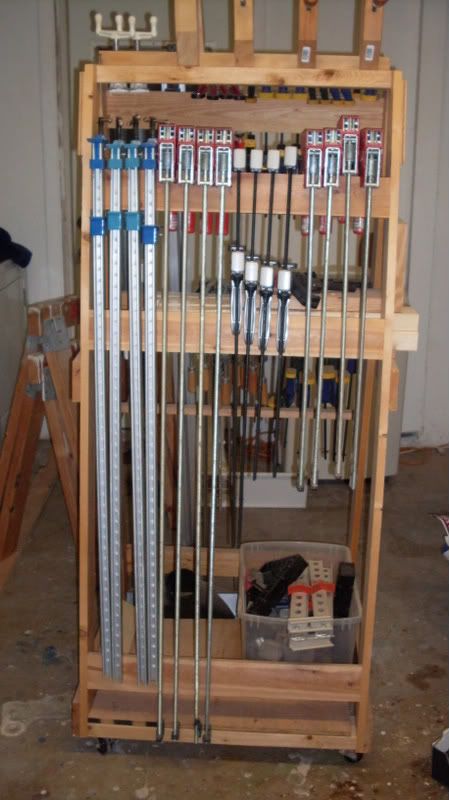 On the flip side, this is where the bigger clamps call home. This is where I go when I need the muscle to glue up big projects.
 The router is one of the most versatile tools in the shop. Edge jointing, profiling, joint cutting, pattern cutting… you name it, and the router is up to the task.
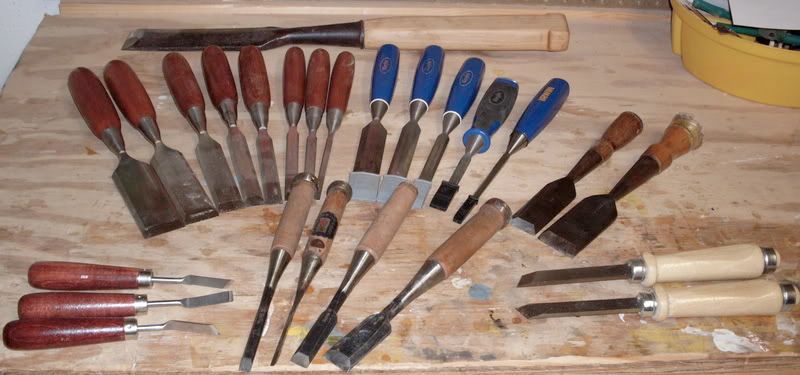
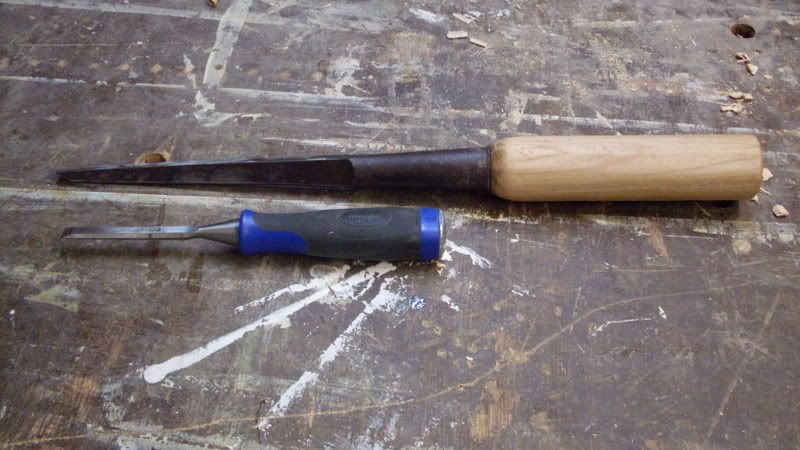
 Sure, they don’t have power cords or spinning blades. But, you’d be surprised how many injuries hand tools can cause.