The router is one of the most versatile tools in the shop. Dovetails, mortises, tenons, decorative profiles, rabbets… the list goes on and on.
While they are extremely useful hand held, mounting them into a table dramatically expands their usefulness. I discovered this when I first bought a little bench top Skil router table for my tiny fixed-base Craftsman router. Suddenly, I was cutting joints and profiles I never knew were possible.
 Things have really changed since those early router experiments, but I still turn to my routers to do dozens of chores in my shop. While my skill with a router has increased, so has my experience in dealing with router tables.
I’m gonna come right out and say it. If I had the space, I would definitely build a full-blown all-the-bells-and-whistles router tables just like the one that Norm Abram built. It would be a dedicated router station where I could do everything I would ever possibly need to. Unfortunately, in my two-car garage shop, space is at a premium, so a dedicated router station all by its lonesome is out.
The next option I considered – and built – was a table saw wing mounted router table. It seems as if everyone who is space challenged in their shop has built or installed one, and they all seem to swear by it. So, I went out to the local Home Depot and dipped into their scrap offcut bin. Much to my surprise, there were two offcuts of melamine covered particleboard in the bin for a few bucks each. So, I took ’em home, biscuited them together and with the help of a few piece of angle aluminum and some bolts, I was able to replace the right wing of my Ridgid saw.
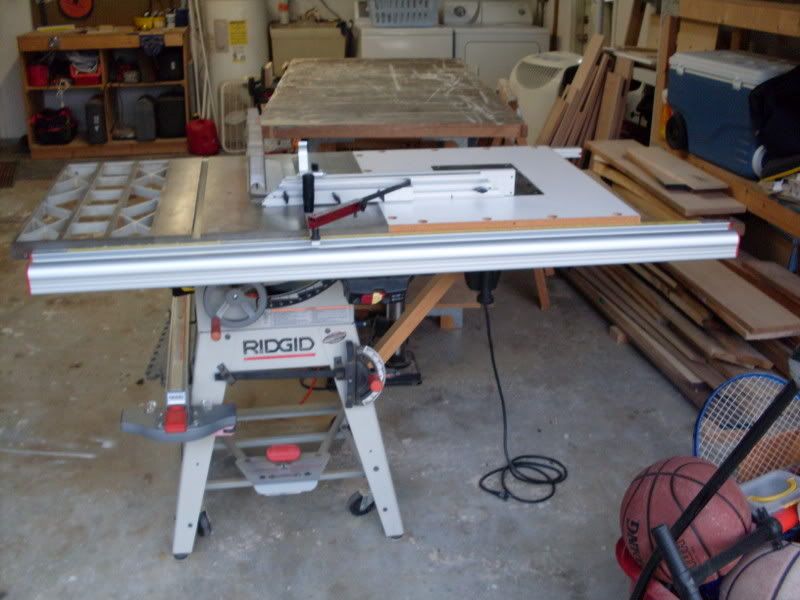 There. All of my router problems were solved. Weren’t they? Oh, sure, the router table takes up absolutely no new space in the shop – just the footprint already reserved for the table saw. And, I can use the table saw fence to guide my work past the bit. I even built a pair of router fences that secure to the slots in the rip fence in case I had to bury the bit behind the fence. All seemed ideal…
But, then it happened. I was routing a profile on the edge of a piece of oak to make molding for a project. Basically, I would route this profile on each of the long edges of the board and then rip them free. That’s when it hit me – how could I use the same rip fence for both operations? I tried setting then resetting the fence for each operation, but the pieces never seemed to come out right.
 That’s when I built my auxiliary router table. Made from a sink cutout of Corian, this router table is designed to sit on a pair of sawhorses or to be clamped in the jaws of a Workmate. Since this photo was taken, I built a fence based on a design in found in Danny Proulx’s book 50 Shop Made Jigs and Fixtures. I even routed slots into the Corian for t-track so I could run the fence on the table. And, in the event I ever need to bring my router table on the road, it’s ready to travel.
This setup works very well as a router table. And maybe one day, I might consider removing the router table from my table saw’s wing. But, since I went through all that work to begin with, I’ll just leave it there in case I ever need to use it again.
In the photos, you may have noticed that I have attached my Freud FT2000 router to a Rousseau router plate. Permanently mounting a router base or a dedicated router to a router plate is one of the smartest ways to use a router table. This way, rather than trying to unscrew a router base from your hand held model and screwing it to a table, you can just pop the router out and mount it into another router table in mere seconds. Sure, router plates tend to run about $40, but that cost is easily recouped after you realize just how much time it saves you.
Another important thing is that I never use a miter slot when working with a table mounted router. Sure, they seem convenient. However, unless you are using a self-squaring table saw style fence for your router setup, there’s a very good chance that it won’t be parallel to the fence. What I do us use a backer push block to guide the workpiece along the fence. Not only do I get incredible control, the push block also prevents any blow-out on the back side of the work.
Hey, every shop really does need a router table. Just take your time and carefully consider what you want to build or to buy before commiting to one. And, if you move into a large enough shop, you’ll be certain to find plenty of space to build a proper router table to satisfy all your wishes.

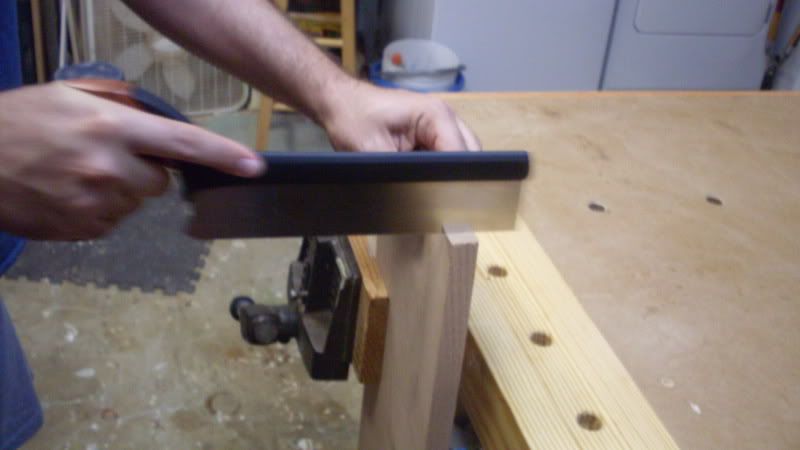
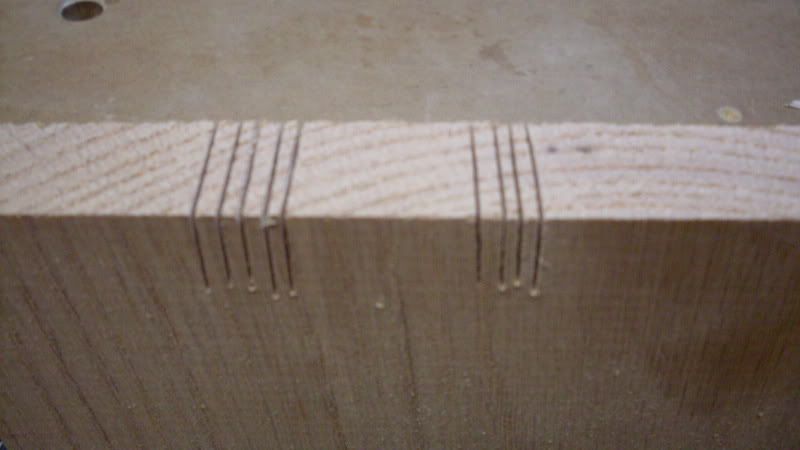
 It was just last week that I took delivery of my brand new Veritas Dovetail Saw. I have used it several times and have gotten a lot of practice with it cutting straight lines to a marked strike line.
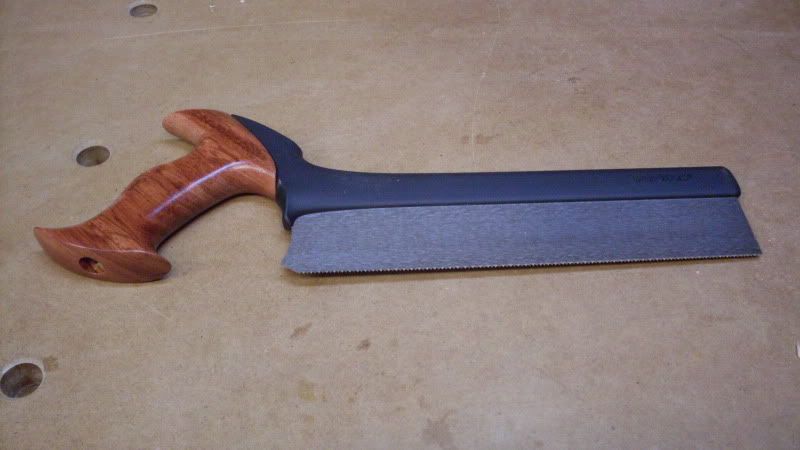
 I am pleased to announce that
  This is a
 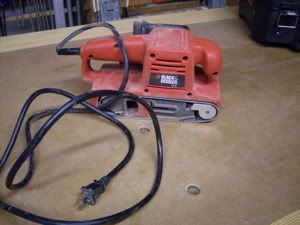 I’d like to take a moment to introduce you to the tool I love to love – and hate. This is my belt sander. A Black and Decker homeowner’s model I picked up at a local Wal Mart about six years ago.