

All posts by Tom
Link of the week
While many people see woodworking as a project pursued by older gentlemen who acquired the skill under the training of masters, or who have had the benefit of wood shop, there’s a young gun up in Newton, Massachusetts who is doing some incredible woodworking using a blend of old-fashioned and new-fangled methods.
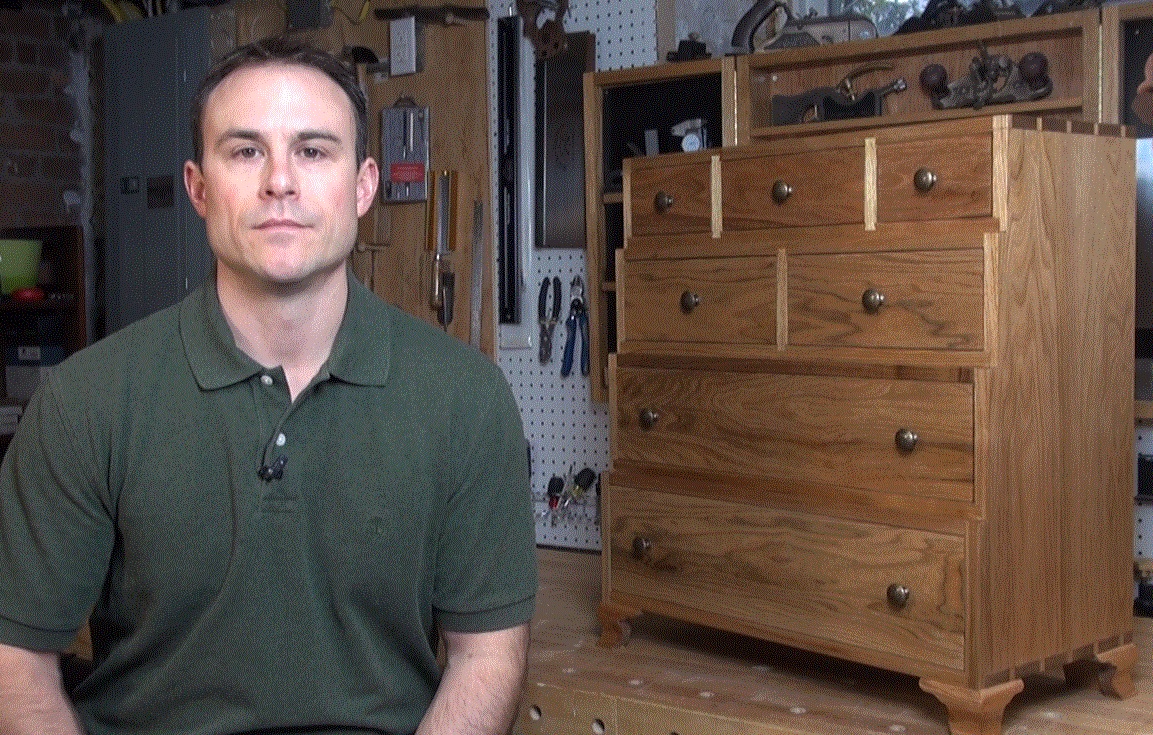
Rob Bois has been blogging for a few years now, and he has been building some great stuff in his shop. Step stools with bold curves. Classic chests of drawers. Screen doors! Yeah, sometimes you gotta build those, but Rob made a point of putting some classical embellishments to turn a utilitarian piece into a work of art.
Rob crates videos to help readers follow along with his builds, and his easy style makes following along a breeze.
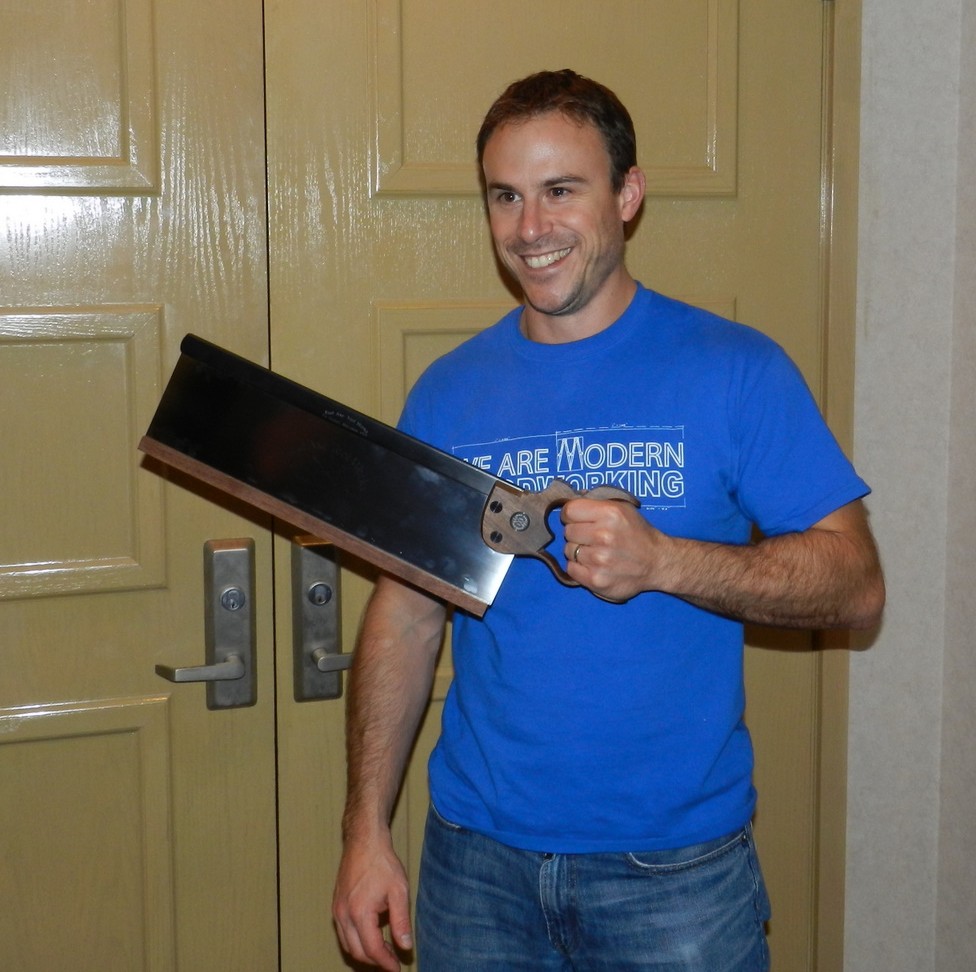
Oh, and rumor has it that Rob won a Bad Axe tenon saw at Woodworking in America in 2011… be sure to ask him about it!
Stuff I’ve built (with some help!): The Nativity Sets
Last weekend, I was able to get those mangers finally done… and that was a good thing, because last night was the big holiday party for the St. Petersburg Woodcrafters Guild. Again, the mangers were part of the nativity sets that we were putting on some of the tables as centerpieces and door prizes for our guests. And, boy, did they look great!

Again, the plans came from Steve Good, and since I didn’t have a scroll saw, I was put in charge of building the mangers and the bases. After everything was glued together, I sanded the mangers down to 150 grit paper, brushed them off and sprayed three coats of dewaxed shellac. You didn’t know I has a sprayer, did you? Well, that’s grist for another post. After spraying and drying, I sanded them down with some 320 grit and hit them with a little paste wax.
The figures and the icicles were cut by fellow guild members Ted Bateman and Bill Murhpy, who are both talented scroll saw woodworkers. And, boy howdy, did the both do a great job! I’m not sure of the finish they used, but they looked great. Bill used a grab-bag of wood scraps (I’m not sure of the species) and Ted did the roof decorations out of 1/4″ Baltic birch plywood.

When Rhonda and I got to the party, we quickly grabbed our seat. I was staring straight at a gorgeous little snowmen one of the group’s turners had made. It was fun to see such a well made piece joining the party.
After we ate, we got down to some quick guild business. It was at that point… well… OK, I have to admit it now… a new slate of board members was officially sworn in for 2013. And, yes, yours truly was sworn in as Vice President for the guild. Incoming President Dale Neff gave me a quick wink when we got the news. It was grand!

As Rhonda and I drove home, we were happy with the outcome of the night. We had a chance to pal around with some local woodworkers, I was able to get two of the mangers to our visitors (we held one, and Ted and Bill got the other two) who were thrilled to have them, and we are just that much closer to Christmas, my annual break from work and some quality shop time for some upcoming projects.
A little less than two weeks now!
Table this discussion
I have been talking about the upgrades at my shop for a while now. The miter bench. The rolling cart that holds the drill press. The rearranging to get more usable space.

There’s something else I had to add to the shop – a far more capable router table. Years ago, I had built a router table into my table saw’s top, and it was good. For a while. Until I first had to rout a nice molding profile and then rip it off a wider piece… that just became a real mess. I also desperately needed to get a far more precise setup. I mean, I have been using a cobbled-together router fence that I wasn’t 100% sure was square to the table…
That’s when David Venditto of Infinity Cutting Tools stepped in to fix my issue. He had already sent me home with a new Triton router and router plate, and this past week, he finished me off with a router table, fence and stand.

The fence is a sweet Jessem Mast-R-Fence 2. This baby comes complete with dust collection, a built-in scale, sliding fence faces to let you control the opening for the router bit and secure clamping to ensure it holds a measurement. Everything you would want a router fence to do.

The stand was sort of like an erector set.. lots of steel legs and plenty of bolts. And bolts. And, some more bolts. I had no idea how many bolts it would take to assemble the stand, but I did have my set of wrenches and sockets, so that helped.

Once I had it put together, I had to top the stand with a VERY cool top. David gave me one of his brand new black microdot router tables. Turns out, they are milled right near my house. The edges are wrapped with a tough edging and a miter channel that accepts both mini and miter T-track accessories. The best feature? The top is a black microdot laminate that is very hard, and reduces the friction on the wood that you push over the table. I’ve played with it a little bit this weekend, and boy, has it been fun!

Once I got it all assembled, I had to put it into its place of honor in the shop, next to the drill press. I’m looking forward to putting this router table through its paces, and eventually doing a shop 2.0 tour for you folks to enjoy.
Quick Poll
Last week’s quick poll started an interesting conversation. I had intended it to be about what kind of footwear you wear in the shop to prevent injury if something fell onto your foot from your workbench. But, what folks read was how do you keep comfortable while standing in your shop for hours on end.
It’s more than just a matter of comfort. In fact, some readers commented that they had issues ranging all the way up to joint replacement surgery.

For most garage or basement woodworkers, concrete is the default flooring.. and that’s where a lot of the problems begin. It’s an unforgiving surface that can leave you feeling footsore before you know it.
This week, tell us how you combat this standing fatigue and issues that could possibly plague you years down the road.
Link of the week
I have made a whole bunch of friends doing this woodworking blog thing. Friends right around the corner from where I live. Friends across the country. And, friends from beyond the borders of the United States.

That’s where my good friend Ian Mackay lives – north of the border in Torono (yes, it is spelled incorrectly but no, you don’t pronounce the second T in the city’s name – it’s my own phonetic spelling) Canada and is running a tidy little woodworking blog himself. He has currently been working on his workbench, but he has also built a marble roll, tables and even a canoe!
Poke around in his site for a while, and you will get a good idea of his style – and his building process.
Oh, and if you see Ian, be sure to offer to buy him a cruller and a double double at Timmy’s. Trust me, he’ll understand and thank you for it!
Bandsaw on the bias
At the St. Petersburg Woodcrafters Guild, we are getting ready to host a holiday party for the members and their guests. A chance for each of us to talk about our holiday plans and meet many of the patient and ever-suffering spouses that support us crazy woodworkers.
As part of the festivities, our guests will have the opportunity to win some of the centerpieces from the tables. And, you know the centerpieces aren’t going to be vases of flowers – but woodworking projects! I am part of a team of woodworkers who are building a few Nativity sets to serve in this role. The characters of the baby Jesus, the Wise Men, Mary, Joseph and the menagerie of animals will be scroll sawn out of some pretty wood, and I have been put in charge of building the mangers.

Getting the mangers built was a piece of cake – sort of a building construction project in miniature. A back wall with a gable, two roof panels and two side walls. Those were easy to cut out and glue together. I chose hot hide glue for this, because the tiny pieces were just too small to clamp, and hide glue is renowned for its high early tack.
Once these were assembled, I had to create a base for them to set on. The instructions said to cut out a wavy natural-looking edge on a piece of wood, then round it over. Yeah, that would be nice… but I was thinking something a little more unique. While picking through candidate boards for this application, I ran across a bunch of pieces with some wany edge. Hmm… maybe I could incorporate that…

That’s when the idea hit me – why not cut a more sculpted edge on these pieces? The wane was nice, but not everywhere on the pieces. How was I going to do this quickly on these boards?
I had to turn to my new band saw. The old model I used to have had a broken trunion under the table, so I never moved it out of square the the blade, for fear I would never get it square again. But, the trunions on my new Laguna band saw are huge. Beefy. And, they could hold a bevel without breaking a sweat.

After cutting an appropriately natural looking edge on the boards, I cranked the table over to about 30 degrees tilt and locked it into place. That roughly matched the angle on the wane. I made sure I had the board oriented the proper way – after all, I didn’t want to undercut the board – I started paring the edges down with the band saw. I wasn’t trying for nice straight lines – I wanted it to look a lot more like a rocky outcropping. Cut, cut, cut. Pull the piece off the saw and look at it, then cut some more.

I was using the 3/4″ resaw blade for this, so I knew I had to do more nibbling that I would have had to with the 1/4″ blade, but that made the final piece look better.
After the sculpting on the saw, I took the pieces and refined the edges on my edge/spindle sander. I worked off the table most of the time, accentuating the nooks and crannies I had carved with the saw. I just wanted to give that the once over to remove any bandsaw blade marks.
After that, I sanded the bases with some 120 grit paper on the random orbit sander and glued the mangers to their bases, using the hot hide glue. Just a little time in the clamps, and the pieces were ready to roll.

Now, I just have to collect the decorative facings that one of our team cut, apply those to the roof line and do the final sanding and finishing.
I’m pretty sure I can make that deadline!