At the St. Petersburg Woodcrafters Guild, we are getting ready to host a holiday party for the members and their guests. A chance for each of us to talk about our holiday plans and meet many of the patient and ever-suffering spouses that support us crazy woodworkers.
As part of the festivities, our guests will have the opportunity to win some of the centerpieces from the tables. And, you know the centerpieces aren’t going to be vases of flowers – but woodworking projects! I am part of a team of woodworkers who are building a few Nativity sets to serve in this role. The characters of the baby Jesus, the Wise Men, Mary, Joseph and the menagerie of animals will be scroll sawn out of some pretty wood, and I have been put in charge of building the mangers.
Getting the mangers built was a piece of cake – sort of a building construction project in miniature. A back wall with a gable, two roof panels and two side walls. Those were easy to cut out and glue together. I chose hot hide glue for this, because the tiny pieces were just too small to clamp, and hide glue is renowned for its high early tack.
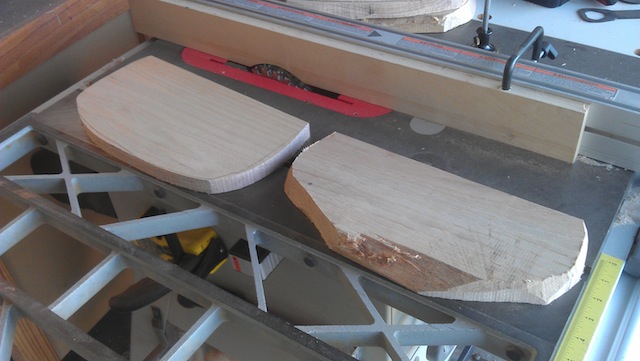
Once these were assembled, I had to create a base for them to set on. The instructions said to cut out a wavy natural-looking edge on a piece of wood, then round it over. Yeah, that would be nice… but I was thinking something a little more unique. While picking through candidate boards for this application, I ran across a bunch of pieces with some wany edge. Hmm… maybe I could incorporate that…
That’s when the idea hit me – why not cut a more sculpted edge on these pieces? The wane was nice, but not everywhere on the pieces. How was I going to do this quickly on these boards?
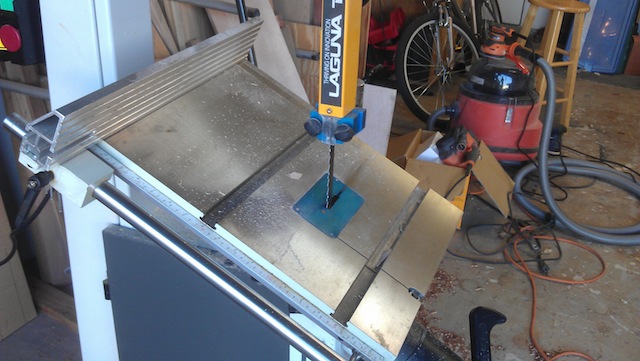
I had to turn to my new band saw. The old model I used to have had a broken trunion under the table, so I never moved it out of square the the blade, for fear I would never get it square again. But, the trunions on my new Laguna band saw are huge. Beefy. And, they could hold a bevel without breaking a sweat.
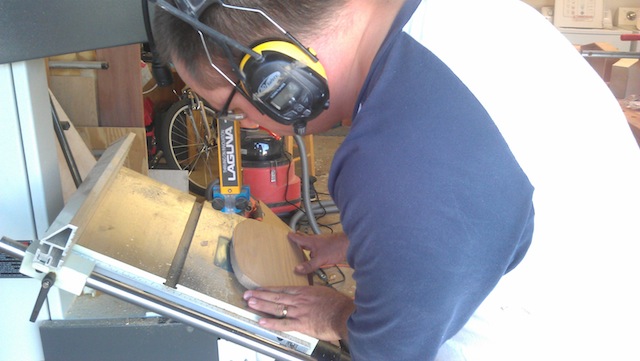
After cutting an appropriately natural looking edge on the boards, I cranked the table over to about 30 degrees tilt and locked it into place. That roughly matched the angle on the wane. I made sure I had the board oriented the proper way – after all, I didn’t want to undercut the board – I started paring the edges down with the band saw. I wasn’t trying for nice straight lines – I wanted it to look a lot more like a rocky outcropping. Cut, cut, cut. Pull the piece off the saw and look at it, then cut some more.
I was using the 3/4″ resaw blade for this, so I knew I had to do more nibbling that I would have had to with the 1/4″ blade, but that made the final piece look better.
After the sculpting on the saw, I took the pieces and refined the edges on my edge/spindle sander. I worked off the table most of the time, accentuating the nooks and crannies I had carved with the saw. I just wanted to give that the once over to remove any bandsaw blade marks.
After that, I sanded the bases with some 120 grit paper on the random orbit sander and glued the mangers to their bases, using the hot hide glue. Just a little time in the clamps, and the pieces were ready to roll.
Now, I just have to collect the decorative facings that one of our team cut, apply those to the roof line and do the final sanding and finishing.
I’m pretty sure I can make that deadline!


Hi:
Great job, I like tham and you ar having fun building them. Did you have plans for all the pieces or where did you get the plans? I sure would enjoy building one of several.
The plans are linked in the top of the article. Great plans, by the way.
Those are going to be real beauties Tom.
The VP showing his bandsaw swagger !
Very nice, Tom. I would have used a grinder to shape the edges, but that’s the beauty of woodworking, there are as many ways to perform a task as tools you own.
Tom,
Nice work on the bases. They look great.
Chris
Looking forward to seeing them in person Tom!
Hi Tom, I really like the idea of the natural edge. Those are going to look great. Have fun with your Holiday party.
Thanks, Steve. And thanks for drawing up some awesome plans!
Just downloaded the plans, this really looks like a fun one to make. Thanks..!