Oh boy! Oh boy! Oh boy! It’s Woodworkers Safety Day, and it’s like my birthday and a trip to the zoo all in one..
OK, I can’t whip up that much excitement when it comes to safety in the workshop. I mean, what is so exciting about safety? When you do woodworking well, you step out of your shop with a beautifully cut joint, a gently shaped curve or a finish that you will want to show off.
When you do safety well, you just walk out of the shop and do what you would normally do. Play with the kids. Make dinner. Watch TV. Go to the gym for a workout.
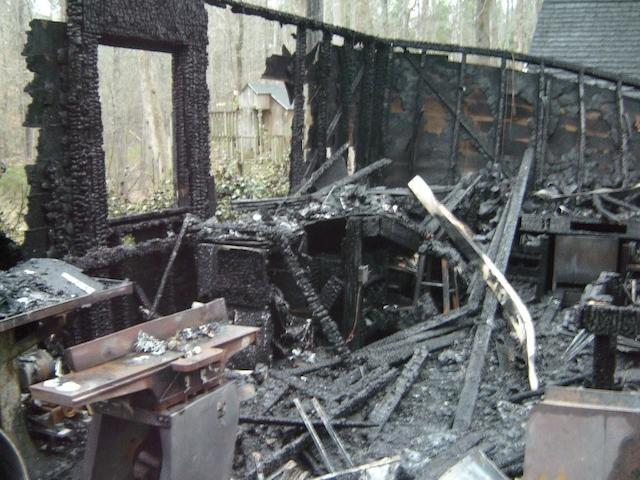
Hey, wait a second… those are fun things you can do, and, in many cases, you can’t do them if you are recovering from a nasty injury in the shop. I bet those stitches would burn if you went for a swim. I bet that eye injury might keep you from enjoying a movie with the ones you love.
Just as with my day job – preparing people for disasters – safety is about keeping things as normal as possible for you. By shuttering your windows when a hurricane comes, your home is more likely to survive the storm, which means you are more likely to sleep in your own bed while waiting for repairs, instead of trying to complete the paperwork to get a FEMA trailer to spend the next six months in while your home is rebuilt.
In the same way, keeping safety top of mind – and making sure that you think safety through all steps in your woodworking process – means your routine is much less likely to be disrupted.
Believe me, I have hurt myself in the shop, and that’s the kind of excitement I can do without. I can tell you from first hand experience that healing stinks. Staying healthy is where it’s at, because the very next day, you can be right out in the shop, spending your free time doing what you enjoy the most, whether it be woodworking or some other past time.
This year, we asked that some other bloggers submit their safety entries for the effort, and we got some great submissions. Here’s what came in…
- Garth Schafer: Safety Lessons at Garth’s TW2 Shop
- Chris Wong: Stay Focused and Be Safe
- Brian Benham: It’s safest by the door
- Stephen Parker: First Aid kit
- Fr. Thomas Bailey: Are you ready for woodworkers safety day?
- Highland Woodworking: Today is Woodworkers Safety Day
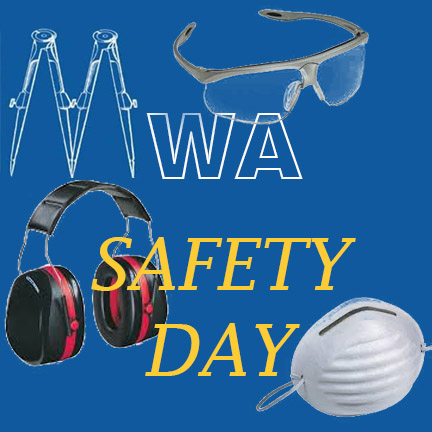
- Lawrence Wroten: MWA Safety Day