 There is nothing quite as noble and enriching as teaching others. It’s something that motivated people do so their students can go on to discover their own path to achieve great things.
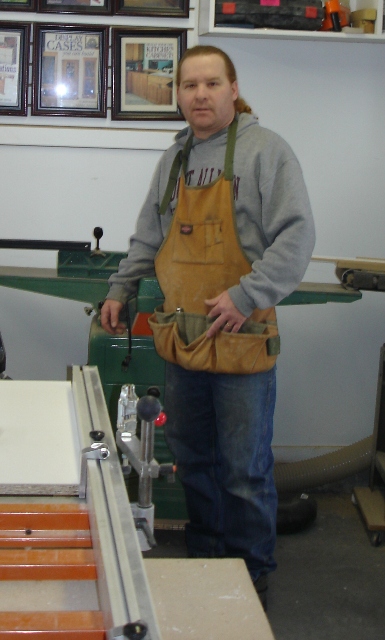
Luc Rousseau, owner of Rideau Cabinetry, has learned from one of the best, and now is helping educate other woodworkers through his efforts. If the name Rideau Cabinetry sounds familiar, keep reading.
Luc’s woodworking education started at home. His dad was an upholsterer, so young Luc was always around tools and the woodworking craft. “I was good with tools and I noticed the little details that set quality woodworking apart.”
Eventually, Luc enrolled at Algonquin College in Ottawa, Canada, to become a student in the outstanding cabinetmaking classes offered there. That’s where he met one of his most important mentors – Danny Proulx.
 Danny immediately recognized and appreciated Luc’s skill and work ethic. After graduation, Danny offered Luc a few jobs, as well as the motivation and guidance to continue his growth. “One kitchen, then two, then projects for his books and magazine and so on. Apart from my parents, he is the first one that really took the time show me and work with me as a friend and a partner. We got along really well.”
Work in the shop with Danny was marked by a great partnership and outstanding cooperation. “The day always started with an extra large coffee at his desk talking about hockey. Then we would plan the day or days ahead. Danny always had four or five things on the stove and ideas for years to come.”
Always busy, Danny and Luc were working on some articles for magazines and a new book, 50 Shop-Made Jigs and Fixtures in the autumn of 2004. Work was progressing nicely, and, with Luc’s help Danny had gotten the first two chapters written.
Sadly, on November 26 of that year, Danny passed away. Fittingly, he was on his way to a woodworking seminar to help teach the craft to others when he passed.
The news hit Luc and Danny’s wife Gale hard. “She went through the hardest thing someone has to endure in life, losing a loved one.”
 After a month of intense grief, the two sat down to talk about the projects that were left incomplete. “I finished a lot of projects over the winter. Then in June, Jim Stack, the editor from F&W Publications, and I sat down and planed the other six chapters of 50 Jigs.”
The work proceeded slowly at first. Luc remembers seeing the notes and sketches Danny had left, and feeling overwhelmed by the work ahead. After all, Luc couldn’t simply ask his partner what he had intended. He had to rely on his experience of working in the shop with Danny decipher some of his ideas. Four and a half months of hard work later, and the manuscript was finally ready to go to print. “The day I mailed everything to the editor, it hit me like a ton of bricks. Danny was really gone.”
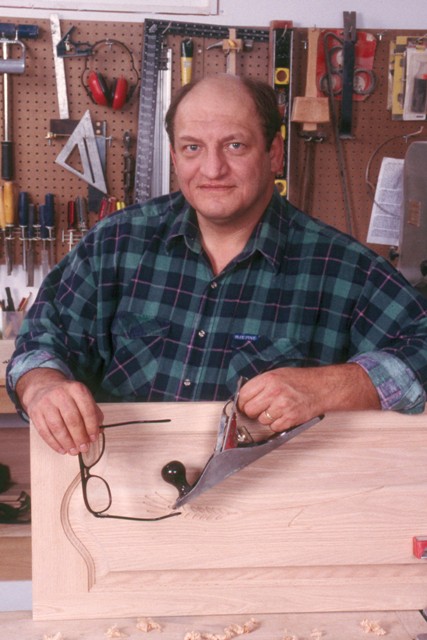
While some people may have one personality when dealing with the public and another in private, Luc says that was not the case with Danny. “He was the same guy in the shop, in the classroom, or his office, the same guy you folks saw on the forums. He was patient, relaxed, fun to work with. I never saw him panic or get mad or scream. He was always looking for solutions, new ways, new tricks. He was a great listener and not the kind of guy who would try to put one up on you guys.”
Today, Luc owns Rideau Cabinets and maintains the company’s online presence. He’s revamping the ordering system for books and hardware to make shopping at the site easy. “Hey, it’s 2008. I have to keep up with the times!”
As far as writing his own books? “Well, this might come later since I am only 43 and Danny started about 48. I think I have a few years to practice my writing before I start getting my own books published.”
As if he wasn’t already busy enough. Luc also took over the woodworking classes Danny had taught over at Algonquin College. No doubt, his students are being introduced to their own dedicated, knowledgeable mentor.

 It’s not as tough as you think. In fact, with just a few tools, this is a fast method that will work quickly on any size panel.
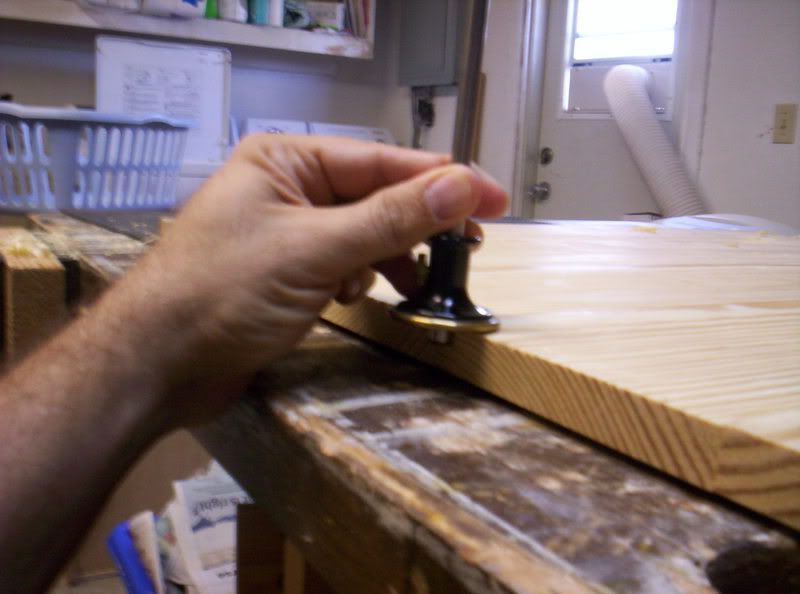
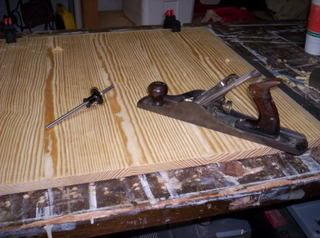
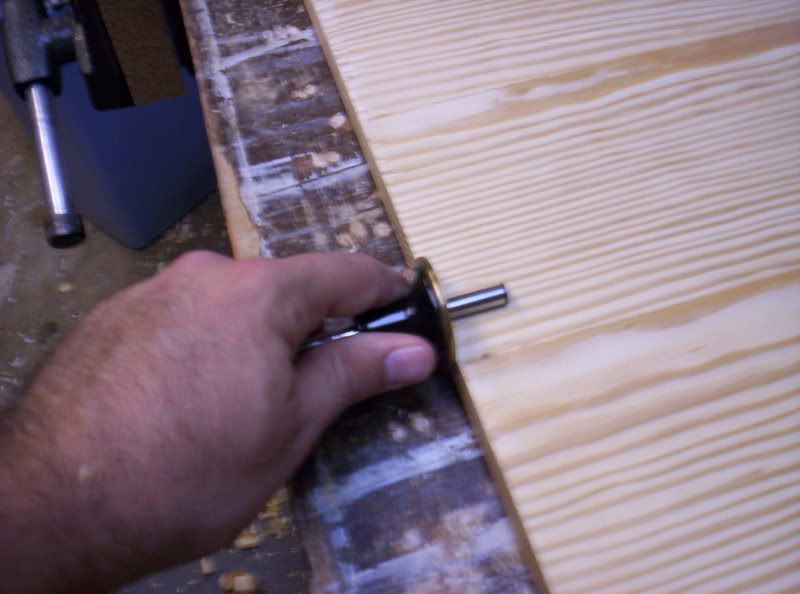 The next step is pretty essential, I’d say. You have to carefully mark the depth and width of the area you want to bevel. This way, you know exactly what you need to remove, and you’ll be able to keep a consistent bevel. For this exercise, I used one inch wide and one quarter inch deep.
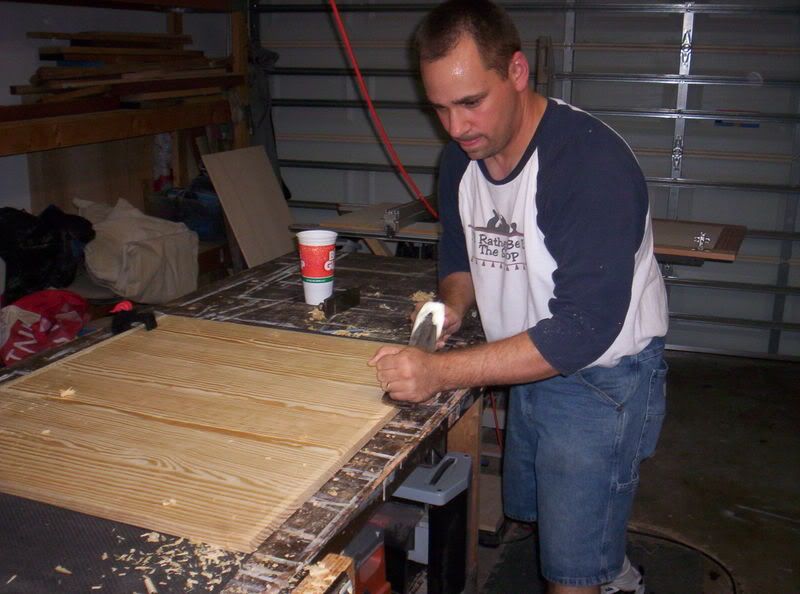 Now, with the panel securely clamped to your work bench, you can use your plane to remove the material to form the bevel. I start with the end grain, planing slightly ‘down’ and ‘out’ with the plane to prevent tear out. Once that’s done, then I move to the edge grain to remove any tear out – just as when you use a router.
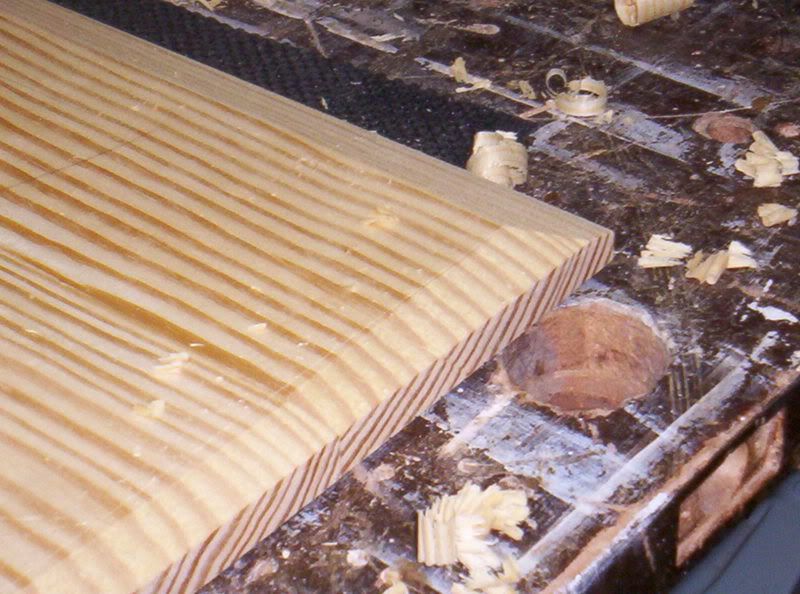 Finally, what you are left with is a crisp bevel that just needs a little sanding – especially on the end grain bevel. The beauty about this method is that you can use it to create any number of different bevel geometries. And, if you want to bevel a door panel, table top or any other piece of furniture, well, this method doesn’t require complicated jigs or expensive router bits.

 Imagine being able to look at a plain block of wood and turn it into a gorgeous work of art. Interested, but not sure where to begin?
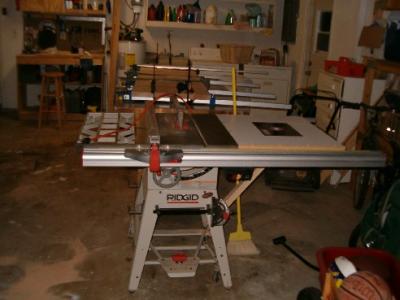 My first table saw was a Delta benchtop model. It worked OK for a year and a half, but, as I quickly discovered, a 12″ rip capacity is really too puny to get serious work done. So, back in 2001, I upgraded to the Ridgid table saw I had been drooling over at the Home Depot. Some of the features that caught my attention were:
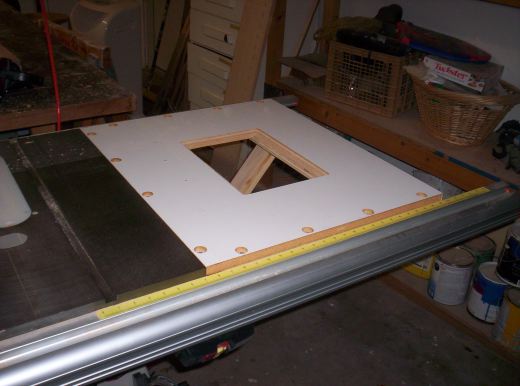 I also replaced the left cast iron wing with a home-built router table. I routed it out to accept a Rousseau router plate (which supports a Freud FT 2000 router). I can use the saw’s rip fence as a fence for the router table, which allows me the same micro-adjustability that benefits me using the saw blade.