Link of the week

Woodworking Plans and Projects: Horizontal Router Table

Routers are versatile tools, capable of cutting profiles, joinery and doing other useful tasks. While a hand-held router is useful, mounting it under a table makes it even more useful.  But, even with these two options, there are sometimes you may need the bit held a third way – horizontally.

That’s why woodworker Ron Fox has designed this horizontal router table. Using simple MDF and commonly found hardware, you can build this table to get your router into a horizontal position.  From there, your router can be used to cut mortises or use a vertical panel raising bit with the wood pressed firmly against a table.

Woodworking Spotlight: Matt Gradwohl

Life in the woodworking blogosphere has been a blast for me. I get the opportunity to write about a subject I have a tremendous passion for, and it gives me a chance to tell each of you how excited I am to be building in the shop.

Blogs such as mine, the Wood Whisperer, the Village Carpenter and Matt’s Basement Workshop have an established track record in the blogging community, and while we – and many other established bloggers – like to shine, it’s always exciting to welcome newer members to the community.

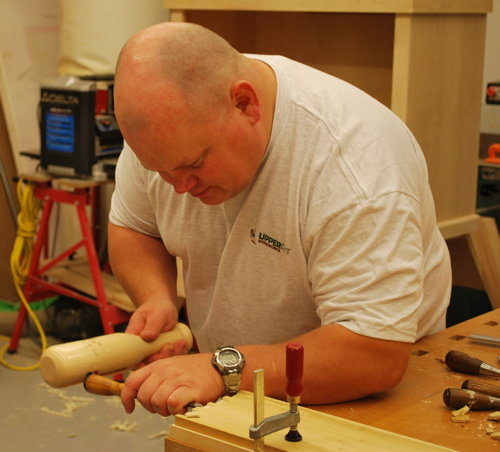
Case in point, I’d like you to meet Matt Gradwohl who runs Upper Cut Woodworks out of Washington state. And, as with many other woodworkers, he got his introduction to the craft at an early age watching his grandfather at work “He was a great inspiration. When I was seven or eight years old I built a wooden sled with orange Hot Wheels tracks for the runners. It was a clever idea but weighed a ton and worked horribly. I painted it with tempera paint that didn’t stand up to the wet snow and when I brought it home I was covered in brown paint. It went straight into the fire pit and I swore like a sailor about that “damn sled.” I wasn’t even ten years old but my mom didn’t punish me for the cusswords, she felt so bad for me and was laughing too hard inside.”

Fortunately, Matt wasn’t stopped by his early failure. Later, he converted part of his closet to a computer desk with the help of his grandfather. “I didn’t want anyone to see that I was a computer geek. My grandfather was the first woodworker to teach me proper handsaw technique.”

Today, Matt builds projects in his 25’ x 20’ shop in suburban Seattle. “I bought this house new and when I moved in I had the walls insulated & painted, the floors epoxied, lots of lighting and outlets installed, and a little gas stove installed for heat. I take most of my time off from my real job in the winter, so it’s great to have a warm and well-lit shop to work in.”

With the Pacific northwest such a heavily forested area, Matt loves to use the local timbers in his projects. “I’ve been to a lot of great places in the U.S. and abroad, and I’m always happy to return home. The most common native woods in Washington are Douglas Fir, Hemlock, Western Red Cedar, and Pine.” However, he’s also receptive to using more classic North American hardwoods such as maple, cherry and walnut. “I really like Walnut and especially enjoy the smell of fresh Walnut plane shavings.”

His shop also features a mix of power and hand tools. “I started out with hand tools, then moved to some power hand tools, and then got some big iron. I would call myself and most of the woodworkers I know ‘hybrid woodworkers’ because we use power tools and we’re actively seeking quality hand tools and learning proper hand tool techniques.”

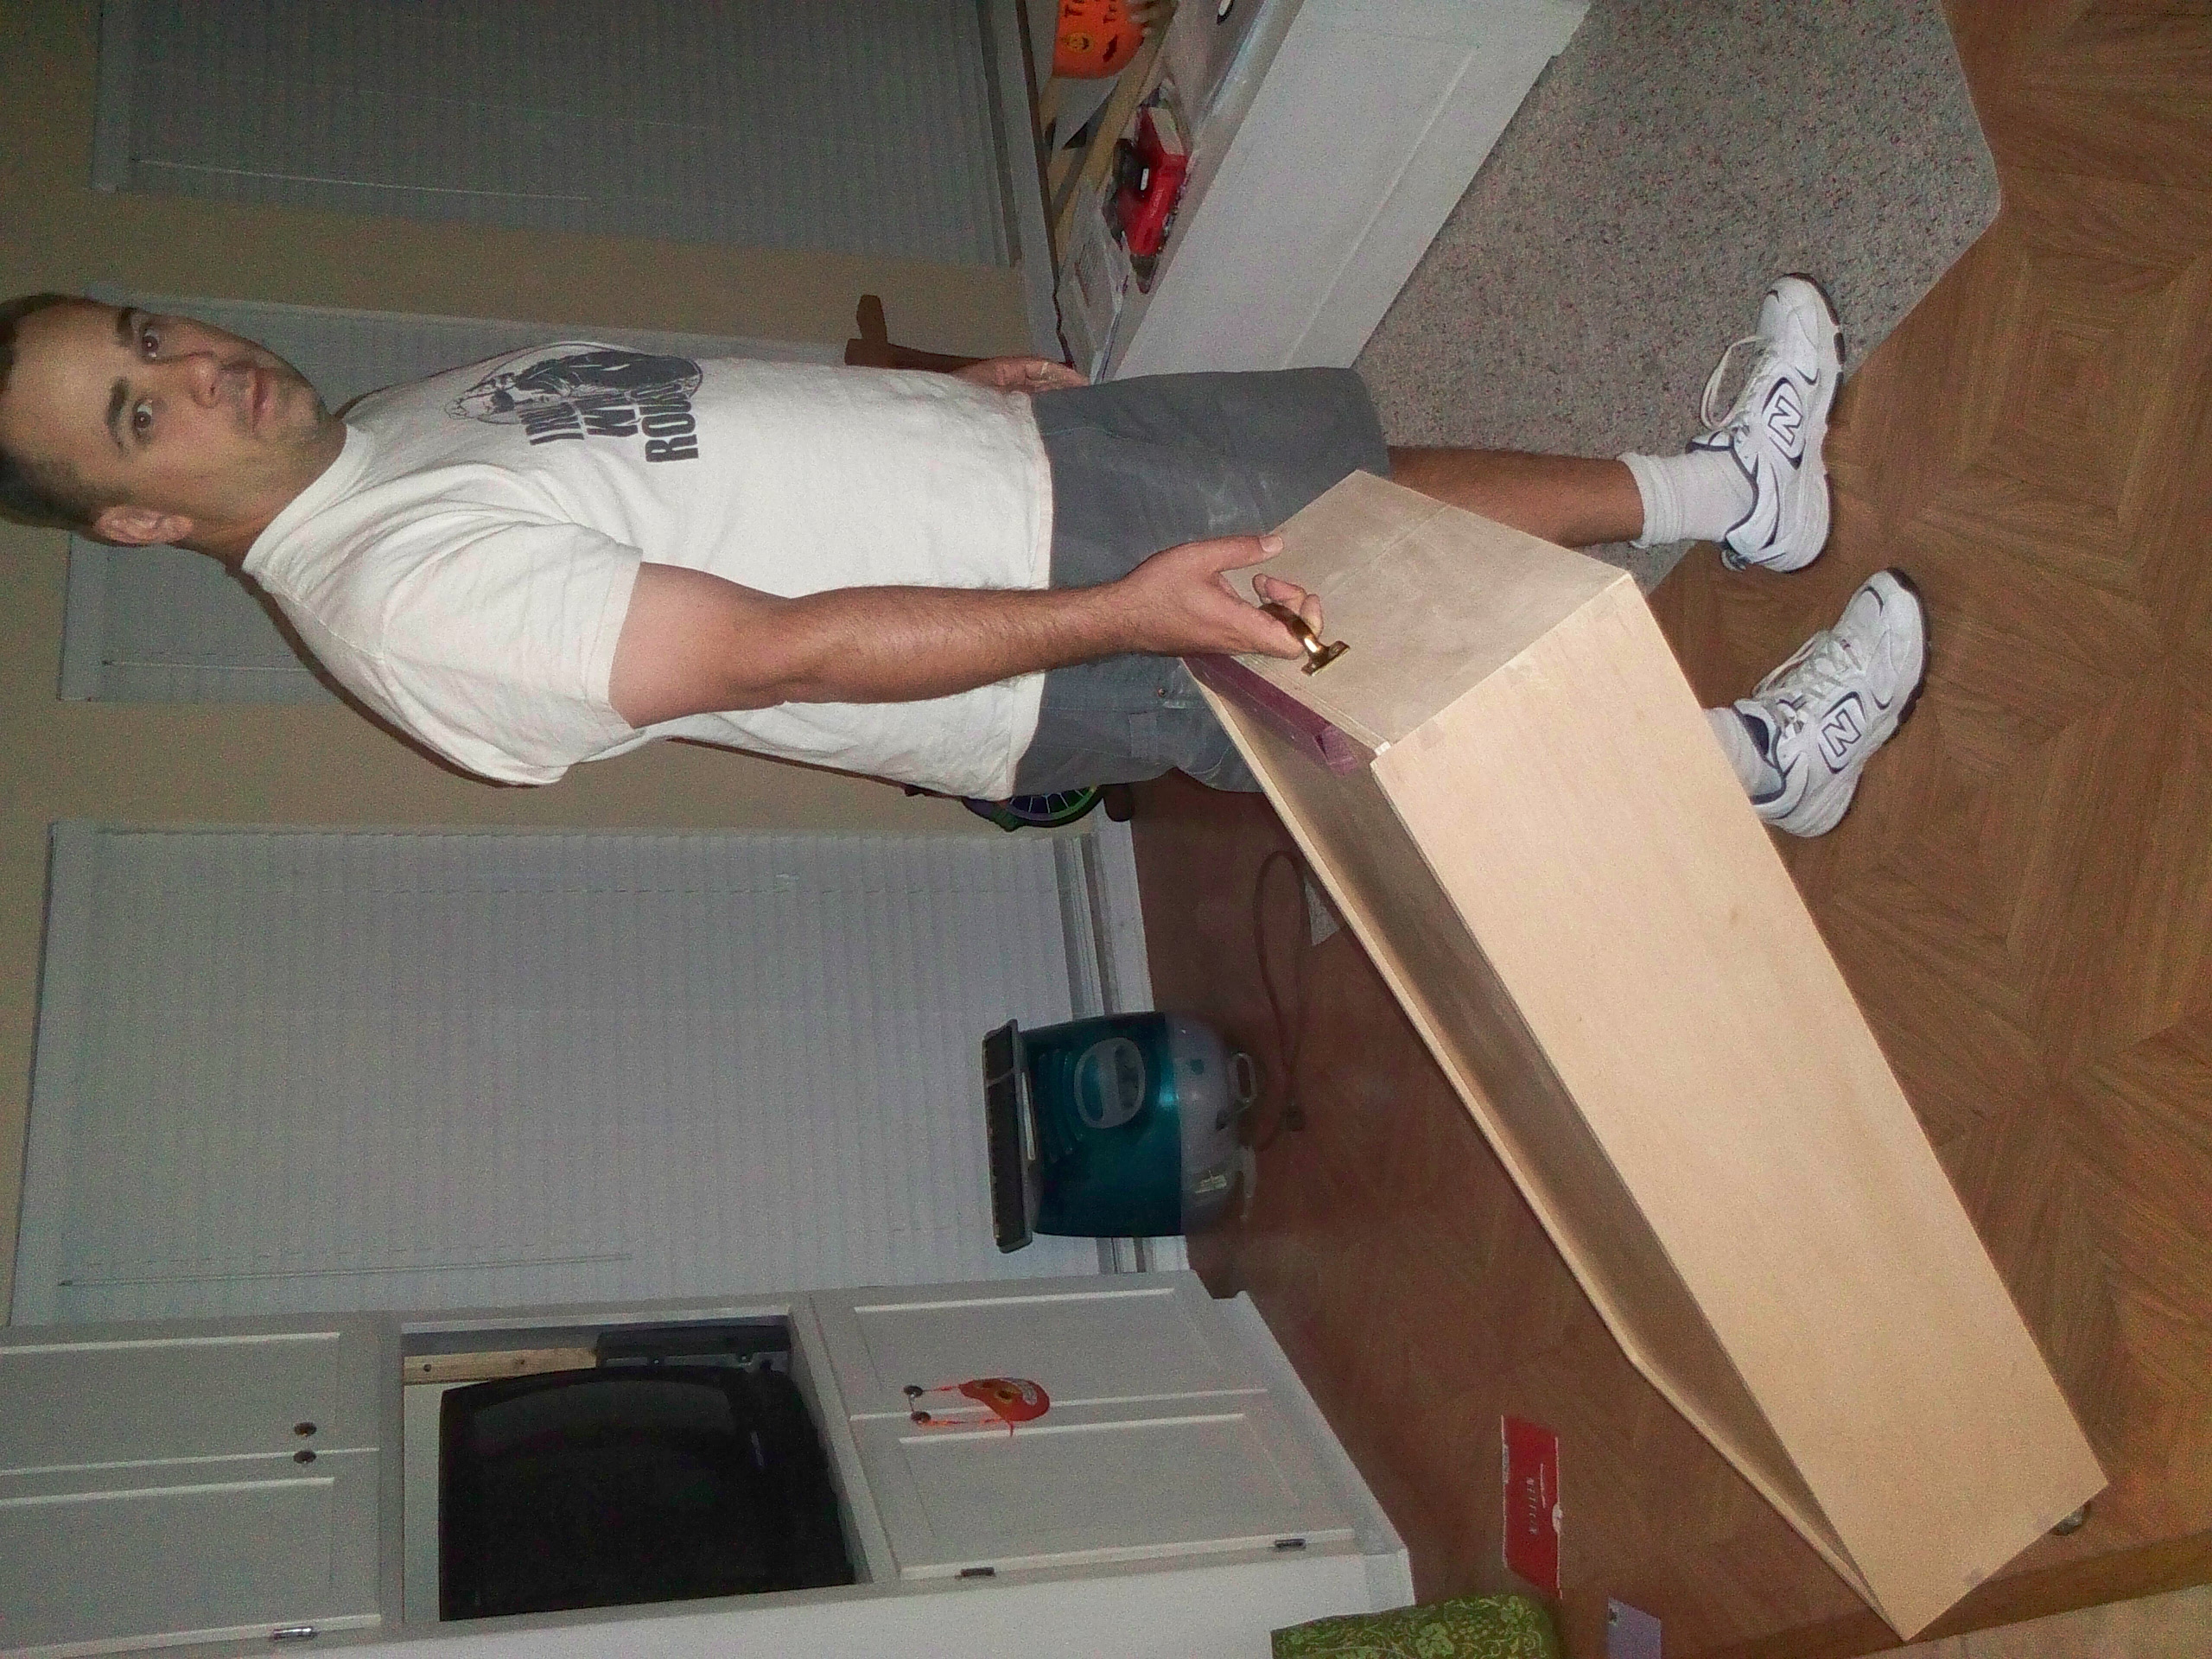
While still working for software giant Microsoft, Matt is working hard to get his woodworking business off the ground. He has moved from building smaller projects into larger and more complicated ones to satisfy the needs of his clients. “Since starting the business earlier this year my first project was the Thomas Walnut Dresser. That was a great project, turned out well, and the client was very happy. I blogged about that project and recently George Walker posted positive comments about it, so that was very cool. The current projects are a custom maple cabinet for a saltwater fish tank, a modern Wenge buffet, and a set of walnut bases for U.S. Fencing Association trophies.”

And, part of Matt’s business plan is tied in to his blog. “I decided to get started because I wanted to learn and document the steps for starting a woodworking business. There are lots of blogs that cover design, materials, tools, and techniques and I love all of them. I think it is great that woodworkers help each other so much, I think that’s because we’re dedicated to our craft and we don’t really compete for business. So I am going through the process of starting the business and documenting the steps on the blog. Not only do we need to preserve the designs, materials, tools, and techniques, but we need to get our work into homes and that means creating successful businesses. There’s still so much to do and so much to write about, especially as I head into the end of the first year and the taxman comes knocking, so stay tuned.”

Until then, the blog is hungry, always looking to be fed. “Because I want to produce content for the web on a fairly regular schedule, I need to set aside shop time every week and also set aside time to update the blog. Sunday night has been shop night for me and I often post later that night.”

Matt is quick to point out that Upper Cut Woodworks is a long journey for him – someplace for him to head to after retirement. “In the long term, I’ll be retired from Microsoft woodworking full time, with a good set of design, build, and business skills; a great shop and set of paying customers. Who knows, maybe someday I’ll be writing articles for magazines, teaching woodworking in schools or helping tool manufacturers bring better products to market.”

For whom the plane tills…

One of the things I enjoy most about my ‘day job’ is that I get to speak in front of groups about hurricane and disaster preparedness. This year, I must have conducted about 80 individual talks to groups of all ages. Some have been to students, others have been to civic groups and still more were done to businesses.

Over the past few years, one of the events I have come to look forward to is the Great American Teach In. In mid-November, my sons’ school system opens the doors for guest speakers to come and talk about what they do. I’ve gone for the past five years, and each time, I’ve wowed the kids with pictures from inside hurricanes and some neat weather experiments.  Nice stuff…

This year, however, I’ve decided to take a personal day off work and go to talk to the kids as a woodworker. That’s right, I’m leaving the weather guy behind – for this year at least – and bringing some of my tools in to talk to kids about what I do in my off hours.

When I started planning for this talk, I knew I needed to bring in some tools to show off. Saws, planes, chisels… the basic hand tools. But, how to bring them?   And, after the big day, I was still going to need a far more organized storage system for my planes – something better than the pegboard I have stuck up behind my side work area.  Wouldn’t it be great if it could also serve as a plane till?

That’s when my mind got to thinking about a design that could be portable and come back to the shop as a permanent piece of storage.  Initially, my thought was to build a masterpiece from red oak, with dovetails, carving, and a beautiful raised panel to showcase my skills.

Of course, I did have a ton of left over plywood from the past few projects that was just taking up space in the shop.  So, I called an audible and built this.

Yup – it’s a plywood version of what I had planned.

The case is 40″ long and 16″ wide, standing 8″ tall. I cut the pieces to width, then mitered the corners so I wouldn’t be looking at the edge grain of the plywood. I cut a pair of grooves for the top and the bottom to capture the lid and the floor of the box.  I glued the box’s floor in place when I glued up the sides, then, to reinforce them, I routed some dovetail splines using my Kehoe jig.  The splines were cut out of cherry and slid right in… no fuss, no muss.

The front of the box was cut so I could slip the lid in and out of the grooves to cover the planes. Once I had cut it size and slid it all of the way home, I realized that I couldn’t slide it out.  So, I had to screw on a block of scrap purpleheart as a handle.  Yeah, kind of exotic, but won’t the kids love to see it the day of the talk!

I screwed on a pair of handles I had in the shop for about ten years (they never got used on the original project they were intended for) and a pair of fixed casters with a weight limit of 125 pounds.  Now, when I grab the handle on the top of the box and tilt the case up, the wheels eventually contact the ground, and then I can roll the case to where I need it to go. Not too elegant, but it beat the complicated wheel system I was planning on building.

Yes, the case holds all of the planes in my collection.  Now, I have to cut some dividers to build plane cubby holes inside the box and figure a way to hold the planes in place while in transport and when I eventually place this case on its side on my side bench.  Rare-Earth magnets may work for the metal planes, but I’m gonna have to get more creative with the wooden body ones.  I’ll also have to think about how I’m going to hold the spokeshave and cabinet scraper in place as well…

At least I have until November 18 to get this right, but not a bad start!

Quick Poll

Ugh … sanding.

After all of the exciting ripping, crosscutting and joinery, your project has gotten to the point where surface preparation is critical in order to make your project shine under a perfect finish.

However, there are few woodworkers who list sanding as their favorite shop activity. So, for many, there’s a point at which they will sand to and then call it a day.  Just smooth enough to make the finish look good but not too much.

So, this week, at what grit sandpaper do you stop at for bare wood on your project? The listings for grit size are in CAMI ratings, so if you use the P rating scale, you can do a quick conversion on this table of grit equivalents.

[poll id=”142″]

Link of the week

Australian Hardwood Network

G’day, mate! When many people think of exotic woods, the species that grow in Africa or South America come to mind.  But, have you ever given thought to the variety of woods that come from down under?

The Australian Wood Network is an association of lumber harvesters, sawmills and merchants from the world’s smallest and most arid inhabited continent. While known more for its vast expanses of desert, the wood harvested from the forested areas is stunning in appearance and has outstanding working characteristics.

The site offers a thorough primer on the species found in Australia and details the efforts of the country’s timber industry to practice sustainable harvesting.

So, throw another shrimp on the barbie, kick back and take a look at what Australia’s sawmills have to offer.

Woodworking Spotlight: David E. Life

Since I wrote my first Woodworking Spotlight, I discovered that there is one common trait that all of the woodworkers have – a determination to grow in the craft.

So, when I had the opportunity to exchange e-mails with David Life, well, I just knew I had to do a spotlight on him.

The woodworking story for David begins in 1990, when he and his wife moved to a little house at the edge of a farm. A neighbor up the road stopped by one day and asked if David would be up for earning a little extra money picking up some hours at his nearby cabinet shop. That brief meeting eventually led David to quit his job as a delivery driver and take up cabinetmaking as a full time vocation. “While working in that small shop for a couple of years we built all kinds of cabinetry for homes and many commercial pieces for radio/television stations, retirement homes, colleges and other places. It was a great experience and working with that guy showed me that it was possible to really enjoy building something from scratch and get paid for it.”

D’savid enjoyed it so much that after 12 years of working, he struck out and opened his own cabinet shop – Life’s Custom Woodworking – building European style frameless cabinets and countertops. “Building cabinetry and countertops that enhance both the surroundings and the clients lives is what we do.”

David’s shop is a bustling place. “Initially, I built a shop about 30’ x 30’ with everything in its place. I designed it so all aspects of cabinet building could happen with a good flow – including finishing which takes place in the back of the shop with an industrial exhaust fan. Our reputation has attracted a number of repeat clients and referrals. It got so busy that we recently added a 26’ x 30’ addition providing a staging area for materials, completed work and a bathroom.”

David’s shop has all of the basic tools you would expect to find in a cabinetry shop – a Unisaw with an Excalibur sliding table, air compressor, commercial pocket hole machine, a Blum hinge boring machine… the works. Oh, and his workbench is a few stacked sheets of MDF standing on a pair of saw horses. “My workbench isn’t glamorous, but it sure is easy to replace the top when it gets banged up and nasty.”

Currently, David’s company is undertaking a huge countertop project at a local seminary. The project involves building solid surface countertops for a 100-unit townhouse development, with each unit needing three countertops in each kitchen and two or three vanity tops in the bathrooms. “It’s great to have such a huge job right now and I look forward to doing more commercial jobs of this size – as well as getting back to building cabinets for homes.”

David still manages to keep a number of employees on the payroll, but his mind is constantly looking ahead to the economic recovery. “The biggest challenges have been to stay afloat in the past couple of years with the economy on the brink. Having a faithful group of customers is great in a good economy, and today it is more necessary to bid on as many jobs as possible in order to keep the business coming. Our greatest success has been in doing good work and most always getting repeat business or referrals.”

Up to now, you must be wondering, “gosh, Tom, this sounds like it could describe any one of a thousand cabinetmakers.” But, there’s something unique about David.

He’s legally blind.

“Yeah, I found out about two years ago.” David has a rare form of macular degeneration known as cone-rod degeneration. “It was at this same time that I quit driving and couldn’t read printed materials. I knew my eyesight wasn’t perfect but I had no idea that in just a few months it would come to that point. I went to the eye doctor expecting glasses and was told that glasses would not help me at all and that I should find a new profession.”

But, David didn’t let this slow him down. “A few months after this all hit, I came to the realization that I really couldn’t just lay down at forty years old and quit. I decided to search out ways to make it work. I have to say that part of my inspiration comes from my parents who both had polio when they were young and my mother is now blind from the same condition that I have. My parents never allowed their handicaps to stop them. My father just retired from over thirty years of teaching college level French. He wrote his entire doctoral thesis with his mouth and drives without using his arms. My mother worked for many years as a secretary and keeps house while walking with crutches while being completely blind. They have taught me to never give up and to continue to get things done.”

David has had to make some changes in order to keep his shop in production. “I now do all my design work on a special computer with cabinet design software. I have hired employees to do finish work and other tasks around the shop and I have teamed up with another local company to help with installs. Other equipment helps in the shop such as a talking tape measure, special lighting, equipment that magnifies objects onto a screen, etc. My speed at building cabinetry is not what it used to be, but I am still able to do it and I really enjoy creating cabinetry and countertops as I used to.”

And, while you may think a disability such as David’s wouldn’t give him any reason to be thankful, he is quick to point out, “I am very thankful to my family for all the help they give me. My wife and older children are even more an integral part of the business today, which happens to be one of our original goals for the company.”

David leaves with these sage words of advice, “Find a way to go after your passion. If it is important to you, then you will find a way to do it. Some things might not be possible for some, but there is a whole lot that is still attainable no matter what disabilities you have.”

One Smooth Customer

Make no mistake about it, one of my favorite woods is curly maple.  I love the light color and the dazzling figure that a finished piece shows.

The only problem is that getting it nice and smooth can be a nightmare. It’s difficult to get the board to go through the thickness planer without tearing out. Using a sharp jointer plane takes a considerable amount of care to get he surface flat and clean.  And, when it comes to smoothing planes, both my vintage Stanley No. 4 and my Japanese smoothing planes have moments where the would rather chew on the board than bring up thin shavings. Since both of these planes have irons set for working with well-behaved softwoods and hardwoods, they have difficulty dealing with the wavy interlocking grain patterns of figured boards.

That’s why I have frequently had to turn to ‘abrasive planing’ (read: the belt sander) to get the board’s face smooth before I could use a cabinet scraper to get it ready to finish.

That’s why I added the middle plane to my arsenal.  It’s a Veritas bevel-up smoothing plane, and this thing is the cat’s pajamas. (What is this? 1932?)

As with the Veritas planes I own, this is a solid piece of machined metal. It’s substantially heavier than my No. 4 and considerably wider, which makes it feel stable when riding on the face of a board. It has a great adjustment system that doesn’t involve a frog – instead the blade bears against the solid sole casting. The handles are large and comfortable, and the mouth can be adjusted to give a very fine opening, further helping to reduce the amount of tear out.

I had a choice steel for the iron – either an O1 or an A2.  I went with the A2 to better hold the edge so I’m not constantly honing during a project.The Veritas irons are ground very true, requiring only a honing on my extra fine diamond stone and some honing on a leather strop to slice paper.  That’s nice…

To put the plane through a quick test, I found this offcut of tiger maple on my bench.  I put it between the dog on my workbench and on the vise jaws and snugged it down. Within a few minutes, the surface of the board when from looking like the surface of the Moon to nearly translucent.  The shavings – even with just the coarse adjustments, were gossamer thin.  Once I get some real time to work with it, I’ll be using this plane a lot on my projects.

Will I part with my No. 4 and my Japanese plane?  No way.  Those soldiers have served loyally for years, and do a great job on straight-grained woods.  But, when I’m ready for the final pass or run into a board with a lot of visual interest, I’m reaching for this one!

part of the Wood Talk Online community