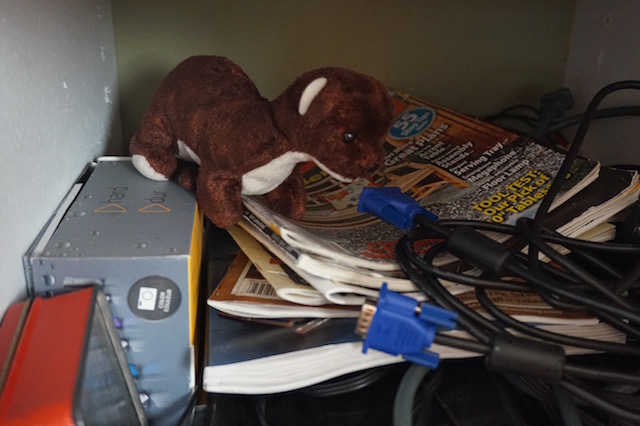
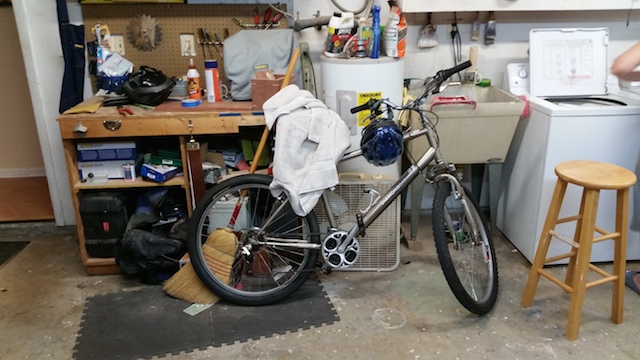
OK, so that weasel ratted me out last week for not having a clean reference area. Fine. You want to play the game that way, I’ll play along. So, this week when i got home from work, I decided it was going to be time to clear out some items which had been accumulating in my reference storage area for a few years to see if I couldn’t neaten a few things up.
It was not going to be easy. I mean, I had books and magazines going back to the late 1990s on these shelves, and in those cabinet there, and near the nightstand… well, you get the idea. It was going to be cruel, but I knew it was going to be for the best. After all, without a way to catalog these items, how was I ever going to find anything that I needed?
So, I went into full purge mode. My rules were simple:
- Reference books, I kept
- Magazine special editions with design or shop ideas in them, I kept
- Plans I was given or bought, I kept
- Magazines I had actually built projects out of, I kept
- Photos of old projects, I kept
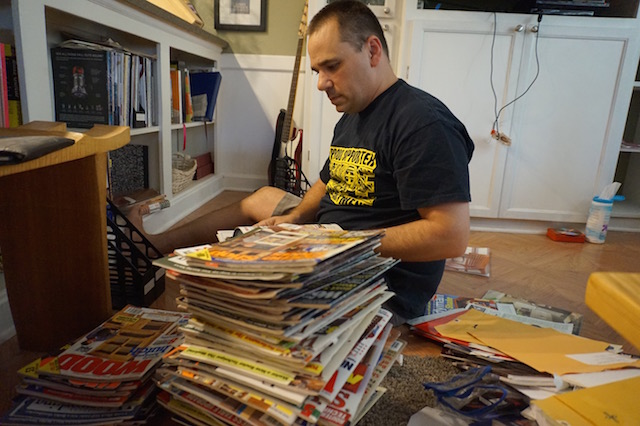
I was stunned by how many things I had gotten and forgotten about years ago. I mean, there were plans for projects I see every single day around my house, and plans for projects I no longer have. My son’s rocking horse. The half-round table at our entry. My youngest son’s bookshelf. The Halloween coffin we put out for the holiday.
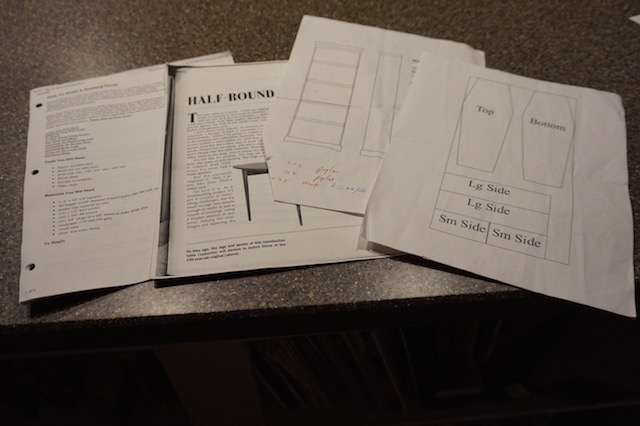
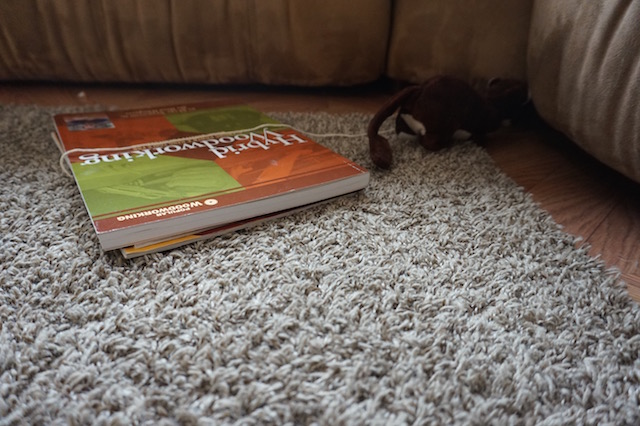
I tucked those carefully into a holder and kept them for the day I may want to build them again. I also spirited away a few other choice magazines with plans for projects that caught my attention. You never know…
The rest? Well, the rest of the material went into three piles:
- Magazines and books I didn’t need anymore went in piles to the library
- Crap I accumulated over the years that had no value, I put into a recycle pile and
- Winning lottery tickets, I cashed.
There were not a lot of items in the last pile, but the kids spent most of yesterday trucking scores of magazines off to the library for others to learn the craft. I feel good that’s where they went.
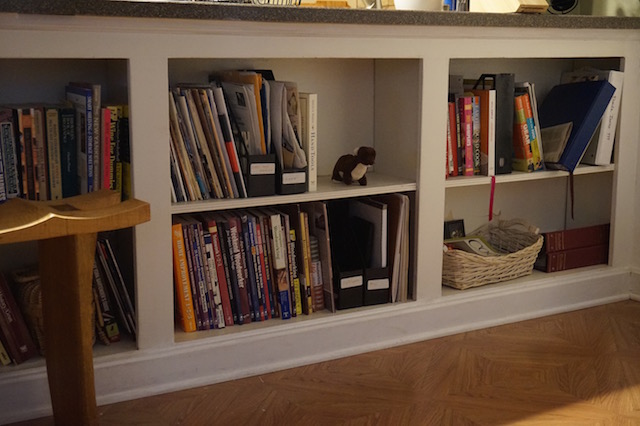
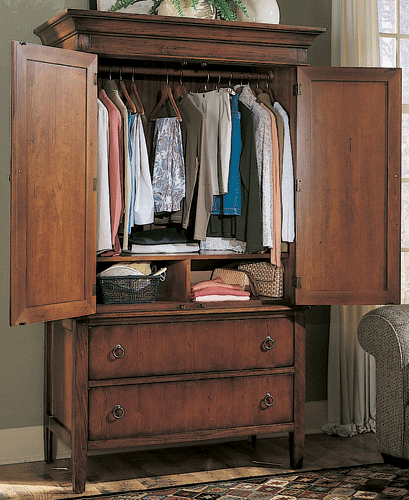
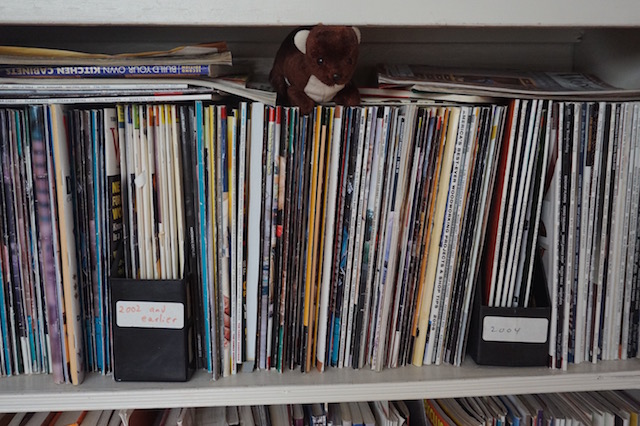
Now look at that shelf. It’s easy to find the things I need, and it gives me some room to put a few more quality reference books. I’m liking the new space,
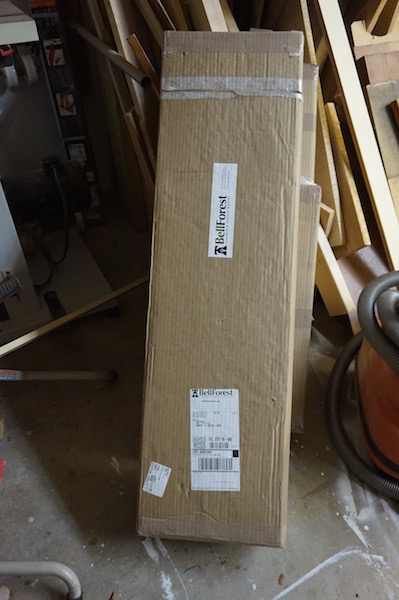
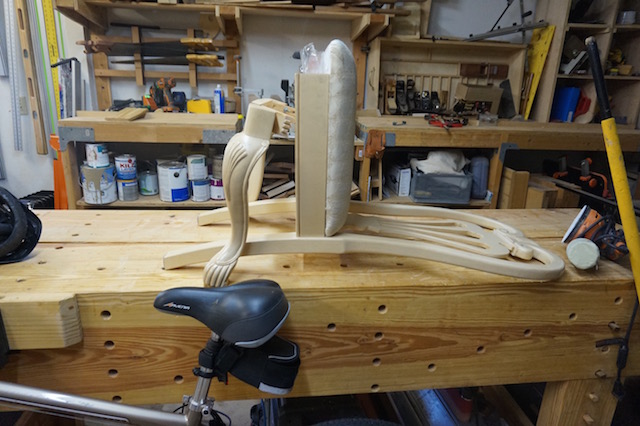
Now with that done, I can turn my full attention to what lies within these boxes from Bell Forest Products. And, is it ever beautiful… But, that’s another post for another day.