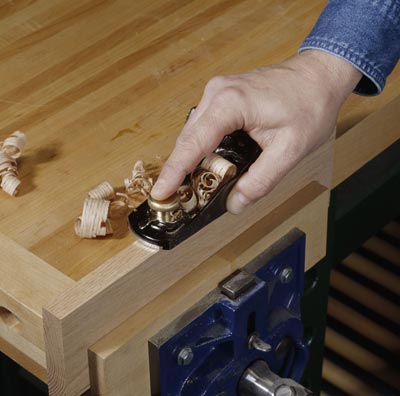
I remember the first time I was able to get a hand plane to work properly. I had this nasty old Stanley No. 5 that I bought from eBay, and I had spent a lot of time cleaning rust and other crud off the body, freeing the adjusting screws and just cleaning the heck out of things. I also took the time to sharpen the iron, reading the instructions on how to do the deed at the bench while I worked on the edge. When everything was back together and the first curl popped off the board, I knew I was in love.
Unfortunately, I didn’t really like sharpening at the time, and the job I did was barely passable. And, after some serious use, I struggled to get things sharpened. After that experience, I shied away from hand planing because I didn’t ever want to go through the whole process.
Since those early days, things have certainly changed. I have improved my sharpening technique and, with the Tormek setup, I can get things done in very short order. The thing I did discover, though, was that while using my chisels and planes, the edges never really got totally dull. Not like a sit down and spend some serious time sharpening kind of dull, just a little difficult to push. That’s when I discovered the joy of stropping.
What exactly is stropping? Well, when you sharpen a blade, there are three phases of technique that you have to consider. First is grinding, which is working at the blade to recreate or reshape a bevel. If you get a beat up old plane, you may need to grind that edge into a usable shape. This is done with a coarse stone, a high speed grinder or some other contrivance.
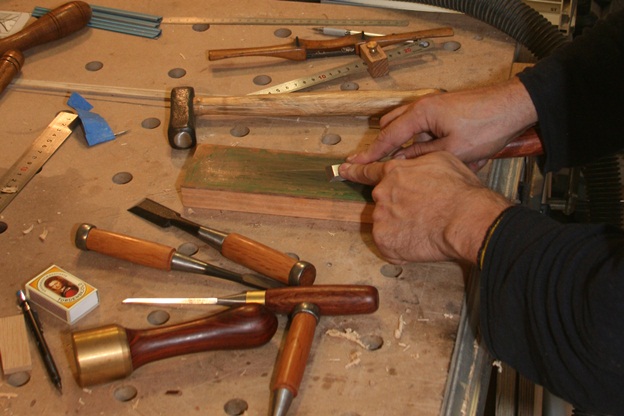
Next up would be honing. This is when you have the shape of the bevel, but you are looking to start refining the edge. This is typically done by hand on finer stones to get a good polish on the bevel.
Stropping takes honing to the next level. Rather than use a hard surface like a water stone or sandpaper on a piece of float glass, you use something a little softer – typically a strip of leather. The leather itself doesn’t do the cutting – there is a compound that you would rub onto the strop. It contains very fine abrasives and really perfects the cutting edge. Just a few passes is enough to do the job.
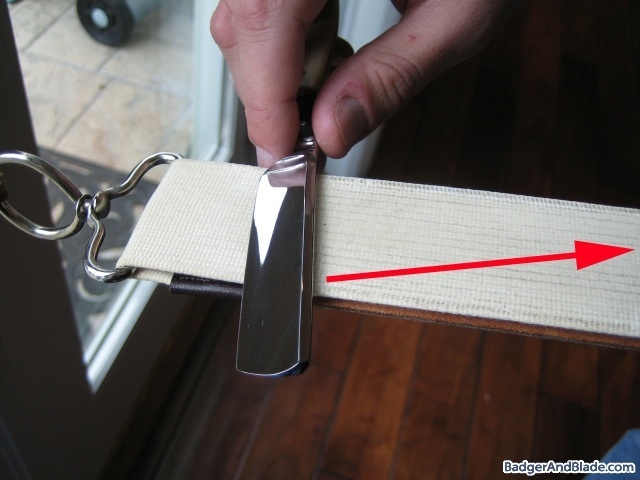
This is what barbers used to do to get ultra-fine edges on their straight razors. And, if you notice how a barber uses a strop, he or she never pushes the blade into the stroke, it is always pulled. This way, the sharp edge you are creating won’t slice into your strop, leaving a cut up mess.
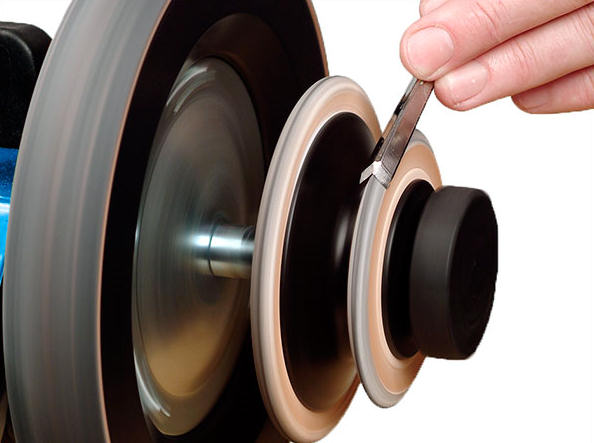
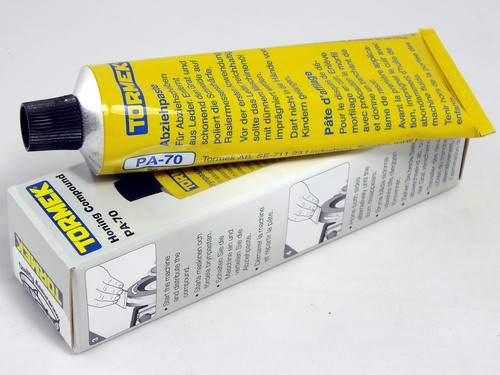
I have a hand held strop made of leather glued to a wooden handle. This worked well when I was doing all hand sharpening, and I still use it when stropping smaller tools. The Tormek also comes with a leather strop wheel which turns on the same arbor as the main sharpening stone. The set up comes with a tube of stropping compound, which gets rubbed into the wheel, allowing for a nice polished edge.
While stropping after sharpening is a great way to go, I also have a trick I use in the shop. When I’m working with a chisel or a plane, I will stop from time to time and bring the blade over to the stropping wheel at the Tormek. Just a couple of seconds on both sides of the bevel, and I’m back to work, cutting well again. Obviously, it’s not a full sharpening job, but just as a chef may use a steel to hone his knife during meal preparation, it gets my blades back to a ready-to-roll state quickly.

Sharpening is a process that takes time to learn. Growing up I learned to sharpen a pocket knive to a razor edge but later when I tryed to apply the same techniques to my plane irons I realized that I still had some things to learn. And stroping was one of those.
I have a small leather strop I have used for years but have been thinking of taking an old belt to make a new one.
That Tormek paste is pretty handy to have around, even for those without a Tormek. I rub it on pieces of MDF to have a quick strop handy when working. I also turn wheels out of MDF on my lathe and embed the edge with the paste to use as a power strop. If I remember right the tube was a little expensive, but it will most likely last longer than I will.
I use a leather strop I made, with some stropping paste on it.
The Tormek is cool, but too much for my budget.
I am too poor (or cheap) to use Tormek.
I still use a strop (a piece of cow hide glued to a piece of hardwood). For me the real game-changer is diamond paste. Get the finest grit available in an oil medium rather than a water medium (I prefer oil because (a) oil keeps the leather supple and (b) oil will not lead to rust on the blade).
I find that 3 swipes on the diamond-impregnated strop keeps the blade very keen. After 4-5 stroppings, I go back to a fine oilstone to get the bevel sharp again. About once every one or two years I then re-grind the primary bevel (I prefer a hollow grind). Unlike Shannon Rogers, I use a honing guide rather than freehanding, but that’s personal preference only.
But my creed when it comes to sharpening is simple – what you do is not important. There is no right or wrong here. The ONLY thing that is important is to do something that you are happy to do to make sure that the edge is sharp at all times.
Glad to hear that you got some worth out of your class at PTSW. They are a good group there and I hope they continue to do well.That is good advcie about sticking with one sharpening system instead of bouncing around trying them all.My method is different from yours, but it really doesn’t matter as there are many ways to do it. I use waterstones, grind a hollow bevel at my honing angle and use the stability of the hollow grind to help me hone the bevel. I hone up to 8000 grit and then work the bevel and flat on a flat board with diamond paste. It works well for me.By the way, there now seems to be a growing group of Pacific NW woodworking bloggers now. I have taken classes with both Marilyn of She Works Wood and Mike of The Inquisitive Woodworker. I am glad to see the increase in the people willing to share their woodworking experiences.Bill