Category Archives: Projects

Swimming through the details

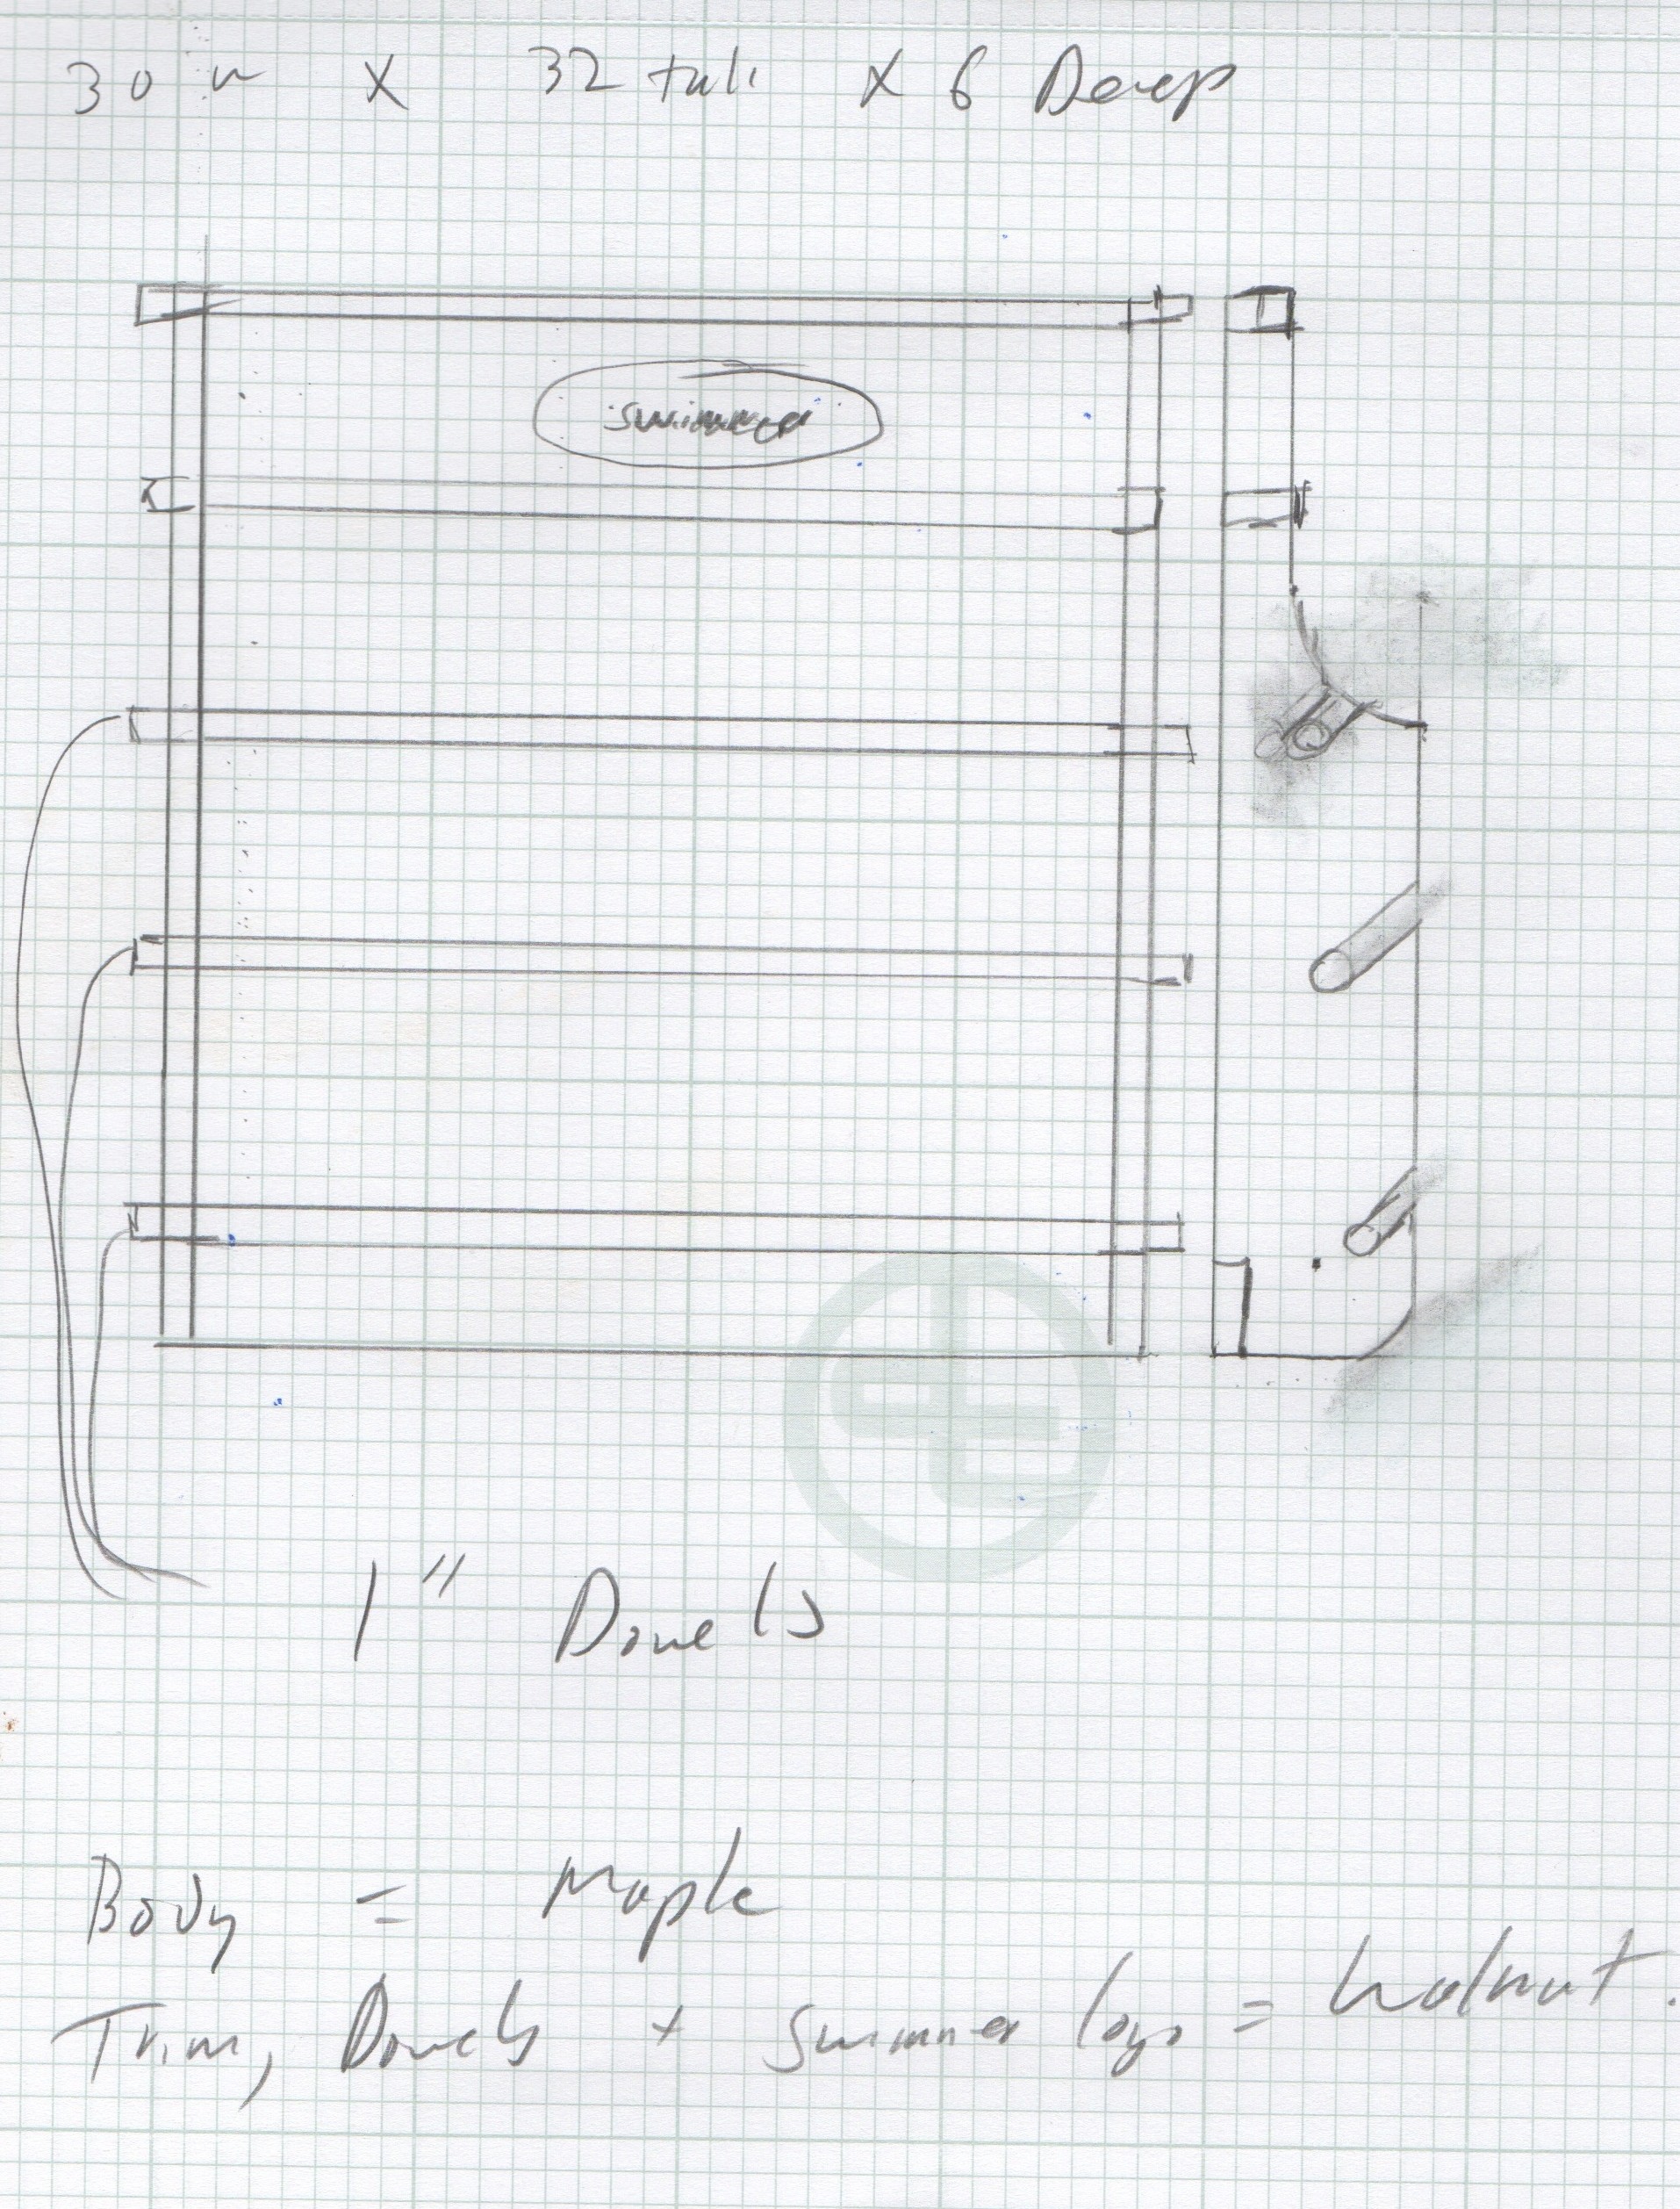
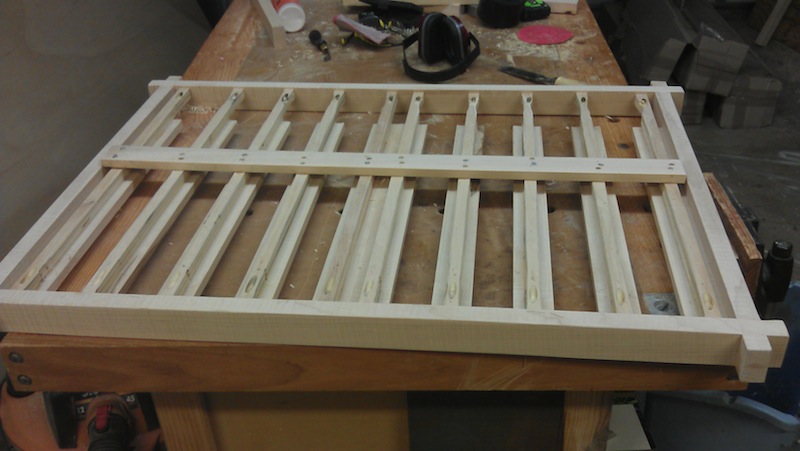
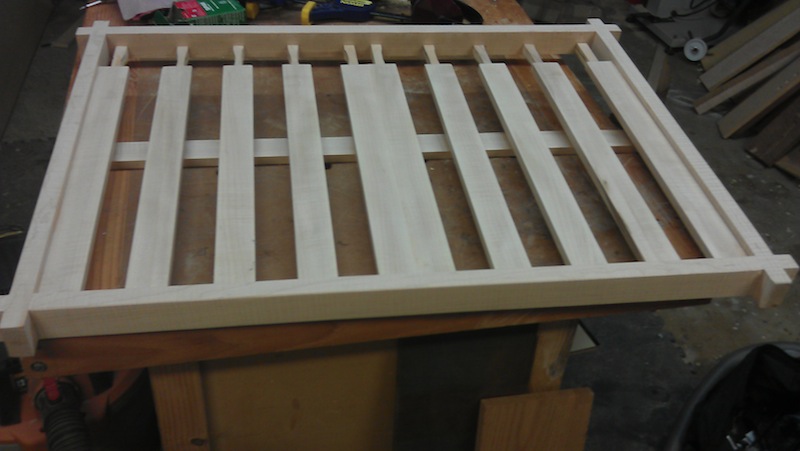
This weekend, I made a whole lot of progress on Kevin’s project for his daughter. I decided that I was going to attempt to do the cutouts with my trim router. This was the first time I had ever tried this type of work, so I steeled my nerves and got to work.

The cherry, ready to be glued up
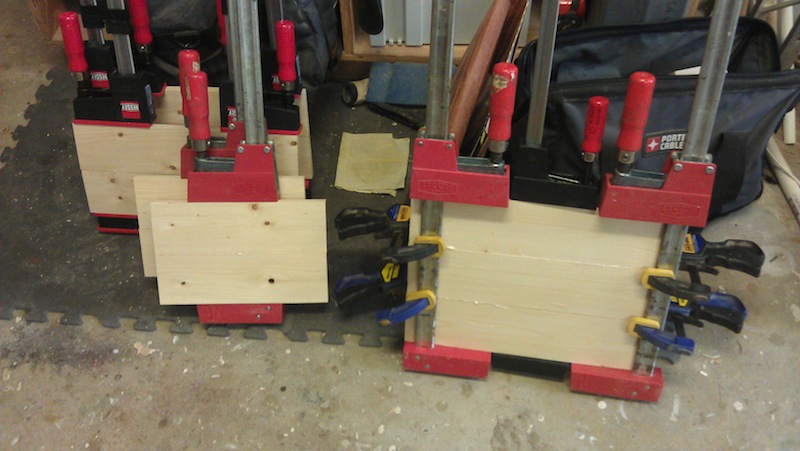
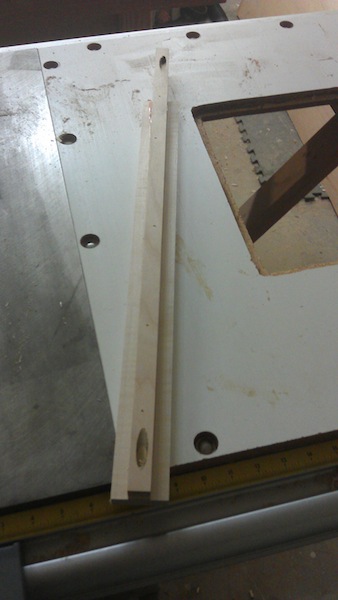
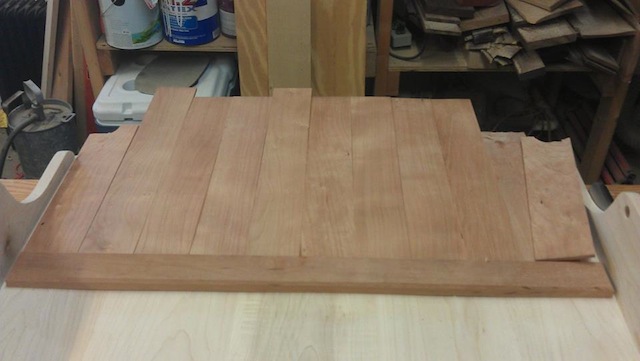
But, first I had to get the boards glued up for this overlay.  Using the band saw and planer, I got everything cut to size and thinned down to 1/4 inch. To glue them up, I clamped them down to a waxed piece of MDF with a few cauls on top to keep everything level and a clamp across the sides to pull the joints tight.

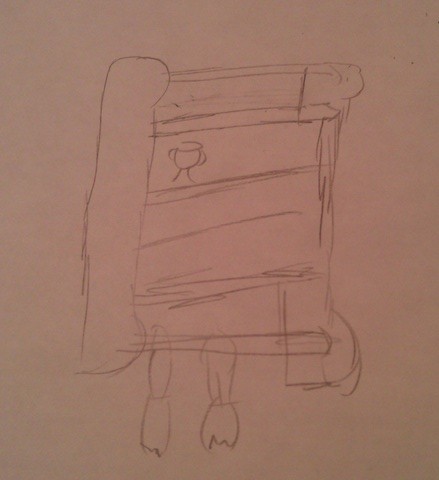
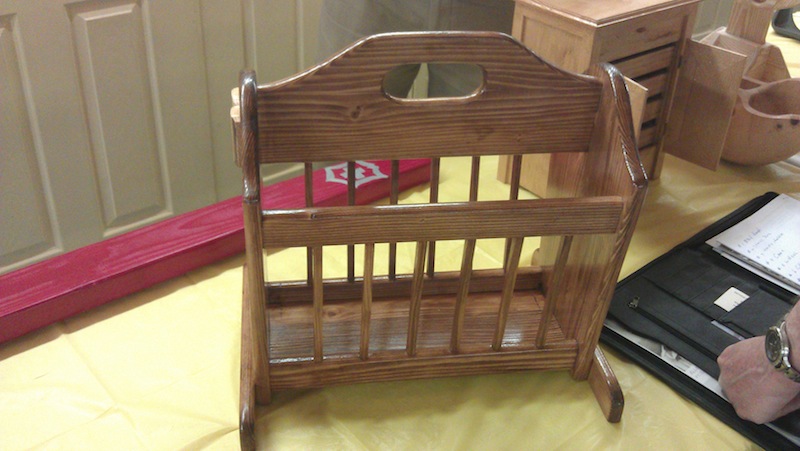
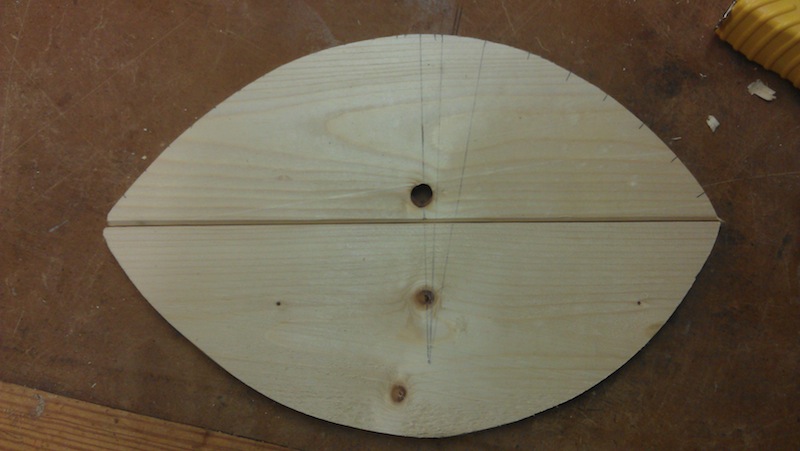
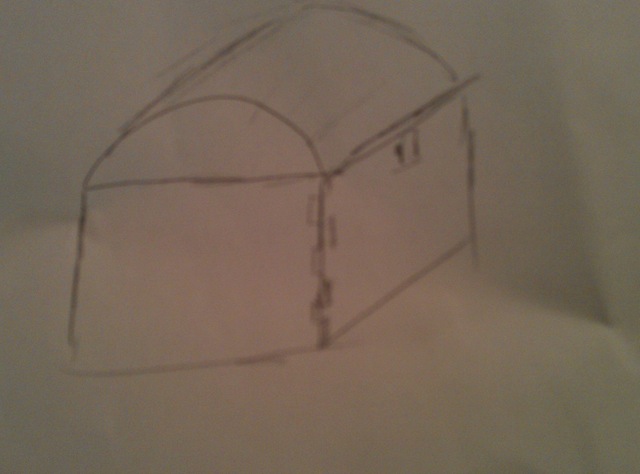
Once I pulled that out of the clamps and gave it a rough sanding and cut the top into an arch that mirrored the top of the ribbon case. , it was time to get it ready for cutting out the name.

Sydney's name copied 
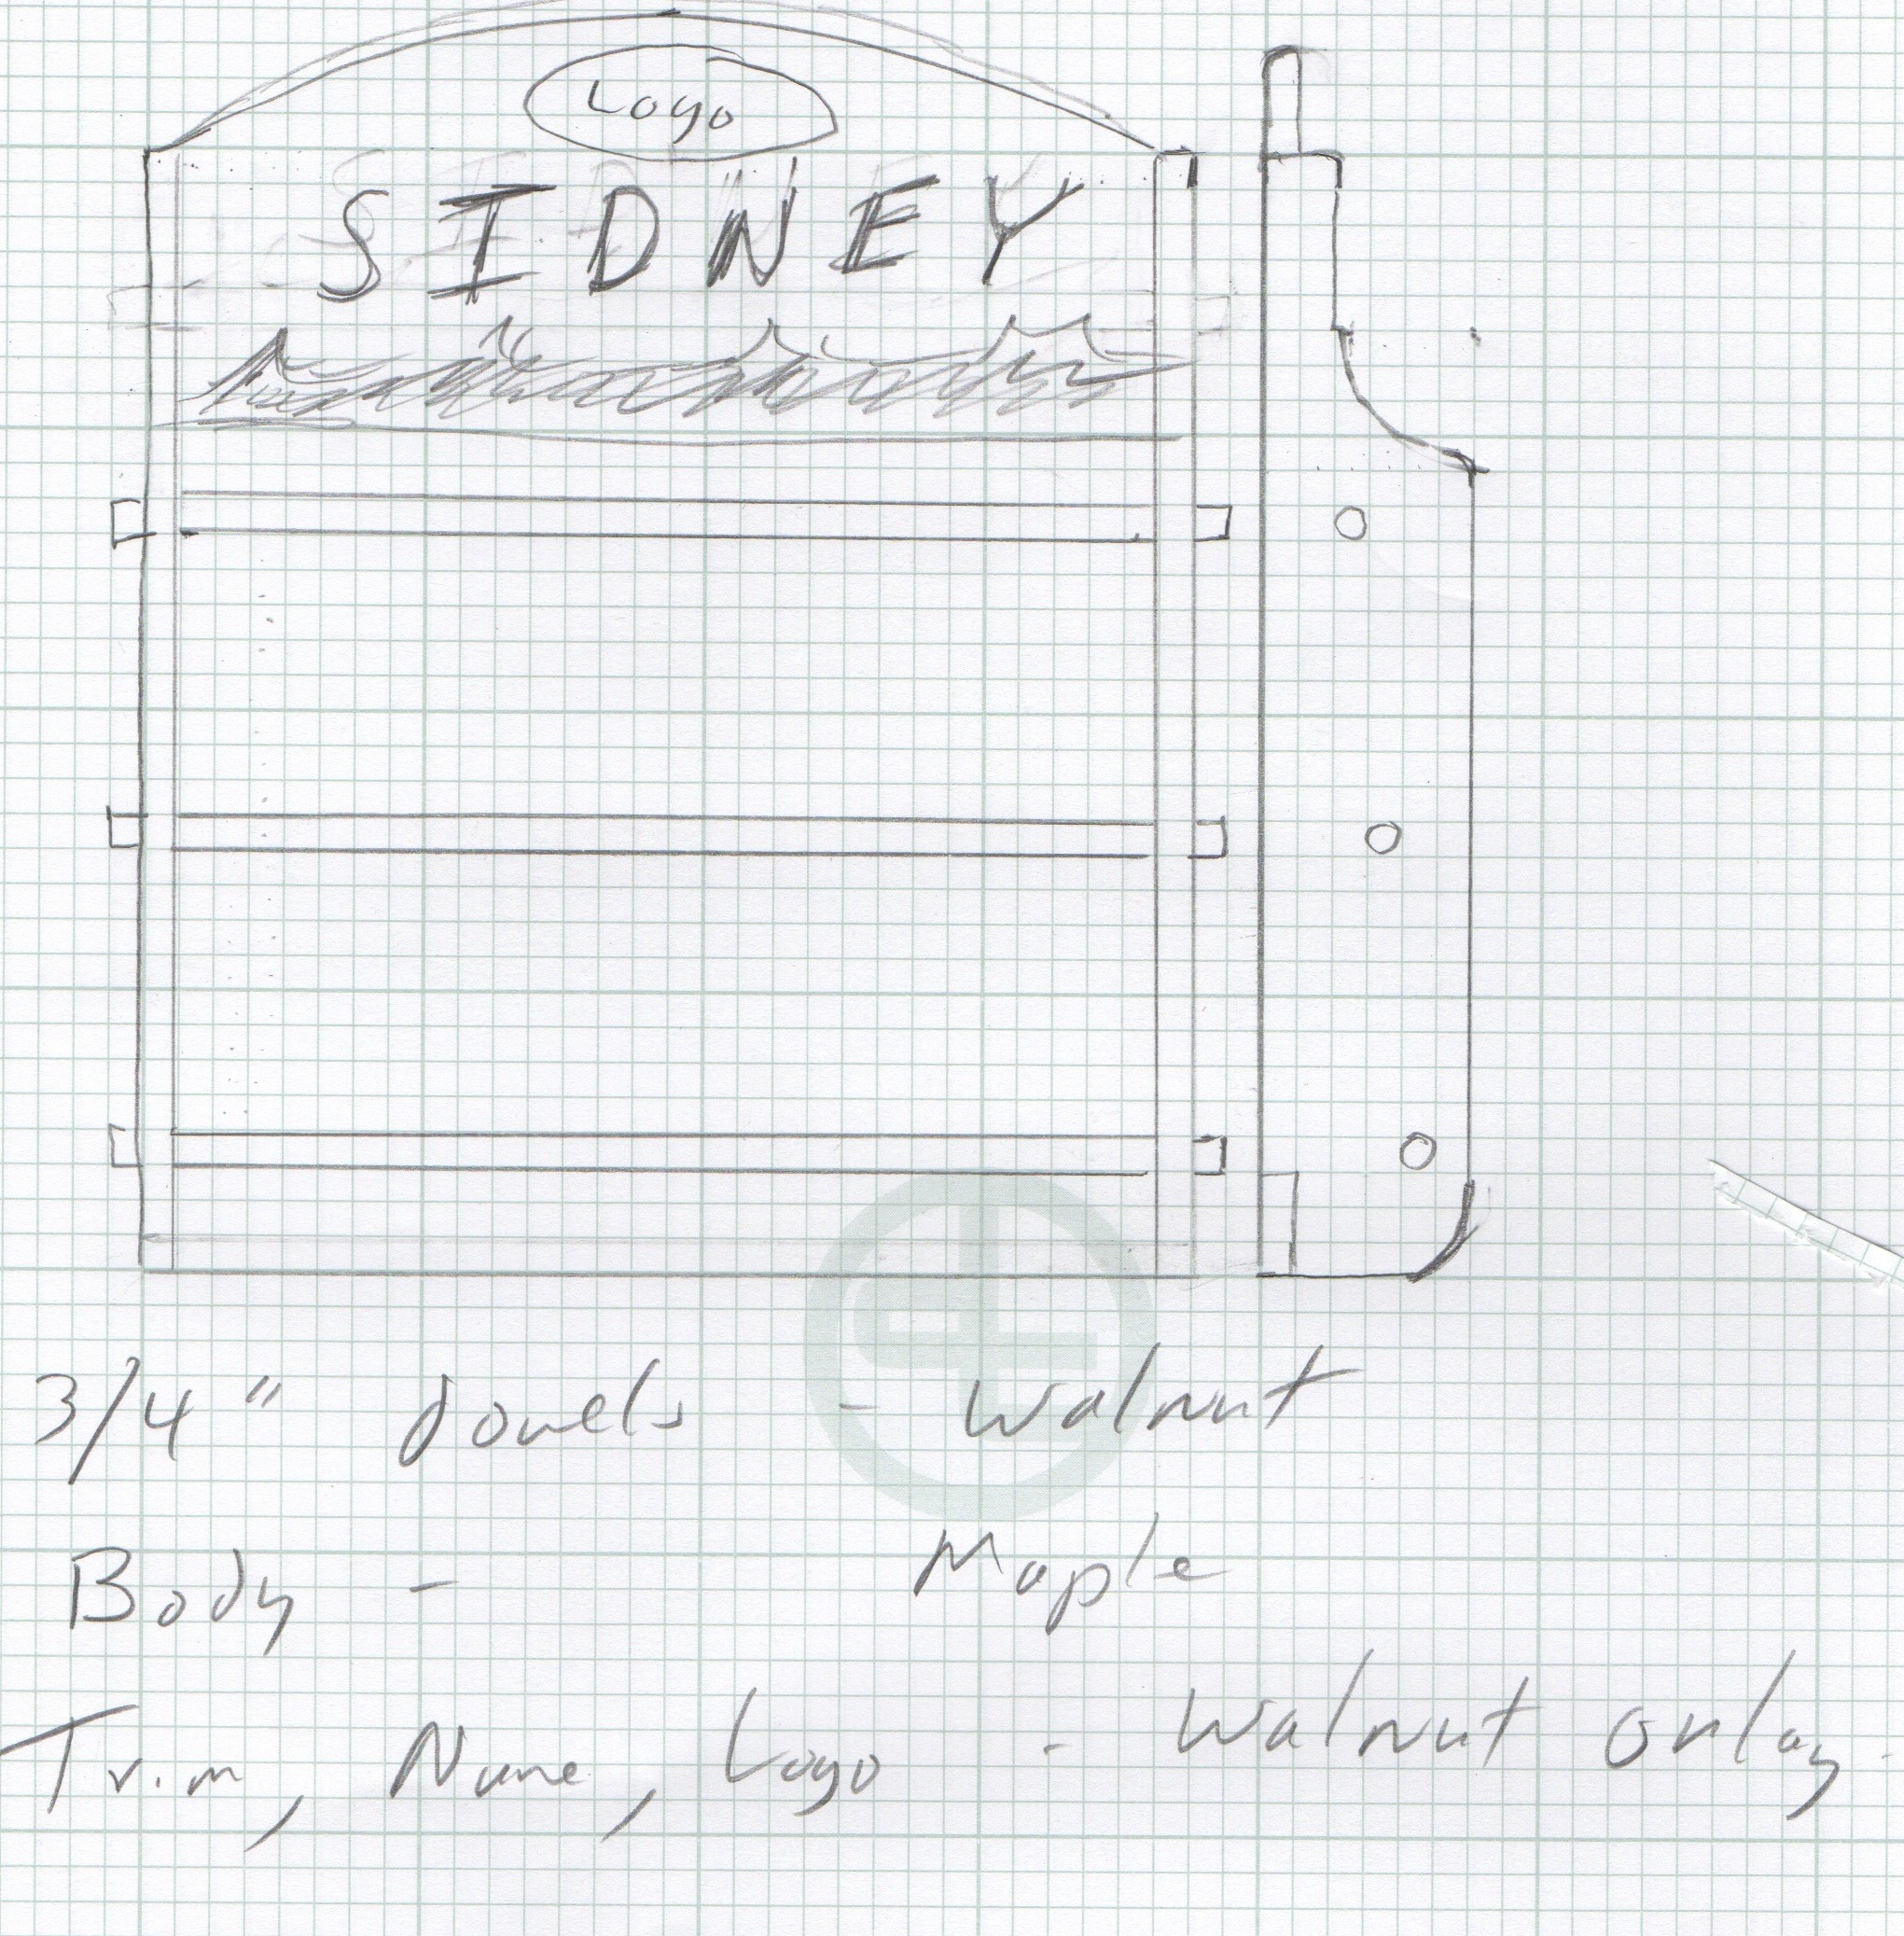
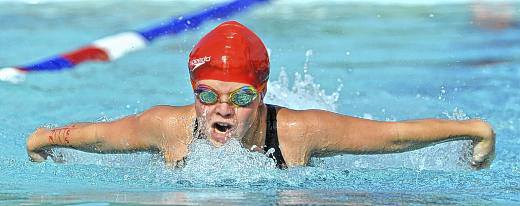
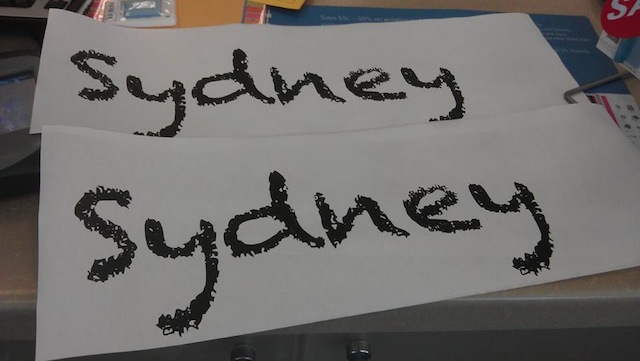
I had a little swimmer logo that was going to go on top, and I went to the local copy shop to enlarge Sydney’s name to use as a guide. I ran a few font samples past Kevin, and this is the one he went with. Yes, the font designer made it look all grungy, but I was just going to use it for a guideline.

The name glued up
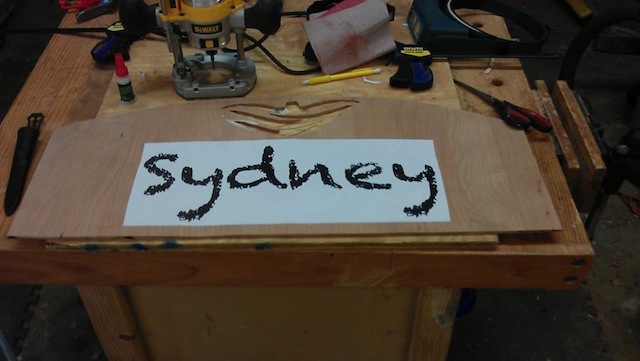
I sprayed the back with some adhesive and stuck the name to the board. How did I center it? Easy, I marked a center line on the board, then folded the paper in half, lining up the edges of the letters to ensure I had it folded exactly in half. Then, I stuck it on the board. That easy.

Gee, your eyes look big!
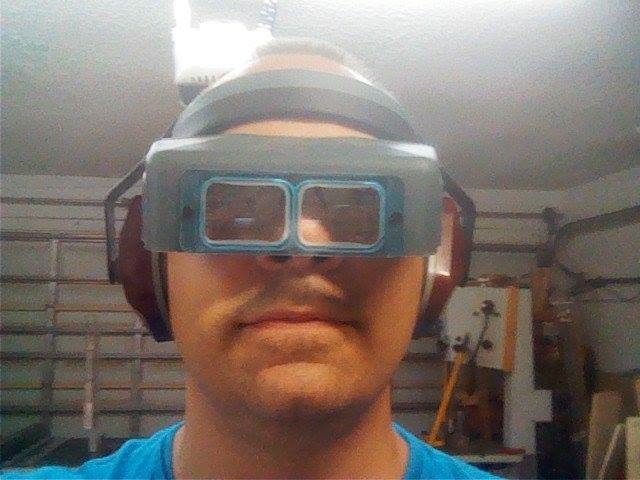
One critical piece of equipment I needed was a magnifying visor. This piece of equipment brought the lines I needed to follow into sharp focus, making it tons easier to follow them with the 1/8 inch router bit.  While I could have done without this, it made it so much more easier.

It's in progress
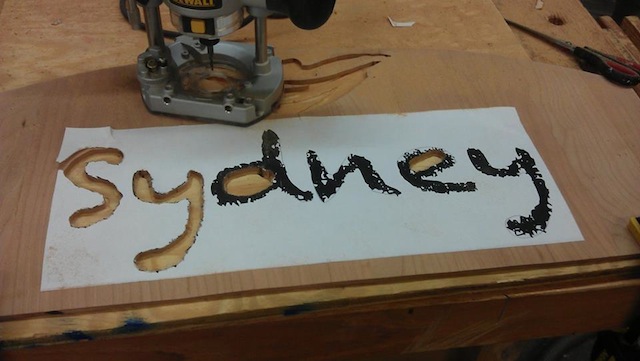
It was pretty darned easy routing out the letters, with my DeWalt trim router hugging the curves in the letters with ease. I mean, this kind of stuff was fun!  I had my hearing protection on, listening to the games in the first week of the NFL season, stopping only to watch the Buccaneers lose in the final few seconds of their game. Bummer.

With it all glued up
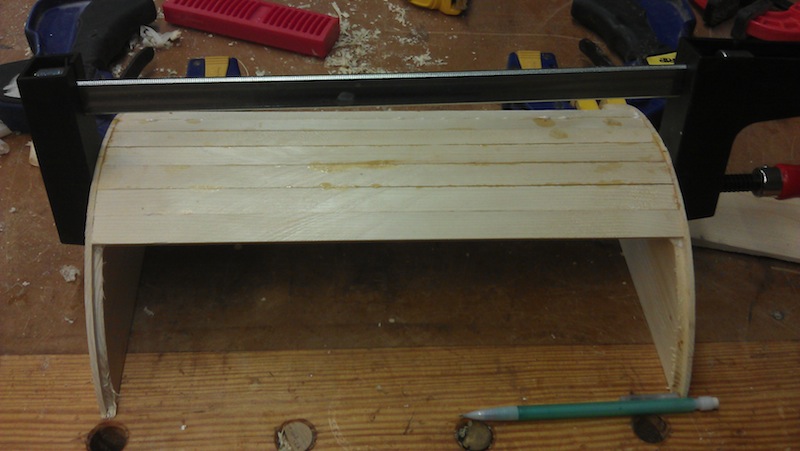
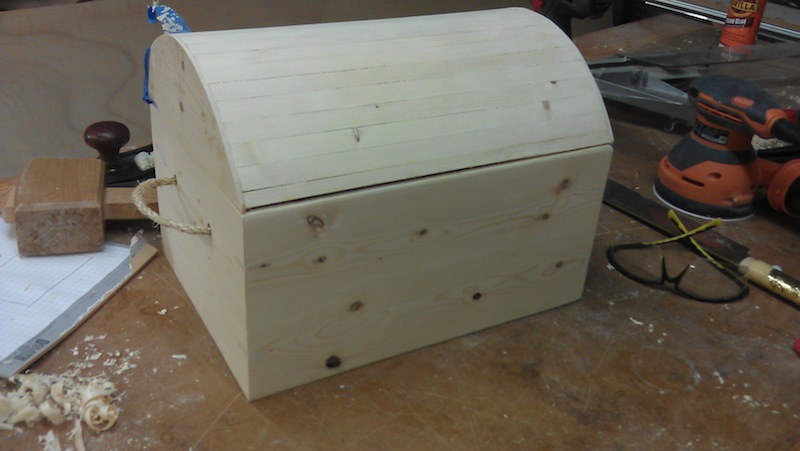
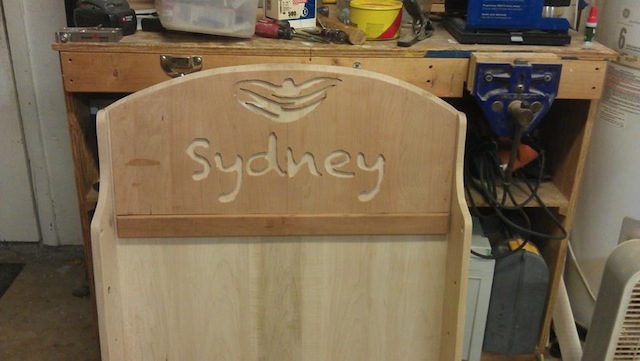
It wasn’t long before I had everything cut out and glued into place. You know what?  I don’t think it came out bad at all. In fact, I’m pretty darned proud of what the result was. Now, for a lot of finish sanding, and the a good finish for the swimming sensation…


The design evolution

So, a few weeks ago I mentioned that I was asked to build a little bit of a trophy case for a friend’s daughter. And, the original design I came up with was pretty simple – a bookshelf looking contrivance that would hold both trophies and ribbons…

But, a funny thing happened on the way to building that project…

Kevin's Daugher is in the orange cap

You see, Kevin’s daughter swam in a big meet. International competition at the pool. It was a HUGE deal. That’s where he saw one of these things:


The metal ribbon holderSo, we had a little change in plans – we were doing more of a ribbon-based hanging system, and I was back to the drawing board.

Now, Kevin’s the kind of guy who knows what he likes. That’s a good thing, because I don’t have to pry it out of him. With graph paper and pencil in hand (no Sketchup for me… I have GOT to learn that sometime in the not too distant future) I set about designing a wooden case for the medals.

The first Ribbon holder design I was busy patting myself on the back with this one. I mean, it was COOL, right? I was going to cut a logo of a swimmer for the top of the piece, it was going to have cut out slots for dowels to set into and, well, it was going to be cool.

But, it was missing something… first, his daughter’s name. And, I don’t think that the slots were going to work out that well… remember, this is going to Yuma, so all of those cuts were going to make things a little hinky when it came to wood movement.

So, it was back to the drawing board.  And, with some adjustment, I came up with this:

The Ribbon Holder, V.2A little better. In this version, I put the logo up at the top and put her name up there as well. And, I put a band of walnut cut in the form of waves under her name.  I scratched the notches in exchange for pairs of matched holes where the dowel could be slid it. To add more ribbons (a real probability with her), Kevin simply has to slide the dowel out, add them on, then return it to the hole.

Now, I just have to wait for Kevin to weigh in for this design. I’m hoping that we can get the design nailed down soon so I can get to work.

After all, I have another client (Rhonda) who is looking to get a job in the queue…


Junior Achievement

So, I have this friend Kevin. He and I were both instructors up in Emmitsburg, Maryland last year at the Emergency Management Institute. Over the past year, we have stayed in touch, using Facebook, e-mail and other methods. And, over that time, we have talked about our careers and our families.

Kevin's daughter in the pool

One thing I discovered is that his daughter is quite the gifted swimmer. In fact, she continues to push records for her age group, and she is racking up quite the collection of ribbons, trophies and medals.

Which means, of course, she needs someplace to display these things.  Now, I  think this could be an awesome project to undertake. In fact, I am sketching out a wall-hanging design that will have space above and below for the medals and ribbons, and some shelves for the trophies in the middle. Yes, this is how I ‘SketchUp’ my projects…

a rough sketch of the case

OK, it’s kinda rough, but that’s OK.  You can see my trophy at the top. The ribbons at the bottom are hanging from a rod supported between the two sides. Pretty easy design.

The only problem, Kevin lives in Yuma, Arizona. Yeah. About as dry as it is humid here in the Tampa Bay area. It’s a place I hear that ice cubes will evaporate even when in your freezer…

Ahhh, Yuma

This means that more than ever I am going to have to plan for changes in humidity in the wood I will be working with. As you may recall from a wood movement experiment I conducted a few years ago, the results were pretty striking.

I am going to have to find a species of wood that won’t move a lot with the changes. And, whatever that wood may be, I will be looking for some quarter sawn  boards to help reduce the propensity to contract once the wood hits its new environment.

And, of course, I will have to do a careful job of finishing to reduce the speed of the moisture exchange between the environment and the wood in the project.  I will even have Kevin buy the glass for the front of the case after it has had a chance to acclimate.

Now, let’s see what we come up with.


The 2 x 4 entries

So, last night I was at the St. Petersburg Woodworkers Guild meeting where all of the 2 x 4 entries were brought to show off. I have got to tell you  – WOW… some impressive entries.  Here’s a look at the projects that were turned in…

A set of crayon caddies
A well-crafted T-cabinet
A magazine rack - this was the first place winner
A magazine rack – this was the first place winner


A beautiful jewlery chest - your second place winner
A beautiful jewelery chest – your second place winner
A sculpted bowl
A sculpted bowl


A clever knife block - the third place entry
A clever knife block – the third place entry
A spinning wheel
A spinning wheel


A standard-issue Swiss Army 2 x 4
A beautifully crafted hinged box


My pirate chest
My pirate chest

OK, so I didn’t walk away with top honors, but I have got to tell you that I learned a lot about how to build efficiently with limited materials, I built my first domed lid and I had a blast.  Next year, I think I’m going to be back building again…


The 2 x 4 box takes shape

As you can see from my past few posts, I have become fascinated with this whole 2 x 4 challenge the St. Petersburg Woodcrafters Guild has going on.  I really didn’t have a chance to work on it last week, so when the weekend rolled around, I knew I was going to have to jump on this one with two feet to make it a reality. After all, the deadline is tomorrow’s guild meeting.  Yikes!

So, I measured out the size for the box and the lid. My initial plans were to build a dovetailed box, but I thought that since I had so little time, I would opt instead for a splined mitered box. That was great, but first I had to joint, resaw and mill all of the pieces that were going to go into the project. Obviously, you don’t want to build this thing with inch and a half thick walls. Once I had everything milled up and good to go, I got everything glued up. My friends at Bessey Tools were nice enough to send me a great care package of clamps, and I put them to good use gluing everything up.

Cooking in the clamps

Cutting the pieces required a great deal of thought – after all, I was limited to the wood I could get out of a single 2 x 4 – not a whole lot available for boo-boos… I took my time and made sure that the cuts and glue ups were handled accurately.

The main body of the box was like many other projects I have built in the past. The top – completely new to me. I had never built a domed lid before, so I wanted to make sure that I did this right.  The first thing I had to do was to calculate how high I wanted the arc to rise. Since the height of a 2 x 4 is 3 1/2 inches, that was a good amount. I also calculated the length of the base of the arc, and figured that the arc was part of a circle with a radius of 5 1/2 inches.  I also took the time to rout a simple rabbet on the top edge of the arcs to receive the slats.

The calculations

I measured how wide the slats were going to be approximately 3/4 inch wide and 1/8 inch thick – so I marked the width with the center of a slat at the apex of the arc. Once I determined the angle between the center and edge of that slat, I marked it out with my bevel gauge, and bingo – I set the table saw blade to that angle. I then ripped the slats out of a piece of 2 x 4 and glued them in place. Because the pieces were so delicate, I couldn’t use nails to hold them. I considered using super glue, but then I remembered that hide glue has great initial tack. That stuff did the trick, and I was able to place all of the slats around the arc to form the lid.

The slats being installed

I drilled a pair of holes on the sides to add a pair of rope handles to give the piece a more nautical look.

Rope handles

All that remains is sanding and a finish.  I will try to find some way to make it look a little aged, and I have to get that done tomorrow so it will be ready to go for Tuesday.

How it looks so far

All in all – not a bad way to spend a summer day…


You never forget your first…

The first time I rode a bike. The first time I drove. My first date. The first night I spent away from home at college.

You really never forget your first time doing something memorable. And, yes, I am about to experience a new first.. my first 2 x 4 contest with the St. Petersburg Woodcrafter’s Guild.

I know. “Tom,” you must be thinking,”How on Earth are you going to contain your excitement?”  Easy there, Sparky. It’s a big deal, but not a life changer.

The real challenge with a 2 x 4 contest is coming up with something inspired. I mean, there’s only so much inspiration you can get from looking at an eight foot long piece of construction lumber. Well, maybe you can envision a room being studded out in your home… but a furniture project?  Hmm….

So, I tottered over to the local big blue home improvement center and saw the stack of  2 x 4s to pick from. They all seemed to look the same to me.

The stack

But, just as all the dogs look the same at first glance when you go to the kennel to get a new pet, a little bit of looking around will help you find the differences between the tail-wagging future four legged friends. After sifting through the pile, I found one that caught my eye. Very straight, just a few knots and not containing the pith of the tree.

Awwww, look how cute...

OK, this one looks nice. Into the car with you!

Now, to think up a little inspiration… think.. think…think… A quick internet search shows some clever ideas out there floating around, and each of them is positively imaginative. Tables. Toolboxes. Toys. And boxes. Lots and lots of boxes.

Wait a minute. What about a little box?  Maybe built with a technique I haven’t yet tried before? A small box built like a pirate’s chest.. with a domed lid.  I mean, even if the thing falls flat on its face, I am only out the $2.50 I spent on one stud. A few minutes with some pencil and paper and voila…

My sketch

I can see this thing with some dovetailed sides, a coopered top and an inset bottom.  Maybe I can even cut a fakie keyhole in the front to look like a lock goes there.  I know if I am going to build this, I had better get a jump on the building.. since the meeting is June 25 – giving me a little less than a week to work on it.

Guess I know what I will be working on this weekend!


Stuff I’ve Built: Bob’s wine glass holder

So, as you know, I’m friends with a guy named Bob. Not only is Bob a great public information officer, he also loves wine.

Yeah, you can say that Bob is a wine kinda guy. So, when he asked me to build a wine glass holder for his family’s collection of stemware, you knew I was all over it.  Working with some rough dimensions, I decided that I was going to build the piece with some gorgeous soft maple I had gotten from my friends over at Bell Forest Products. This stuff is beautiful, but I ran into a problem. At 8/4, there was no way I was going to rip this stuff on my contractor’s saw. I would push the board a few inches, and I could stop the blade.

So, I had to do a little work around.. I turned to my Laguna band saw to do the ripping. Now, I’m not going to say that I have that saw tuned to the nth degree, but it was more than capable of ripping the boards with minimal drift. A few passes with a hand plane and a few runs through the thickness planer, and I had the pieces cut and ready to go.

For the frame, I decided to go with a half-lap joint at the corners.  The half-lap joint

I figured this would be a tight joint that – if properly fitted and arranged – could provide a lot of strength. It was an easy one to cut on the table saw with some stops. Yes, the table saw could handle this shorter crosscut…  Once I had it cut to size and ensured the joints were snug, I glued them up and tapped them into place with my mallet. A few clamps while the pieces set was all that was needed…

Once I got the frame done, I had to start thinking about how the wine glasses were going to stay in the rack. I puzzled with the idea for a while, until I hit on something… What if I created a rib with a t-shaped profile that could be attached to the frame, but would give a lot of support to the glass base?  So, I hit on this idea…

The T-rib

The top of the rib is a piece of 3/4″ maple plywood ripped to 3/4″ . It is glued down and bradded to the top of a 2 inch wide maple slat. Properly spaced, these would allow enough room for the glasses to be raised into place and slid forward onto two adjacent slats.  This is what the top looks like:

The top of the rack

Those ribs are pocket screwed fore and aft into the long rails of the frame, and a stabilizing bar of maple is glued and screwed into each of the ribs to ensure they wouldn’t rotate in use, and to help spread the load of the weight of the glasses. While this isn’t the pretty side to look at, the underneath looks pretty streamlined:

The underneath

Remember when I said that the wood looked good when I jointed it? After some sanding and a quick wipe with some mineral spirits, well, it looks AWESOME.  Tiger throughout…

Grrrr... Tiger!

I realize all of this talk about up and down can be confusing with this piece on the bench.  What exactly will you be seeing from the ground? Well, I decided to hold it up in the right orientation to give you a better look at it.

The Italian forklift holds the rack

No, the unshaven woodworker will not be holding the rack in its final position. It will be held up with some type of cable or chain attached to the ceiling. But, as you can see with the one wine glass in the holder, it seems to be working as advertised.  Now, just a little more sanding and a coat of finish, and I hope to deliver this to Bob this coming weekend. Look for some complete pictures soon…

After we toast to the wine glass rack!