
So, as you know, I’m friends with a guy named Bob. Not only is Bob a great public information officer, he also loves wine.
Yeah, you can say that Bob is a wine kinda guy. So, when he asked me to build a wine glass holder for his family’s collection of stemware, you knew I was all over it. Working with some rough dimensions, I decided that I was going to build the piece with some gorgeous soft maple I had gotten from my friends over at Bell Forest Products. This stuff is beautiful, but I ran into a problem. At 8/4, there was no way I was going to rip this stuff on my contractor’s saw. I would push the board a few inches, and I could stop the blade.
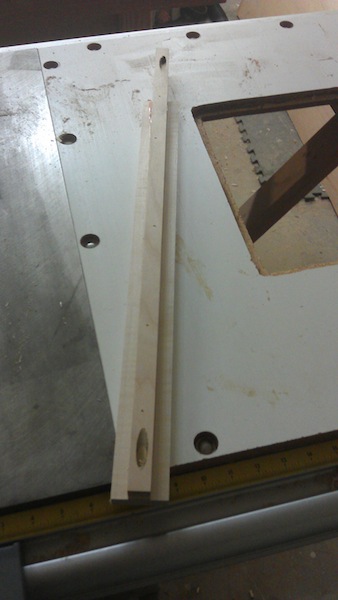
So, I had to do a little work around.. I turned to my Laguna band saw to do the ripping. Now, I’m not going to say that I have that saw tuned to the nth degree, but it was more than capable of ripping the boards with minimal drift. A few passes with a hand plane and a few runs through the thickness planer, and I had the pieces cut and ready to go.
For the frame, I decided to go with a half-lap joint at the corners. 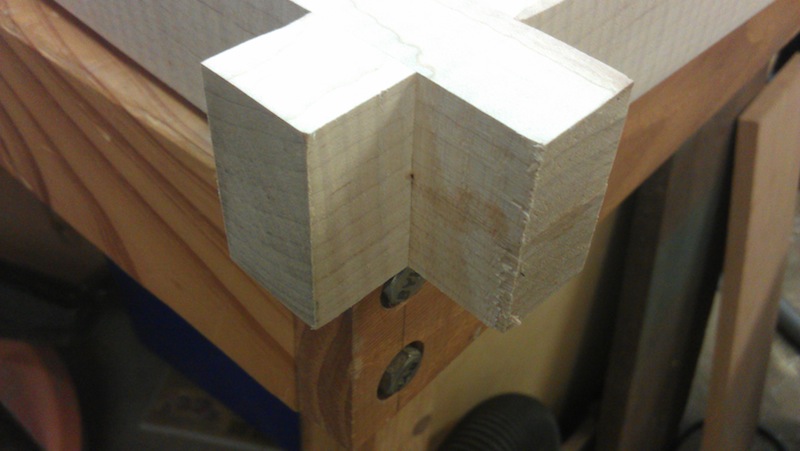
I figured this would be a tight joint that – if properly fitted and arranged – could provide a lot of strength. It was an easy one to cut on the table saw with some stops. Yes, the table saw could handle this shorter crosscut… Once I had it cut to size and ensured the joints were snug, I glued them up and tapped them into place with my mallet. A few clamps while the pieces set was all that was needed…
Once I got the frame done, I had to start thinking about how the wine glasses were going to stay in the rack. I puzzled with the idea for a while, until I hit on something… What if I created a rib with a t-shaped profile that could be attached to the frame, but would give a lot of support to the glass base? So, I hit on this idea…
The top of the rib is a piece of 3/4″ maple plywood ripped to 3/4″ . It is glued down and bradded to the top of a 2 inch wide maple slat. Properly spaced, these would allow enough room for the glasses to be raised into place and slid forward onto two adjacent slats. This is what the top looks like:
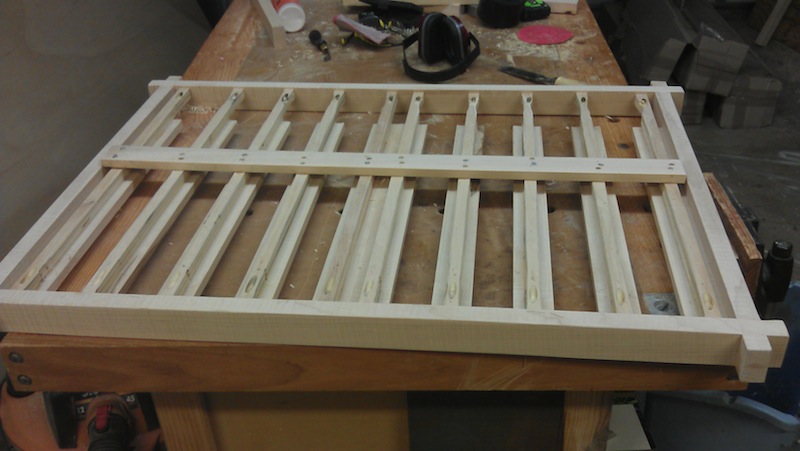
Those ribs are pocket screwed fore and aft into the long rails of the frame, and a stabilizing bar of maple is glued and screwed into each of the ribs to ensure they wouldn’t rotate in use, and to help spread the load of the weight of the glasses. While this isn’t the pretty side to look at, the underneath looks pretty streamlined:
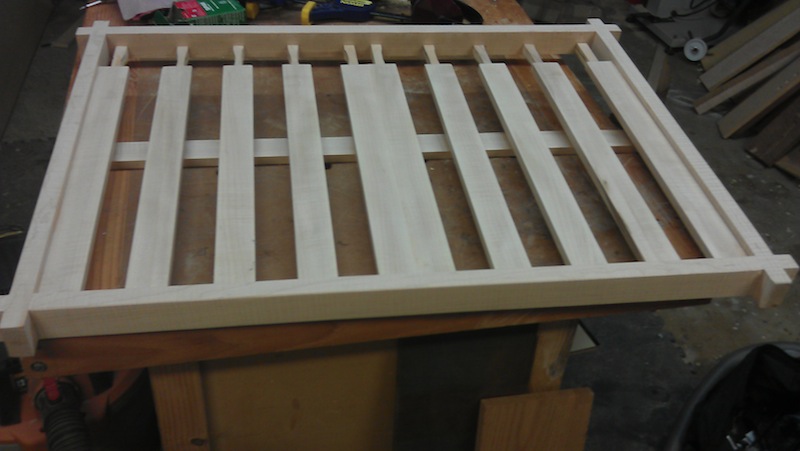
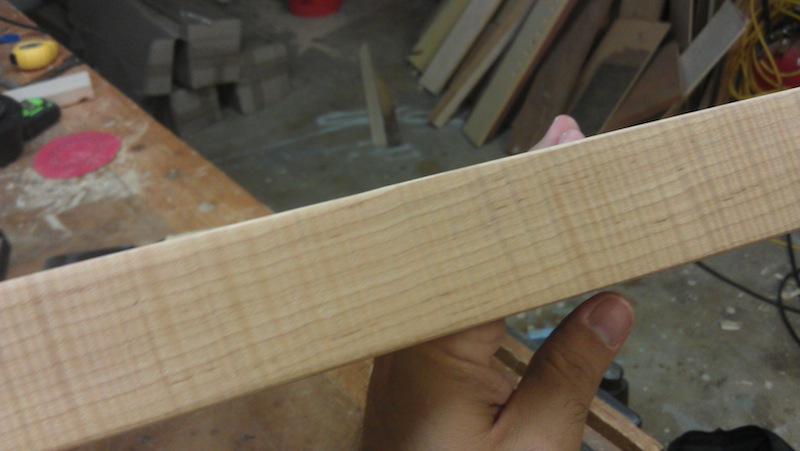
Remember when I said that the wood looked good when I jointed it? After some sanding and a quick wipe with some mineral spirits, well, it looks AWESOME. Tiger throughout…
I realize all of this talk about up and down can be confusing with this piece on the bench. What exactly will you be seeing from the ground? Well, I decided to hold it up in the right orientation to give you a better look at it.

No, the unshaven woodworker will not be holding the rack in its final position. It will be held up with some type of cable or chain attached to the ceiling. But, as you can see with the one wine glass in the holder, it seems to be working as advertised. Now, just a little more sanding and a coat of finish, and I hope to deliver this to Bob this coming weekend. Look for some complete pictures soon…
After we toast to the wine glass rack!