As I had mentioned yesterday, I just returned from a great family visit in Raleigh, North Carolina where both of my brothers and our families were together for the first time in forever. I seriously have got to change that. We had a blast.
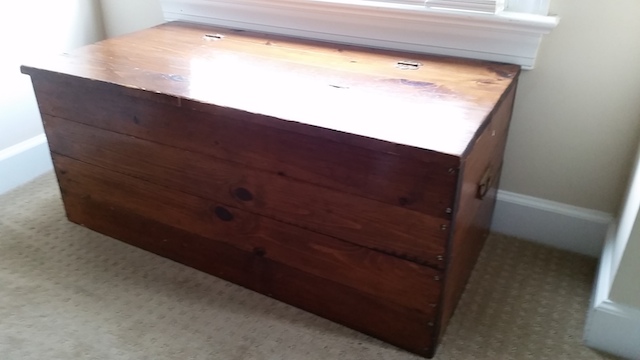
Rhonda, the boys and I stayed with my older brother John and sister in law Kim at their house. While there, I saw a family heirloom I hadn’t seen in a long time. This toy chest was built by my dad when our family lived in Ridgefield Park, New Jersey, and belonged to my brother since before I was born.
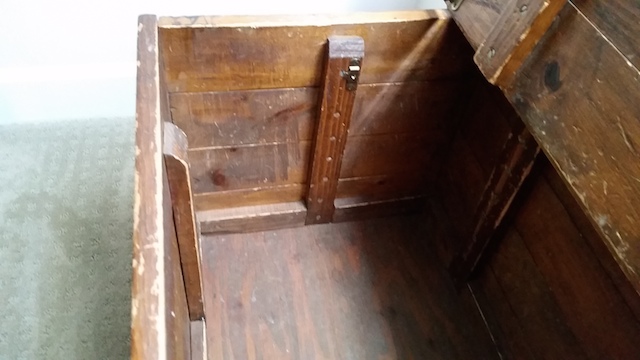
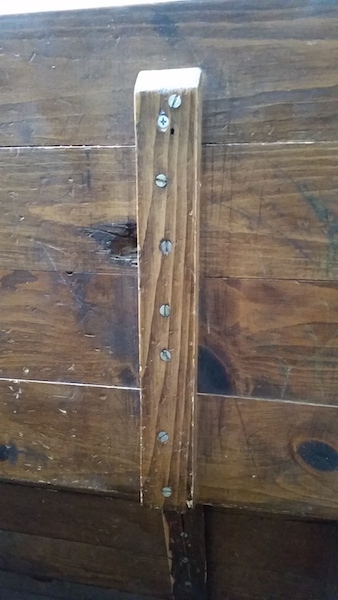
It’s a very simple affair – number 2 pine boards screwed to a series of interior battens with a plywood bottom. My dad took the time to carefully round over the tops of the interior battens to keep them from splintering, and there were traces of a lid stay which had broken off years ago. I imagine that was to keep the lid from slamming down on my brother’s small fingers.
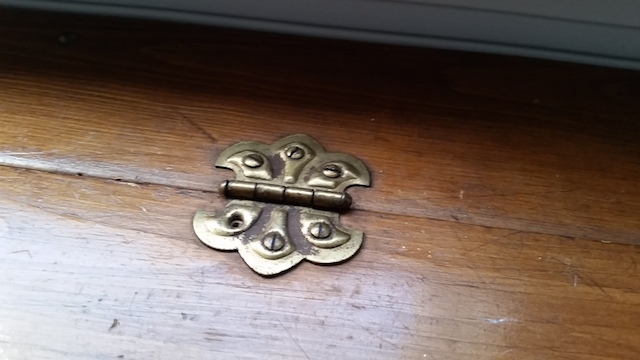
The hinges for the lid were pretty fancy looking brass ones, obviously held on with brass screws. One of the heads had snapped off sometime over the past 45 plus years, but, come on, that’s sweet looking!

The handles have a movable finger pull, allowing them to lay flat when not being used to move the box. They are still in very good repair after all of these years.
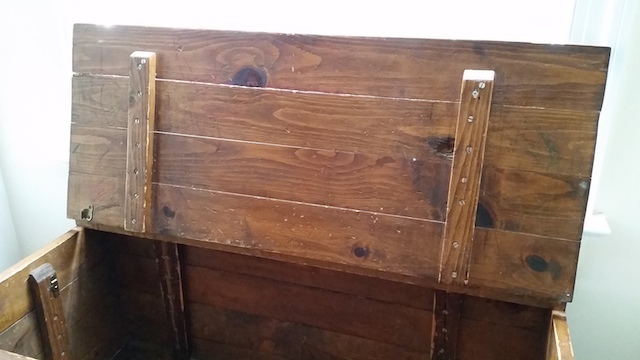
The lid is built up of four boards screwed together on a pair of battens. A few of the lid boards had warped, but other than that, it is in amazingly good shape, even after all these years. My dad definitely built this sucker to last, and that’s exactly what it has done.
The thing that makes this chest so special, however,is that I can see the crayon writing my brothers and I put on the inside lid of the piece. It’s almost like being transported back in time to me as a two year old, reaching into my brother’s toy chest to pull out a Tonka truck or some other treasure to play with.
I hope that one year thirty or forty years into the future, someone looks at one of the projects I built and feels the same sensation of awe I had this past weekend …