
We are rounding the clubhouse turn on construction for the newest hope chest, and there is a special embellishment I wanted to add to the piece. Unfortunately, it was going to require an inlay, something I really REALLY have a tough time doing.
It’s not that I am a dunce (well, I am), it’s just that when it comes to routing patterns with even my trim router, it takes me a little bit of time to get the feel of what I’m doing. Which is a nice way of saying I waste a lot of material to get one good inlay.
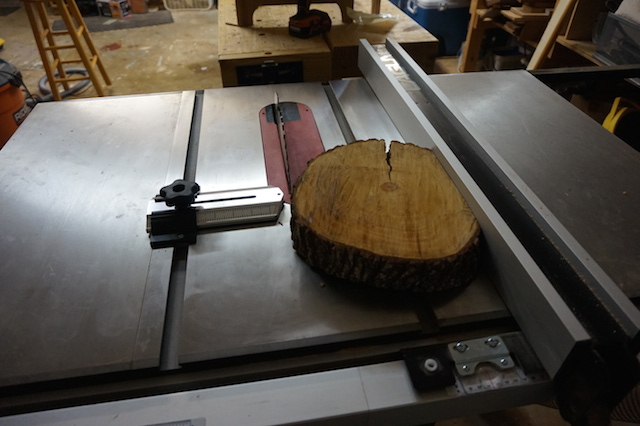
But, first, let’s take a look at what I am inlaying. This is a special piece of wood I was asked to include, and I wanted to get some nice slices out of it for the inlay process. So, I started by making a cut on one side of the board with the band saw so it would ride against the rip fence. I set the ripping ball bearing guide for a 3/16″ cut to peel off a few nice slices from this well-seasoned board.
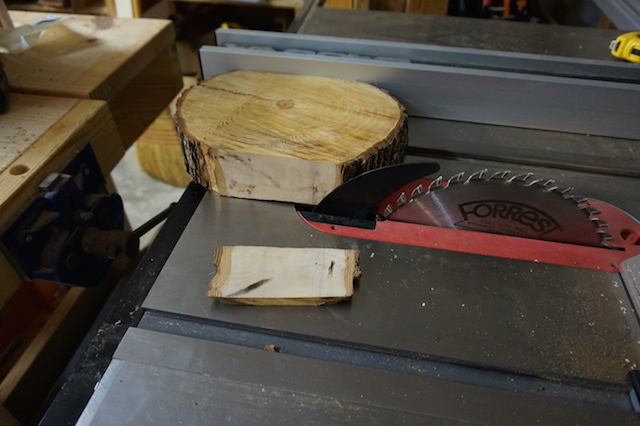
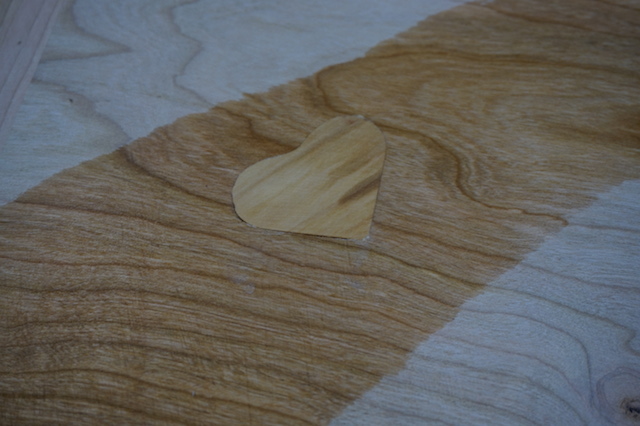
As you can see, the first couple of whacks on the board really made some nice slices, perfect for cutting into inlay pieces.
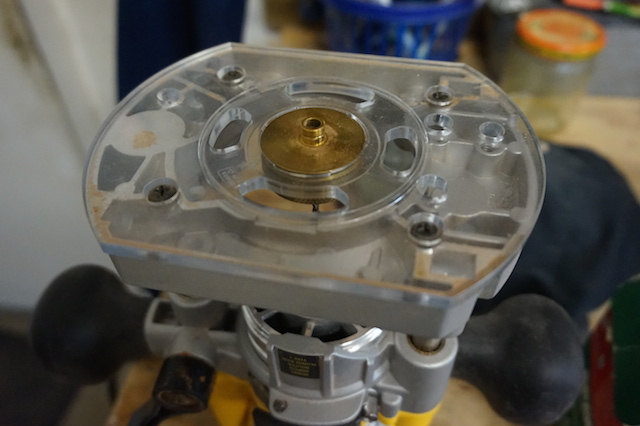
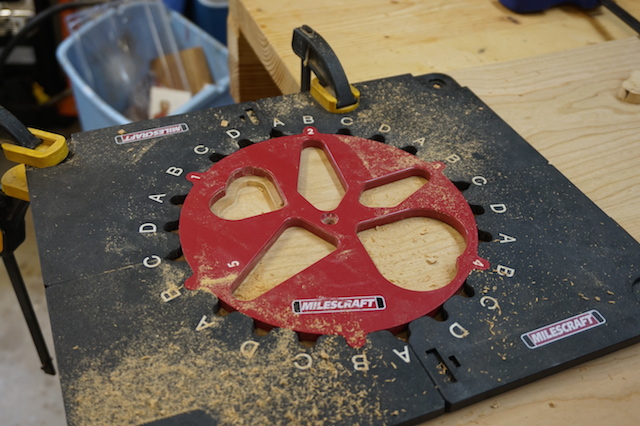
The next thing I had to do was rig the router for inlay work, which involves a special router guide bushing and a very fine 1/8″ router bit. With this attached to the trim router, I was ready to take my first tentative steps toward cutting the inlay.
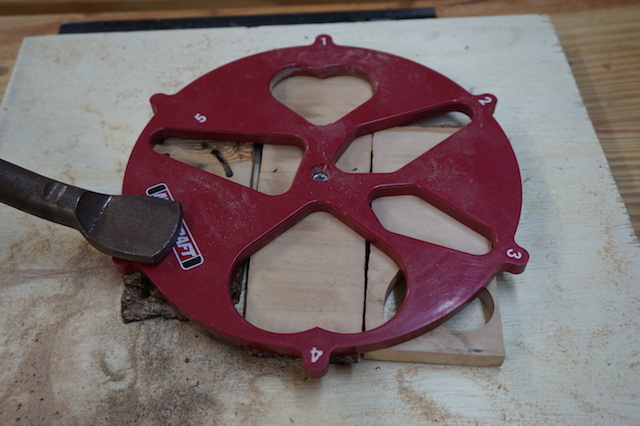
I had to really secure one slice of the special wood in place to ensure it wouldn’t move. At all. So I secured the pattern to the piece and a plywood backer board with a screw. Then I tacked the piece down with a few brads. Then I stuck a few spare pieces as spacers under the sides of the pattern so it wouldn’t move.
Then I flipped on the router switch and prayed.
And, on my fourth attempt, I got a great cutout! Woo Hoo!
The next step was to put a special bearing on the guide bushing and clamp the same pattern down on the lid of the chest. This was going to be a little easier, since I had more space to work with. A few clamps, a little bit of router application, and blammo, I had the recess routed to take the inlay.
Now, for the moment of truth. Would the stupid thing fit?

Hey, I didn’t mess up too badly! I glued the piece, smacked it down with a mallet until it fit the recess and broke out the belt sander to flush everything up. To get a real feel of what it looked like, I wiped a little mineral spirits over the board.
Woah. I’m going to say that went better than I expected.
Now, for the sanding and finish, and this baby will be ready to get off to the recipient and I’ll be ready to move on to the next project.
###


Nice job Tom !