
Now that I have the frame pieces done and the panels glued up for the chest, it’s on to do a little work preparing those panels. Man, there’s nothing quite like a thickness planer to make fast work of leveling these glue ups…
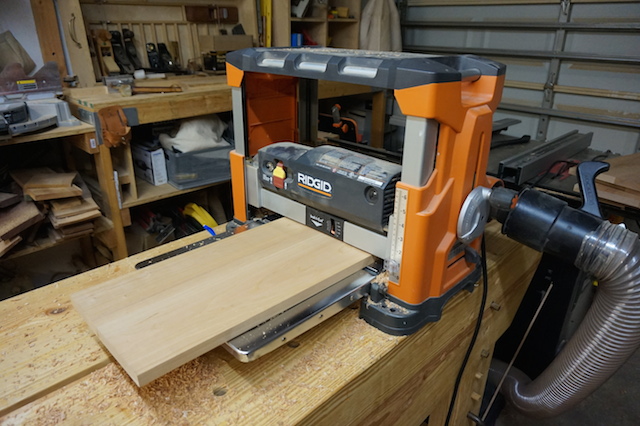
By the way, can I take a moment just to revel in the fact that – dang – the grain on these boards looks totally SWEET!

So, now comes the hard part – what kind of design do I want these panels to have, and what methods will I use to make them look their best?
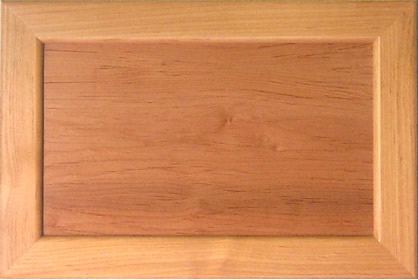
Of course, I could just simply go with flat panels. Classic look, classic design. Since I plan on doing a special embellishment for the lid, I could go this route for sure. And, it would be easy. But, I could have just bought a sheet of cherry plywood and made it happen. Not really what I had in mind to showcase the skills.
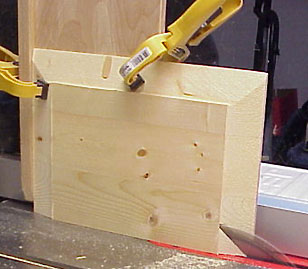
Now, I could easily set up a tall auxiliary fence, tip my table saw blade oh – I dunno – 12 or 15 degrees off plumb – and run each of the panels through to raise them. Easy peasey lemon squeezy.
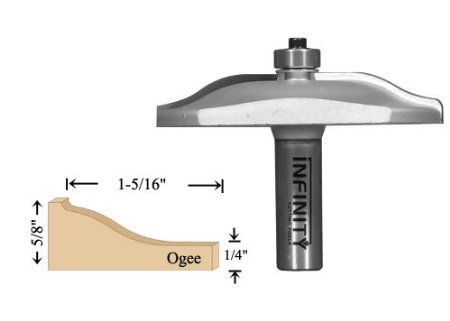
I could pick up a vertical or horizontal router bit and do a fancier profile. Heck, the sky is the limit when it comes to those kinds of bits and the profiles they can cut. From the plain to the ornate, it’s definitely something to consider.
Now, I’ll just have to decide how I will make it happen, then it’s off to the races, and this project will be nearing completion!
I’d let the style of the recipient dictate, For instance if G&G would be a good fit, I’d make the lid with pinned overstuffed bridle joints and an offset t&g sort of panel (like in the ATC) with a round over, or maybe even rasped in scallop work.