So, now that the Cotterman is done, it’s time to (literally) turn my attention to the new table for the front room in our home. Now, in the back room, I had no problem going with a rectangular, rustic looking piece (which, by the way, has ended up being a great piece), But, for the front room, Rhonda was thinking something round to make it look a little more elegant.
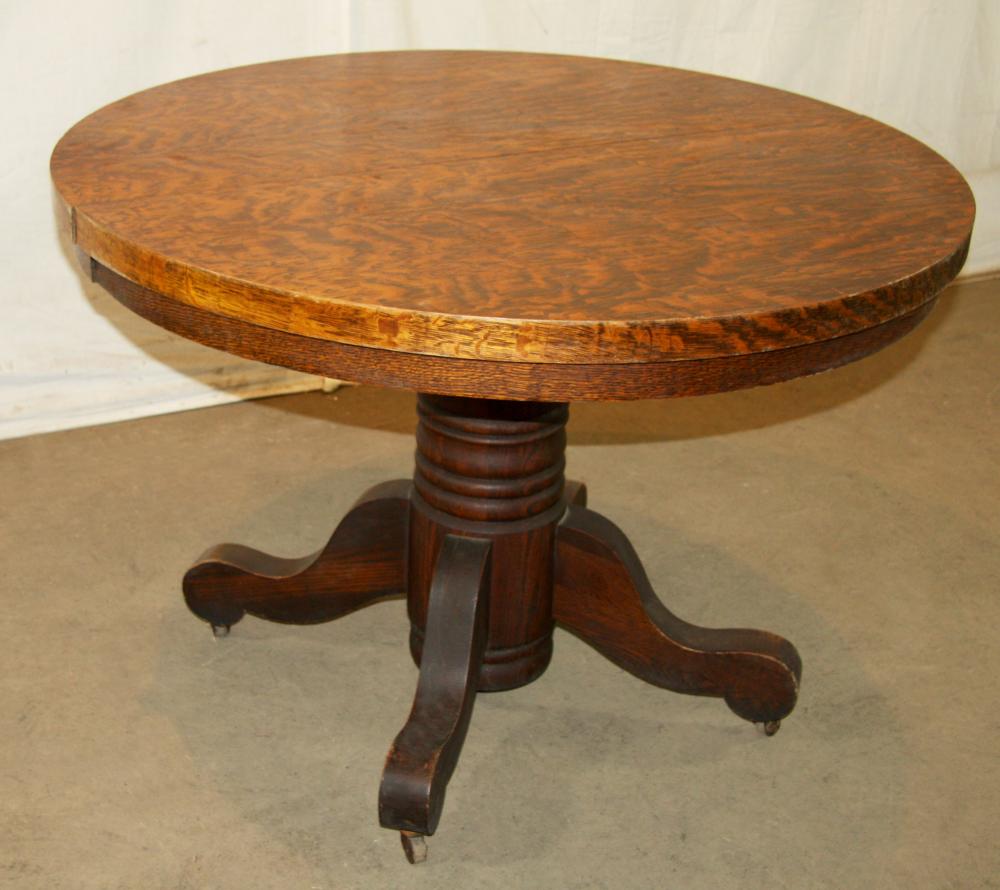
A logical choice for a coffee table might be one large turned column It would free up some leg room underneath, I could get creative with the feet and it would certainly showcase my turning skills. Only a few problems. I don’t turn. I don’t have a lathe, and I really don’t (yet) have the skills to make something like this even if someone did hand me a lathe. Besides, columns like the one I showed above are more for dining tables.
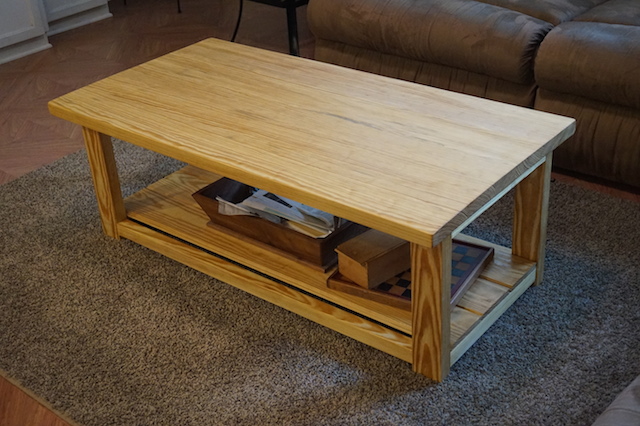
Rhonda also had the idea originally of doing something with a shelf underneath – a place for us to tuck books, baskets and all of the other stuff you might expect to see in a living room, I dunno. There’s something about an elegant round table with a shelf jammed under it that doesn’t do anything for me.

Of course, I could go modern with bent legs – almost an Eames looking piece – with a ‘modern’ feel to it. But, something tells me I wouldn’t like it. Plus, you know, Ikea makes a lot of that mid-century modern looking stuff.
So, I got to thinking… Why not go for something a little more simple, yet classic? Something strong yet pleasing to the eye? In other words, how about some type of cross bracing connecting the legs under the table?
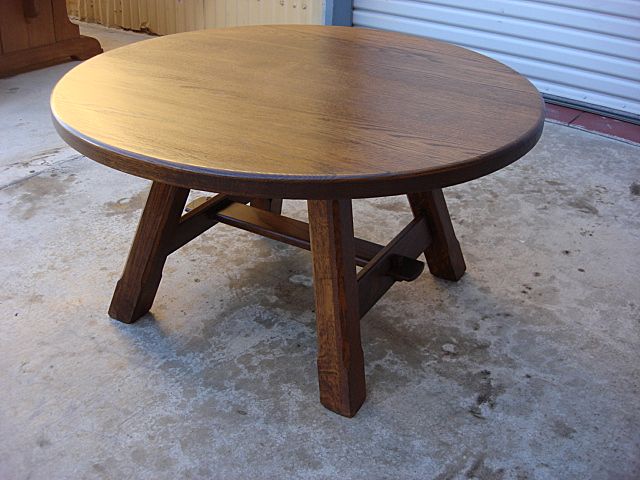
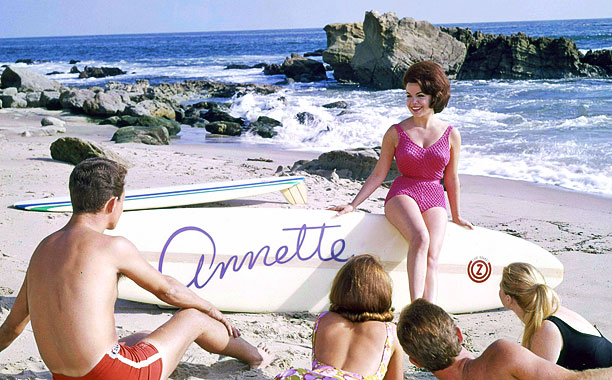
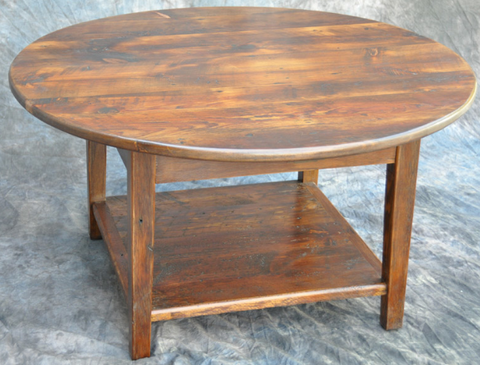
I had posted this picture a few weeks ago, and it really caught my eye. Nice, strong looking piece with a simple base, ample top and clean lines?
I will have to sketch out some ideas – maybe based on this, or maybe with a simpler x brace across the bottom. Either way, it will be something that will be a piece that guests will see first when they come to the house, so it’s going to have to look good.
No pressure, right?