
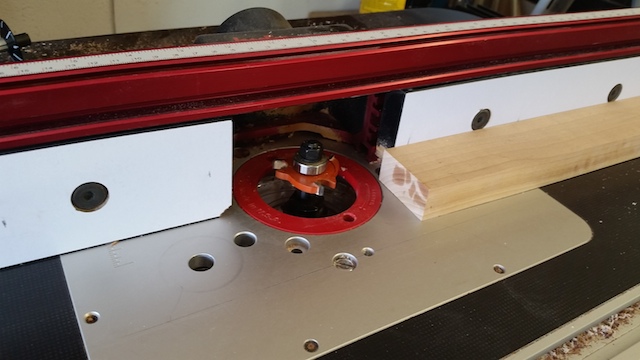
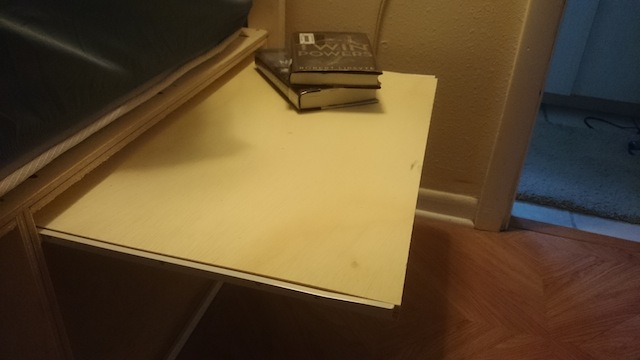
So, this hope chest I am building is a frame and panel design. And, when it comes to building the frame, it’s important to make sure that everything is milled properly. After all, if you are using a cope and stick type of joinery system, everything has to be the same thickness so it all comes together nicely.
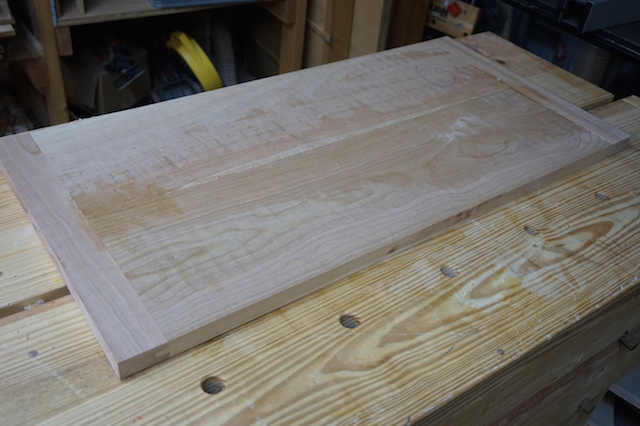
But, first, come on. Look at that lid! It’s a thing of beauty! A little planing, a little sanding, and it will be something to look at.
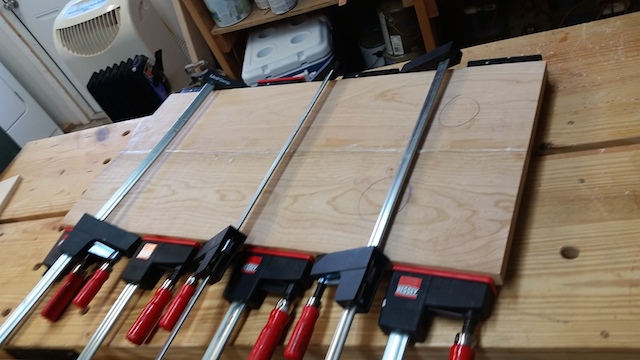
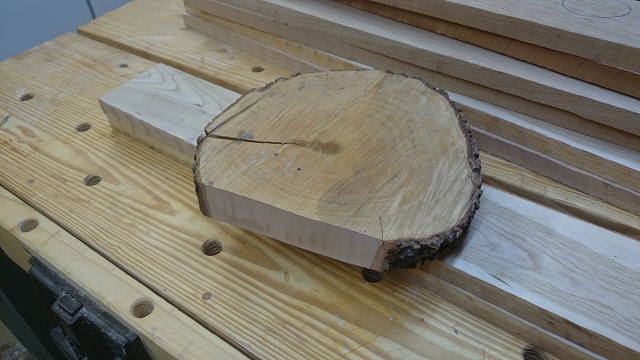
Now, back to our milling operation. I had to identify the pieces I was going to need. The rails and stiles, where they were going to go, their dimensions… the works. So, I went to my wood pile, picked out a few nice looking pieces and cut them to rough length. I had to employ a sophisticated method of keeping track of which pieces ended up where.
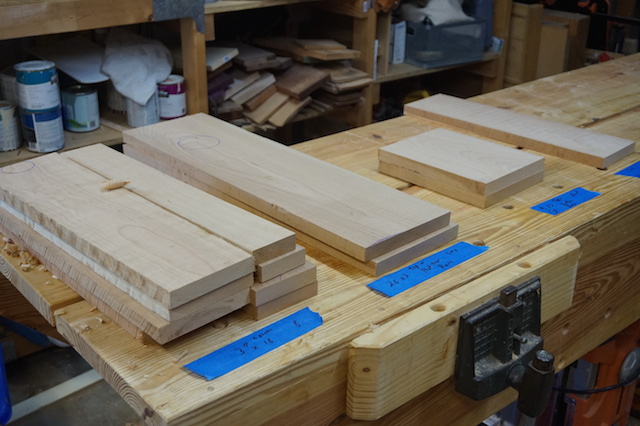
Yeah, amazing what you can do with a marker and some painter’s tape…
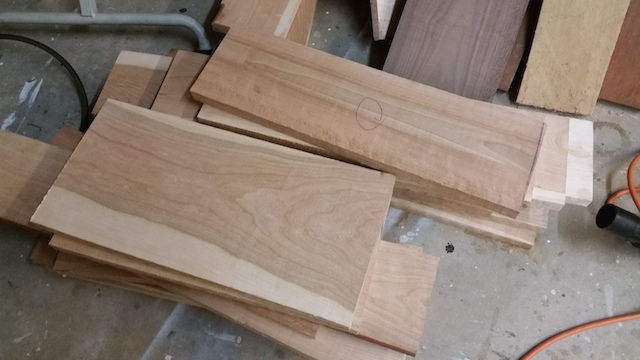
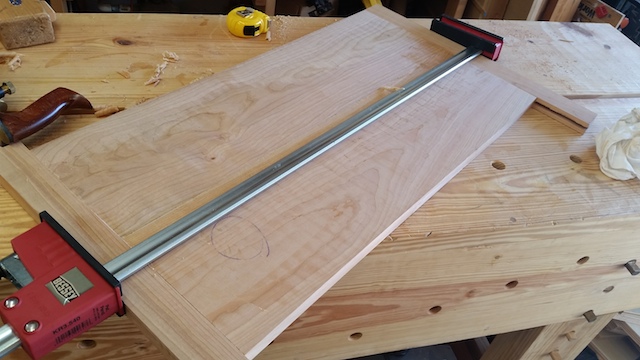
Once I had those pieces cut to size, I ensured that I had one flat face on each board. By breaking them down to smaller pieces, it was easier to remove any wind or twist in the pieces. After that, it was off to the thickness planer.

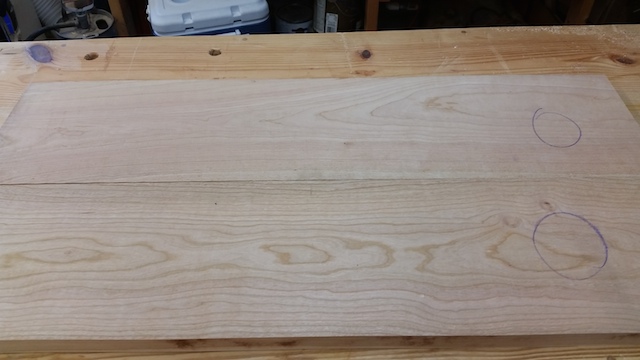
There were two reasons for this. First, I could get rid of some of the gnarly skip-planed look, making the surfaces a whole lot closer to finished. Secondly, and more importantly, was to ensure each of these pieces would be the same thickness, which would make joinery a TON easier when I got to the router table.

After planing and some straight-line ripping, my stack of boards is ready for the next step. Now, I have to find some time in the shop to take that next step!


