
So, I have this coworker back at the office who had a little ‘issue’ with a shelf in his pantry. It seems that some kind of wood-eating insect had gotten into the plywood shelf and did what it does so well, eating through the plies of the shelf.
He cut off a piece and brought it to me in my office, and asked if I could take it back to my shop, cut a new shelf for him and bring it back. I told him no thanks, I really wasn’t looking for something to get into my prized wood stash and turn it into sawdust. But, I told him, if he microwaved the piece for – say – four minutes, I think whatever was living inside would be an ex-wood-eating insect, and I would be able to tackle the job.
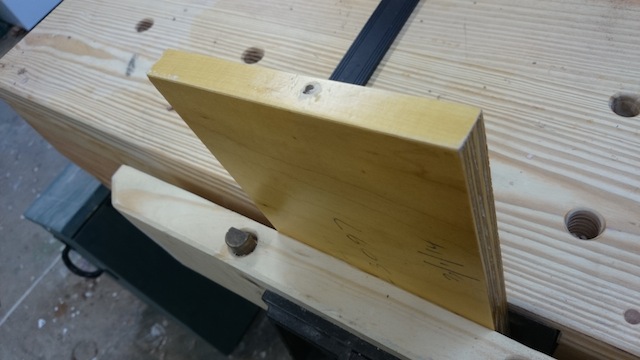
So, he gave me the chunk of wood. It was a very simple piece, just a strip of 3/4″ plywood with the edge taped and some type of ‘golden’ stain applied to it. Oh, and my friend had drilled the hole in the front edge, it wasn’t the work of that bug.
It was an easy job to cut the plywood to size for the body of the shelf, but how was I going to match the edge banding? I could go buy a roll of edge tape, but where is the sport in that?
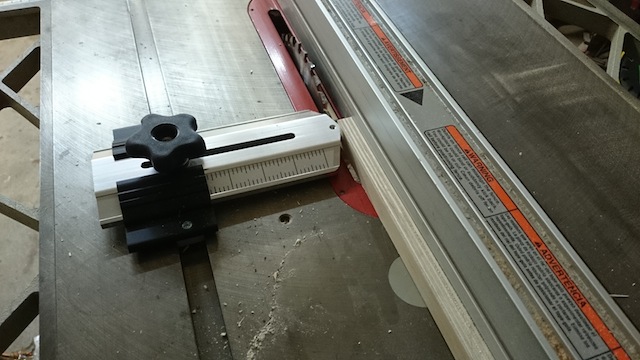 I set up my table saw to do something I had never tried before. I cut an extra strip of plywood about one inch wide, turned it on edge then used my Infinity thin strip ripping jig to set up a cut that would just skim off the face veneer of the ply.
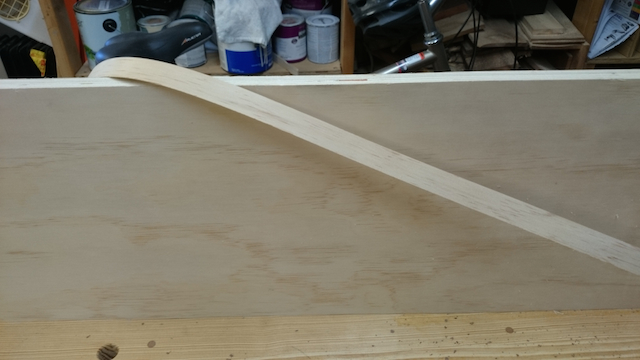
Using a push stick to keep my hands out of the way, I guided the piece past the blade, and ended up with a strip of face veneer that was – obviously – a perfect match of the plywood I was working with.
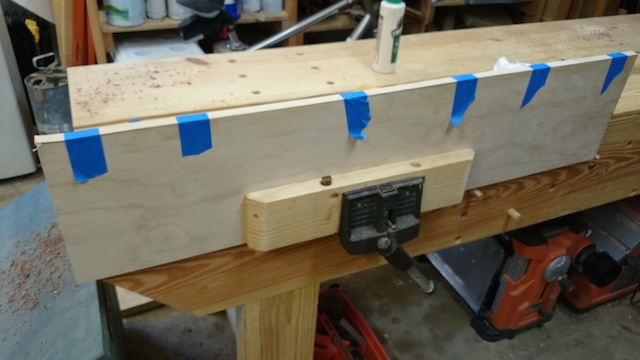
From there, it was an easy job to apply a thin, even film of glue and the edge tape, holding it in place with some blue painter’s tape. I made sure that the edge banding extended past both sides of the plywood, so there would be some to sand down to perfect the coverage.

Once the glue was dry, I used some 180 grit sandpaper to gently remove the excess edge banding. I do have to perfect my technique a little bit, but I think it looked pretty darned good. Plus, I mean, it was going to be inside a pantry, right?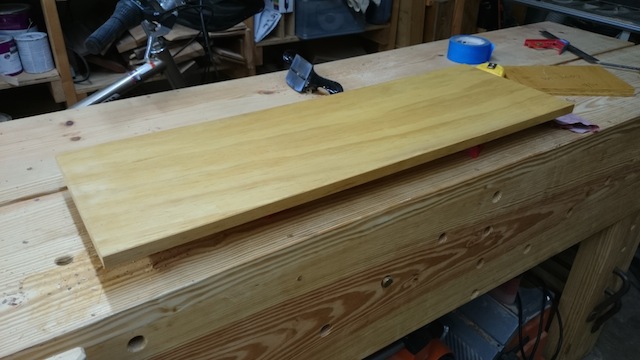
Once I got it sanded and scraped to my satisfaction, I wiped on a coat of that golden oak Danish oil I had used to tint it as closely as possible to the original, then brought it outside and applied six coats of lacquer from a spray can – which is a really quick and easy way to put on a nice finish. I finally sanded the piece with some 320 grit paper, and waxed it so the surface was nice and smooth.
My guess is that this will be the nicest looking shelf in the pantry.
That is one neat edge banding trick!
…now you just have to watch out for the “sawdust pyramids”